Painting a room can be an exceptionally fun process. It definitely is for me, but if there is one component of the painting process that most people dread (or frown upon in my happy painter case), it’s painting a ceiling. It can be messy, hard work. My arms ache just thinking about painting a ceiling. But with the right know-how, tools, and order of operations, you can make the job much easier, more professional looking, and finished quicker. In this beginner’s guide for how to paint a ceiling, I’ll walk you through those steps and share a few pointers and lessons learned along the way for a professional-looking finish.
Choose A Color
The first step is deciding to paint the ceiling and choosing a color. There are four main options for choosing a ceiling color.
White Ceiling
The most common option is simply choosing white paint. It’s extremely popular and often the default for most painted rooms.
This works well if you have white trim in the home (use the same white if possible). You also want to make sure the white ceiling paint you choose works with the other colors in the room. If the colors are warm, choose a warm white. If your space has more cool paint colors, choose a cool white. White pairs well with most paint colors and can be a great choice for a ceiling.
Fun story, when I was painting the rooms in our first house, I thought I had to use Benjamin Moore’s “Ceiling White” straight out of the can. It took me years to realize that you can use any old paint sheen and color.
Photo of my craft room with dark painted walls and a white ceiling.

Accent Color Ceiling
A second option is to choose an accent color that works with the rest of the color scheme in your room, but is a completely new color. Essentially an accent wall. A bright color can add playful personality to a space, especially a more neutral one. For example, if the walls are white, a sunshine yellow can brighten the space and the mood of the room.
Color Drenched Ceiling
Color drenching is a fun trend, although it has legs as a traditional painting choice. What does it mean to color-drench a room? It’s where the walls, trim, and ceiling are all painted the same color. It works especially well for small rooms, making the room feel cozy, with an enveloping feel.
This has been my new favorite ceiling paint color of choice lately. Our living room, keeping room, playroom, and girls’ room all have ceilings painted the same color as the walls. Here’s an example from the keeping room.

Replicate the Wall Color at 25% Intensity
Another dramatic and stylish choice is to replicate the wall color but in a lighter shade, around 25% of the intensity of the wall color. I first learned of this technique from designer Nadia Watts. It’s gorgeous when paired with ornate crown molding and more neutral shades.
Choose A Paint Sheen
With the color locked down, it’s time to choose a paint sheen for your ceiling.
Matte or flat paint is the most recommended paint sheen for ceilings because it doesn’t reflect light and can hide imperfections, creating the illusion of a smooth finish where there might not be one.
For bathrooms or high-moisture areas, it’s a good idea to upgrade to an eggshell or satin finish. These are more durable than flat or matte, making them easier to clean. There’s a slight sheen, meaning they’ll reflect some light while still hiding small imperfections.
You can also paint a ceiling with gloss paint. Just be warned that all imperfections will become glaringly visible. Gloss-painted ceilings can also add striking visual contrast and are most often seen in higher-end designs. They’re not suited well for more casual living spaces.
To Prime Or Not To Prime
That is the question. Should you prime your ceiling before painting?
If it’s brand-new sheetrock, absolutely, it’s a good idea to prime the ceiling first. A good primer will provide a base for exceptional ceiling paint adhesion. Some paint products declare “no priming needed,” but that’s not exactly the case for a new ceiling that’s never been painted before.
It’s also a good idea to prime over any patched areas, spots with former water damage, stained sections (like permanent marker kid art), etc. A good stain-blocking primer can be your best friend here. It provides a blank slate to accept the new color seamlessly.
Sometimes, when you’re painting a room a dark color over a light color, it’s recommended to prime first with a tinted primer. This is a case where the crew at your local paint counter can recommend the right course of action for the color you’re choosing.
In our girls’ bedroom project, we patched and primed SO many spots on their walls before painting. Thankfully, the ceiling was in great shape and only needed painting. The same process of patching a wall works for a ceiling.
Gather Supplies
Like with any DIY project, the right tools and materials make all the difference when it comes to painting a ceiling.
Here are the basic painting tools and supplies you’ll need.
To Protect Floors and Furniture
Wall Repair Tools and Supplies
Painting Tools and Supplies
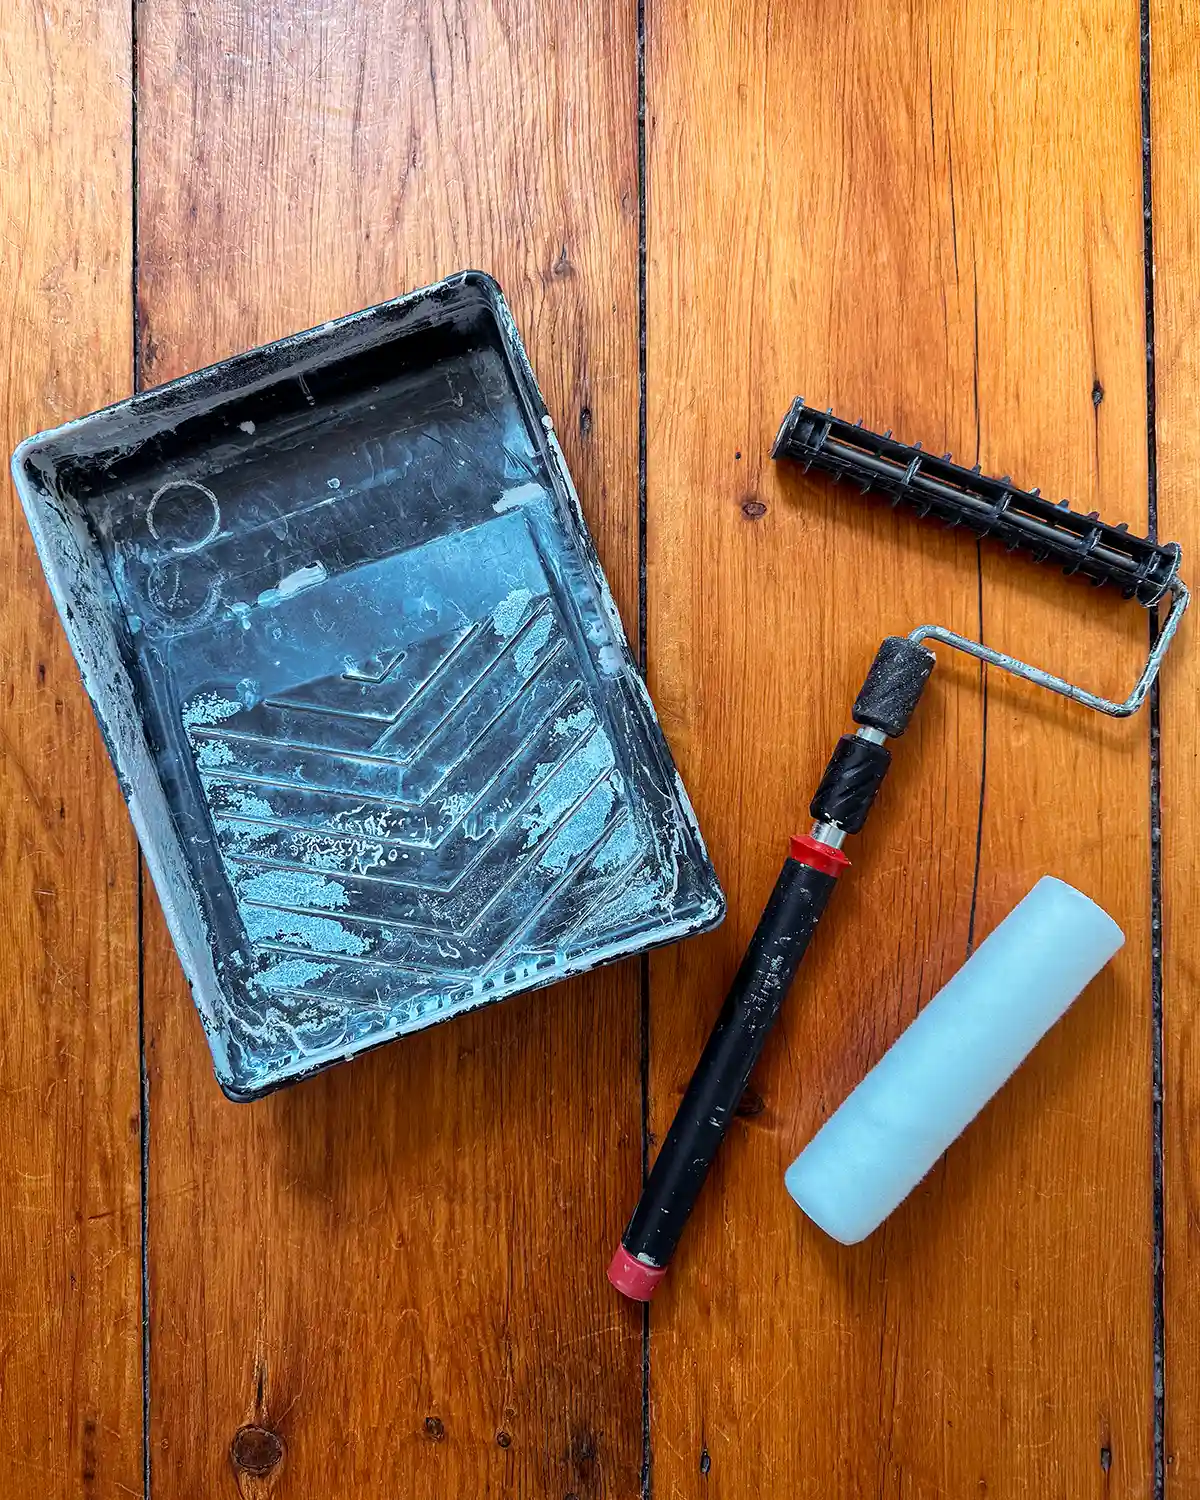
- Paint Tray
- Paint Roller with Extension Pole (9-inch roller works best)
- Roller Sleeve (guide to choosing the right one)
- Angled Paintbrush
- Paint Cup
- Stir Stick
- Paint Can Opener
- Stain-Blocking Primer (optional)
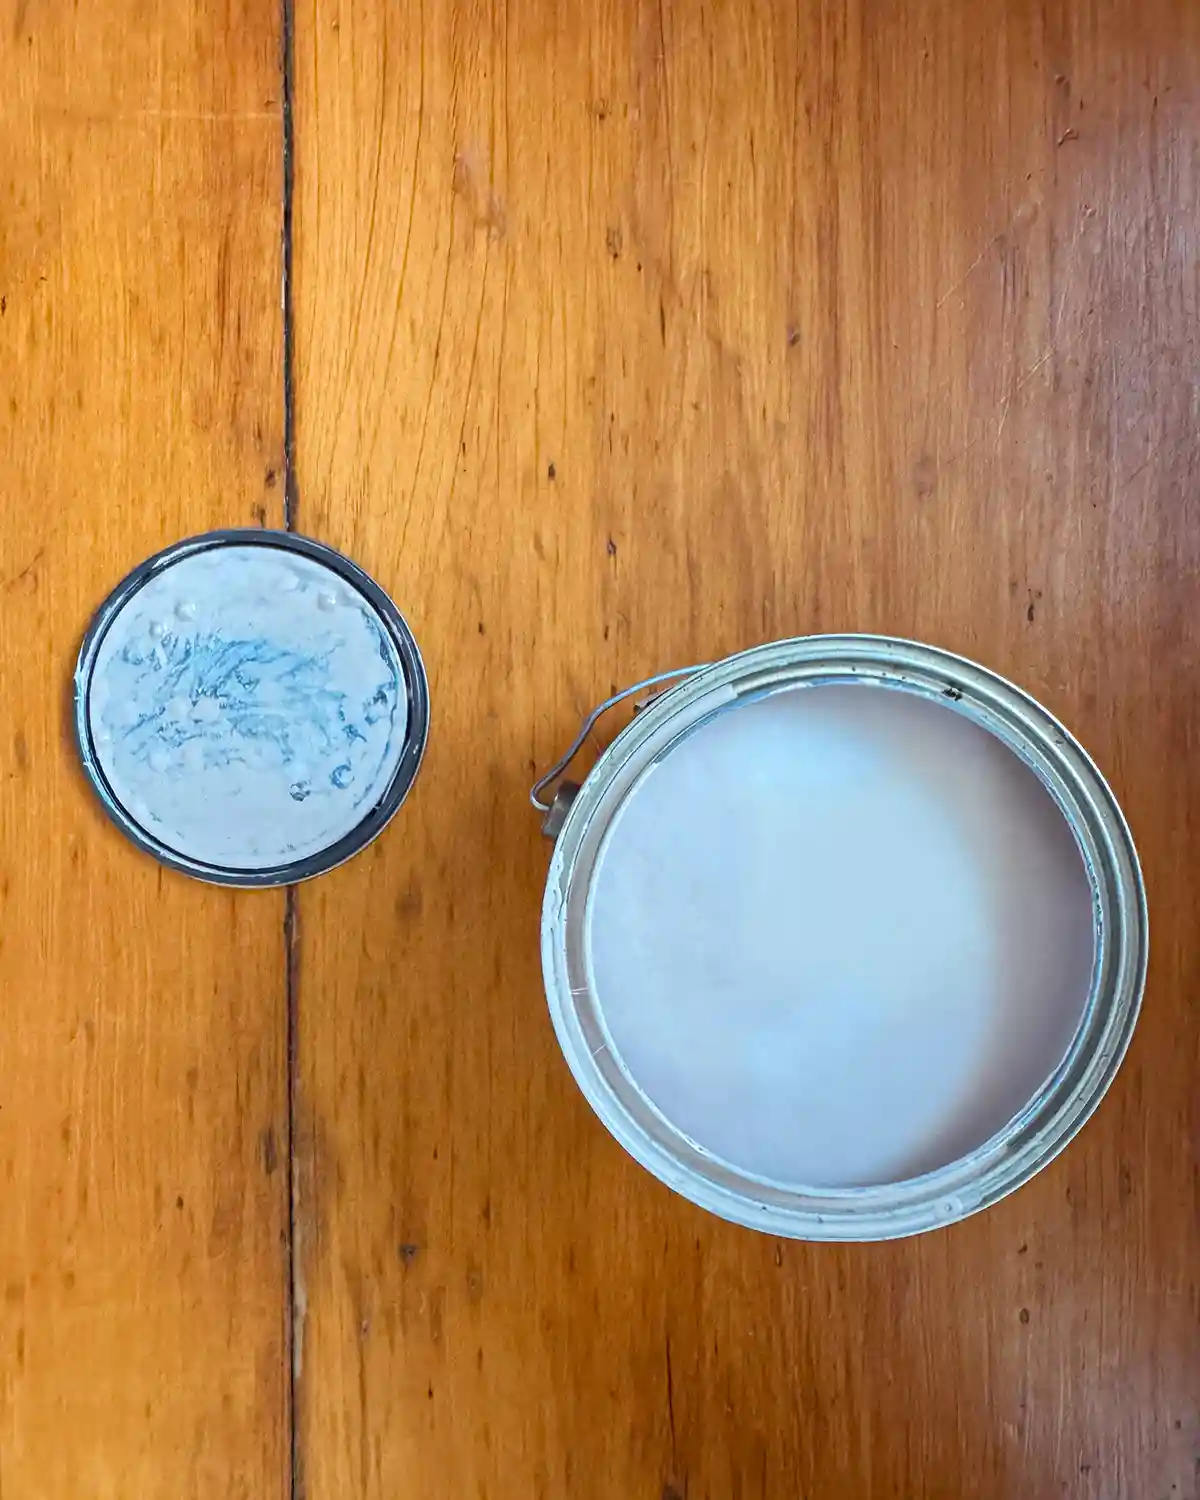
- Ceiling Paint
- Step Stool (this work platform would work great for cutting in)
Prep The Room
The right preparation is key for a top-notch paint job. It’s so easy to skip these steps since we’re anxious to get to the actual painting part, and sometimes the preparation feels like it’s taking too long. But if you want a professional-feeling paint job at a DIY price, don’t skip these steps.
Clear The Room As Much As You Can
If you can, clear the room entirely. Paint can splatter, plus, it’s just way easier to paint a ceiling if the room is empty. There’s plenty of room to move around, you’re not worried about damaging anything, and it makes the painting process go quicker.
If you can’t clear the room entirely, get as much as you can out of it. For example, you may not be able to get the big, heavy wardrobe out of the room (or the bed), but remove as much furniture as you can.
Don’t forget to remove wall art or anything else hanging on the wall. It’s easy to forget about these things, but they can fall prey to dreaded paint splatter too.
While painting the girls’ bedroom ceiling, we removed everything except the beds and the wardrobe. Even with so few items in here, it was a pain to paint. But unassembling and moving the beds would have been harder.

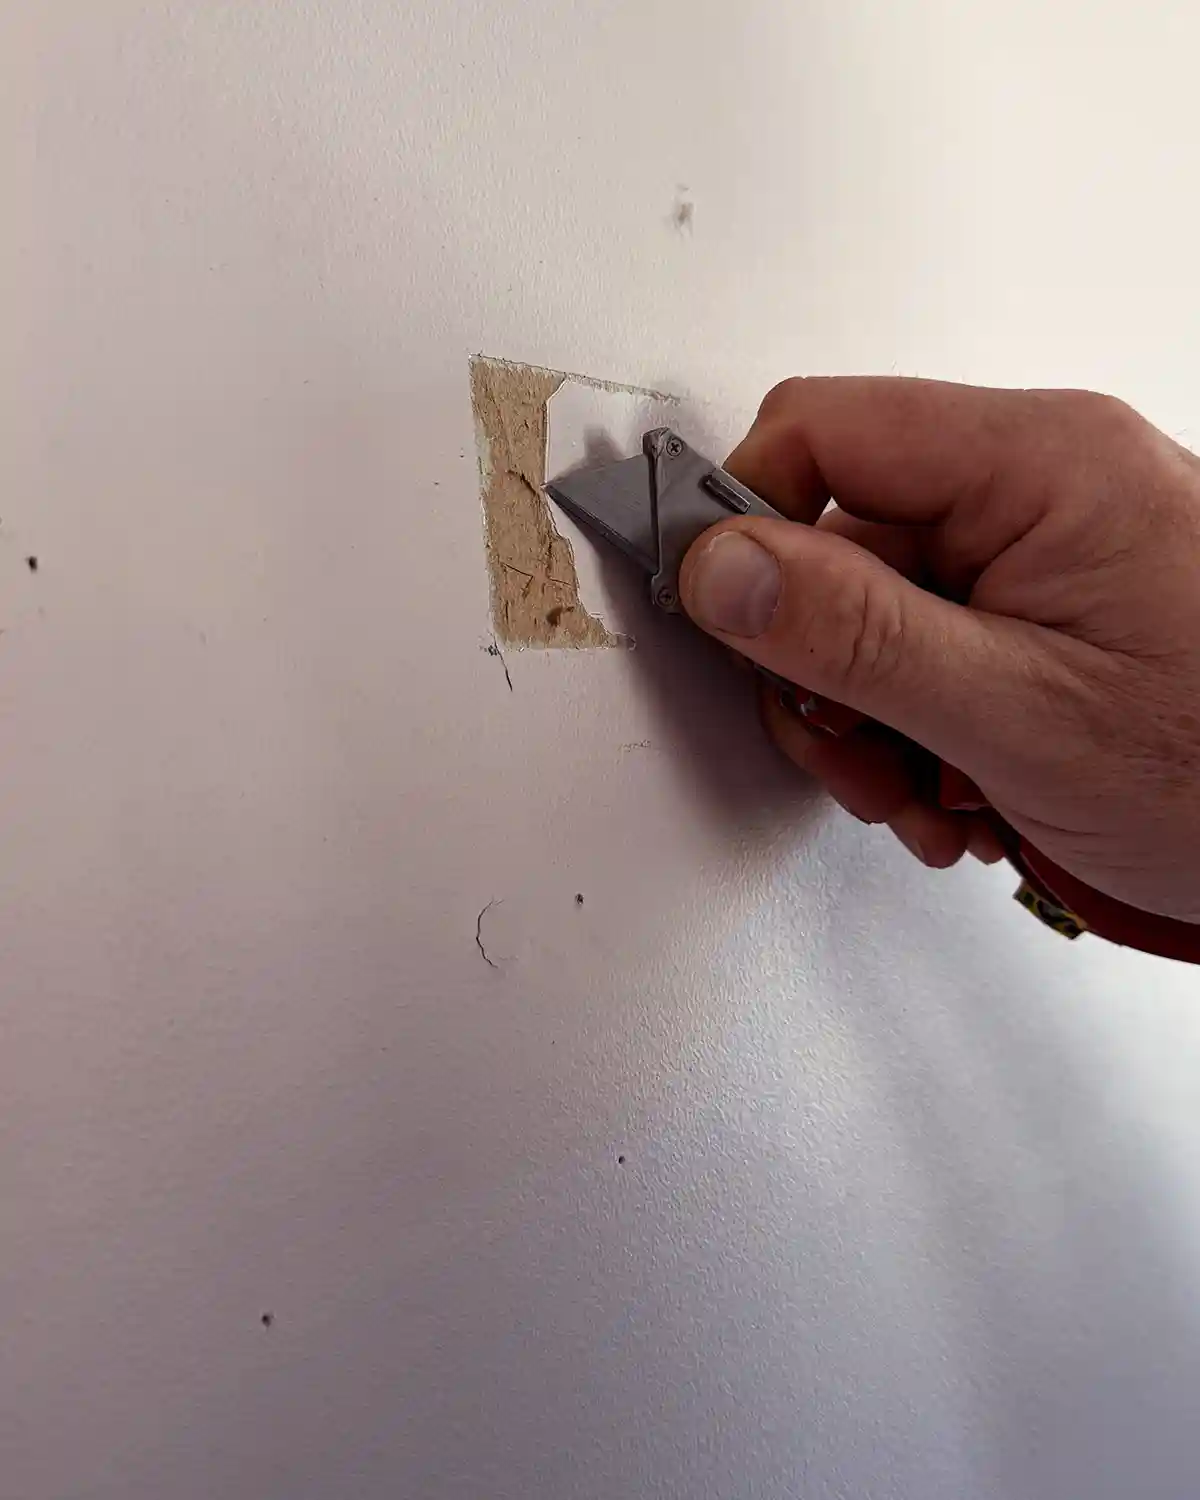
Patch And Repair Ceiling
If you want a truly flawless finish, spend some time patching and repairing any imperfections in the ceiling. Ceilings tend to be subjected to much less wear and tear than the walls do. Regardless, now is the time to patch any small holes and dings in the ceiling that need it.
Remove Fixtures
Next, remove as many of the fixtures as you can. The ceiling fixtures include lights, smoke detectors, fans, etc. It’s also a good idea if you have curtains and curtain rods to remove those as well. The brackets can often stay, but the rods should be removed.
Sometimes, it does more harm than good to remove fixtures before painting. If it’s a light that, due to how it was installed, may release loose insulation from the ceiling above, leave it. Or if you have a heavy or awkward ceiling fan that’s next to impossible to remove, it can stay. Just cut the paint in around them.
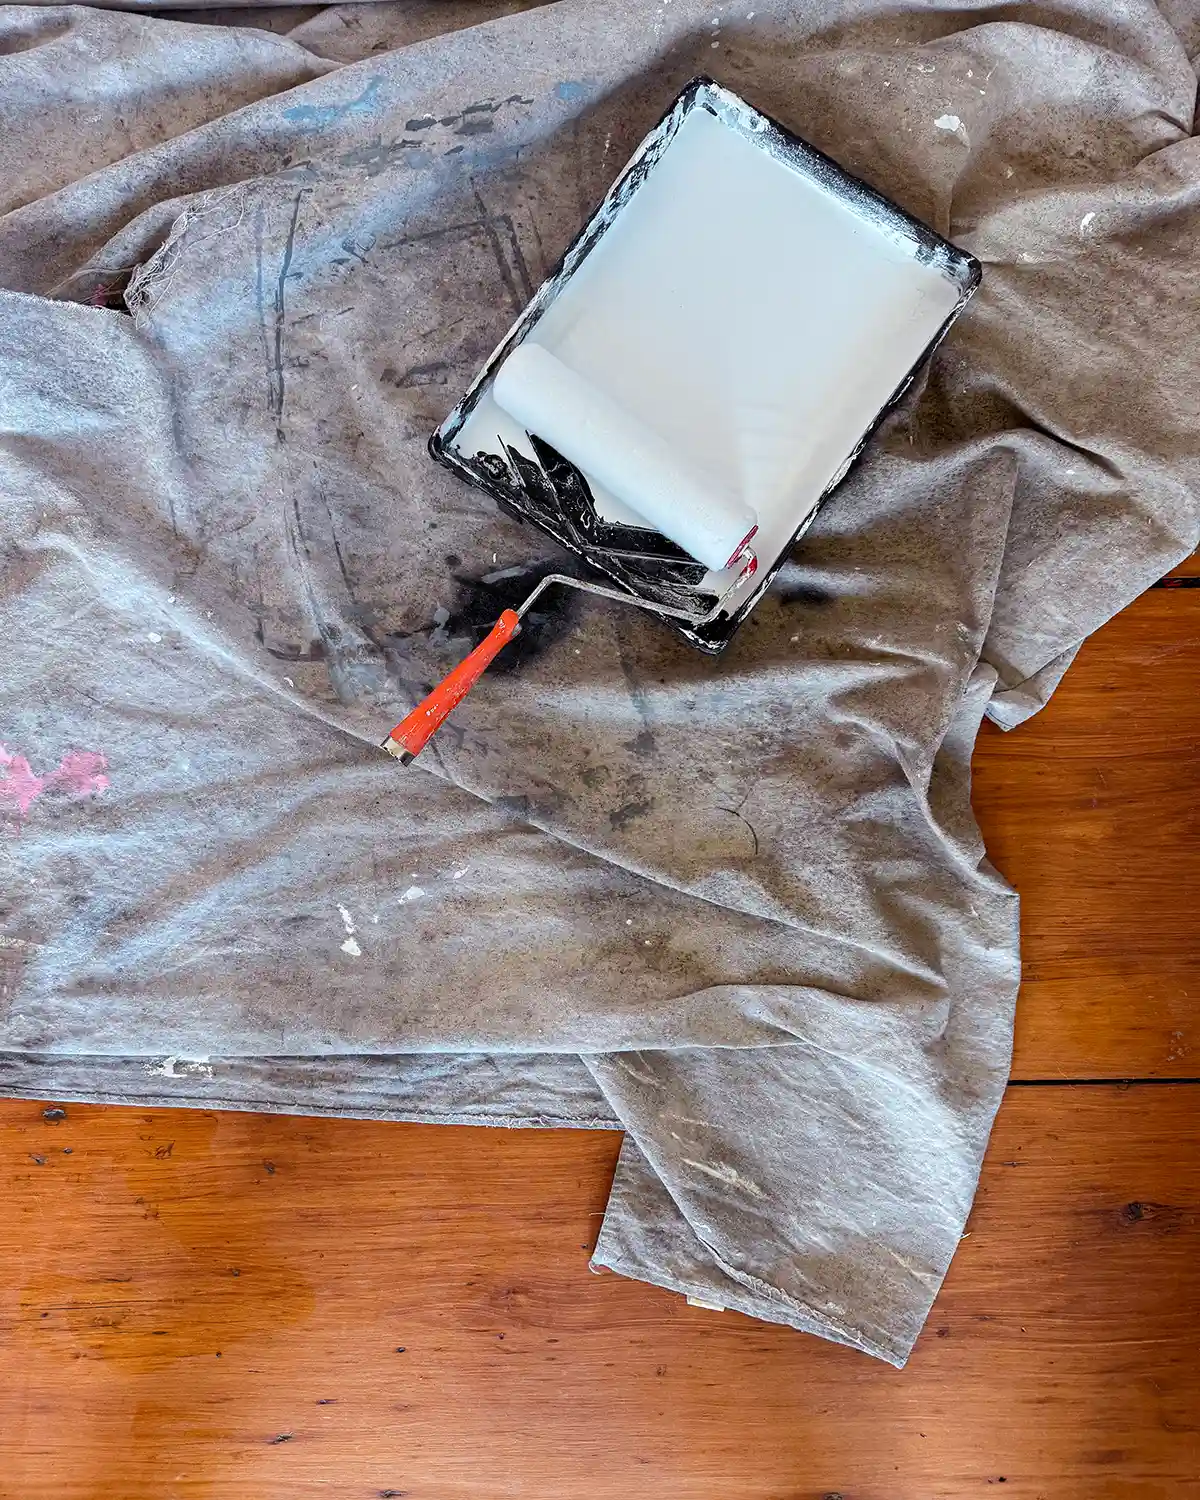
Lay Drop Cloths
With the room cleared out, there’s plenty of room to lay drop cloths or plastic sheeting to protect floors, furniture, or anything that’s left in the room.
Plastic sheeting is great because it protects floors and furniture well from paint splatter or spills. Simply roll it out, spread it over surfaces, and tape it down with painter’s tape so it doesn’t move.
Personally, I prefer using drop cloths since they’re reusable. I usually use two in the room where I’m painting the ceiling. I like how I can slide them across the floor as I work; they’re not slippery, and I can reuse them room after room, project after project. The downside is if you have a big paint spill. Think, tipping over the paint tray or gallon. It will soak through.
Tape If You Need To
Painter’s tape is a touchy subject. Some people swear by it, others loathe it. If you are a messy painter or someone who can’t keep a steady hand while painting, use painter’s tape to get straight lines and protect trim, walls, or any other surface you don’t want paint on.
However, most people will do better by using an angled brush and cutting in. It does take practice, but I find the result is much better after cutting in than it is with painter’s tape. Plus, it’s one less step to get to painting.
Paint The Ceiling
Now that we’ve gathered our supplies, prepped the room, and made any repairs, it’s time to paint the ceiling.
Schedule The Task
Start by scheduling the task. The actual painting of the ceiling part is great to get done in one fell swoop. It’s much easier to block a day and paint the entire ceiling (two coats) in one day.
It’s also helpful to pick a time that has an abundance of natural light in the room you’re painting. Artificial light plays tricks on the painting eye, and it’s easy to miss spots you needed to paint.
Prime First (If You’re Priming)
If you’re priming the ceiling, now is the time to prime it. Start by first cutting in one coat of primer (see below for how to cut in paint), then follow up with one coat of primer rolled onto the ceiling (more details on rolling below). Applying just one coat of primer should be enough. If stains and marks are still shining through the primer, it doesn’t hurt to apply a second coat.
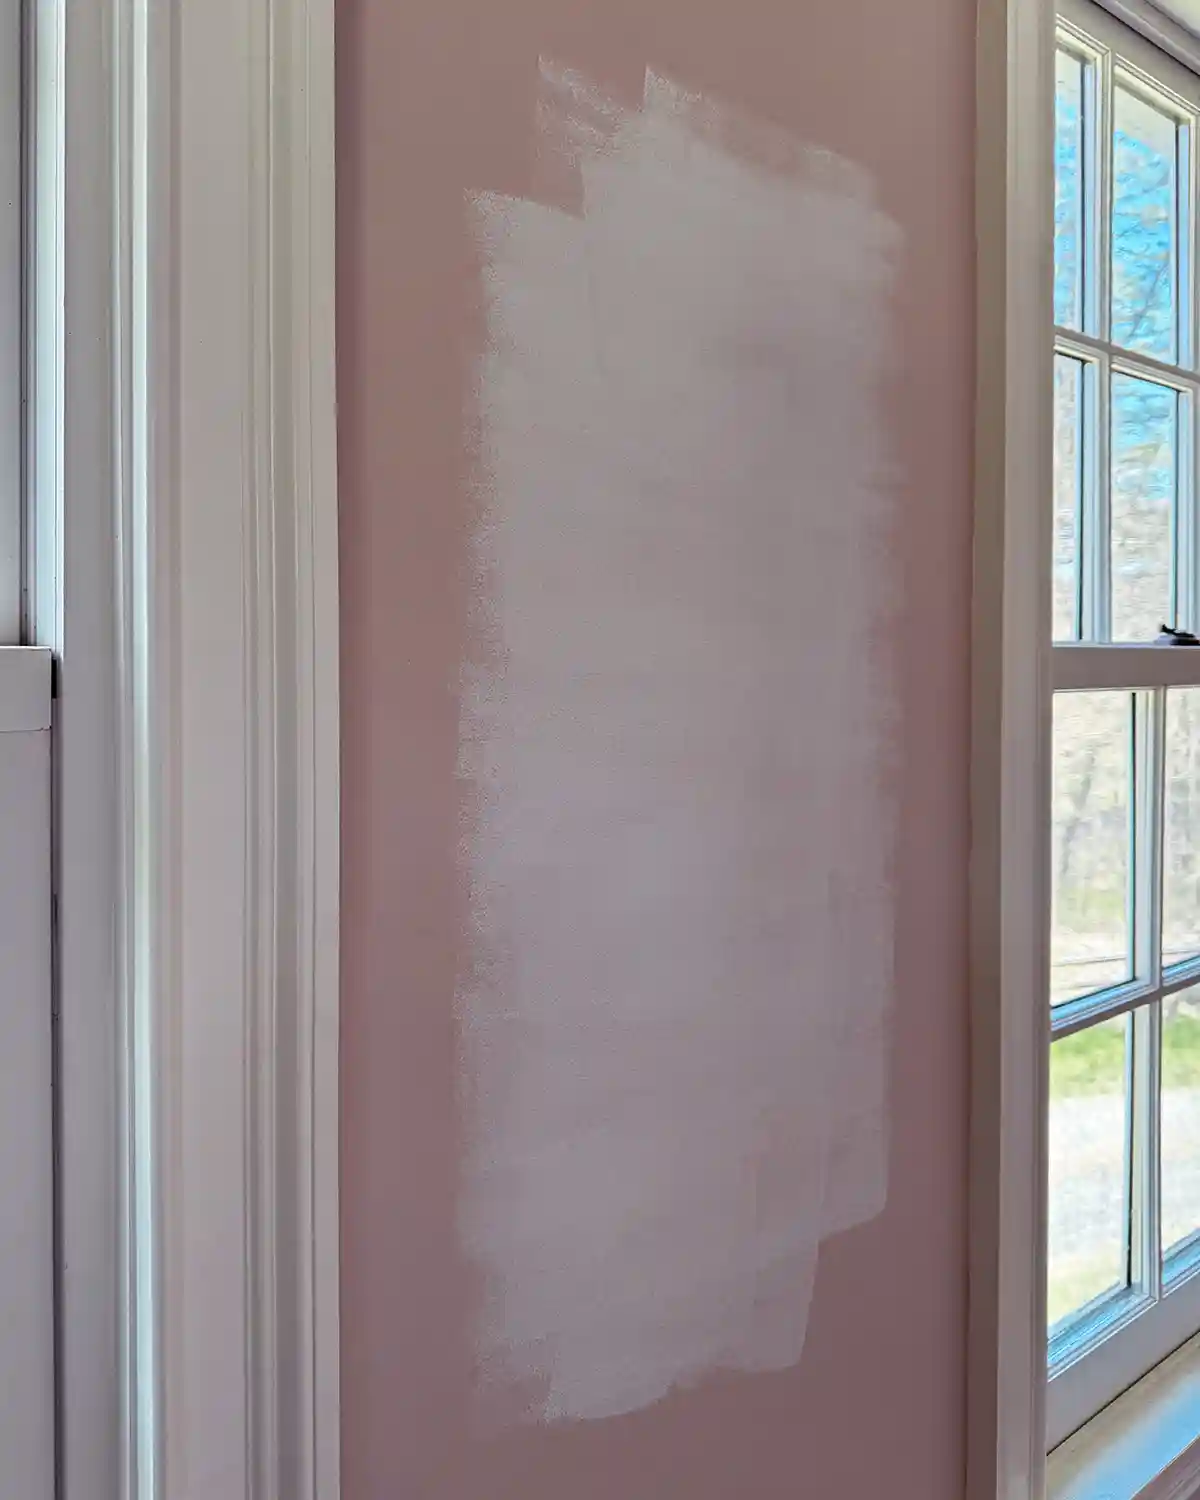
How To Cut In Paint
Next up, we’re going to start by cutting in the first coat of paint on the ceiling. Mastering the art of cutting in will save you lots of time applying and removing painter’s tape, plus save on materials costs. It also provides an exceptional finish once you’ve learned how to do it.
To cut in the paint on the ceiling, grab an angled brush, a paint cup, and a step stool. Using an angled brush helps achieve clean, crisp lines. Gently dip the brush into the paint about an inch, tap or wipe off excess paint, then slowly paint where the ceiling meets the wall. It’s important not to use too much paint when you’re first painting up to the corner.
Drag the brush smoothly across the ceiling. Work from left to right if you’re right-handed or right to left if you’re left-handed. The paint brush edge will be parallel to the groove where the ceiling meets the wall. The brush drags against the groove, starting with the upper angle, with the tip of the brush following behind.
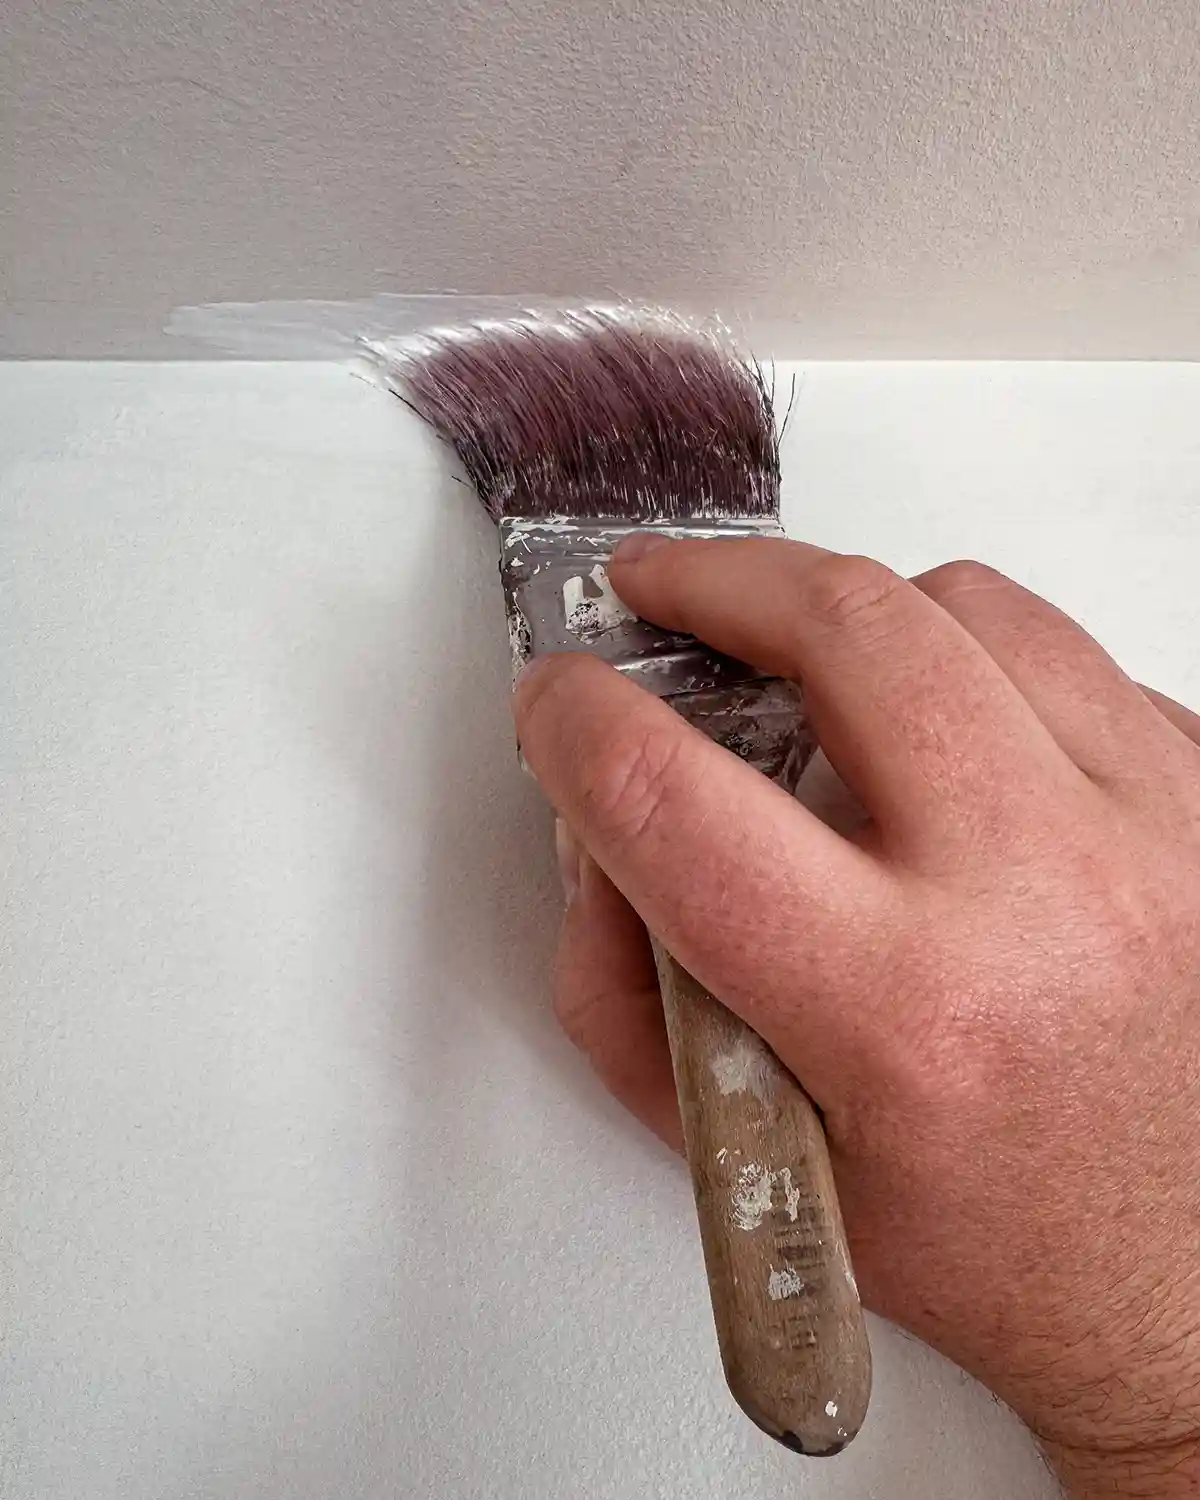
Keep dipping the brush, tapping off excess, and painting the edges of the ceiling up to the wall, bringing the paint out about 1″ to 1.5″ from the wall. Keep painting until there’s a band of ceiling paint stretching all the way around the room, meeting the wall paint.
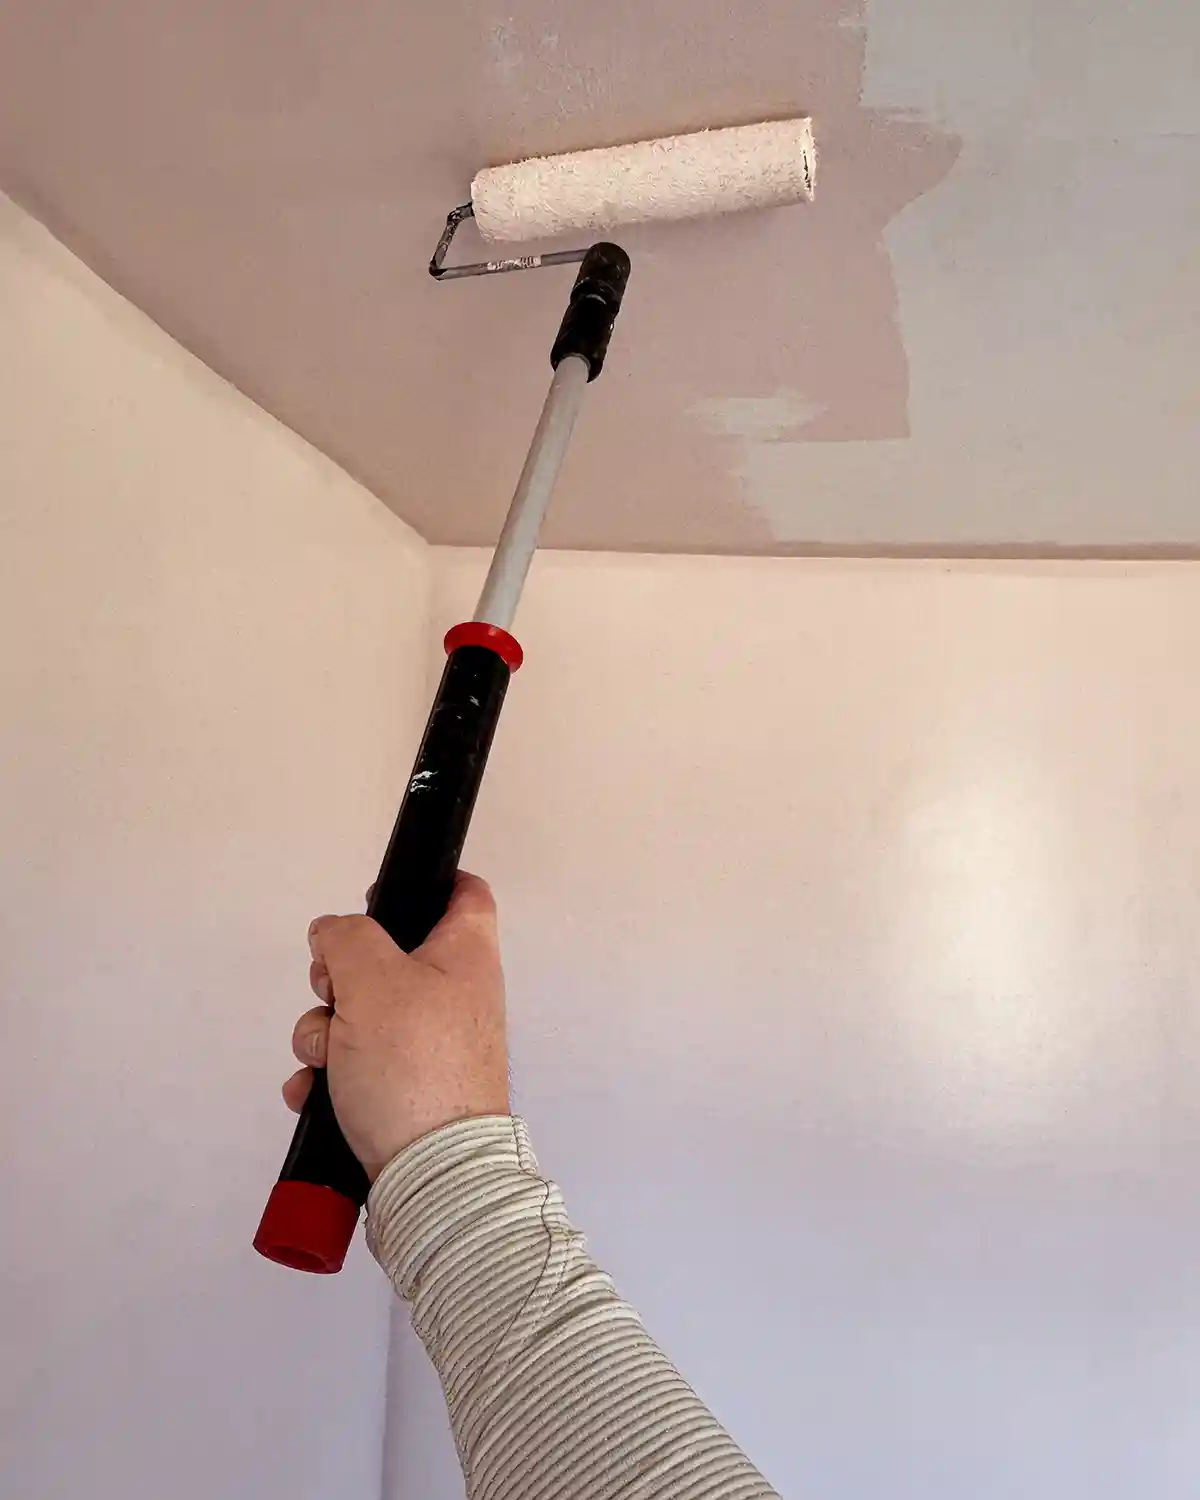
How To Roll Paint
After the ceiling paint is cut in, it’s time to roll. Start by pouring a small amount of paint into the paint tray. The paint should fill the reservoir but not expand to the angled, textured part of the paint tray.
Dip the roller into the paint and remove the excess by rolling it on the angled part of the tray. Keep rolling on the tray until your roller is completely covered in paint and no paint drips off the roller if you lift it above the tray. You don’t need much paint on the roller for it to be effective.
Starting in one corner of the room, hold the roller handle at about 45 degrees ahead of you. This is when using an extension pole or an extendable paint roller is helpful. Slowly roll the paint onto the ceiling. Use overlapping, v-shaped strokes, covering the entirety of the section you’re working on, overlapping the cut lines. Be careful not to touch the walls or anything other than the ceiling with the paint roller.
Keep working in small sections, moving drop cloths as needed, until you have painted the entire ceiling. As you’re working, it’s important to keep a wet edge of paint to prevent roller marks. Sometimes, you need to work quickly to consistently maintain a wet edge.
Now we let the wet paint dry before moving on to the second coat. To keep your paint, brush, and roller tray from drying out while you wait, wrap them in Saran Wrap. It works great!
Roll On Two Coats Of Paint
Once the paint is dry, repeat the above step to roll on a second coat of paint on the ceiling. Notice I skipped doing the second coat of cutting in. That’s coming up next.
After rolling on the second coat of paint, clean up your paint tray and roller.
Final Cut In And Touchups
After letting the second coat of rolled-on ceiling paint dry, it’s time for the final coat of cutting in along with any touch-ups.
Most painters and DIYers recommend doing the second cutting in a coat before rolling the final coat. Personally, I like doing my last cutting in at the very end. I find I don’t need to paint as wide a stripe as I originally thought, so the cutting in goes much faster the second time around.
I also prefer the second cutting in coat to be last since you can couple it with touch-ups. So while cutting in, I look for any areas that need just a light touch-up and tackle that as I go.
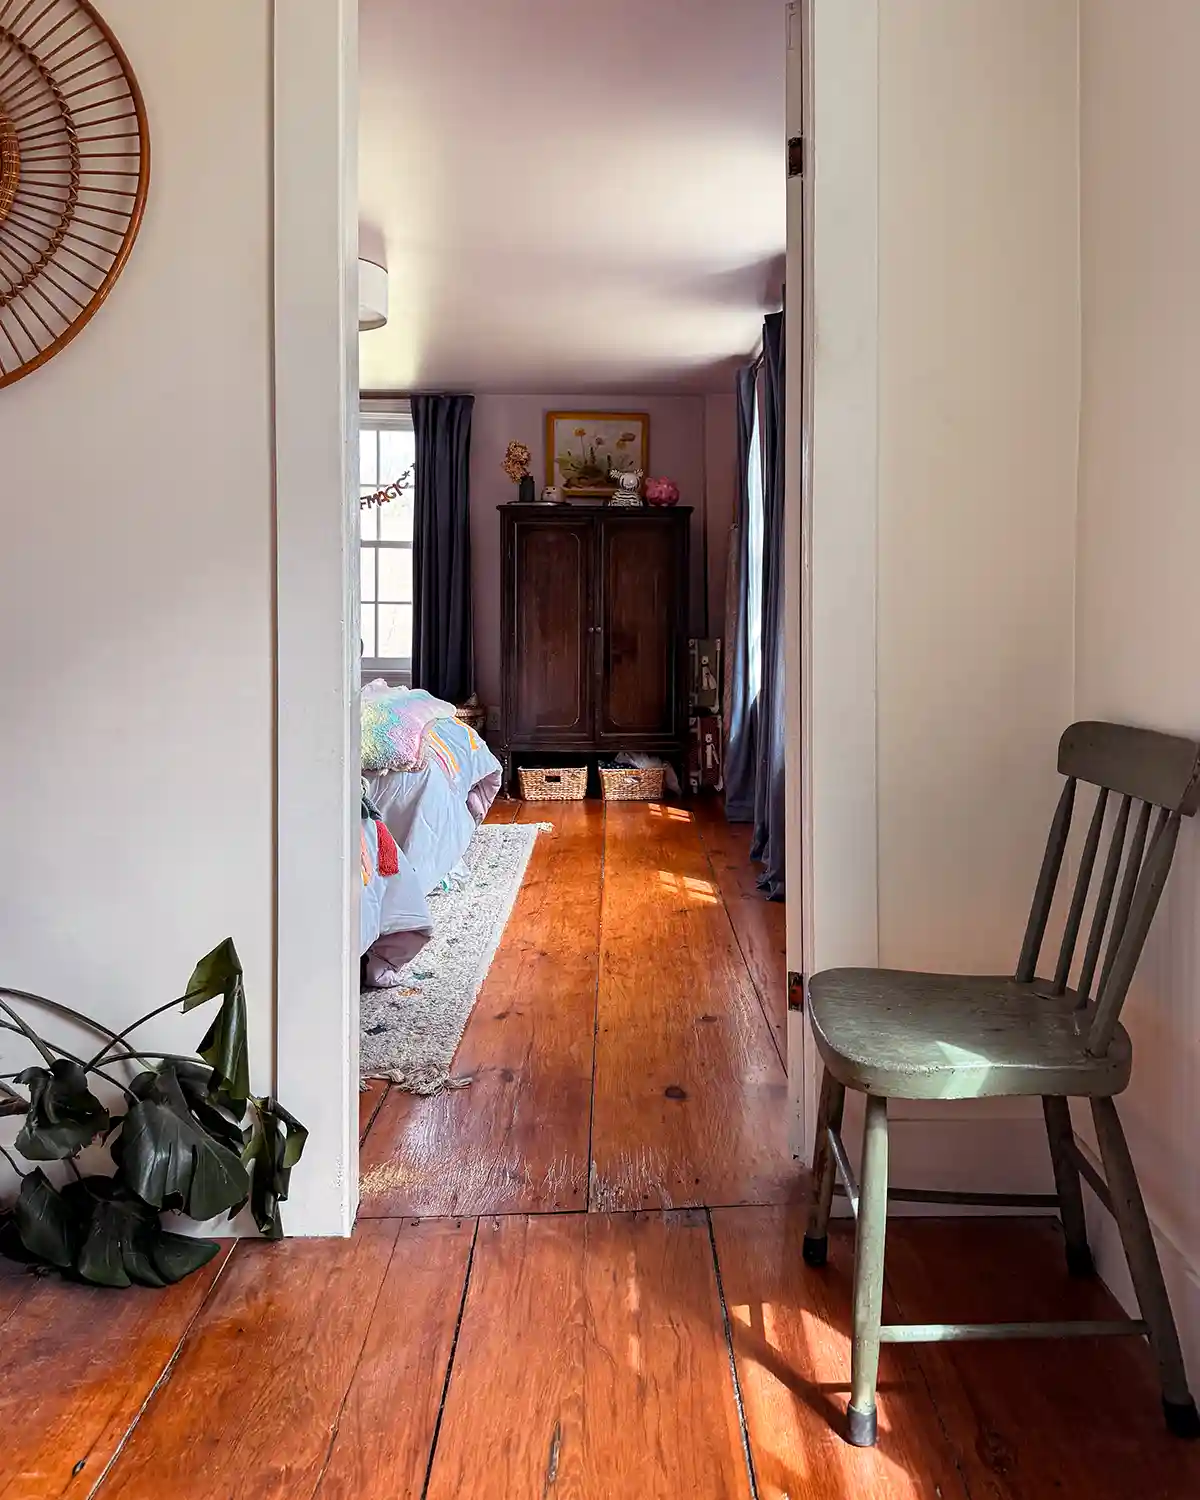
And voila! A freshly painted ceiling. Here’s the girls’ bedroom after painting the ceiling a few weeks ago.
Restore The Room
With the paint drying, you can start cleaning up and restoring the room to the way it was (or take the opportunity now to rearrange or redecorate).
So happy painting! I hope you learned something in our beginner’s guide for how to paint a ceiling like a pro. We recently painted our daughters’ shared bedroom ceiling a light pink color (Benjamin Moore’s Morristown Cream) to match their bedroom walls, going for that color-drenched look, and it was the fastest, easiest, and most enjoyable ceiling painting project I’ve tackled to date. Maybe I don’t hate ceiling paint as much as I used to?!
Now with a freshly painted ceiling, it might be time to add some gold, glow in the dark stars! Stay tuned!