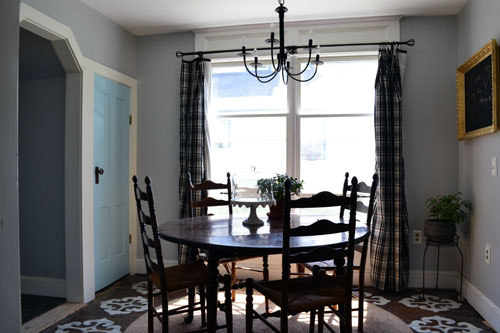
And the award for the longest, most drawn out project here at Angie’s Roost goes to…the basement door in our dining room! Ding ding ding….we have a winner…come on down…the price is right! The door better hold onto and relish its title while it can because the kitchen closet saga is totally going to overtake it in length/drawn out-ed-ness. But anyway, after painting the door, refinishing the hardware, and repairing all the door trim we’re finally done. Consider the door officially installed.

We started off by installing all of the hardware to the door. One thing I learned in the process…save your old fasteners (screws), at least for smaller pieces like the doorknob. Why? Since those screws were about 80+ years old, they are very difficult to replace. Current screws aren’t the same size and don’t have the same thread size so it can become extremely difficult to find new screws exactly the same. So save your old screws! The fastener kind. Not the ex-boyfriend kind (sorry mom). Too far?

Confession…we had a minor freak out moment when Goose started prancing around the house with the EMPTY small plastic container that used to hold all the fasteners for the door hardware. Thankfully we found just about all of them. Phew! Using Colby’s impact driver we added the hinges and the doorknob to the door. A regular old screwdriver works well too…but Colby is man…and man must use power tool…argh argh argh.

And then we shimmied the door into place.

And screwed the hinges to the door jam.

And then tightened up all the screws including those holding the doorknob together.

And can we just take a moment to admire the awesomeness that is our old door hardware?! I love how it turned out even more now that it’s installed on the blue door. It’s so pretty! I love the old hardware’s multi-colored-ness. I dig it. Like a Joe Dirt kind of dig it. (For those of you unfamiliar with Joe Dirt….one…don’t tell Colby…it’s his favorite movie…and two…Joe Dirt’s has an infamous quote “life’s a garden…dig it.”)

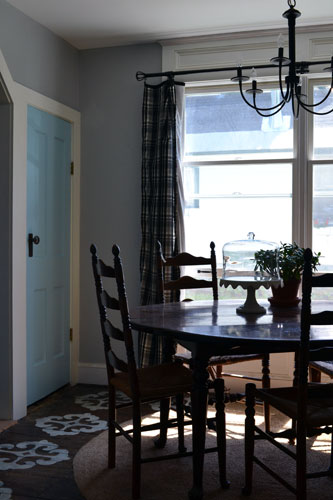
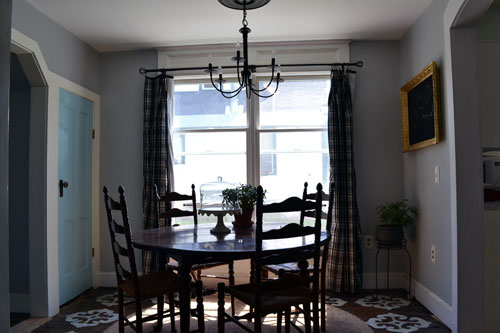
And now begins our dining room photo montage sporting way too many poorly shot pictures of our dining room. Seriously…that monstrously large window is great in real life but it makes dining room photo shoots quite difficult. The table always looks dark. But anyway…the dining room is starting to feel more finished now that the basement door is painted.

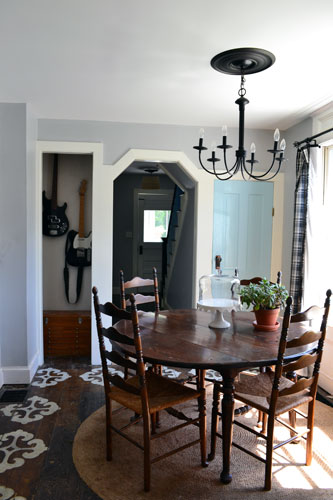
I take it back, these photos aren’t too bad. I like how in this one you can see the chandelier with the ceiling medallion.

And the obligatory wide angle shot…the same angle shot that Colby uses to photograph my behind (again…sorry Mom).

And then my favorite photo of the new, blue basement door in the dining room is below. If you squint really hard you can see the blue in one of the balusters is the same blue on the door. It’s Harbor Mist from Valspar. It’s the second to lightest shade on the ombre balusters.

So now we can officially check off “Refinish Dining Room Door” off the good ol’ to-do list. Finally! This was definitely one of those projects that I expected to 100% complete in the matter of one weekend, not several weeks. But alas it is done, we can close that chapter in our book of home renovations, and move on to bigger and badder ass projects…like master bedroom related projects. And speaking of master bedroom renovations, we’ve made some serious headway this weekend which included finishing the mudding/sanding (mini wave in celebration of us…wooooooooo), priming the whole room, AND painting the ceiling. So we have some catching up to do bliggity-bloggity wise so stay tuned for some blog posts from the master bedroom front.
Pssst…Now that you know what we were up to this weekend, now it’s your turn. What projects or tasks did you check off your list? Any painting projects?

