The other night I had one of those “whoa” moments. It’s the end…I repeat…the end of October. What happened?! Where did the month go?! Or more importantly…why haven’t I decorated for Halloween yet?! I’m wasting precious Halloween decor time here since there’s only a discreet window of opportunity for Halloween decor. I hadn’t even crafted a single spooky decoration yet. What gives?! It’s like I don’t even know who I am anymore! So I sat my butt right down and made some bats for our belfry.
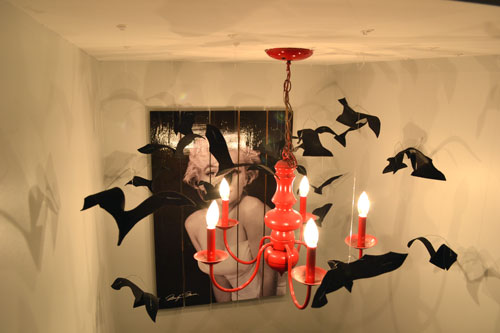
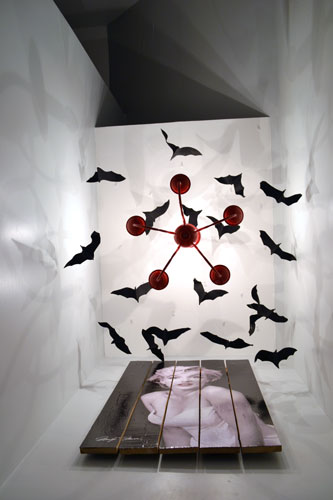
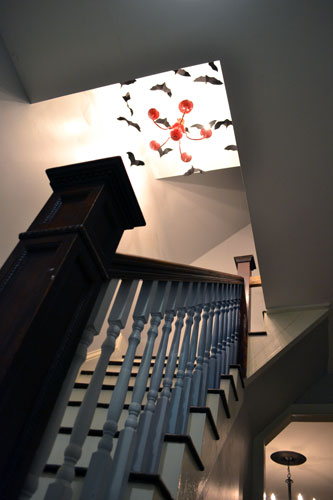
And by Belfry I mean our staircase. Our current house doesn’t have a belfry, although sometimes I wish we did. Wouldn’t that be cool?! It’s officially on the shopping list when it comes time to trade in our small starter home for the big ol’ dream country home. Anyway….the bats. Here’s the view of the bats in the staircase from above:
And one from below which is a tres cool view. Apparently these are French bats.
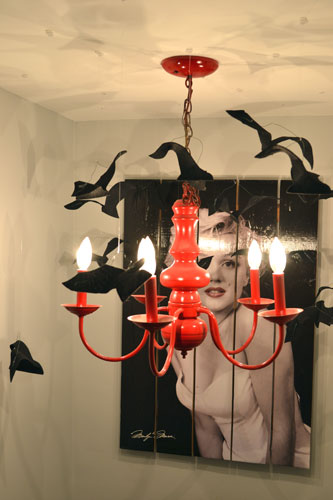
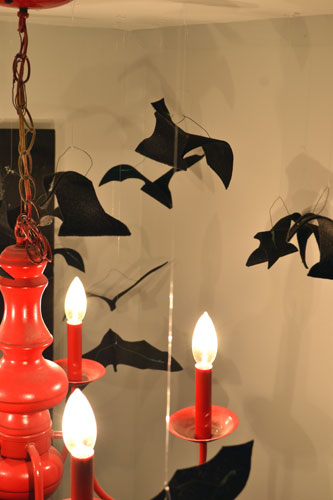
And you can even catch of glimpse of the bats lurking around the staircase chandelier as you walk down the hall from the dining room:
Okay…just one more view of the bats from below and then I can get into the “how to” portion of tonight’s program.
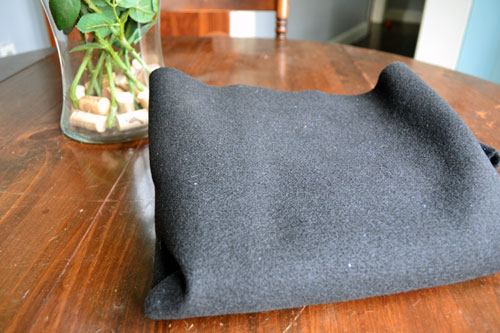
Okay, enough bat eye candy for now. Here’s the “how did she do that?!”. It all start with felt. A full yard of black felt that I purchased from the local Walmart for a whopping $3.27.
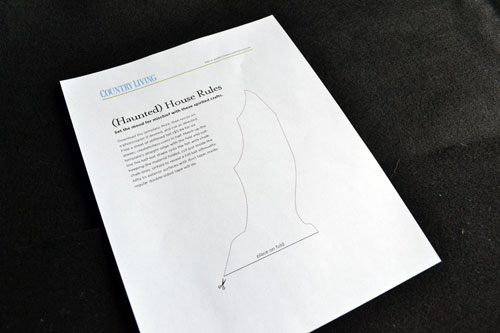
Then, armed with a bat wing template that I downloaded from Country Living, I began making the felt bat wings.
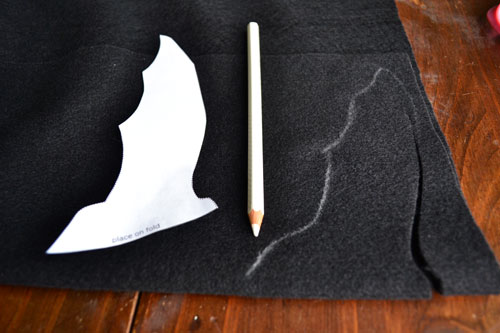
I found the best way to tackle the bat wing cutting was to fold over the felt, lie the template along the fold, trace it with a fabric pencil and then cut out the wings. Another word to the wise…print the template out on card stock. It will make your bat wing tracing life so much easier.
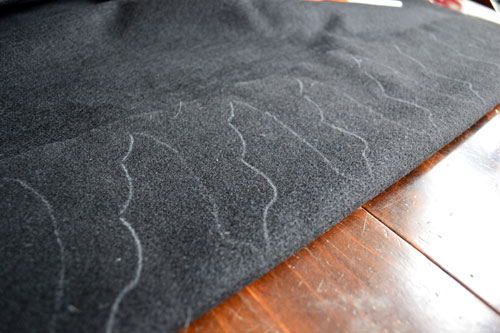
The fabric pencil was a dream since it was white and easily showed up on the black fabric. And during the cutting process, the white lines started to fade to black. By the time we got to hanging the bats, you couldn’t even see the lines anymore.
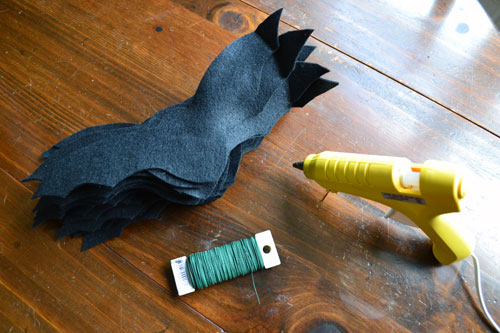
After tracing and cutting forty bats, I started scheming up ways to make the bats look like they were flying. After a failed attempt of tying wings together with fishing line, I settled on a hot glue and floral wire combo. Any excuse to whip out the glue gun for this crafting queen.
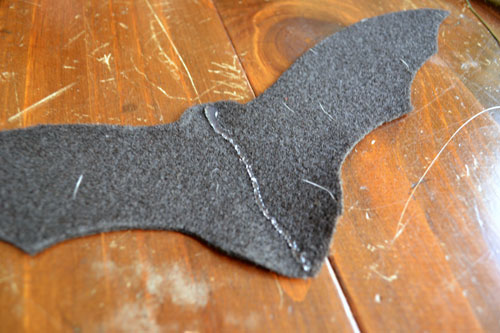
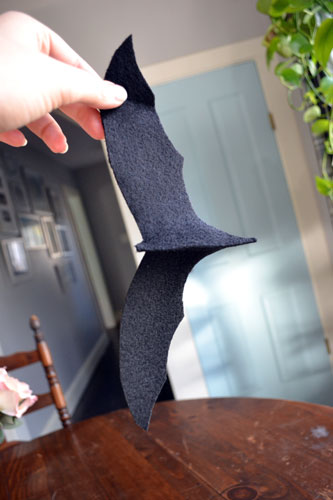
First, I stiffened up the body of the bats by laying down a thin bead of glue down the middle of the body and then folding it over until the glue dried.
Once the glue stiffened up, so did the bat body. Thus, instead of laying flat and floppy like, the body had some depth to it.
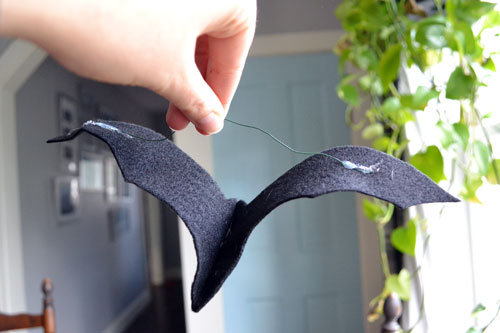
Then I had to make the bats fly…enter floral wire. I cut a piece of wire so it was slightly shorter than the wing span of the bats. Then simply glued the wire to the back side of each wing. Once the glue was dry, the wire could be easily bent until I got the wings into a position that looked like flying. Ta da!
Once all bats had their wing support systems in place, I turned to a couple packages of 3M Command hooks (those hooks that can be adhered to a wall and removed without peeling off the wall color). These hooks, combined with some fishing line, were instrumental in the bat hanging process.
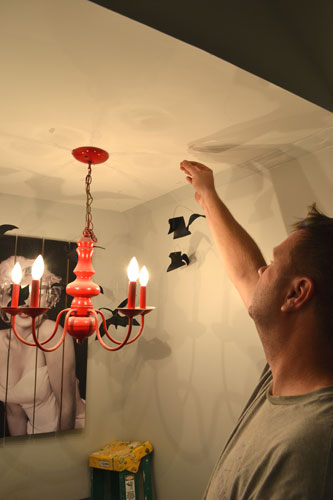
Colby and I tagged team this part of the bat hanging process. I tied fishing line to the bats and Colby (armed with his giant wingspan) adhered the 3M hooks to the ceiling and hung the bats. He did end up needing a ladder to hang the bats from the deeper area of the light alcove.
When it came down to deciding how long to cut the string, or where to hang the bats we totally winged it. Har har har….bad pun police, bad pun police! But it was the truth. We just kind of eyeballed the bat situation and tried to fill in areas, vertically and horizontally, that had gaps, until we had a gaggle of geese bats.
Thankfully we can barely see the fishing line, wire and hooks. The hanging materials blend into the background really well making the bats appear to be flying around the light fixture.
We even “kind of” dusted for you all. I’m pretty sure that this was the first time we had ever dusted the light fixture since spray painting it way back here, over a year ago. After finishing hanging about twenty bats we deemed the alcove “full”. So next year, I may relocate my bats to a larger area of the house and use all forty of them. Perhaps the porch?! Perhaps!
Pssst…What have you been up to for Halloween hi-jinks this season? Crafting any decor yet? Or have you at least carved your pumpkins?! We still need to do that too. Halloween procrastinators unite!





That looks so cool, love the colors of the bats against the blue wall and chandelier! I bought black art paper in September to do spooky window silhouettes and it’s still in the package on my TV stand. Maybe next year? lol
Thanks Kelly! And there is still ONE MORE WEEK UNTIL HALLOWEEN! Make the silhouettes! You have time! Angie’s orders! Haha! That project sounds super cute!