Beaming is what my face should have been doing after installing the faux beams in the Etsy office. But instead, it was doing the anti-beaming frown because it turned out more like this:
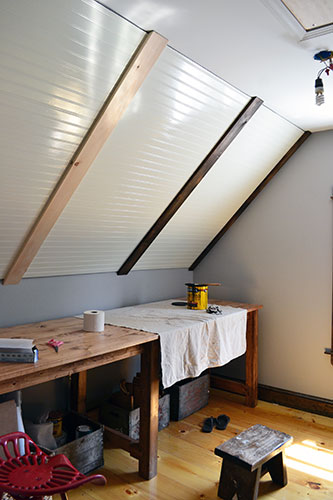
I like the beams, they’re great, and they do a fantabulous job of covering up those icky seams between the beadboard panels we installed over the weekend. I just don’t like the stain. But we’ll get to that in a little bit. Let’s accentuate the positive, shall we? And isn’t that a Disney song? Marry Poppins perhaps? No…I got it…Pinocchio. I believe one Mr. Jiminy Cricket sang it. Who’s down with oh Disney?! Yeah, you know me!
Anyway, let’s get down to the nitty gritty and get into the how-we-did-its and then we can talk more about the staining debacle. Seriously…I’m having a palm-face moment! To beam the office, we started off with 5-1/2″ boards we picked up at a local lumber yard. After measuring a little here and there, we took the faux beams down to the basement to make a few miter cuts since we’re dealing with an angled ceiling situation.
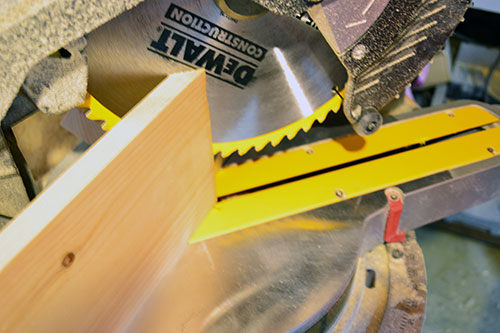
And before we went any further, we gave the beams a little test run to see how they fit and looked. Too wide. The 5-1/2″ wide boards seemed like a good idea at that time, but once we brought them into the teeny-tiny room, they dominated the ceiling. The scale just wasn’t right.
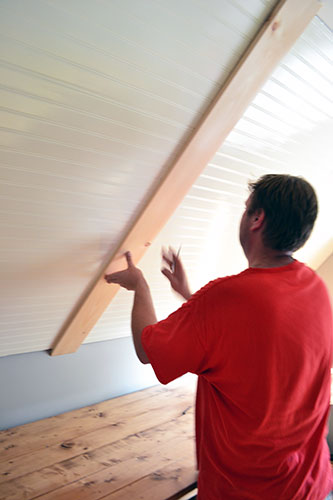
So back down to the basement we went to cut off about an inch of the board, bringing the total width down to 4-1/2″. We also had some gaps where the beadboard met the wall and instead of going the full beam route to hide the gaps, we decided to split the 5-1/2″ board in half to make it look like each end beam was half in the wall and half out.
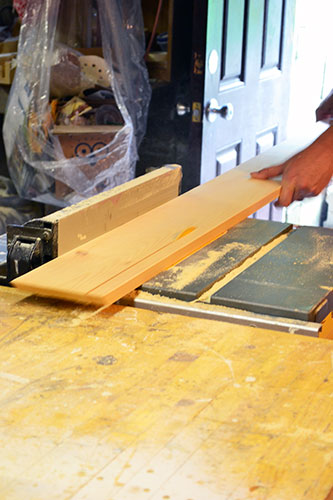
The final workshop step was giving each board a nice little buff job. We didn’t want the faux beams to look too new and nothing says new like perfectly square corners on our faux beams. So I spent a little time with the orbital sander roughing up the edges of our beams.
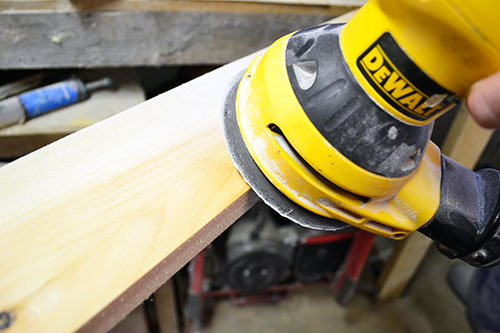
Seriously Dewalt, send me some advertising dollars! Can I get an Amen?! You just don’t get better work-in-progress, branded, action shots from just anyone?! And I wasn’t even trying! #imanatural
With the beams cut up and roughed up, we took them back up to the Etsy office space for installation time.
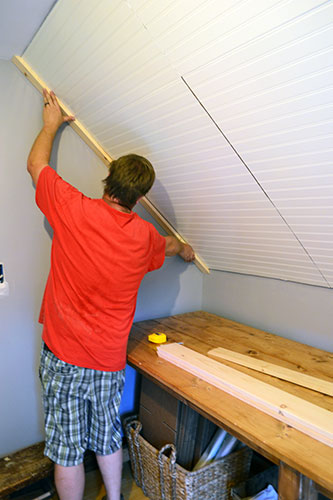
Which pretty much went the same way as installing the bead board. Just caulk them up:
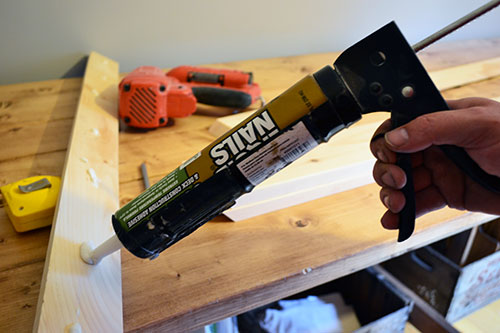
And nail them in, trying your best to always nail into a stud. We have a decent amount of strapping going on in this ceiling area so it was pretty easy to find some good wood to nail into (now that’s a “that’s what he/she said” moment if there ever was one).
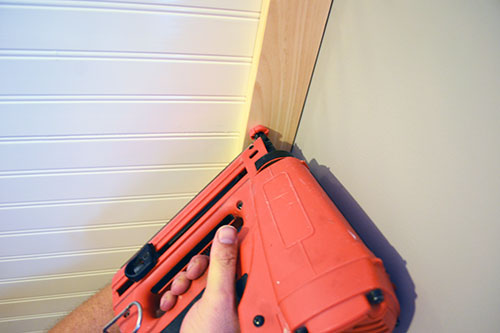
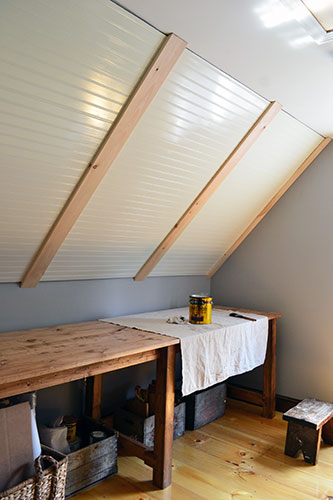
After installing the four beams (two 4-1/2″ beams in the middle and two (2-3/4″ beams on either side), the Etsy office space was lookin’ a little somthin’ like this:
Now this is the part where I should have taken a few moments to evaluate the finishing situation. But I didn’t. I just jumped right in and started staining the beams without really thinking.

There’s already so much wood going on in this room (the flooring, window trim, door, door trim, ginormous desk) and adding another area of dark stained trim really did seam like a good idea…at the time. But staining those beams helped close the ceiling down further on the desk, visually speaking not actually. I swear, being in the room after staining the beams a dark walnut color made me feel like the ceiling was another two feet lower. Doh! So now I’m thinking that white would probably have been a better option. In white, the beams would add architectural interest to the space without overpowering the ceiling.
So now I’m playing the waiting game for the stain to fully dry and then we’ll see about priming and painting. This should be fun, priming over a super, uber dark stain. And a fresh stain too. But our next step in the room, now that we’re going the “paint it white” route, is installing the trim pieces at the top and bottom of the beadboard and then painting everything glossy white. Here’s hoping I can knock that AND my inspired design challenge project out this weekend.
Pssst…Shameless plug coming! Learn more about the Inspired Design Challenge in this post from earlier this week. And for those of you playing along, have you picked your project inspiration yet?


Just a few things…wow! that’s coming along…and seriously, I am coveting all your tools!! I just sanded the front and back of a door by hand…I think I need to invest in a power sander…I have a whole hallway left to do! xo Kristin
Girl….go buy an orbital sander and some sanding discs stat! Angie’s orders! They will change your life, I swear. And a sander is not terribly expensive. Just do it already!
I think this would look great if you would have gotten wood beadboArd and not the panel board material if you see how it has a glossy finish to it against the wood trim beams. Also try not contrasting the two I would stain the wood beadboArd the same color as the beams and make it blend. Regardless, nice job so far I like the idea.