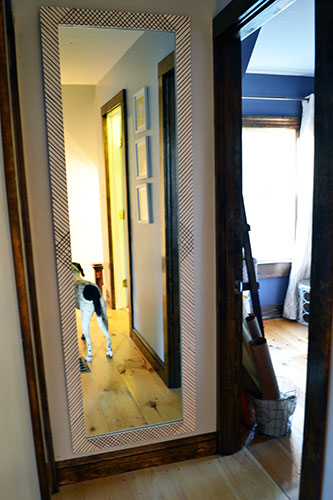
Happy first day of the Inspired Design Challenge everyone! Are you celebrating? Jumping for joy? Eating cake as one should to commemorate such a fine event? As for me…I’m resting my tired (almost 30 year old) bones because let me tell you, after completing this project in 90 degree weather and suffering a minor albeit stubborn, eye injury, I’m ready for a nap. And FYI, my eye is fine now. Note to self…when routing wood with a Dremel A) wear safety glasses and B) don’t put your face close to the flying sawdust. Anyway….want to see what we made?! Bam! New, full length mirror frame for the upstairs hallway.
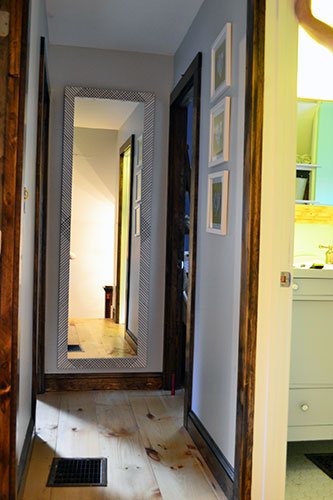
I know it’s hard to see, but it was late, getting dark, and we still have yet to install the light fixture in the hallway. It’s only been a three-years-in-the-making kind of project. I’ve also had a full length mirror project on my to-do list for about three years. You know, since climbing on top of your bed to check out your butt in the mirror gets old after awhile.
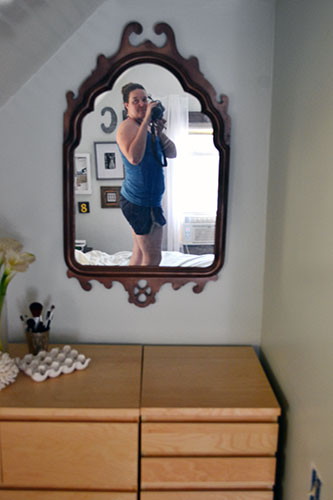
Yes, I do in fact climb on top of our bed in the mornings to check out my outfit before going to work. Even when Colby’s still asleep. Poor man. Why did he marry me again?! Oh right…that charming personality of mine…sucker!
Thanks to a trio of tiny bedrooms in our home, wall space and full length mirror space is at a premium. But we had a nice little spot at the end of the second floor hallway begging for a mirror. That spot also meant the full length mirror could be shared among all the room’s inhabitants.
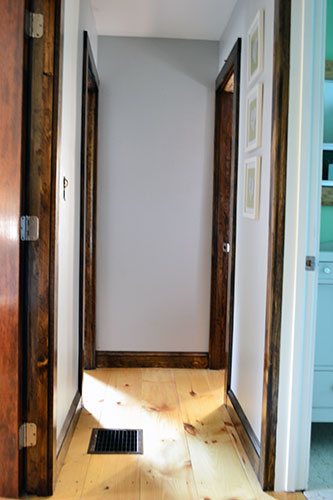
We already had the mirror. It came with the house but it was unceremoniously framed. I wasn’t going to settle for just any old mirror frame. It needed some pizazz. So when I was charged with a Target inspired project, I swooned over this Nate Berkus for Target frame and knew I wanted to do something similar for our mirror.
When I first saw the frame online I thought it was just a basic white frame with a painted gray design on it. Nope…that sucker was routed out. As in each of those lines is a little indented. Way to up the difficulty factor, Nate! For those of you who want to replicate this project, here’s your warning…routing is difficult/time consuming and you could probably get the same effect by painting the lines. Challenge accepted…we routed.
The project started with building a basic mirror frame out of pine. We bought a pair of 1″ x 6″ x 8′ boards and cut them half down to 3″ wide for the frame.
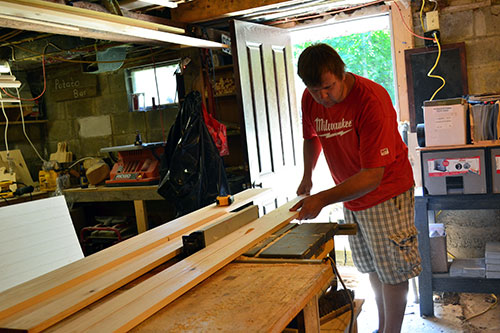
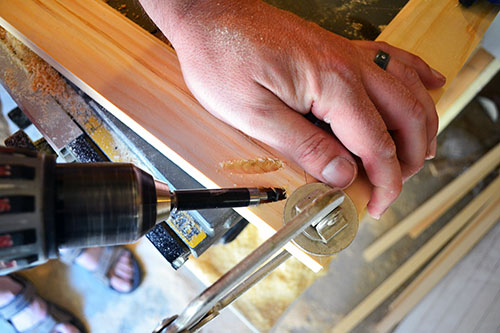
And similarly to the bathroom mirror frame project, Colby notched out the boards so the mirror would recess into the frame and screwed it all together using a Kregg jig.
Then outside I took the frame to prime and paint it a glossy white.
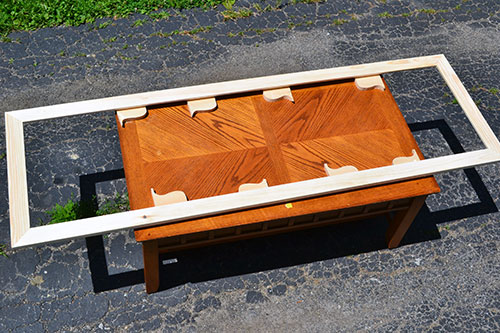
Spoiler alert…we did score ourselves a fancy new yard sale coffee table this weekend for $25. More on that later.
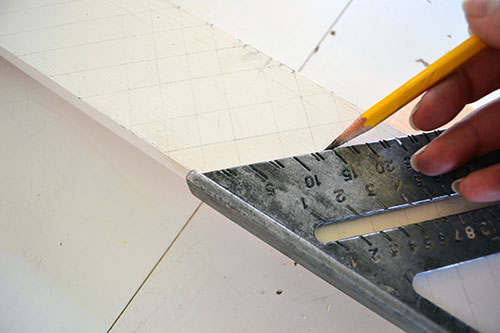
After we let the frame dry it was design time. We opted to draw out the whole design for the frame before making any cuts. You know…measure twice…cut once. We didn’t replicate Nate’s frame exactly, but kind of came up with our own little pattern. But since the edges were cut and assembled on 45 degrees, it made it easy to draw all the cut lines at 45 degrees using a square.
There were essentially two different patterns for the frame. The cross hatches which are on the top and bottom of the frame along with the middle part of the side pieces.
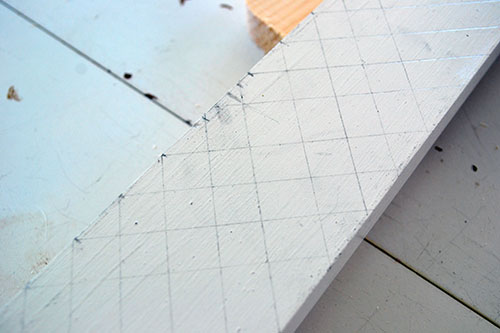
And the single lines, which fell above and below the cross hatches on the sides.
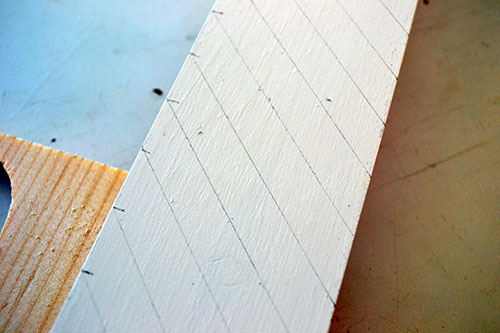
Each line is spaced about 3/4″ apart (plus or minus since we had to fudge a few to make it come out even). Next step…routing out or scoring the wood using a sheet rock bit and our Dremel.
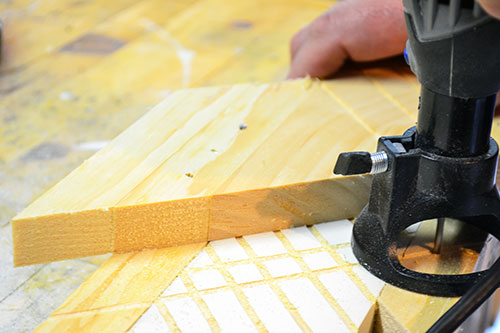
Dremels are so versatile. It’s our latest tool acquisition and we can’t believe we have waited so long to get one. The bit we chose to use for this project was one meant to cut sheet rock. So we expected the thing to break or wear out before we finished making all 300 plus cuts. But the bit was a champ and lasted the whole time.
The real savior for this step of the project was the jig that Colby made, which he just plopped on top of the frame, rested the Dremel guide against it, and routed away. I love jigs. I jig you not, it was THAT simple!
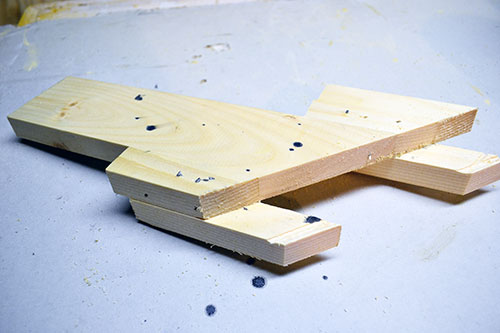
It took us about 30 minutes to make all the cuts, thanks to the speedy jig.
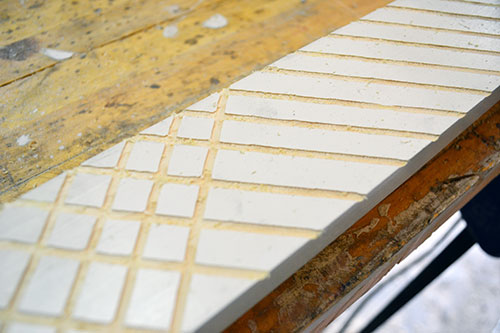
After some quick vacuuming, I whipped out some leftover, weathered gray stain from Minwax and stained all the freshly cut and exposed wood using a craft brush.
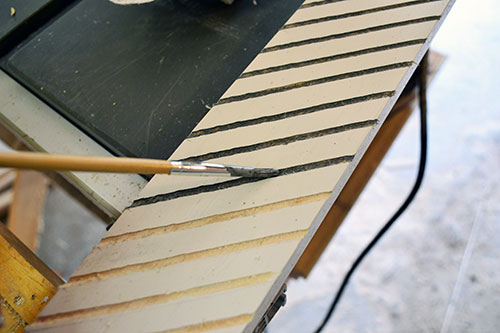
And then took the frame outside to give it a few coats of spray poly.

When you do poly, be sure to poly both the front AND the back of the frame if you didn’t already paint the back of the frame. Exposed, unfinished wood tends to swell and warp so you always want to finish your wood projects completely and as soon as possible, especially in humid temperatures.
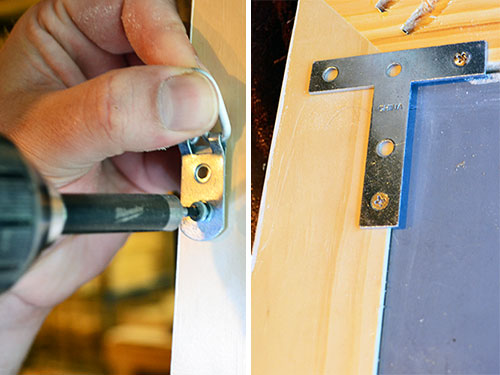
And using some random hardware kicking around the workshop, Colby added the mirror, secured it in the frame using some brackets, and added some hang hooks.
And now Goose can also check his butt out in the mirror. The family that checks their butts out in the mirror together, stays together.
The mirror is what Cher from Clueless would call a Monet…it looks great from afar, but it’s kind of a mess closeup.
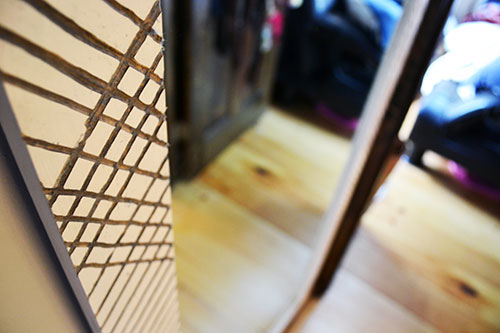
While we were making it, I thought for sure I wasn’t going to like the end result and was going to end up later scrapping it for a more plain jane frame. But now that it’s hung and can step back a bit from it, the frame can stay. Although, I should take some better pictures in some better light.

So now is the moment that I extend my hand to you and invite you, dear readers, to share your Target Inspired Design Challenge projects. Link them up in the comments or send me a pic to [email protected] and who knows….I may feature them later on. And also don’t forget about the other four lovely ladies co-hosting this little challenge:

They have all come up with some inspired design goodness. And because who doesn’t love a good little teaser, here is what they are all using as their inspiration:
It’s so funny…even though that I know which item belongs to which blogger, I could line up each of these items with the blogger blindly. Each item is SOOOOO them! So go check out their projects, slap them a lil’ sugar, and we’ll reconvene next Monday for a little Urban Outfitters inspiration.
Pssst…So what ya got?! Send me your projects!!!!


Very smart! Love it! I will be posting mine in the morning and linking back to all you lovely ladies 🙂 xo Kristin
Cannot wait to see it! I am stupidly excited about your project idea!
Love it and the clueless reference. Oh, children of the 90s! Great work!!
Yes! 90s children unite!
Wow. I cannot believe you routed all those lines and painted it by hand. Girl, that’s impressive. It looks so awesome in your hallway!
Thanks Lindsay! Honestly, it was pretty simple thanks to the right tool and making a jig. It probably took us 20 minutes to route out all the lines. It went really fast!
That turned out great! I love all the details and kudos to you for taking the challenge on to such a grand scale!
Haha…thanks Jennifer! And it really wasn’t tricky and it’s something we’ve been wanting to do for a LONG time! But in reality, I’m not so great at those decorator-ie things that you’re sooooooo good at. I just build stuff to overcompensate for my lack of accessorizing!
What a great idea! I can’t believe you guys made all those cuts. It looks killer.
Ooooh…thanks Elisa! And it really wasn’t terribly hard…would totally recommend doing this!
Woah, that’s really impressive, please don’t switch it for a plain Jane, or do and then send me this one!
Also I LOVE nineties references!!
Haha…no switching coming. The mirror is growing on me! But if I do decide to ditch it…I’m calling you! Can you imagine the shipping costs?! Eeek!
I LOVE cake and I LOVE your mirror frame!! Great work!!
Haha…thank you Sherry! Mmmmm…cake!