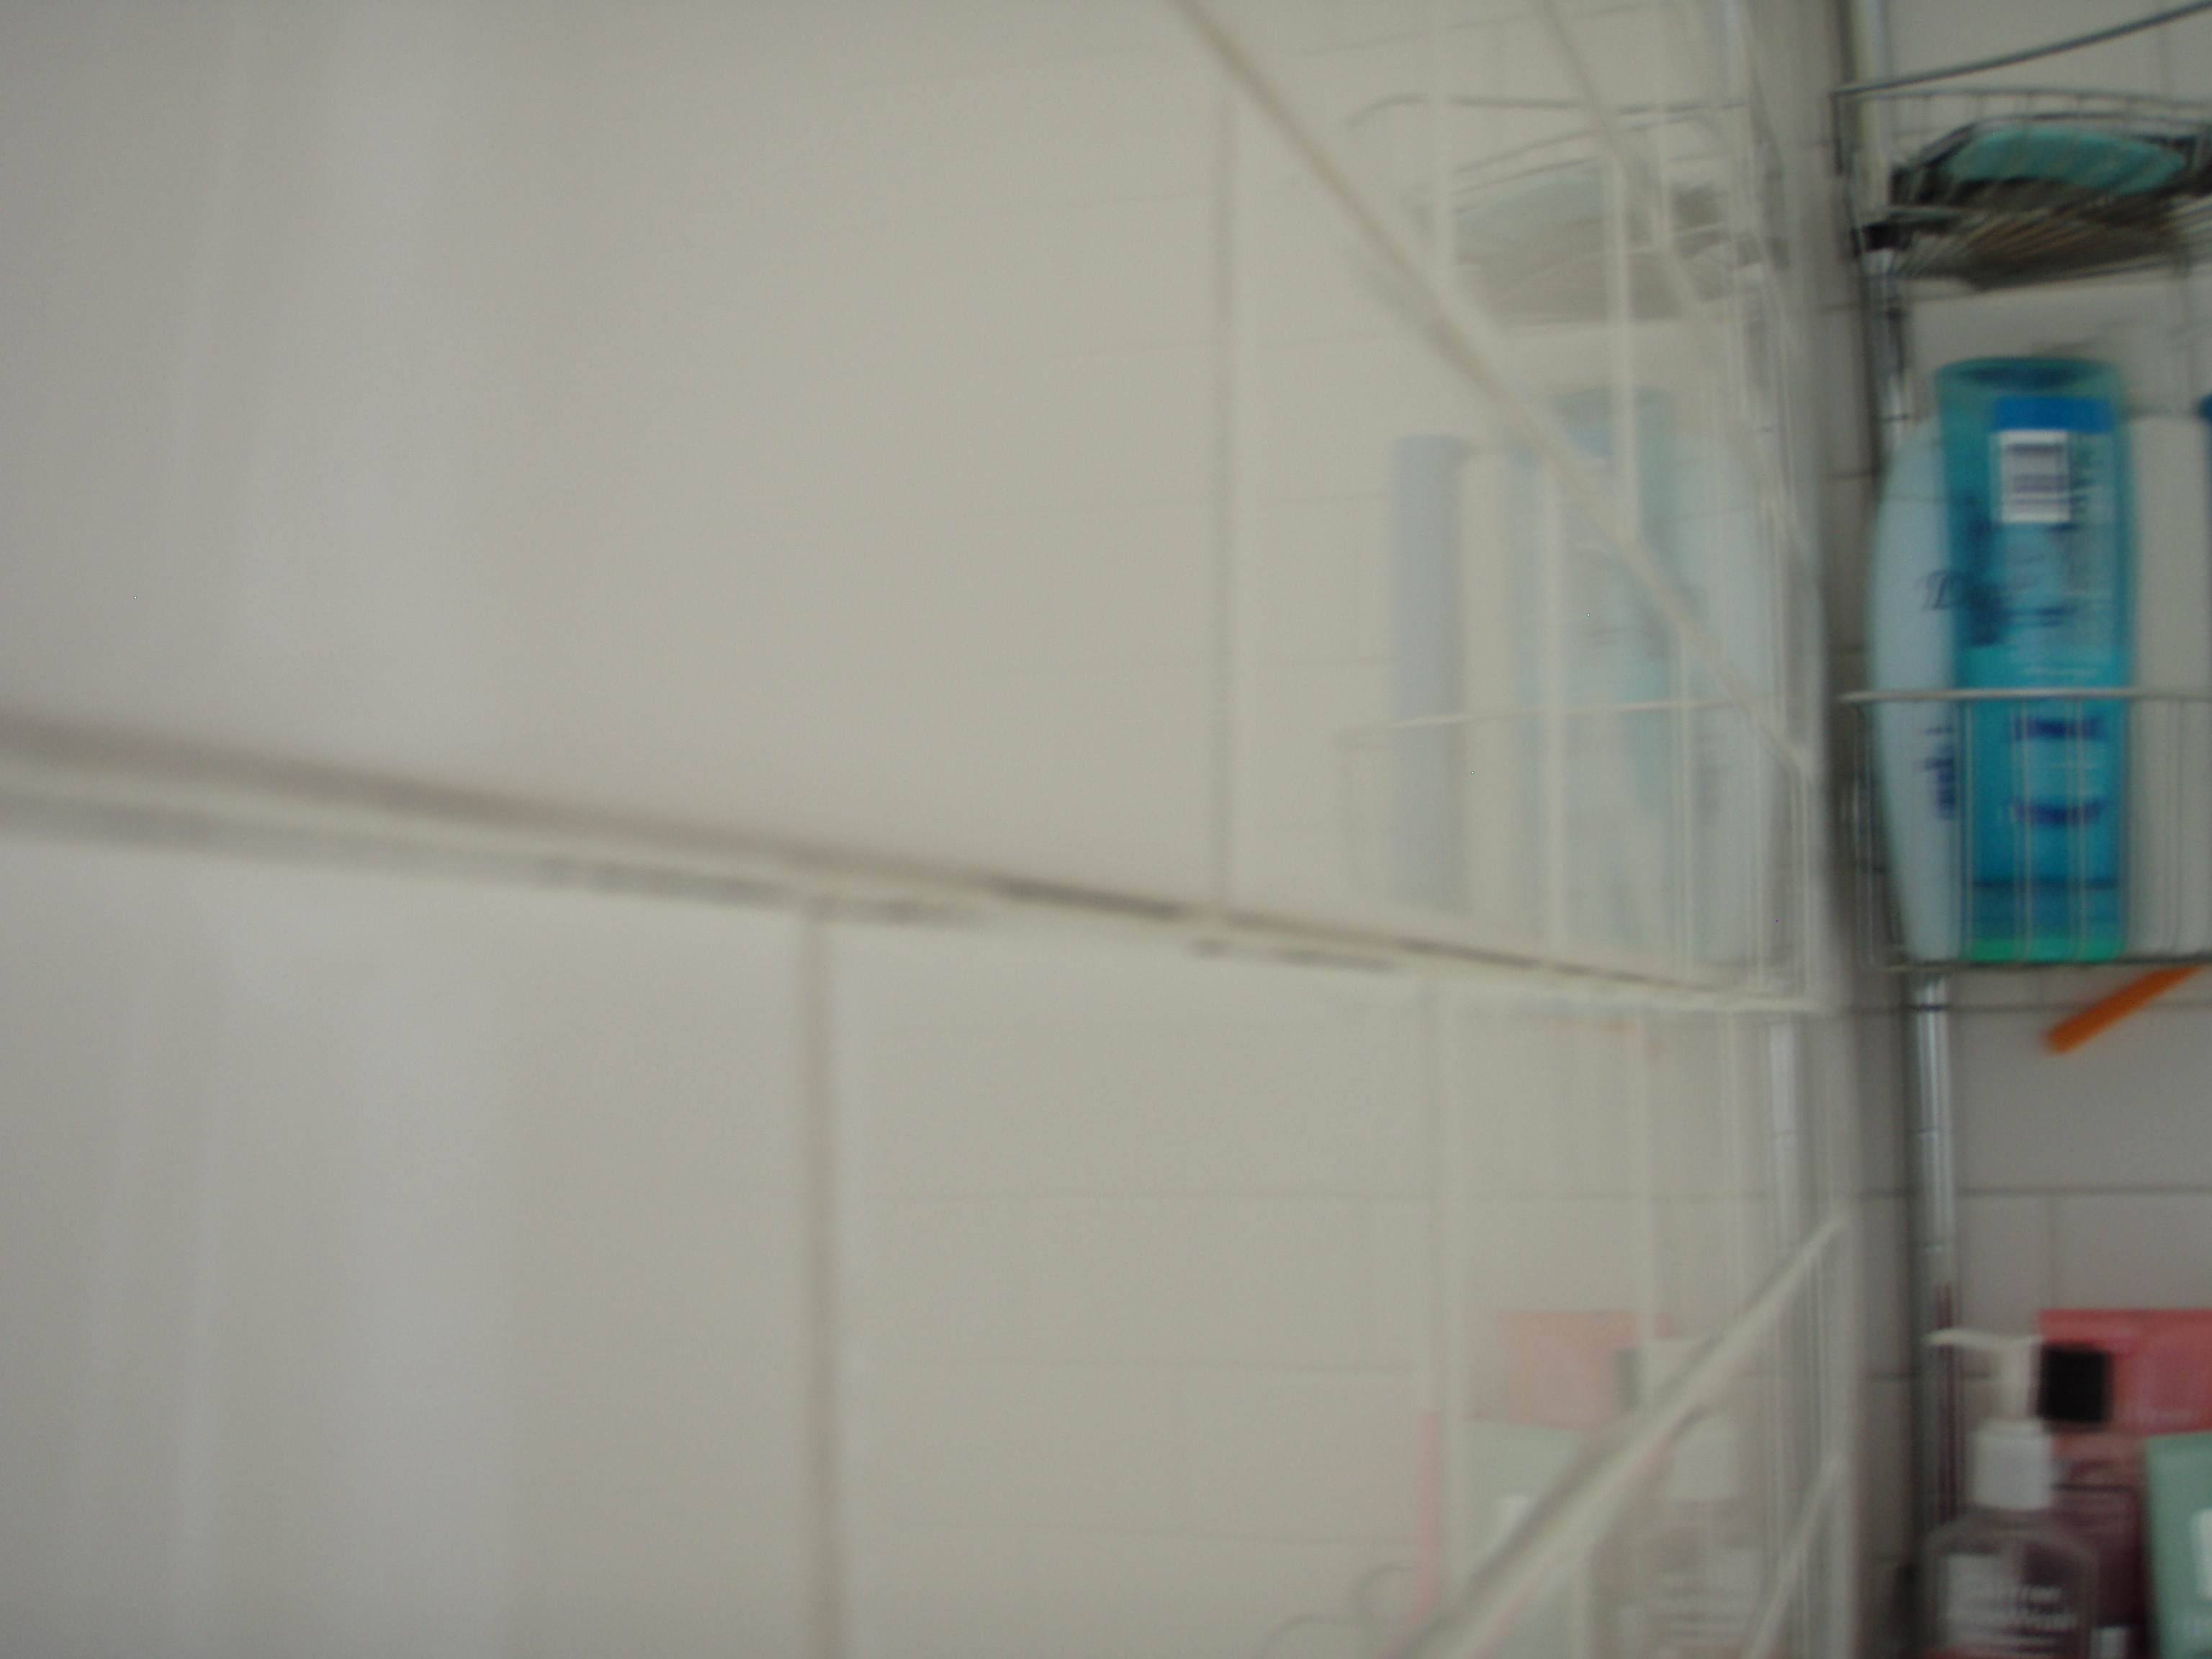
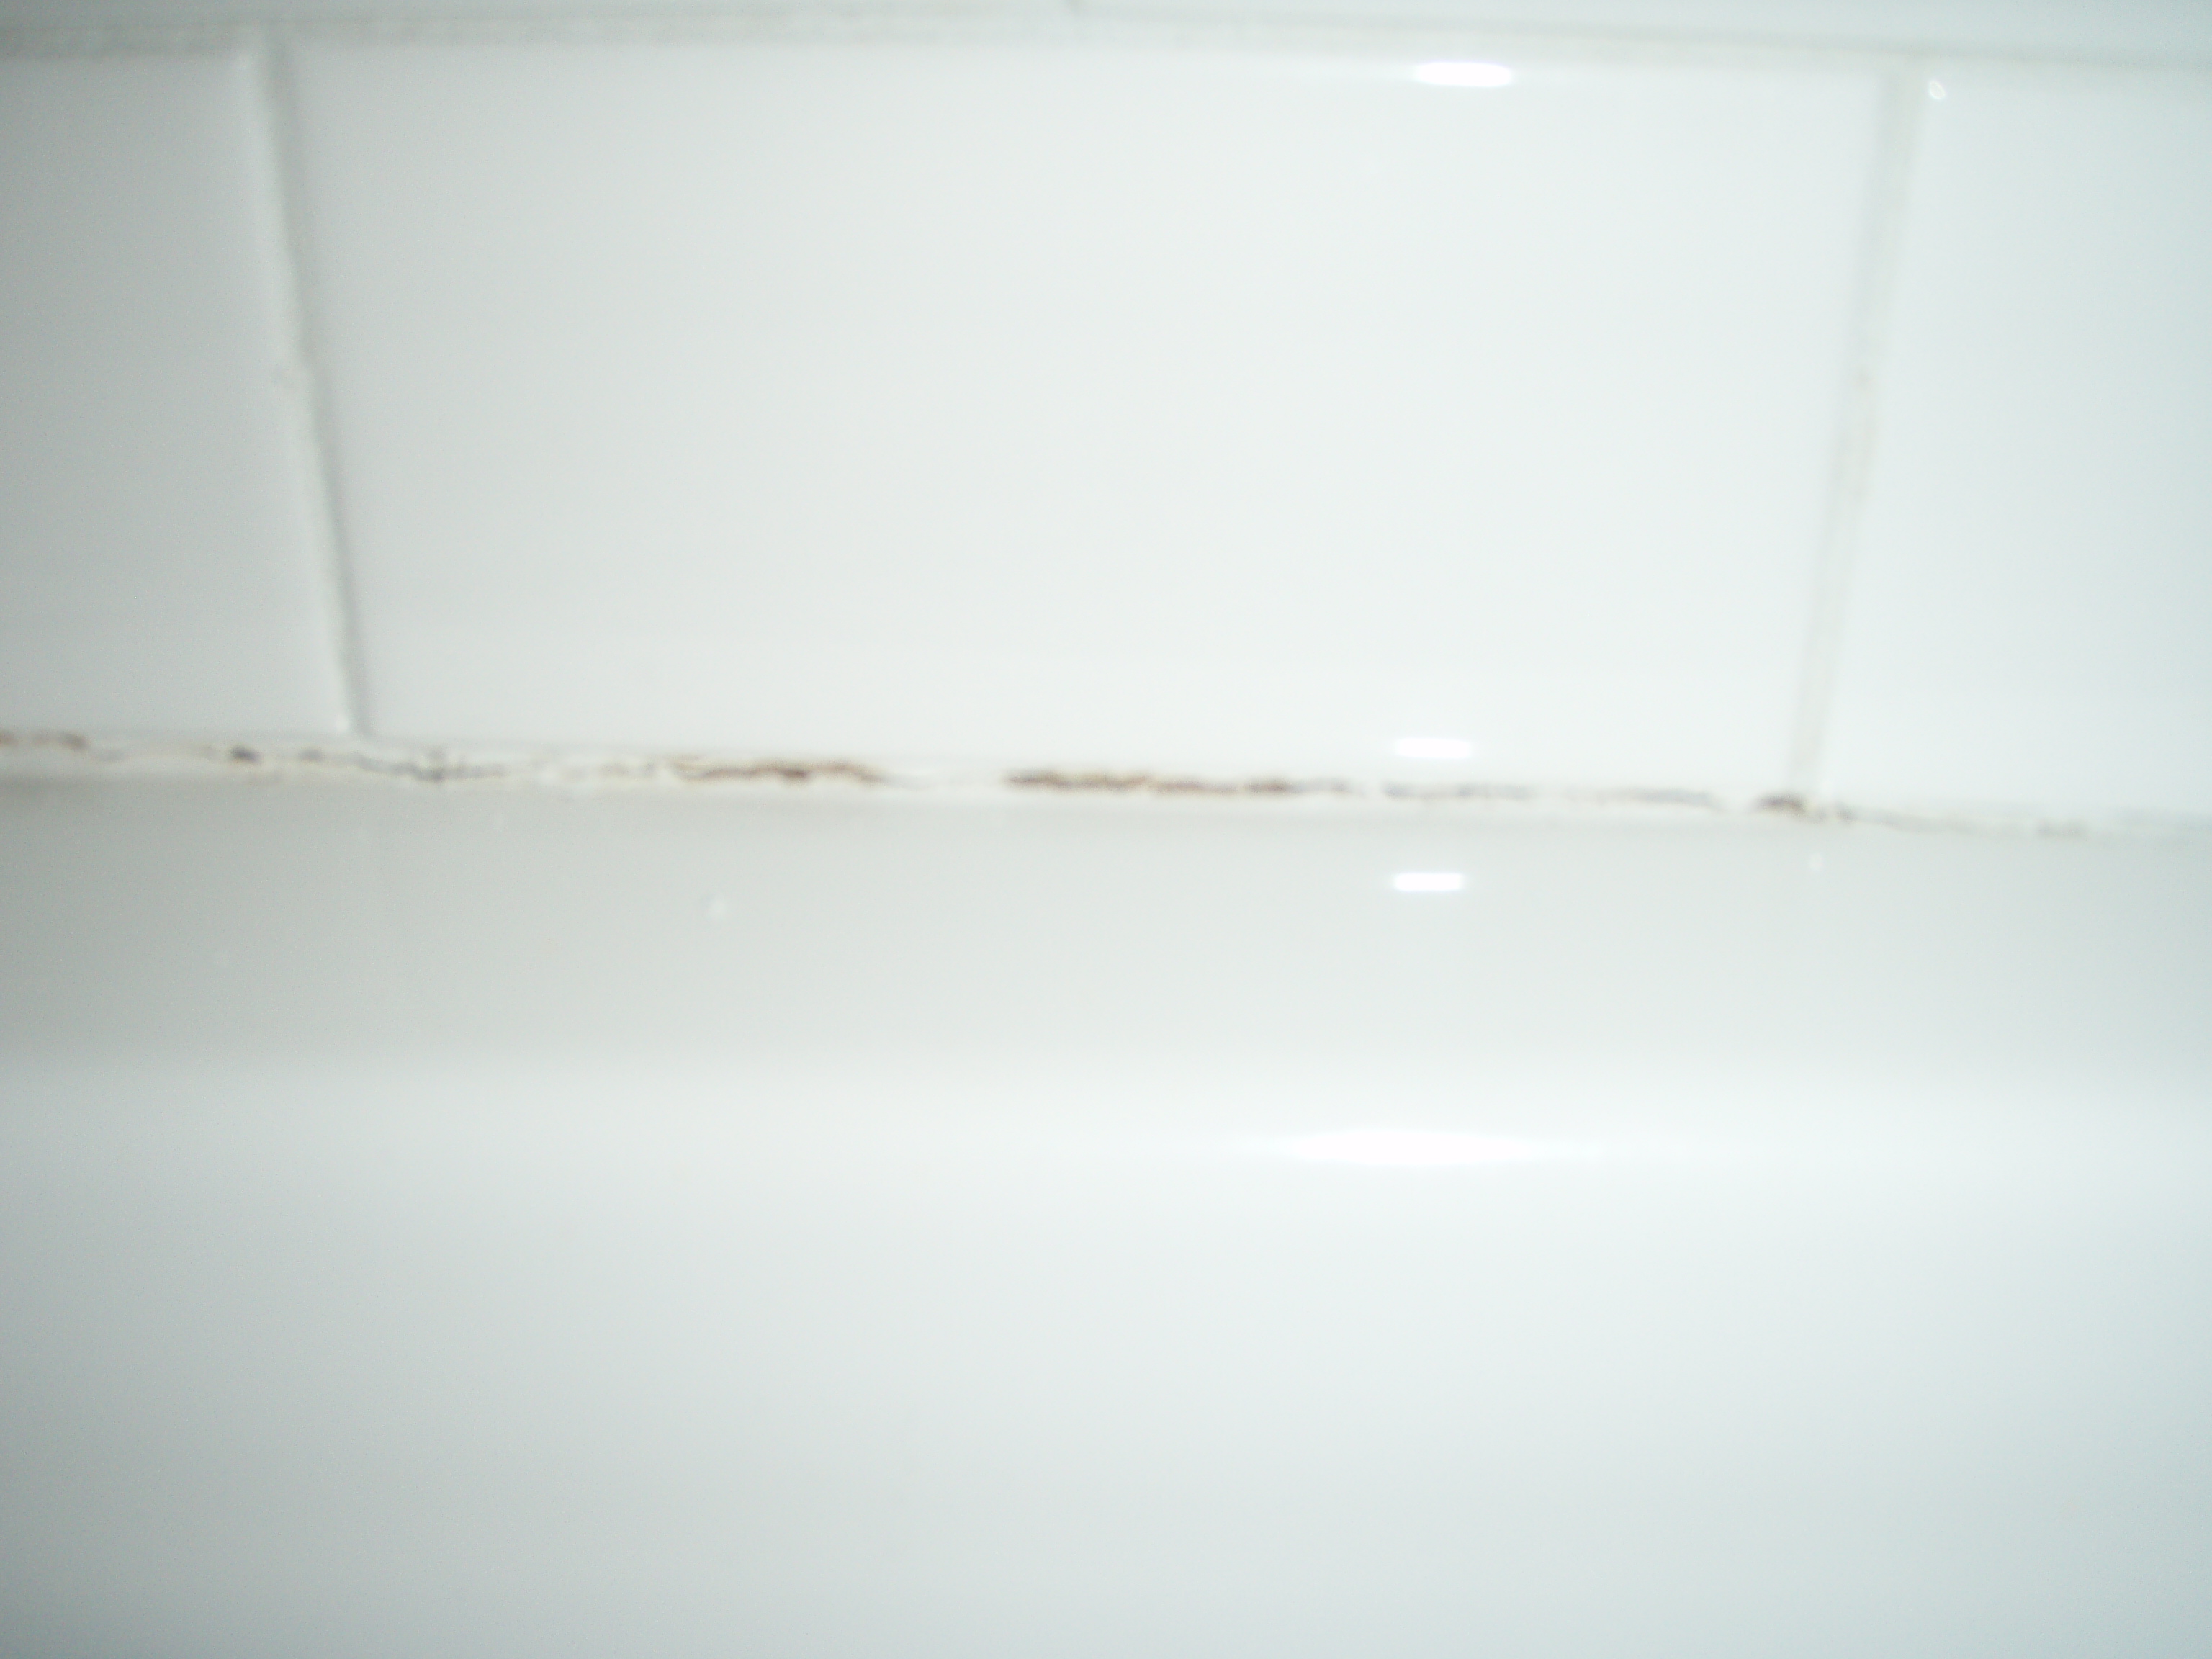
Truth. Crack is whack. Especially of the shower grout variety. It’s even more whack when you’re sitting on the toilet and an entire line of grout is cracked and at eye level and staring you down screaming “Fix me! Fix me!” So I fixed the grout. Here’s the evil little cracked grout line:
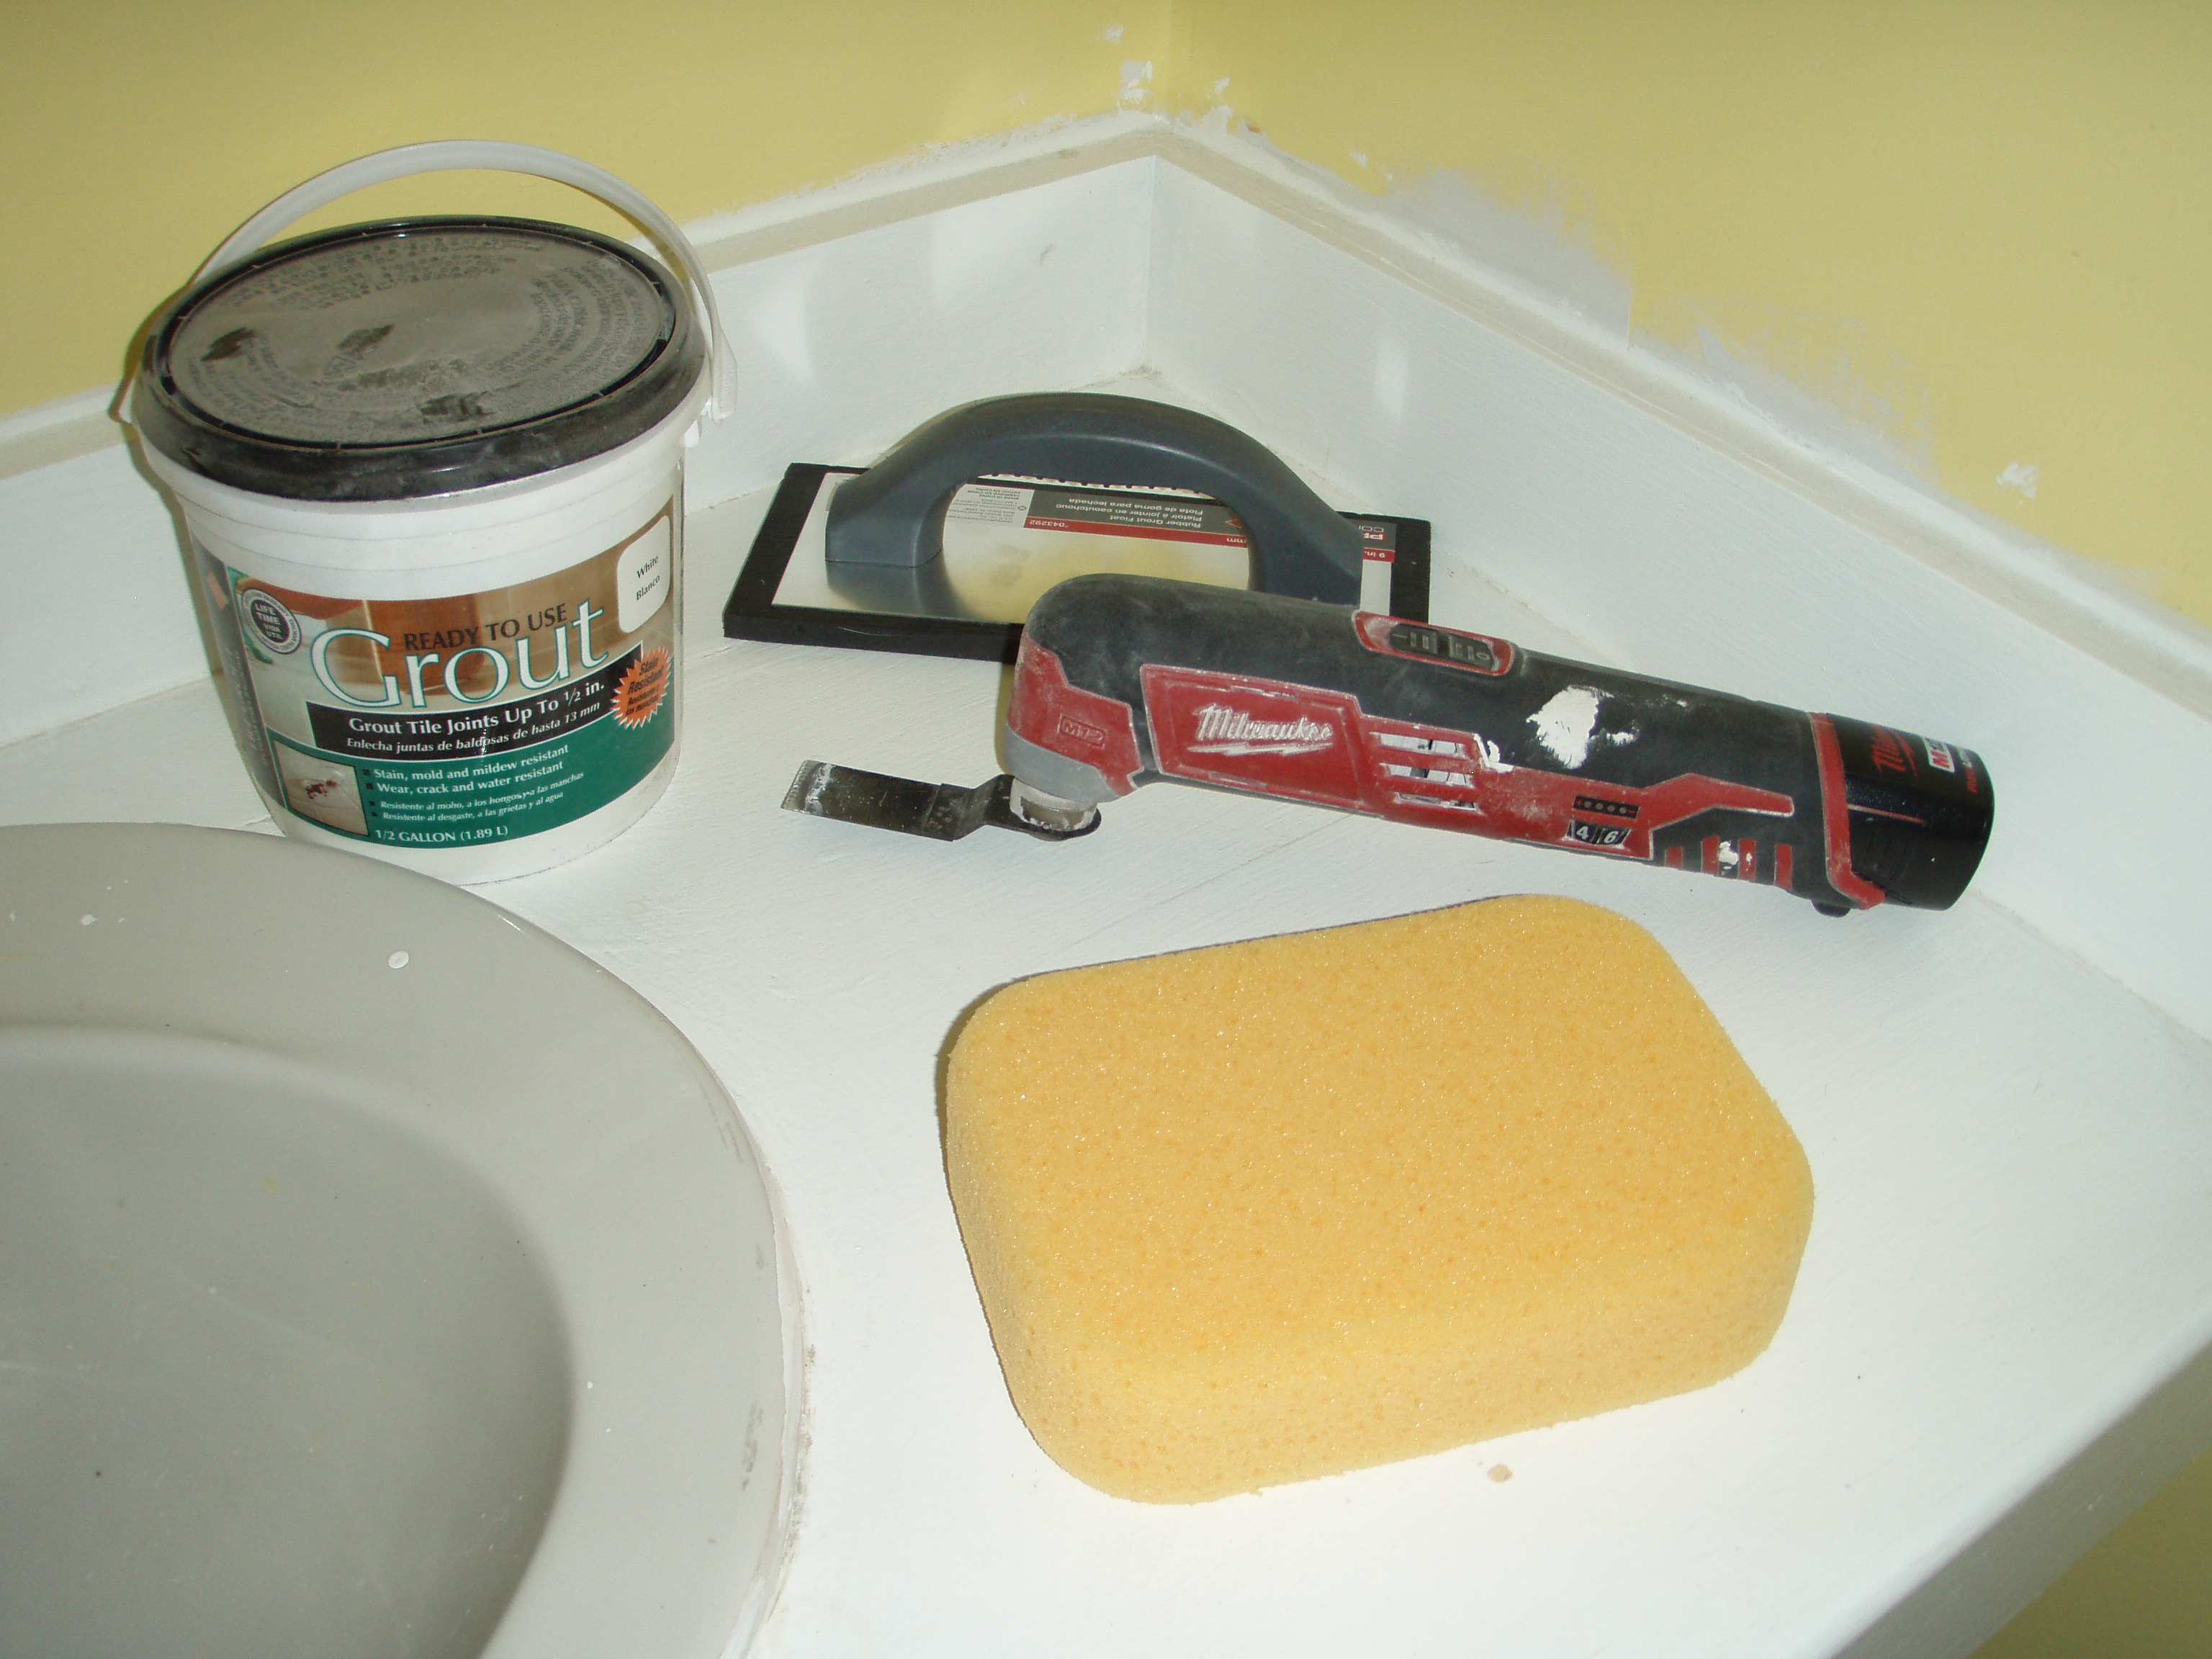
This was extremely difficult to photograph (glossy white tile + flash = frustration) so believe me when I say that this photo does not capture the nastiness of the cracked grout line. What happened, so I’ve been told, is that occasionally when you have tiles on a wall, they’ll settle a little bit and cause a grout line or two to crack. Ours sure did crack, right along one entire row. I’m also wondering if it has something to do with the dura rock seam that’s right behind that grout line. Who knows. Since I went away to my high school reunion this weekend (sheesh…where did ten years go?!) it was the perfect opportunity to fix the grout since we wouldn’t be needing the shower all weekend. I gathered my supplies:
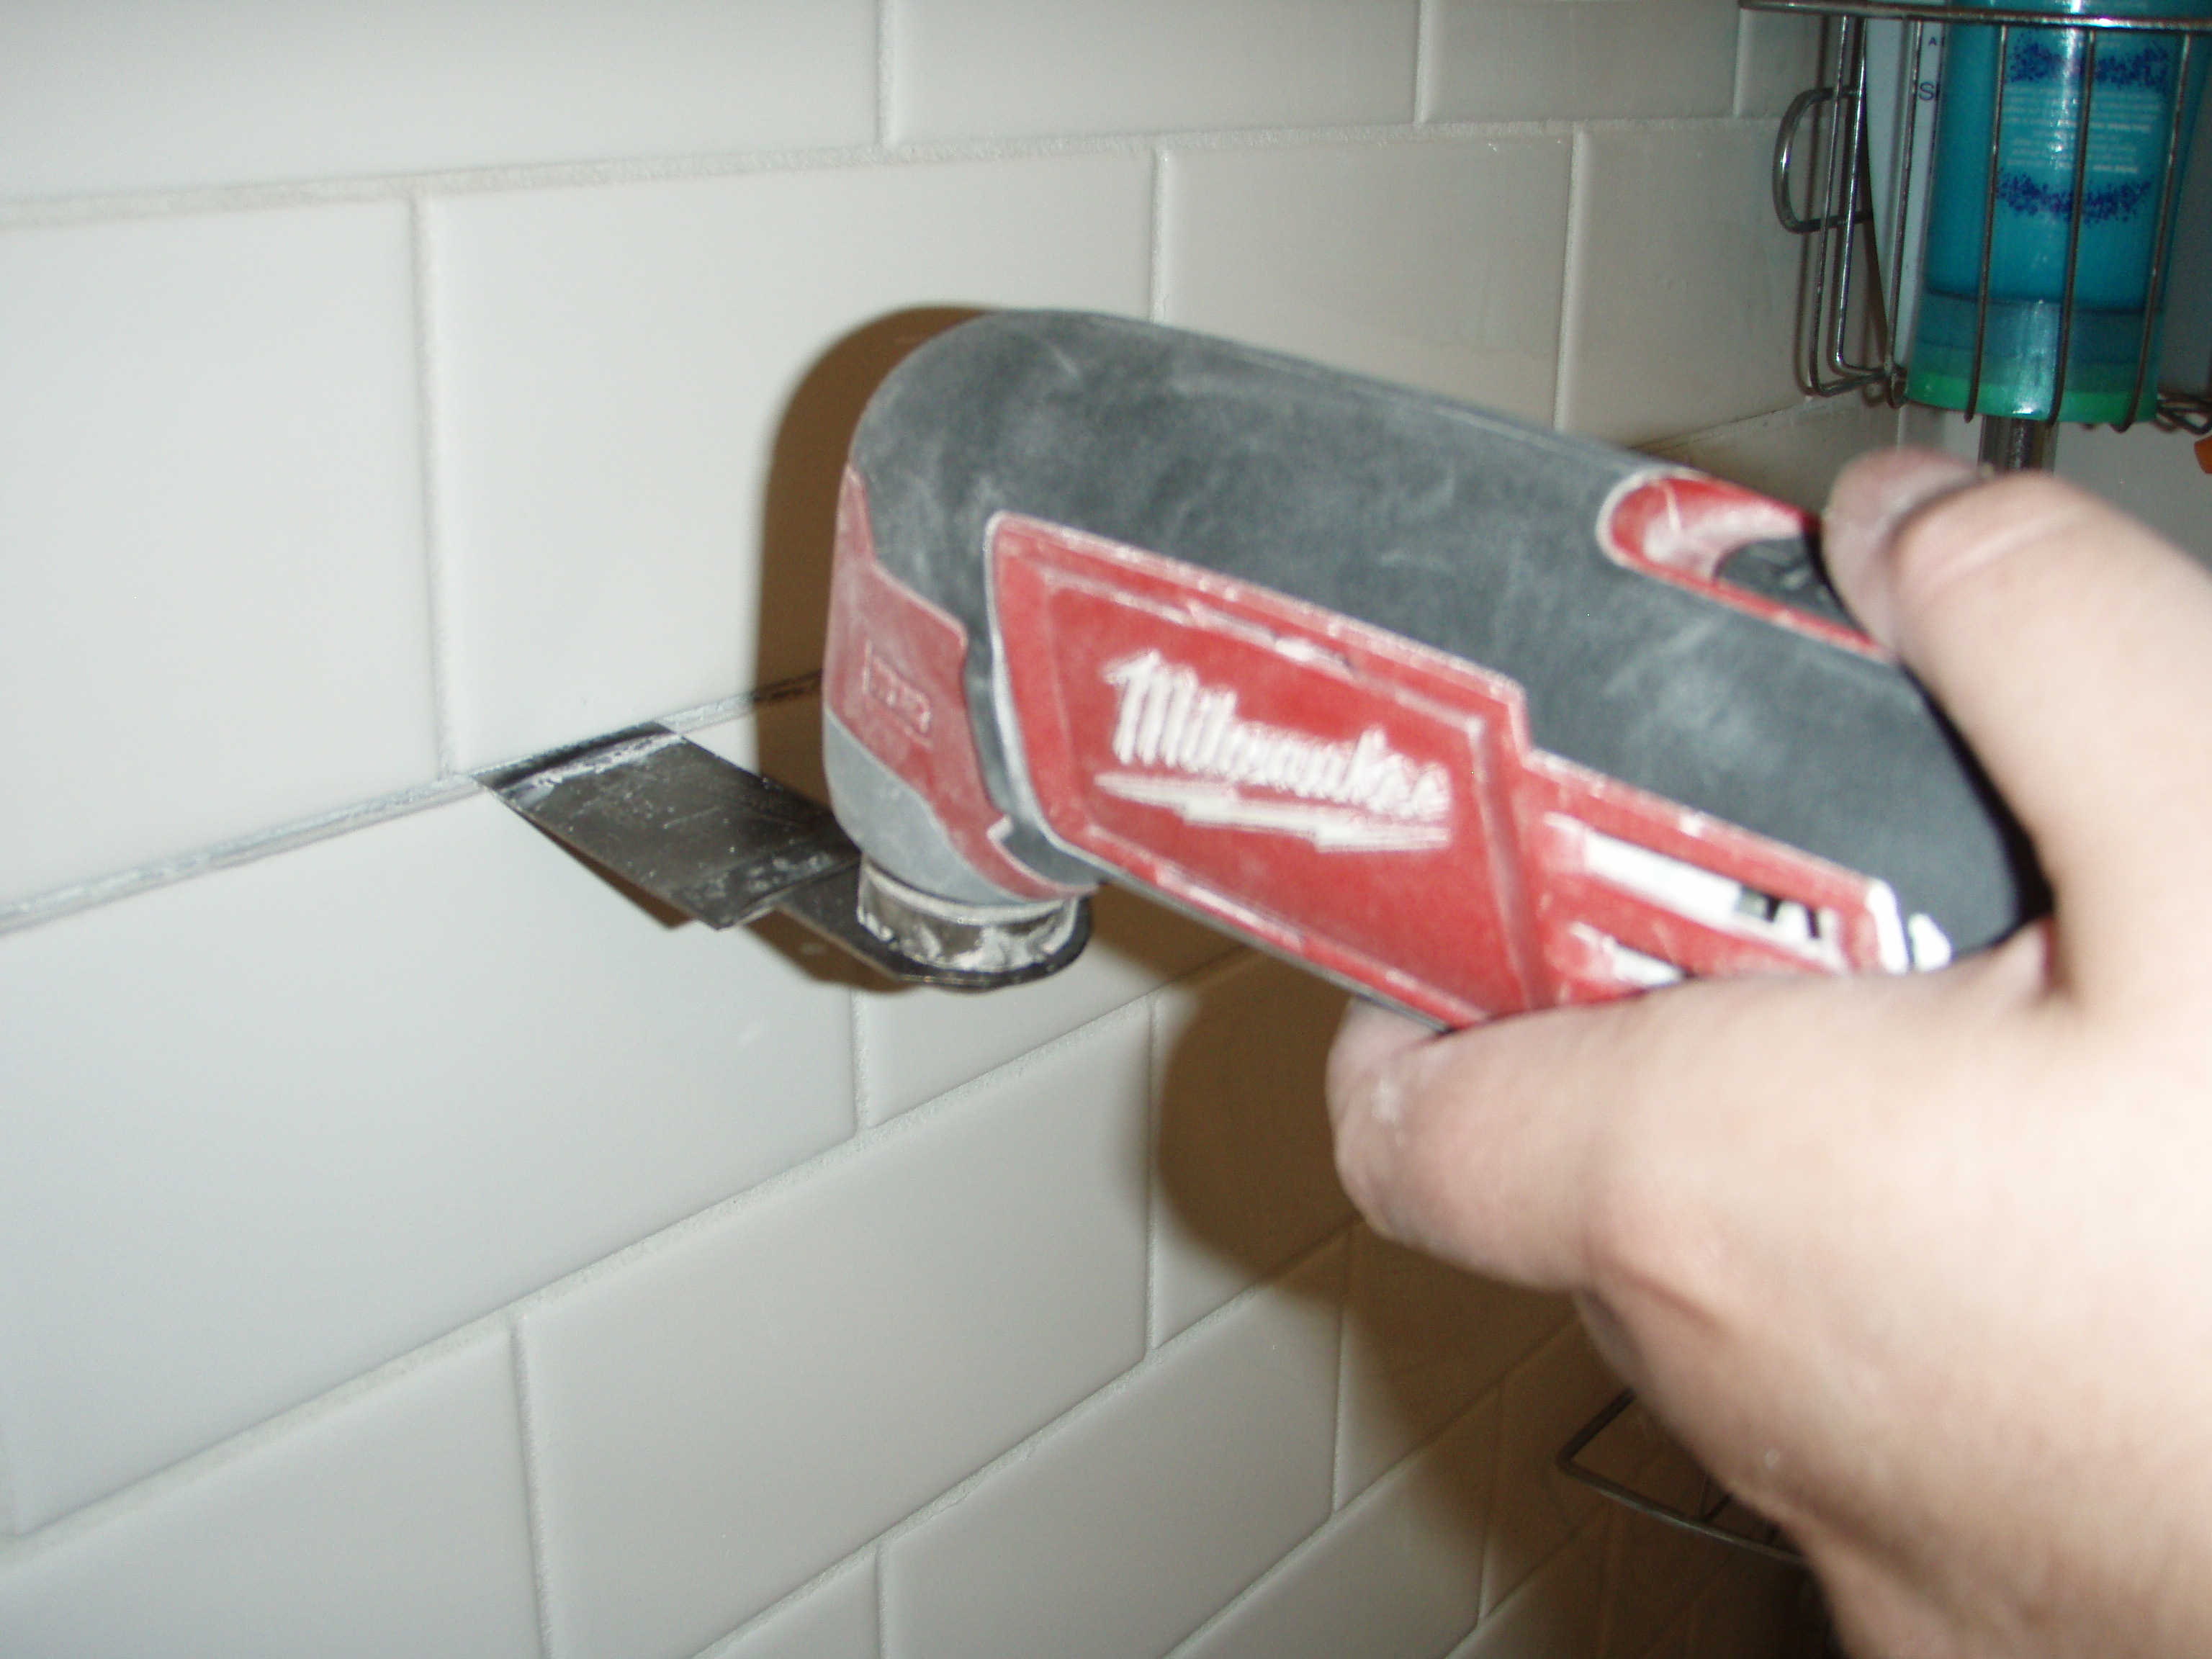
Which included a Milwaukee multi-tool, grout, float, sponge, buckets, and lots of paper towels for those uh-oh moments. Oh, and before I forget, I started this project with a REAL GOOD cleaning and drying. I went all Monica Geller from Friends on the tub and probably spent about 2 hours scrubbing down the shower walls and tub. I know, I know, it’s a little excessive but I LOVE to clean. I mean I REALLY love to clean. Mom, I know you’re thinking “where was this passion when you lived at home for the first 18 years of your life?” Guess it’s just a nasty little habit that I picked up in college. While most kids spend their college years experimenting with alcohol and drugs, mine were spent experimenting with Scrubbing Bubbles and Clorox Wipes. Mmmmm…Clorox Wipes how I love thee! But back to the grout project. After it was completely clean and dry I started to remove the cracked grout with Colby and I’s most favorite, versatile tool ever, the Milwaukee oscillating tool.
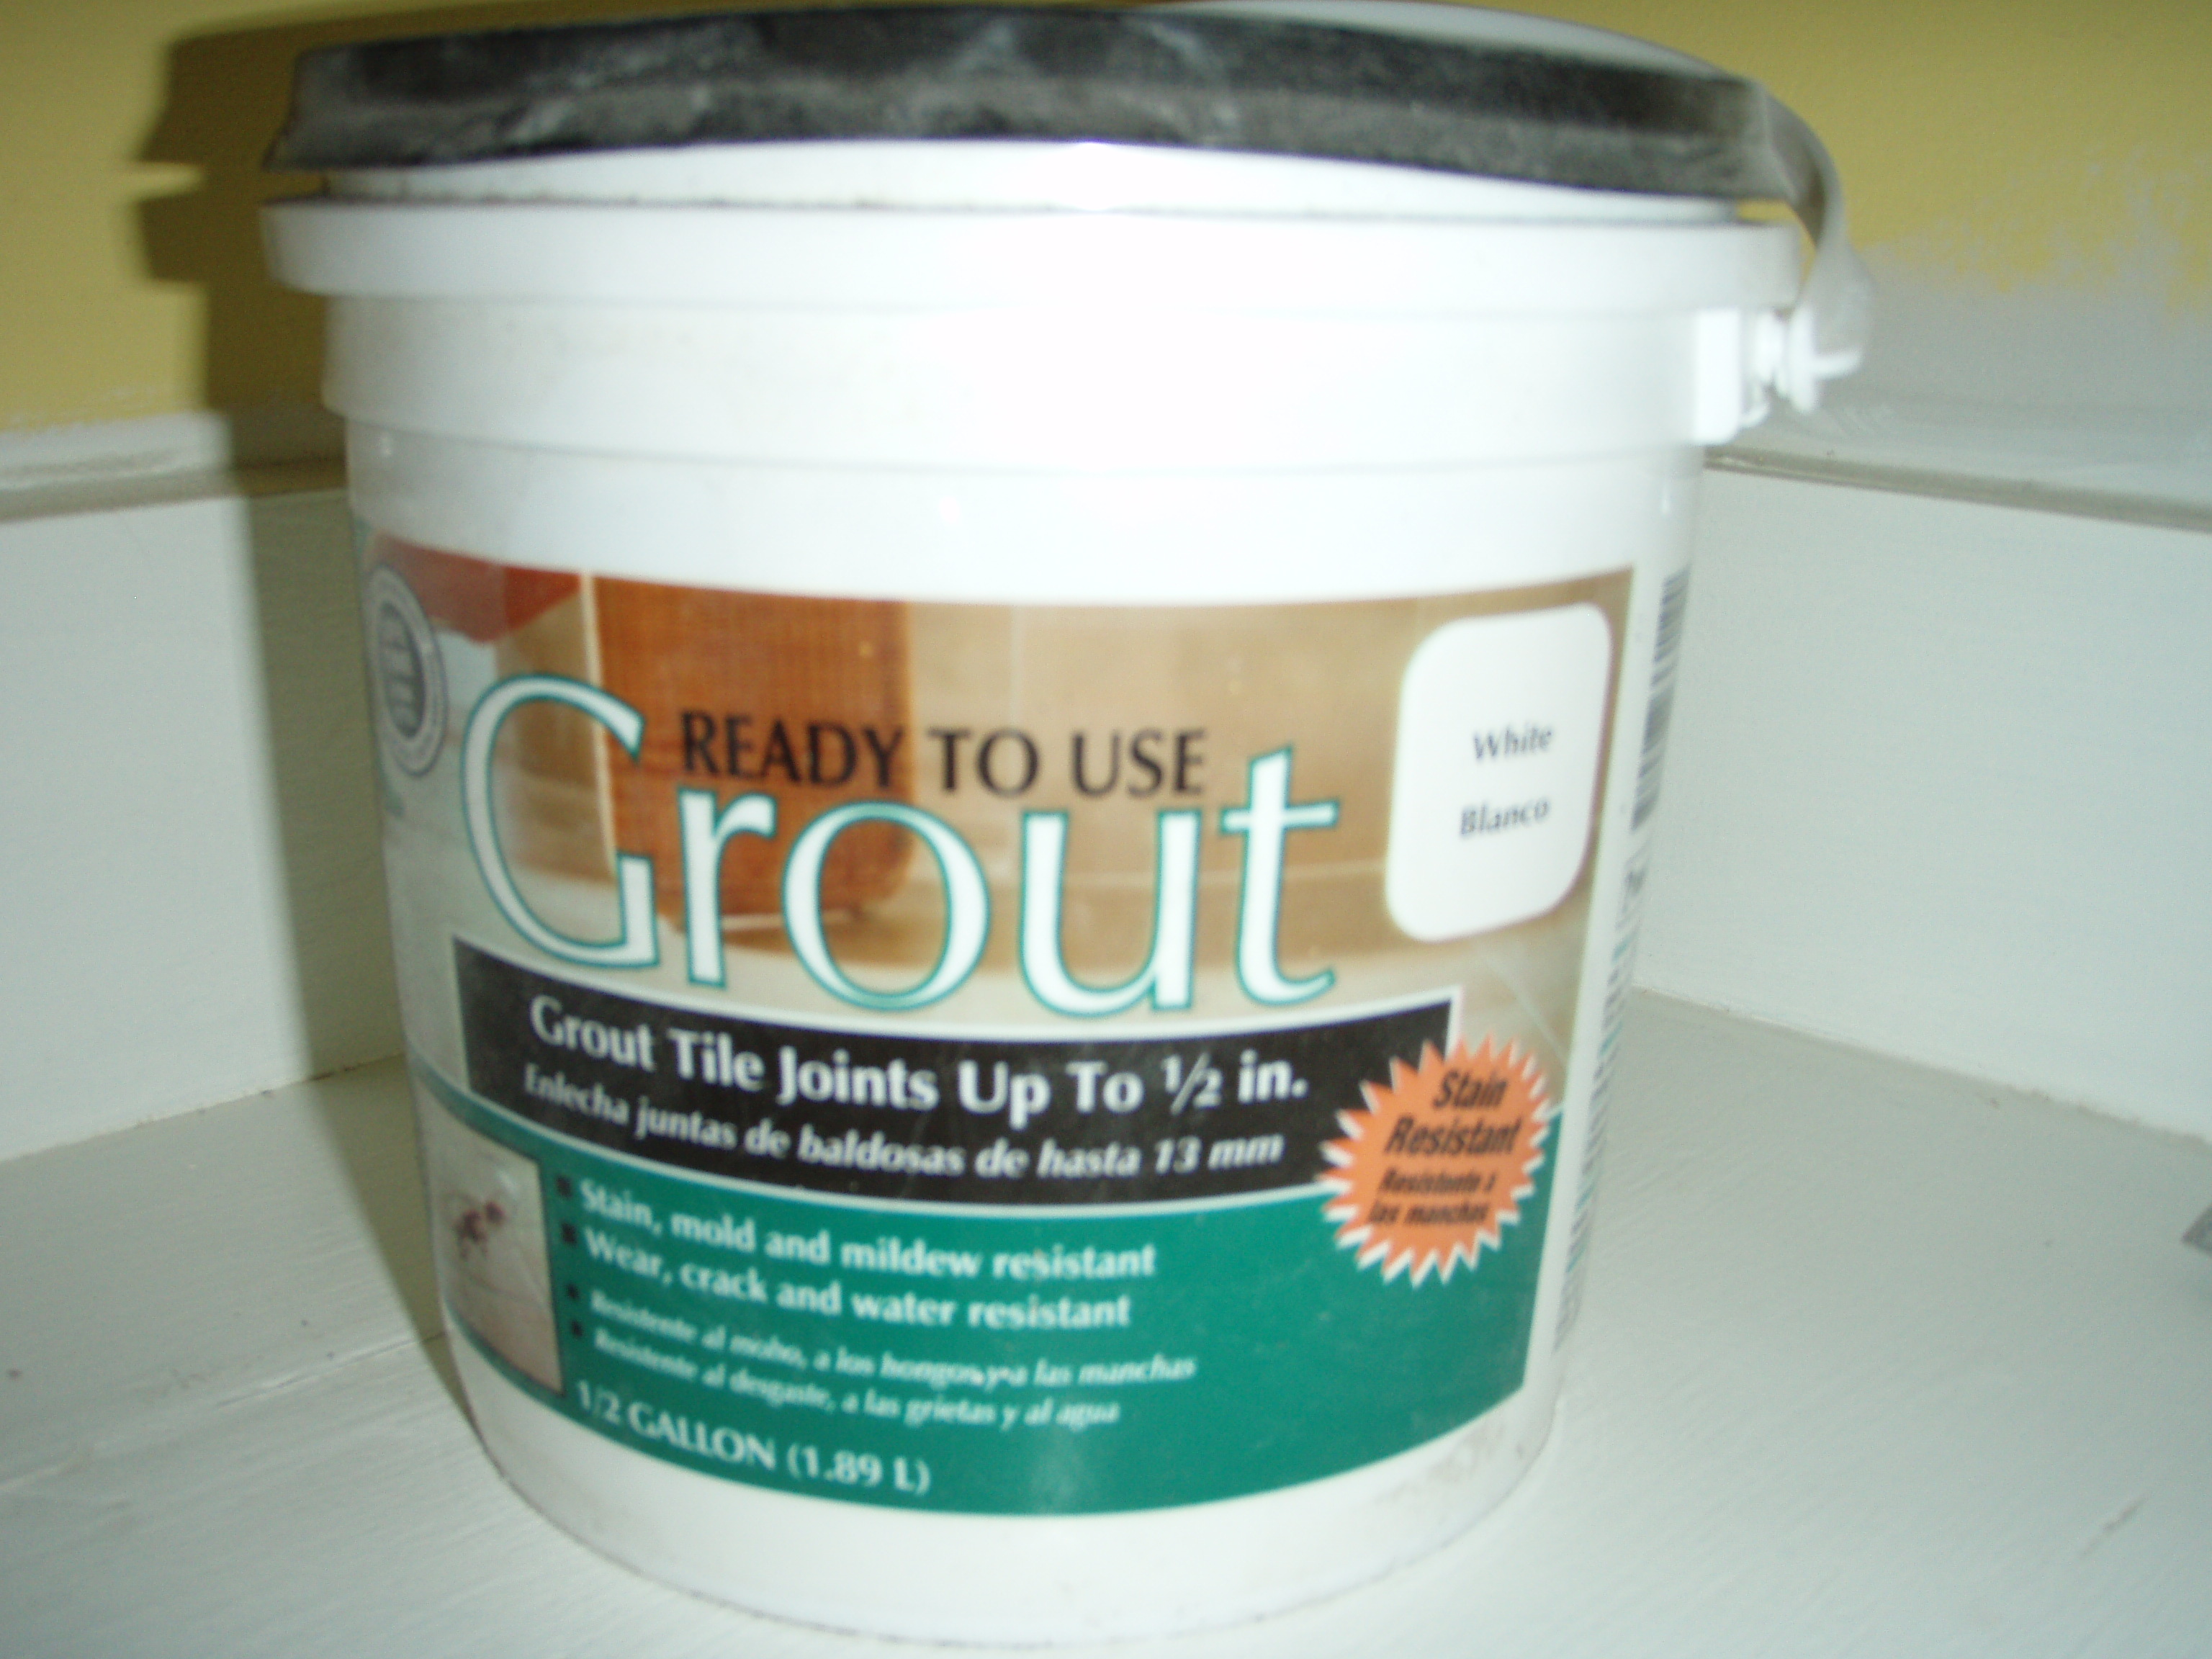
It’s like the Fein tool but is part of the whole Milwaukee M12 line so its batteries work with the other tools in the line for a complete system. And it’s cheaper than a Fein tool. Gotta love cheaper without sacrificing quality. The multi-tool worked like a charm and it took me less than ten minutes to remove the entire grout line. After I brushed out any loose grout with a stiff brush, it was time to re-grout. I had plenty of grout left over from this project, which I conveniently saved. This stuff is my favorite:
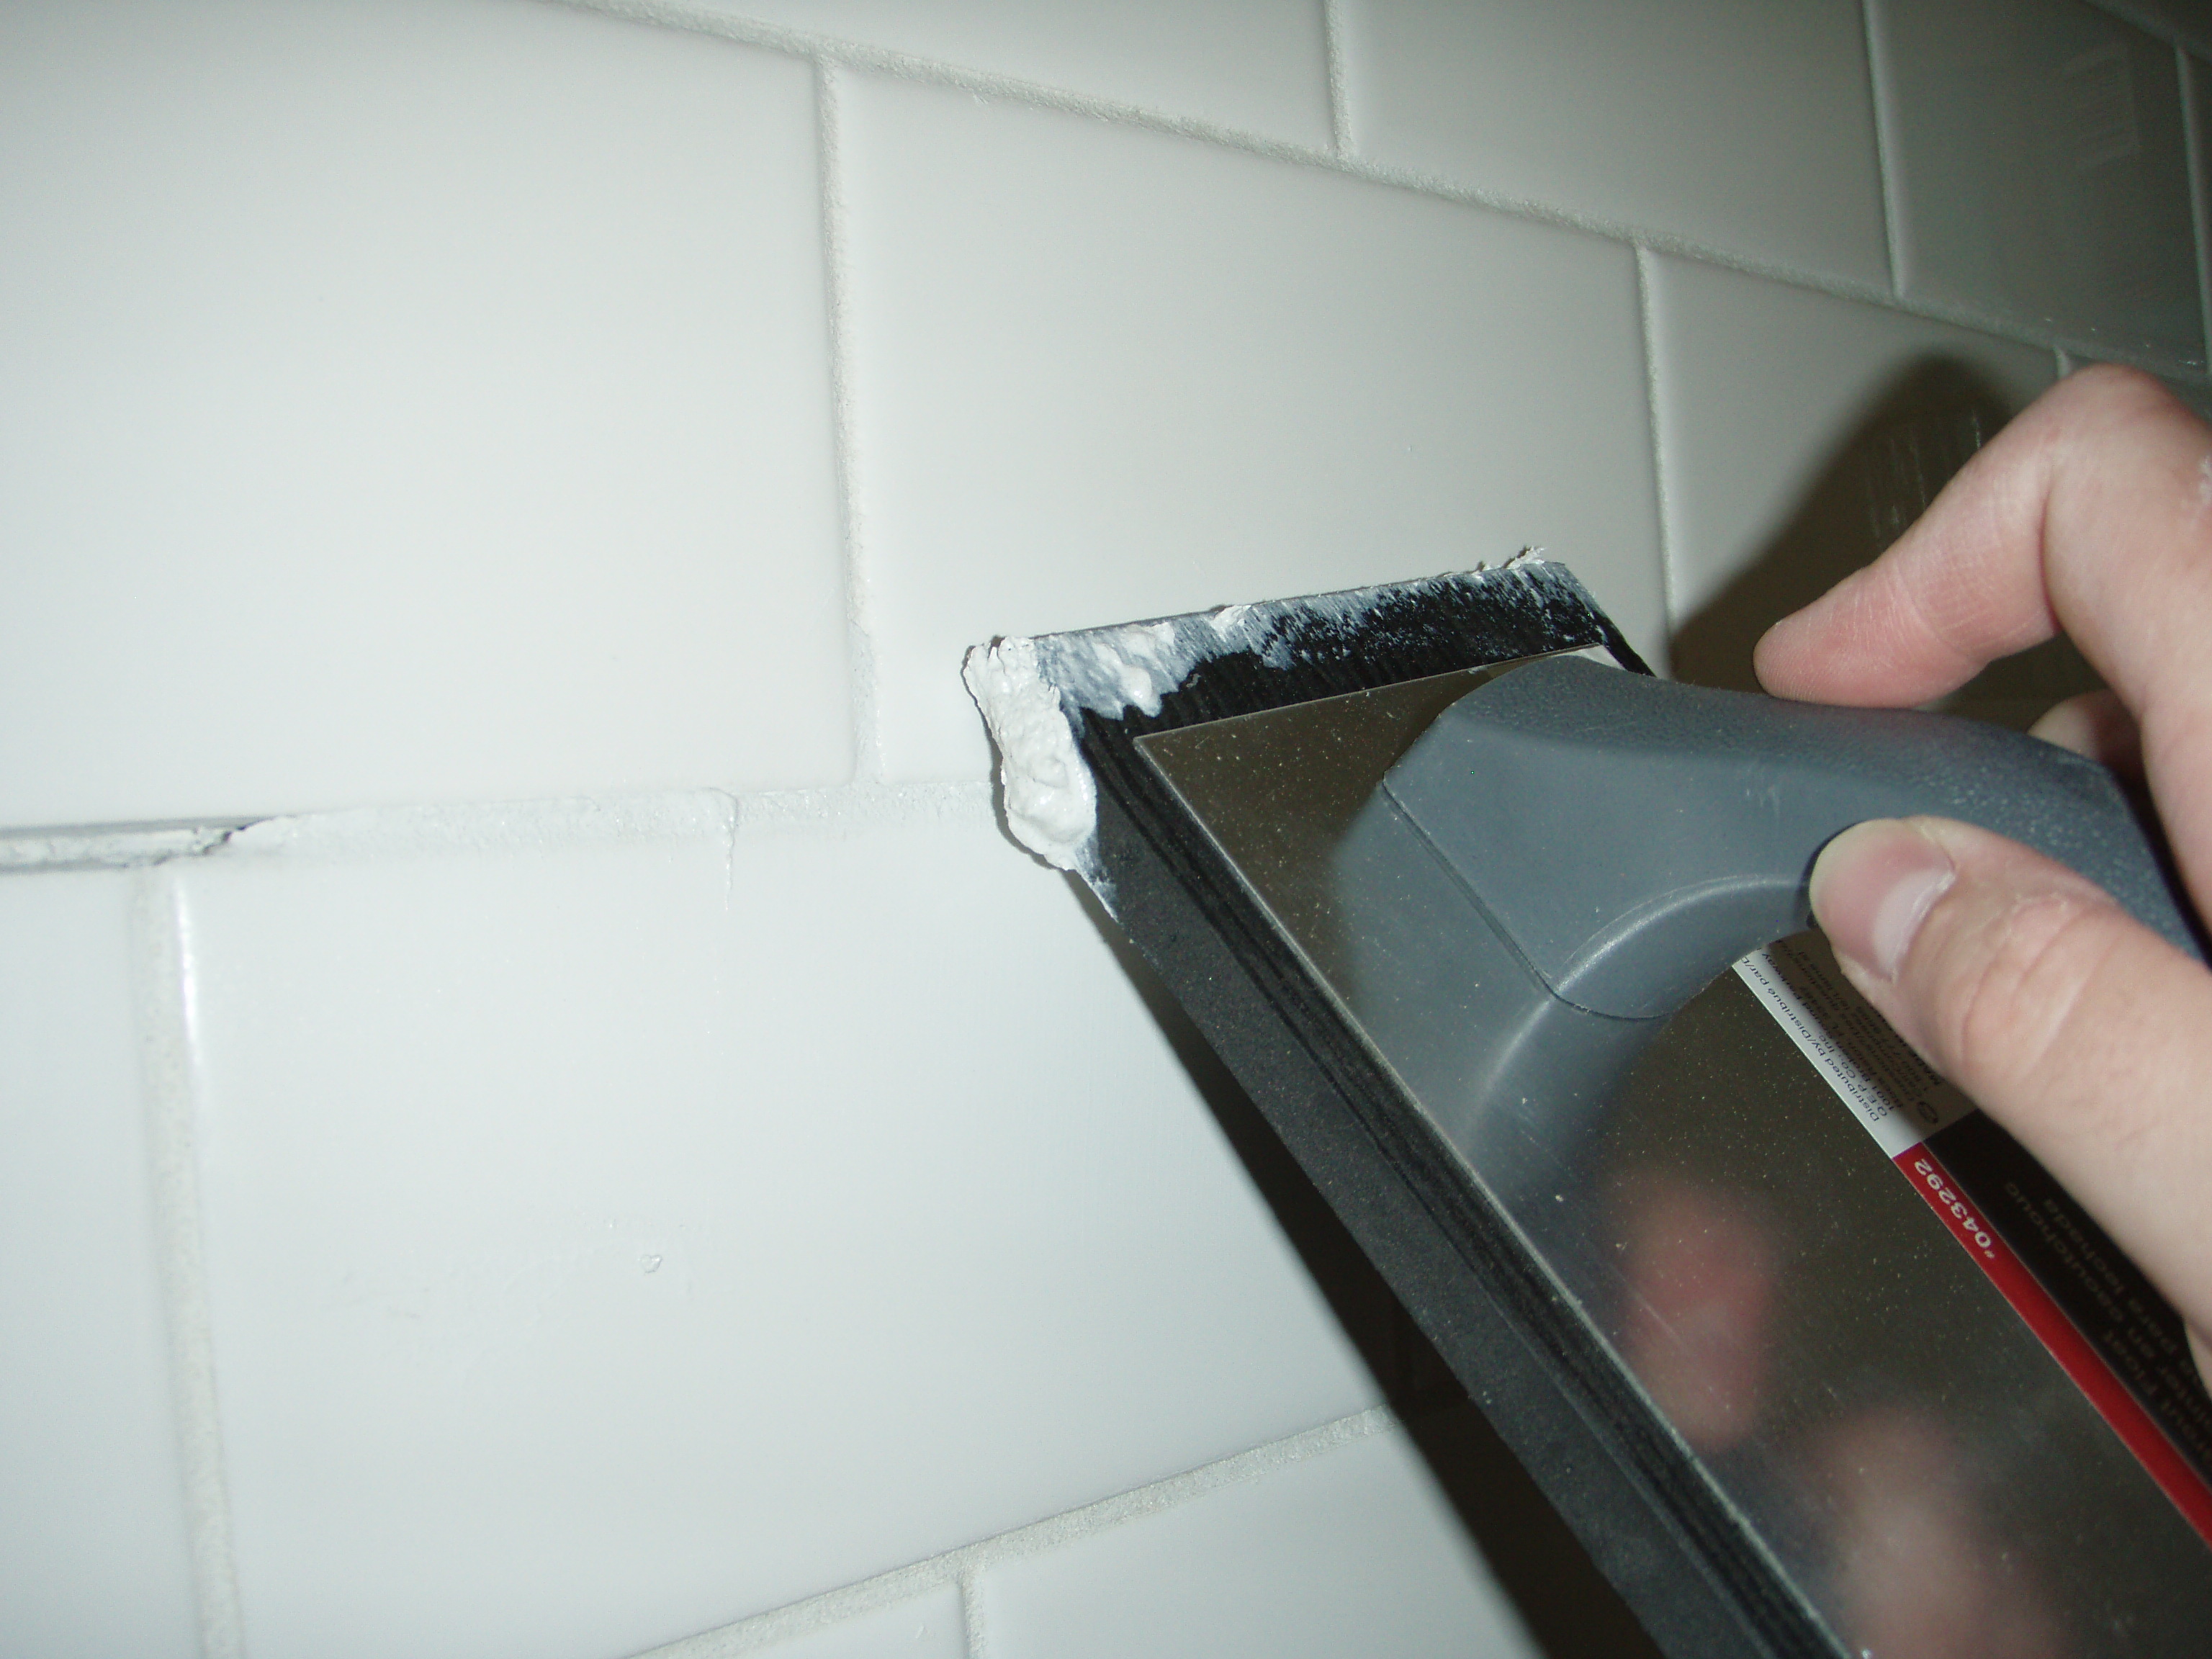
It’s pre-mixed, water resistant, stain resistant, and perfect for showers. And it’s super easy to use since you don’t have to mix it yourself. I stirred it up and used the float to work the grout into the crack:
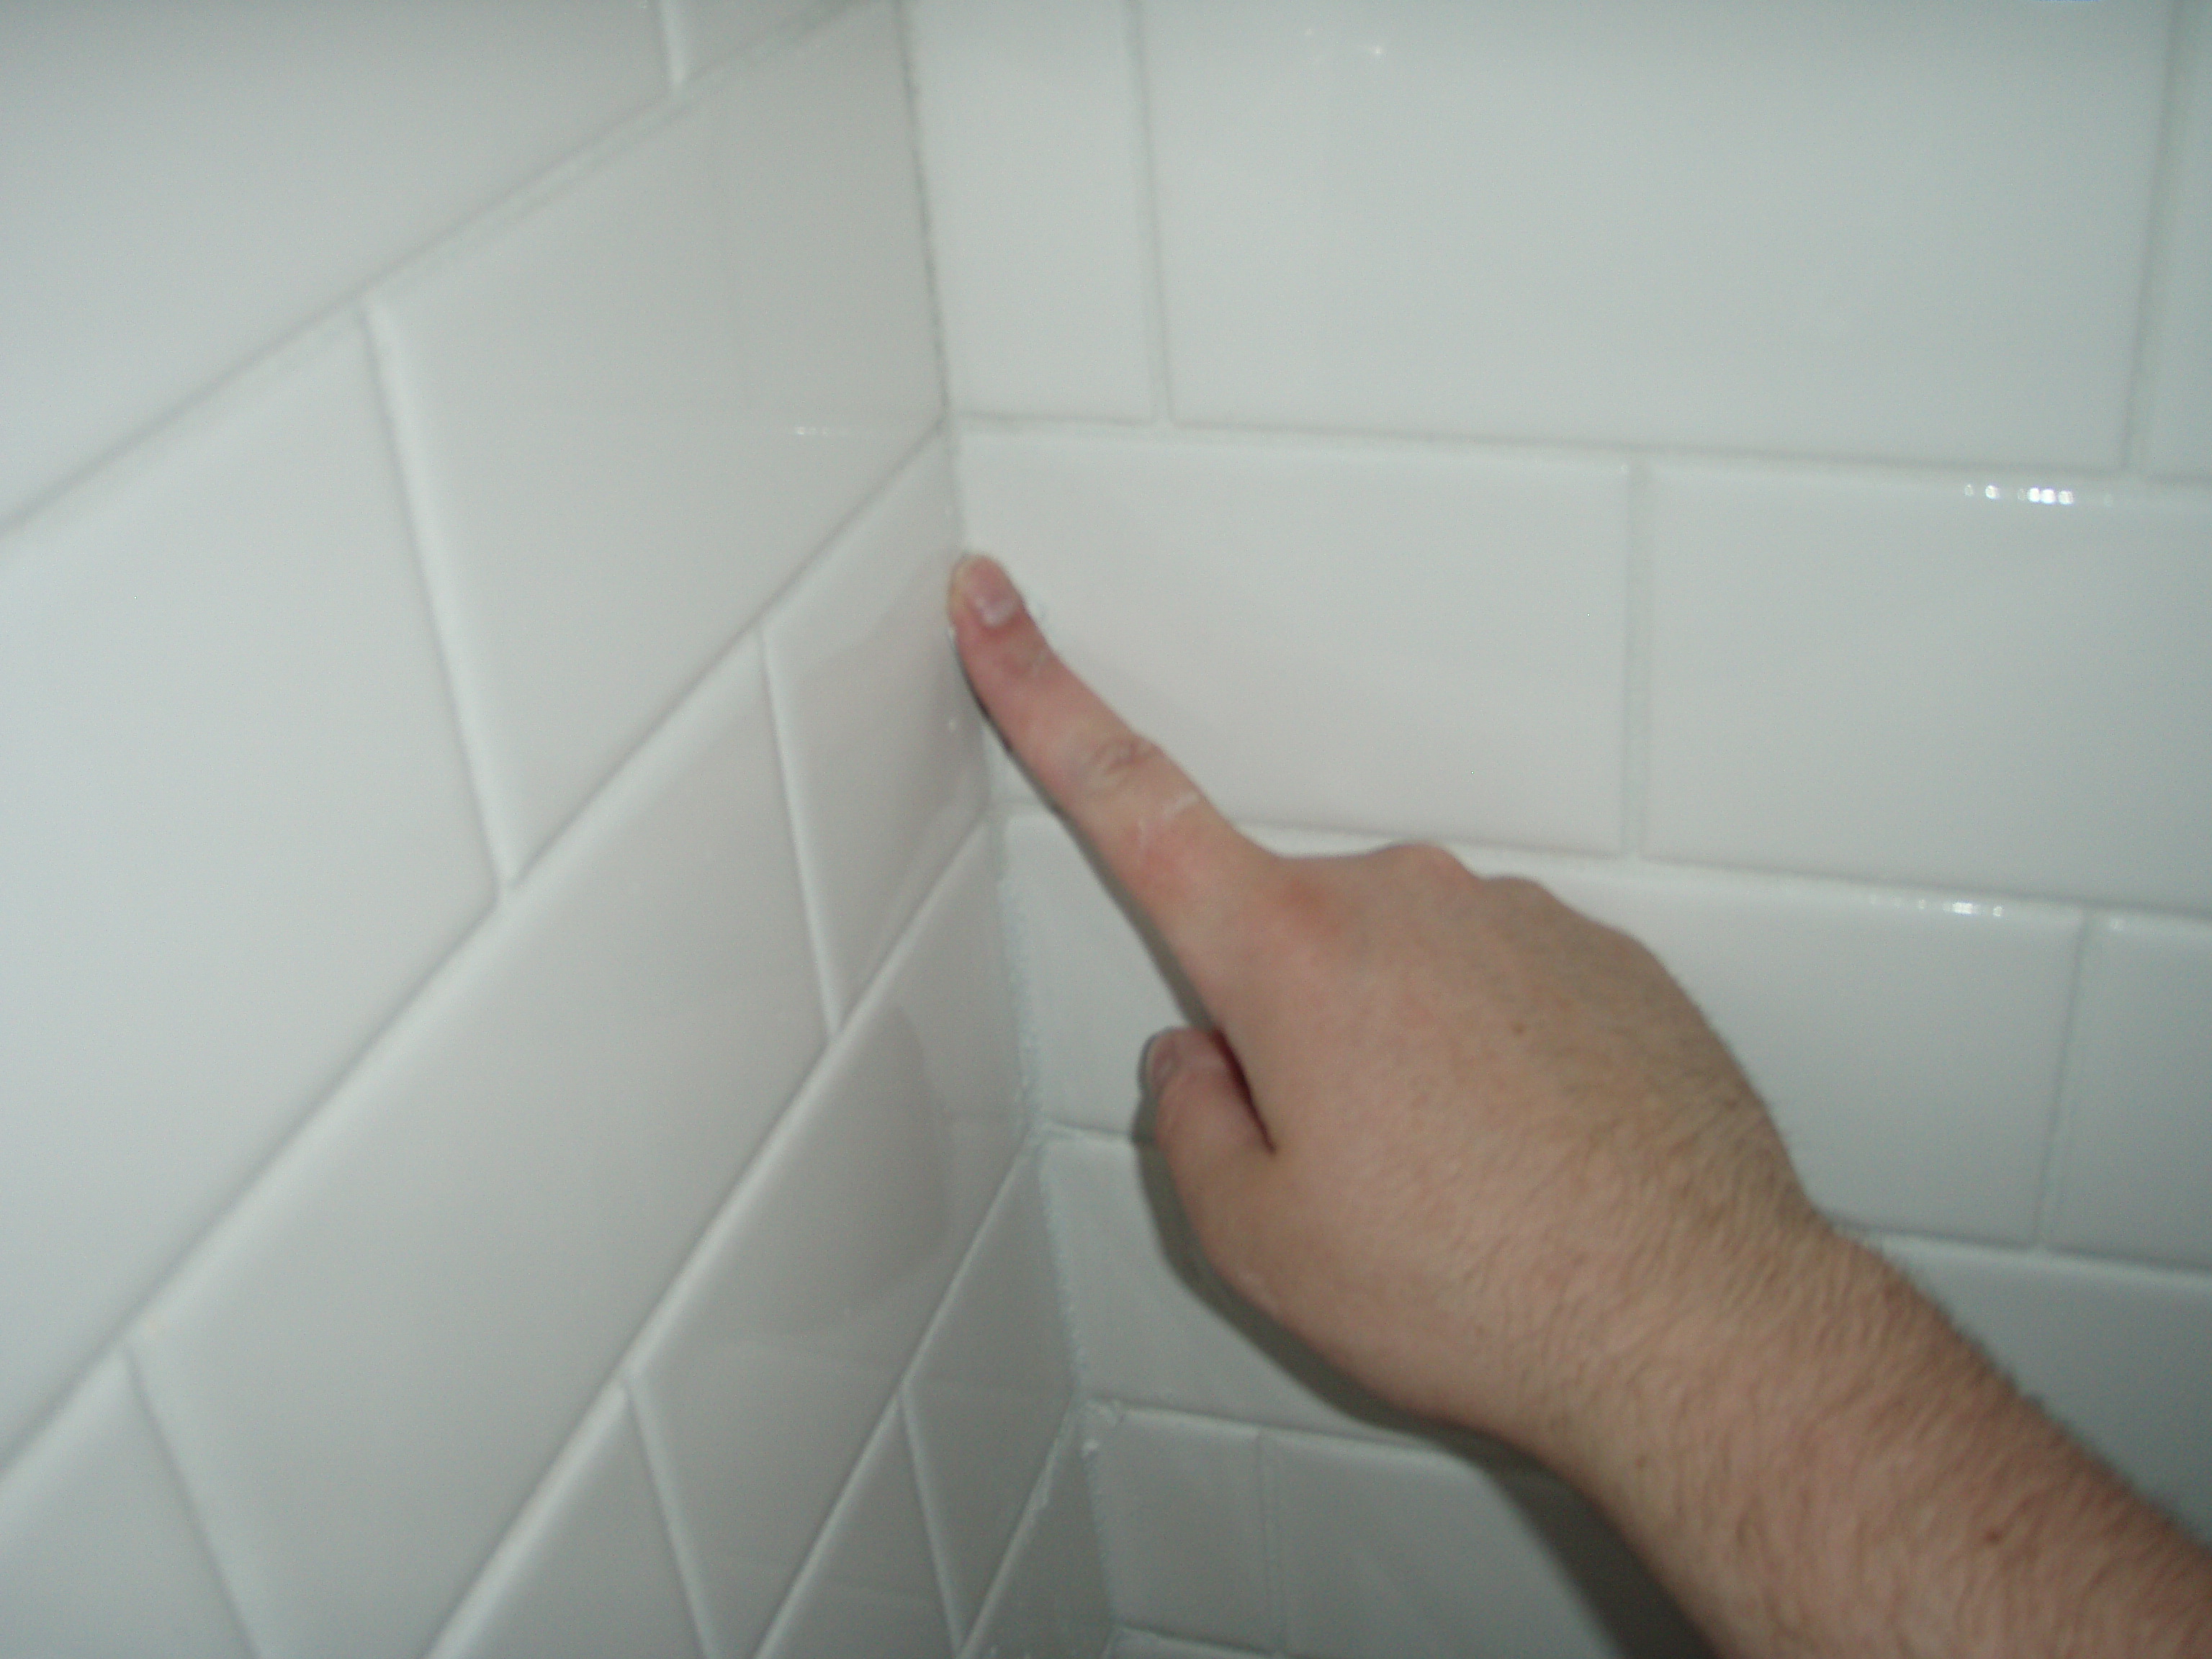
I even took the time to touch up one corner of the shower where I didn’t quite fill in deep enough before. Since it’s difficult to work the grout into a corner with the float, I simply used my finger to get perfect results:
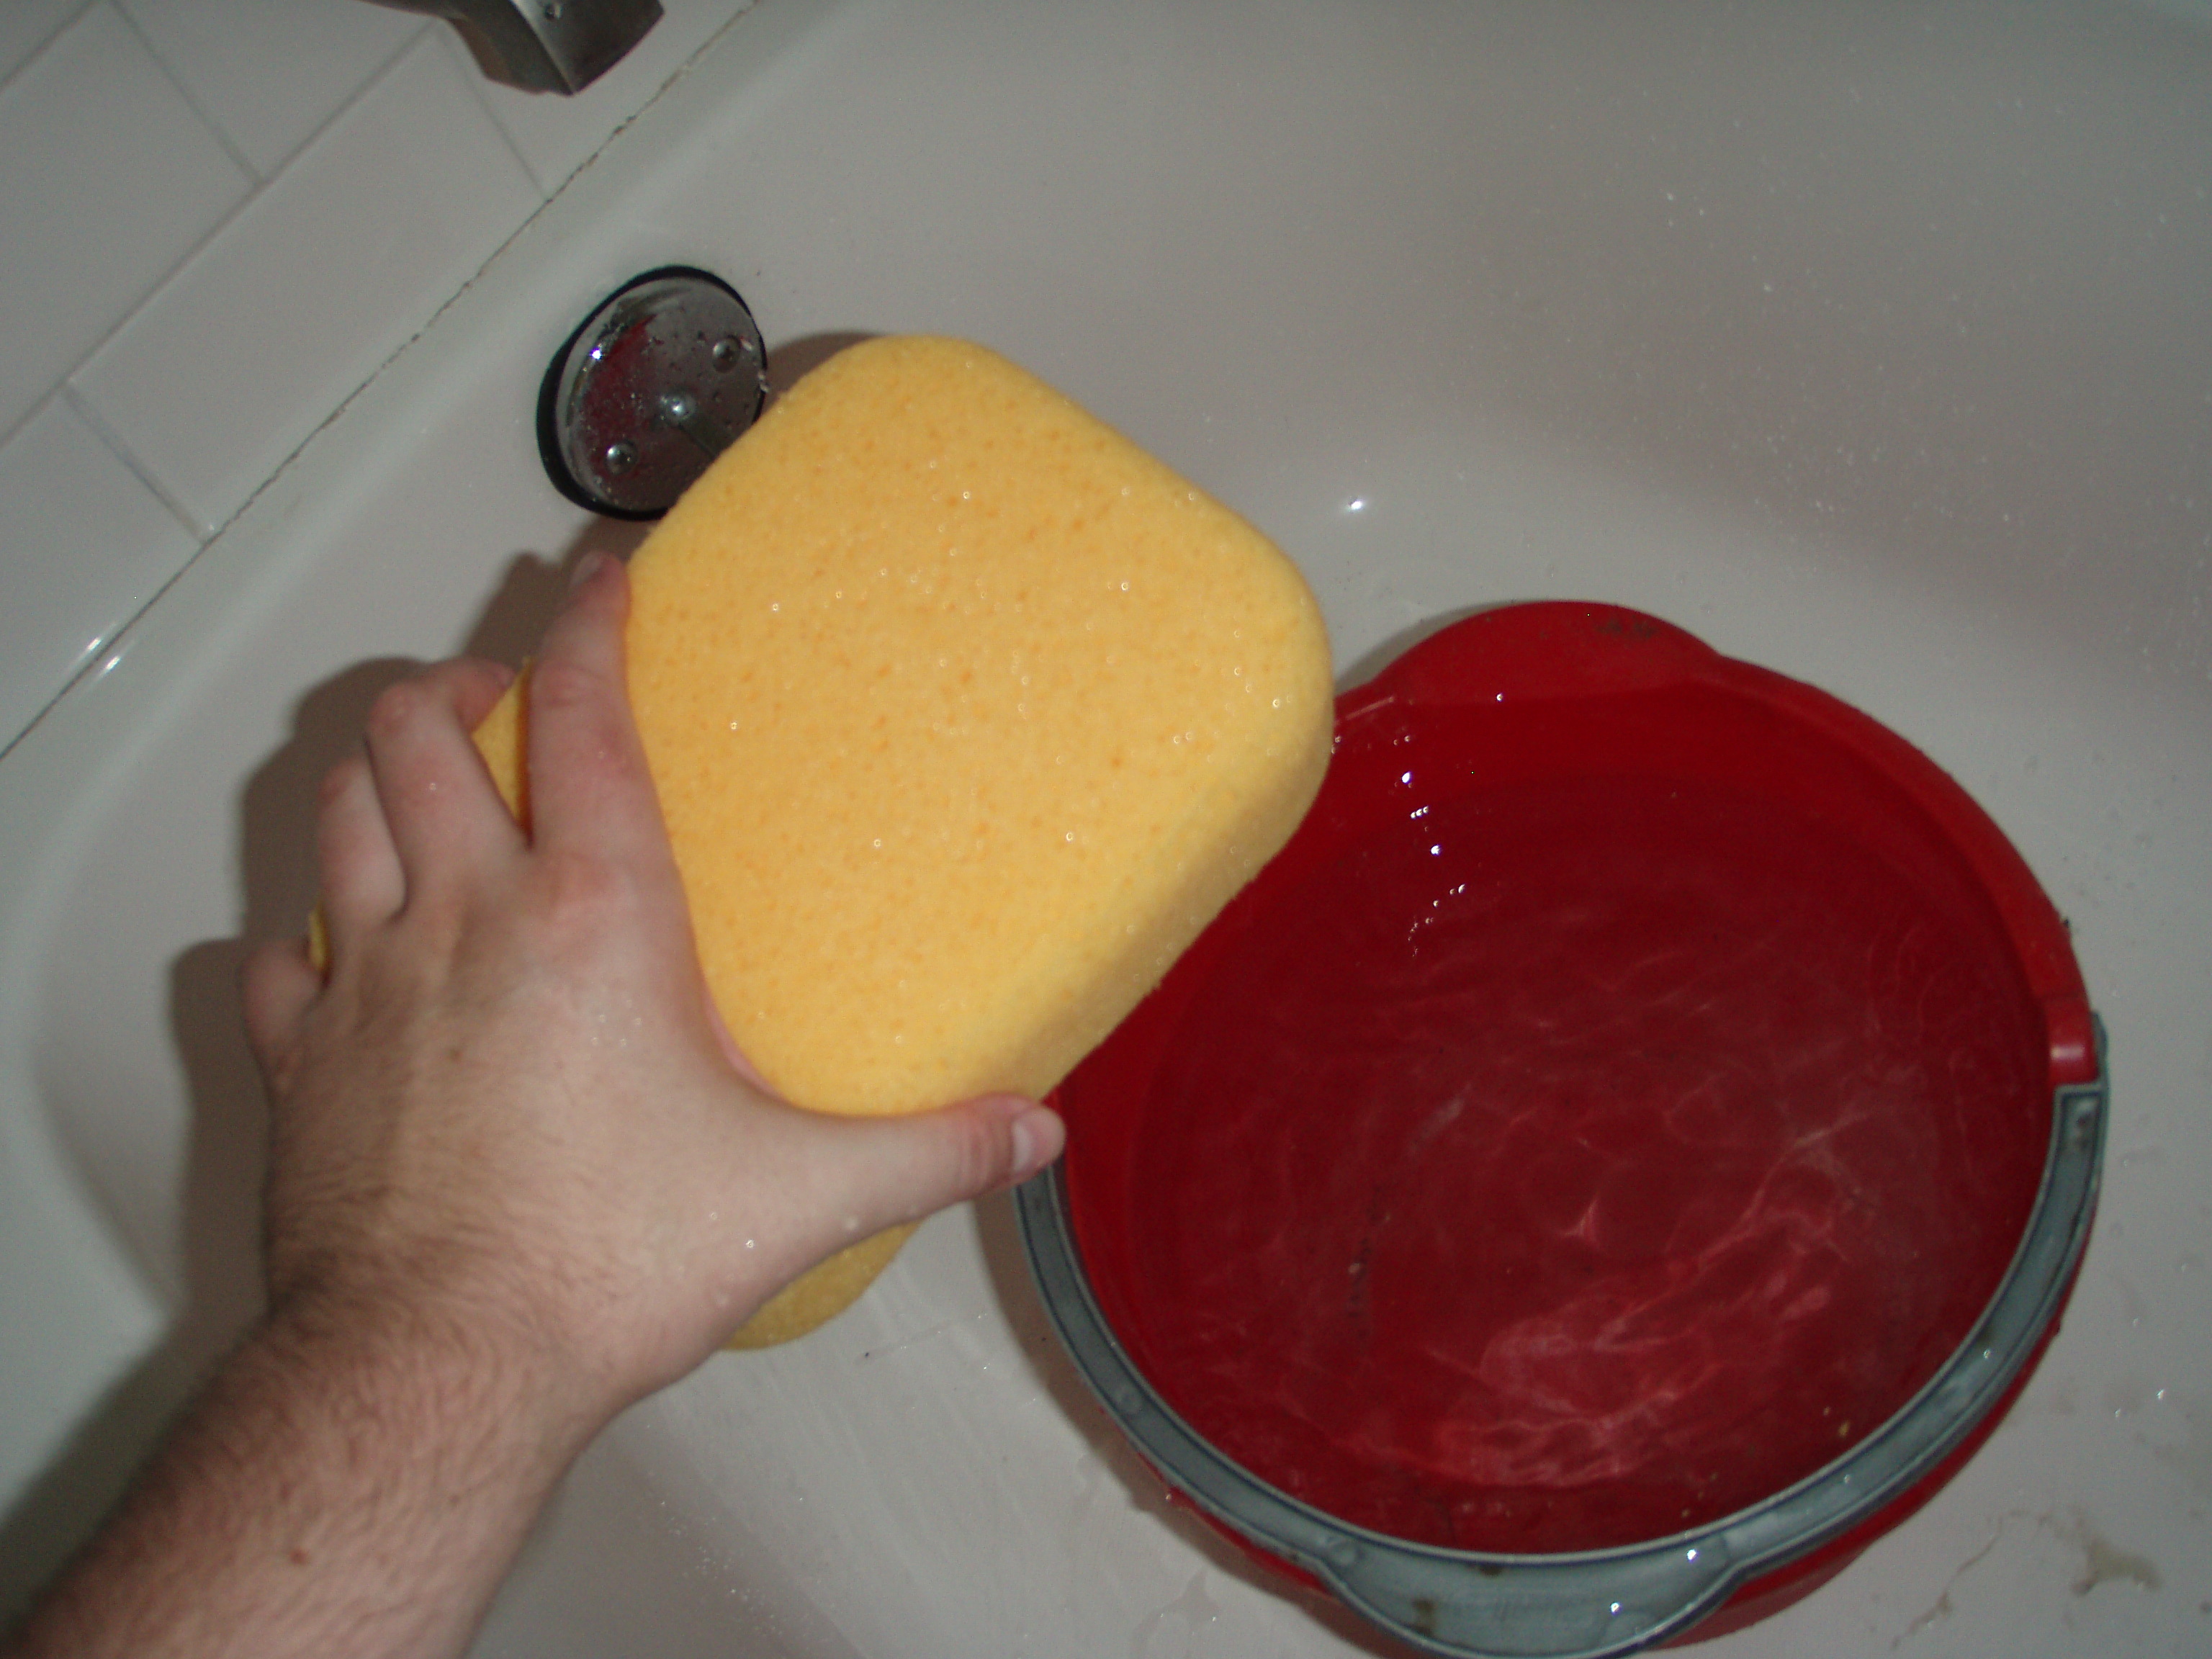
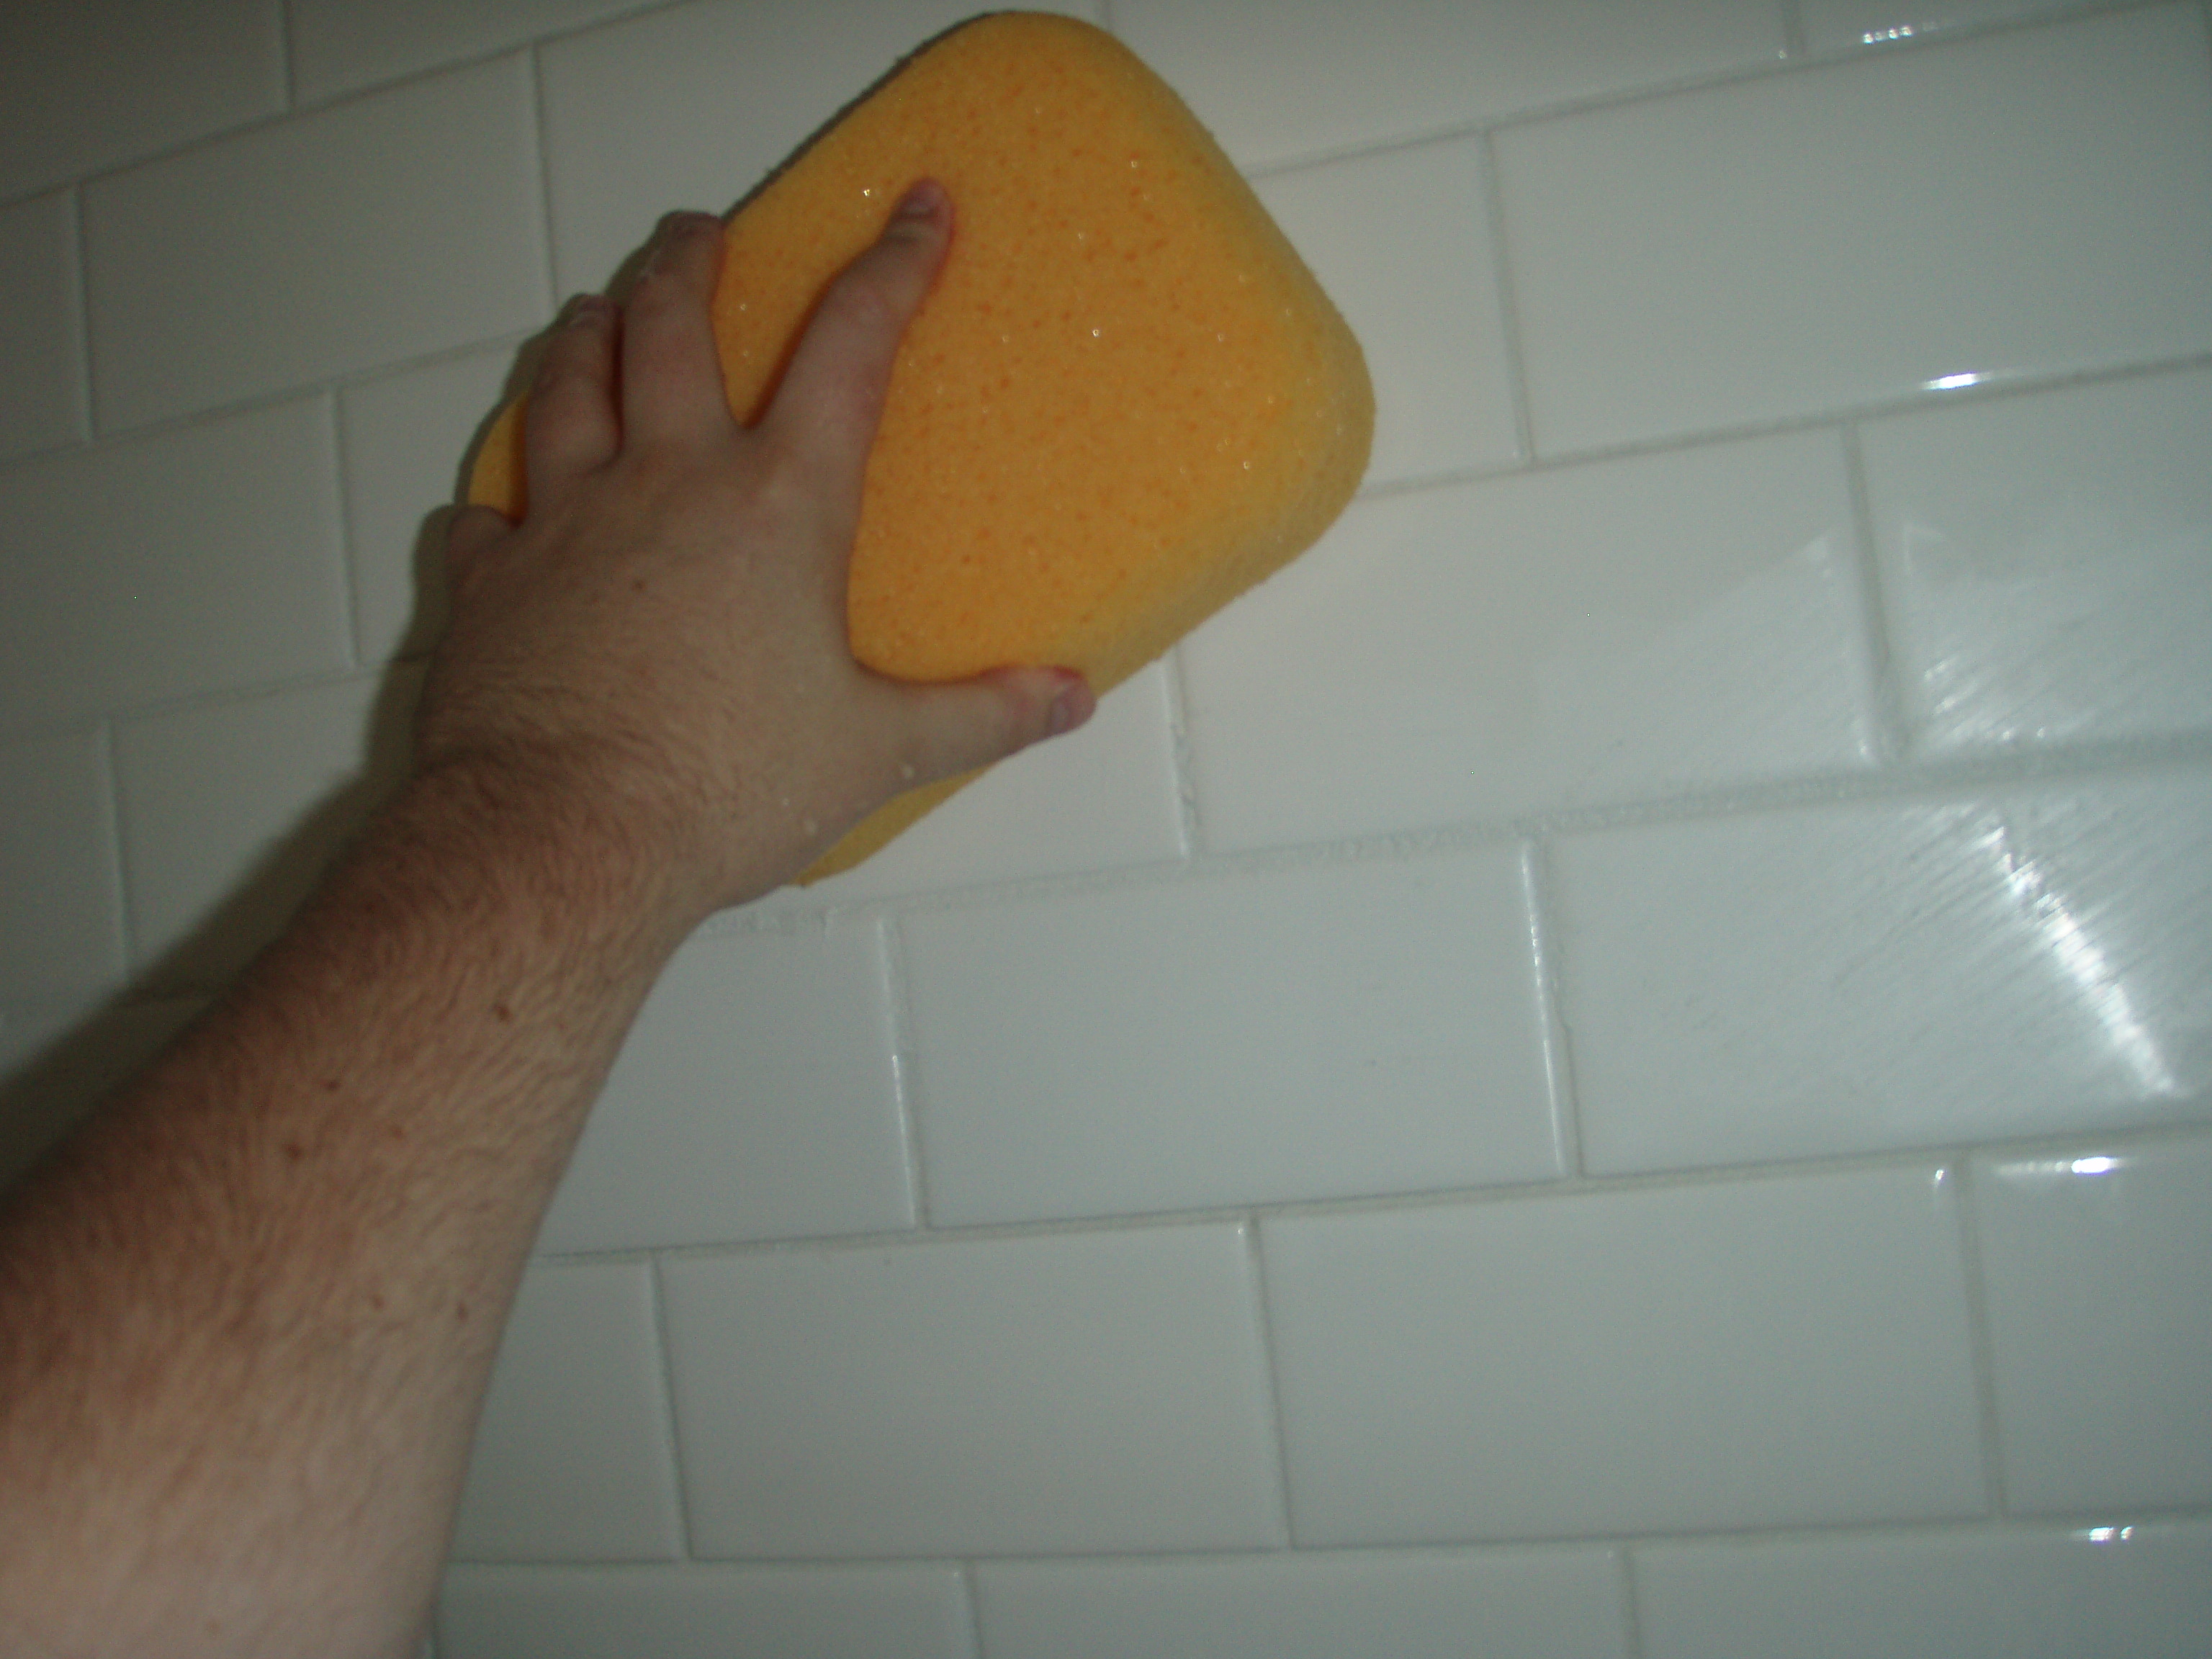
After all the grout was filled in, the next step was to wipe down the surfaces removing any extra grout. To do this, fill a bucket with water, take a grout sponge and soak it in the water, ring it out really well (you don’t want water dripping down and washing away all the grout, just the excess), and wipe over your grout:
Hot tip: don’t wipe in the same direction as your grout line if at all possible. Doing that removes too much grout (which is what happened in the corner of our shower). Instead go for an angled wipe approach.
Another hot tip: DON’T dump the buckets of water down your drain or rinse out your sponge in the sink or tub. Do this outside. You DO NOT WANT grout in your pipes. It’s a recipe for disaster and could cause blockages down the road if you do this enough. I even took the bathtub/shower spruce up one step further and fixed the caulking around the tub, where the shower walls meet the tub. Here’s the before:
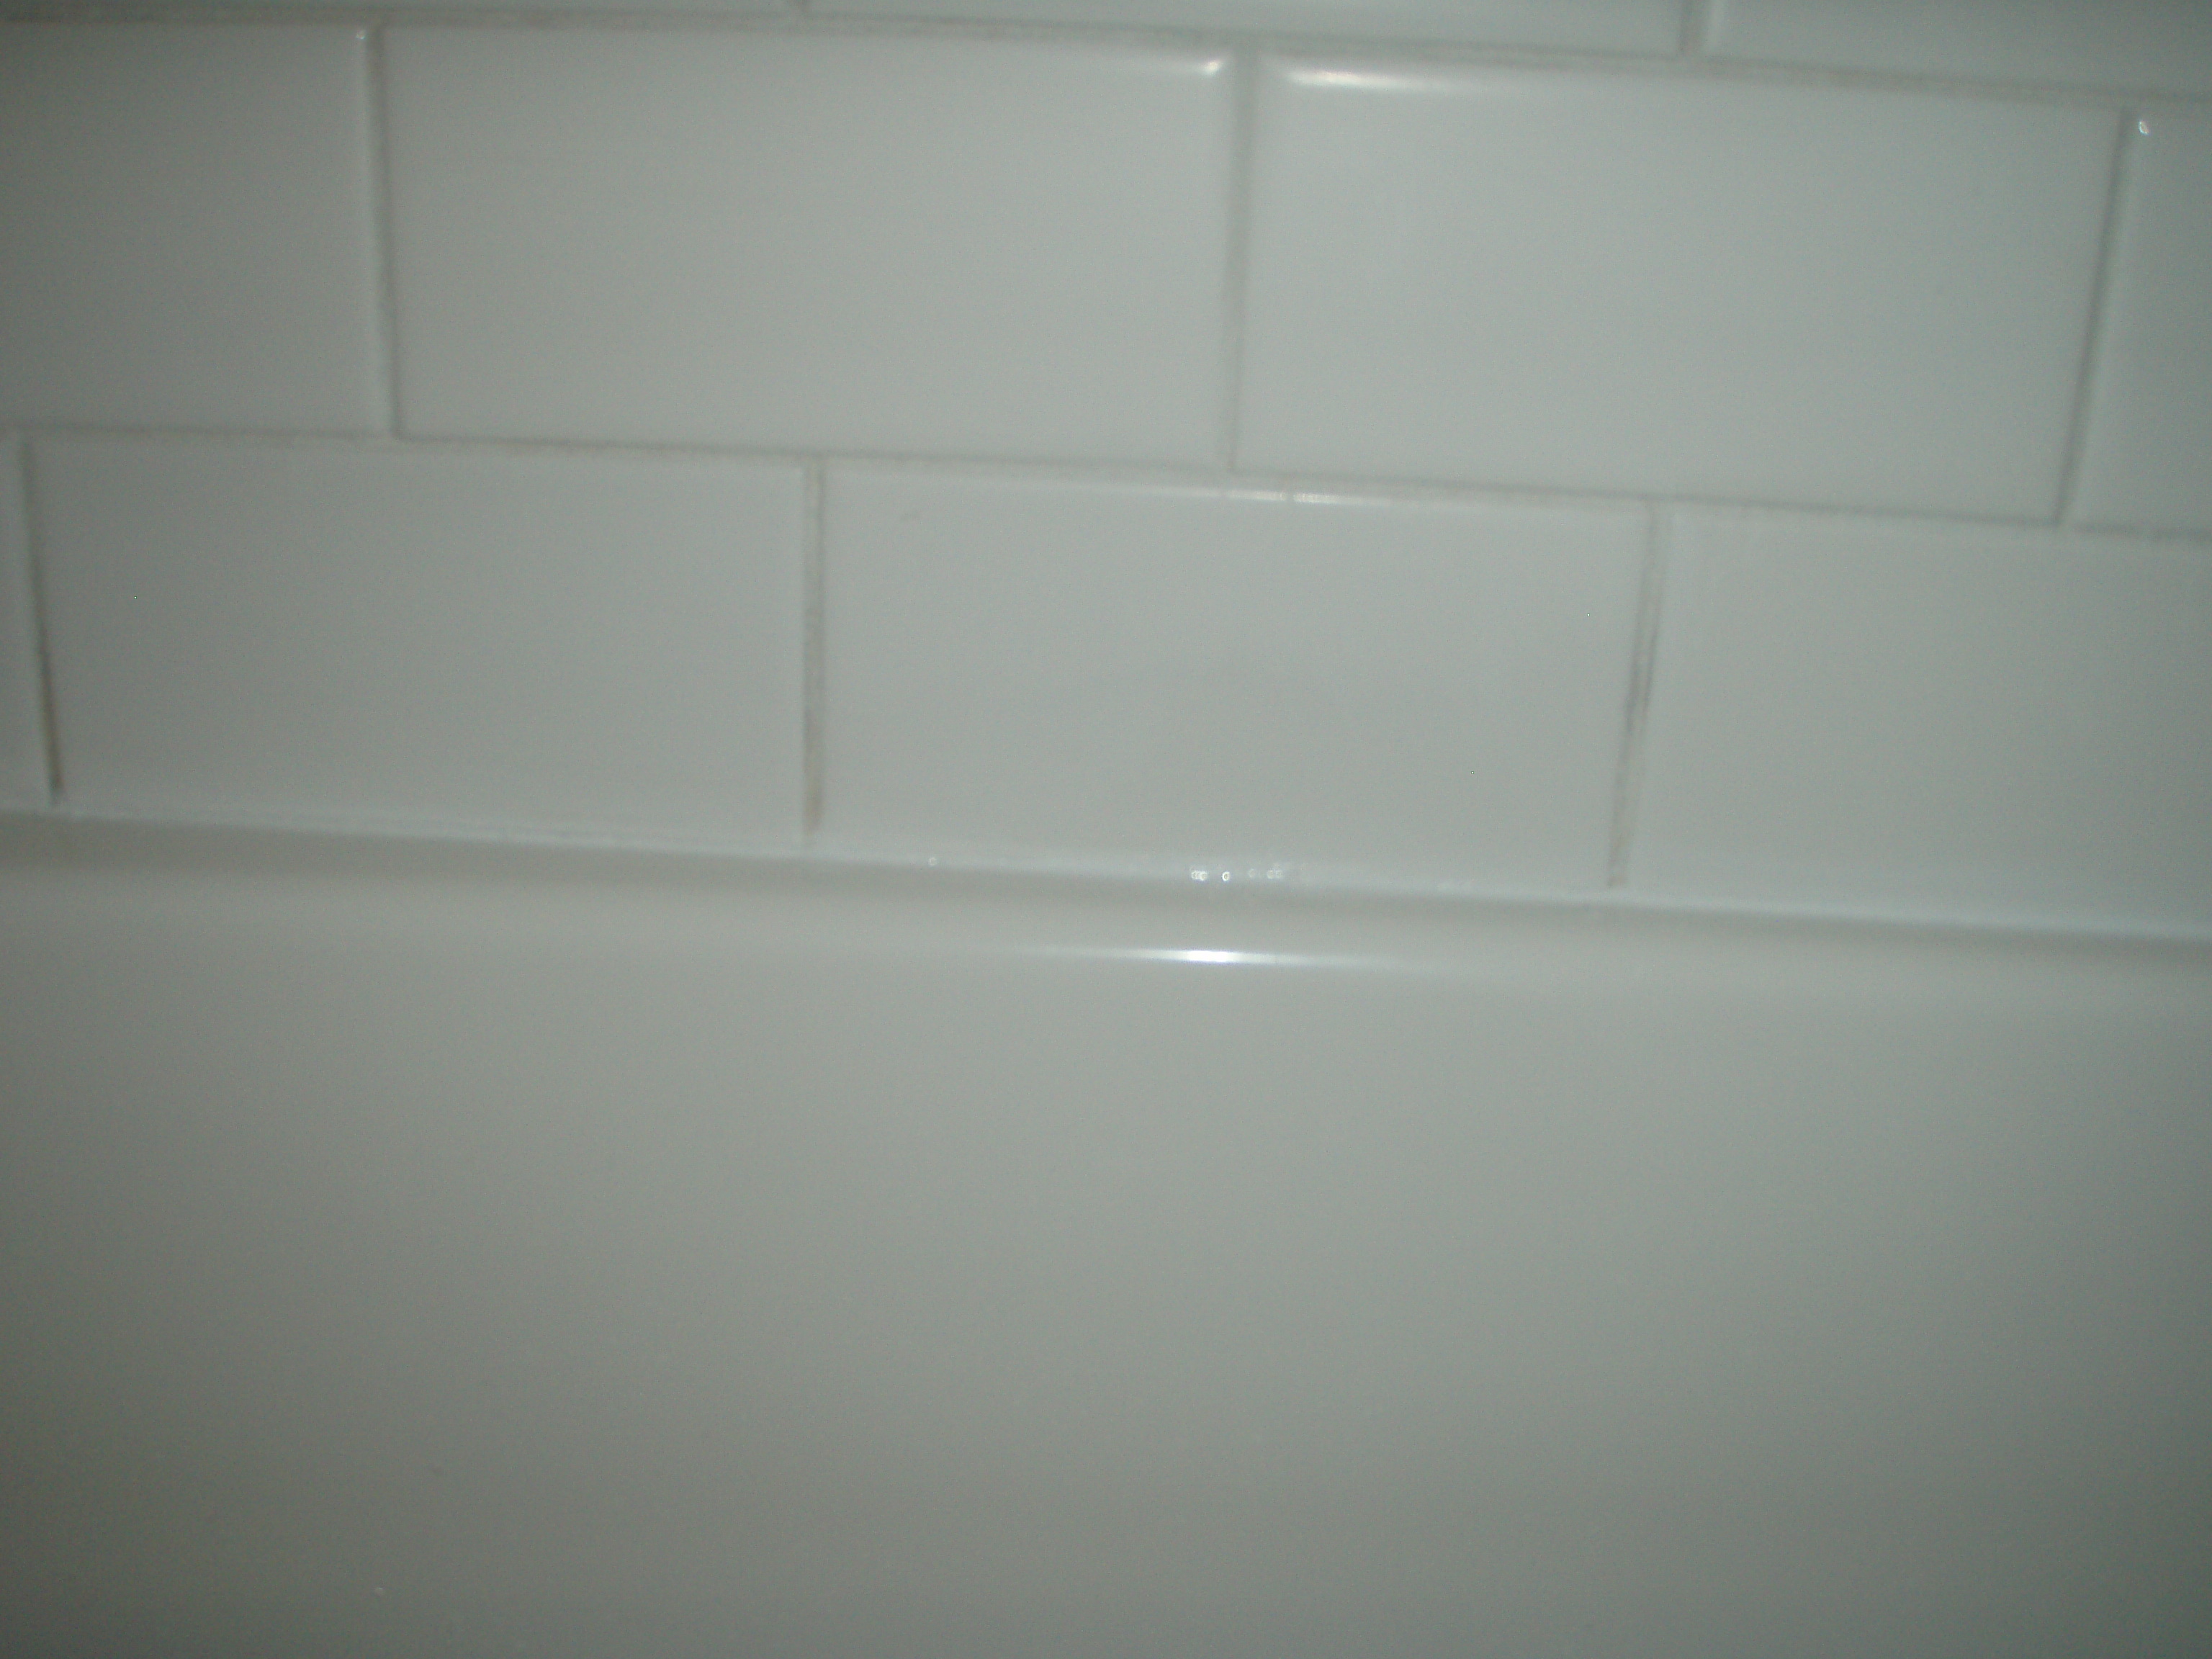
And here’s the after:
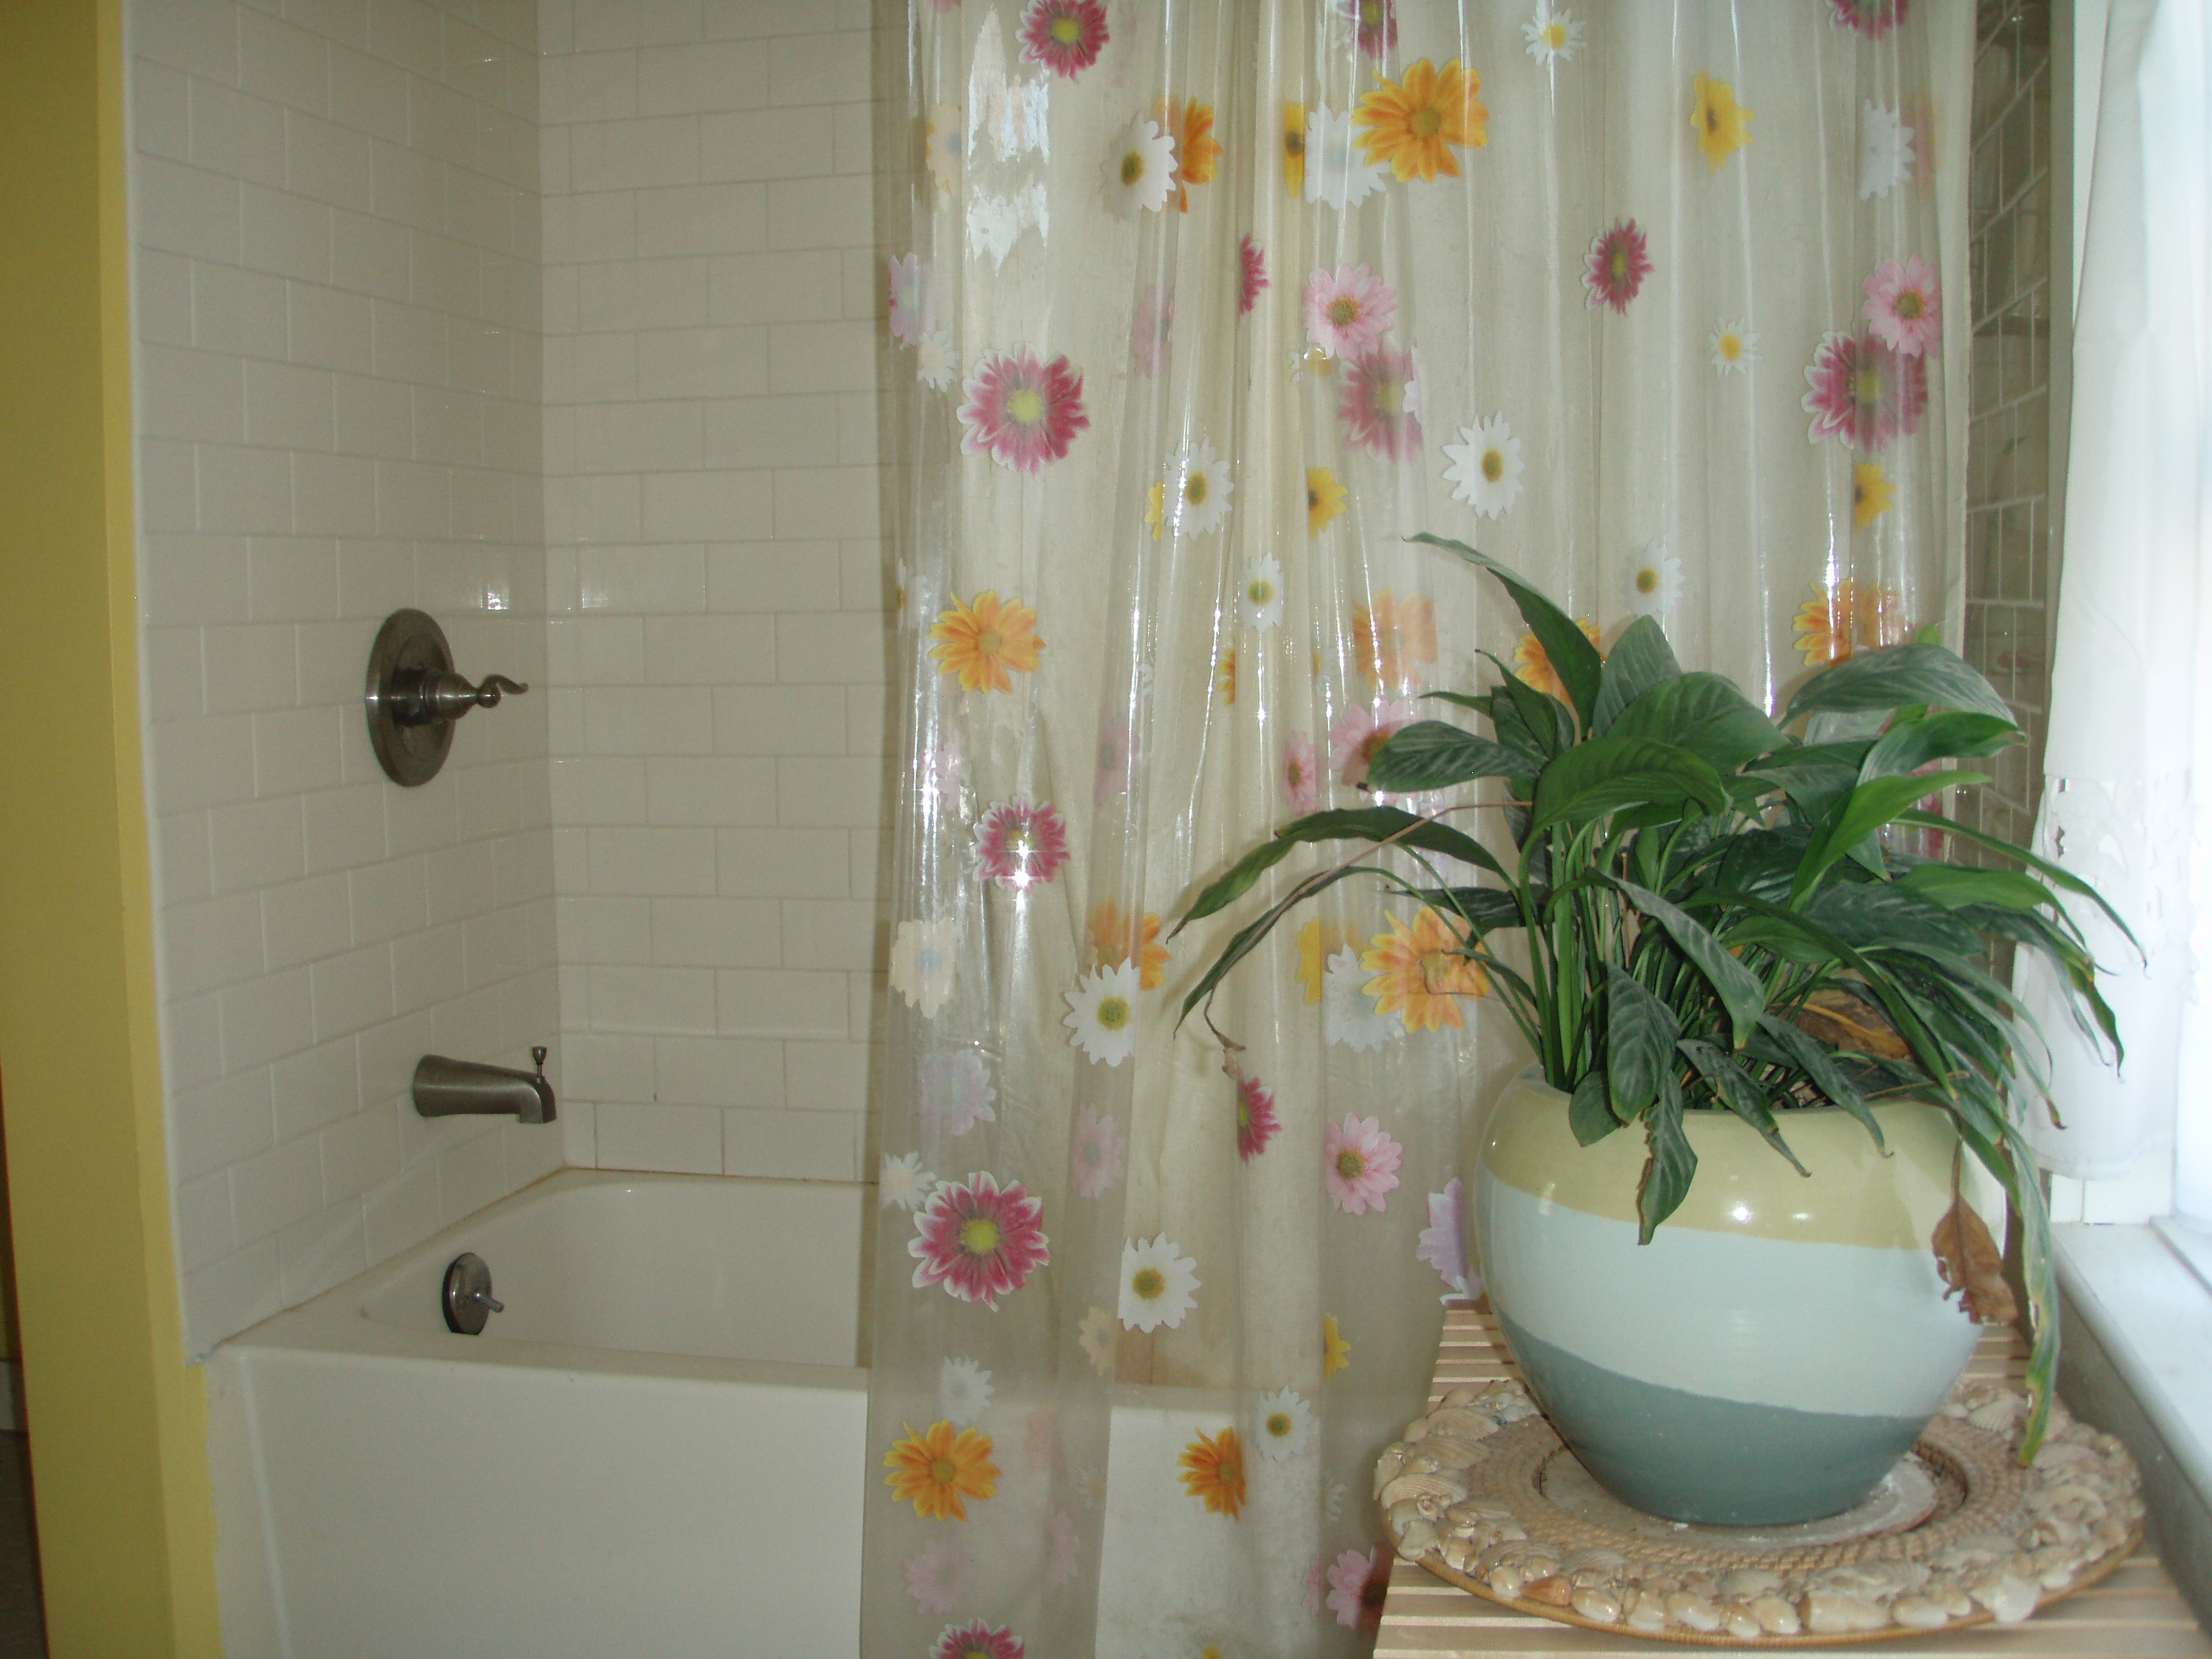
Major difference! When I caulked the tub the first time around, I used a basic paintable caulk that we were using for around windows and doors. Big mistake. It didn’t take long before it started to crack and peel and fall apart. Apparently basic caulk is not meant for shower areas. There are special caulks for that which are not water based and won’t break down. I ran out and picked up a tube at the local hardware store for about $6 and applied it around the tub. This stuff is meant for showers and will not crack or peel from heavy water exposure. It’s even mold/mildew resistant for up to ten years. Anyone else giggling about all the caulk talk?! Just me…ok…I know…I act like a ten year old boy sometimes. So that’s it for my grout story. It was really easy and the touch up had an amazing affect. I heart my shower:
Psst…Did you guys do anything fun and exciting this weekend? Anyone else out there have one of those, oh my gosh I’m getting old and going to my high school reunion moments? Or does anyone share my cleaning obsession and channel Monica Geller? Or am I the only weirdo?!


Hey, good post, I’m a tiler and you did that all to perfection, even the angled sponge wiping! If it does crack again try popping a bit of pva into the grout 🙂 also I am more like chandler with monica’s cleaning obsession!
Yes…actual tiler approval! Are you seriously from the UK? And like Friends?! You rock. So does it mean anything if I tell you that all I can think of right now is “Sometimes you got to go in the map” (from the Friends in the UK episode)? Thanks so much for the comment!