Decluttering a messy home office has got to be one of the hardest decluttering tasks out there. Why do I think this? A few reasons. One, they are commonly multipurpose rooms. Two, home offices become catch-alls for things that don’t belong. And three, they’re often used by many members of the family. We recently decluttered and cleaned our messy home office, and in this post, I’m sharing all the tips for decluttering a home office EASILY.

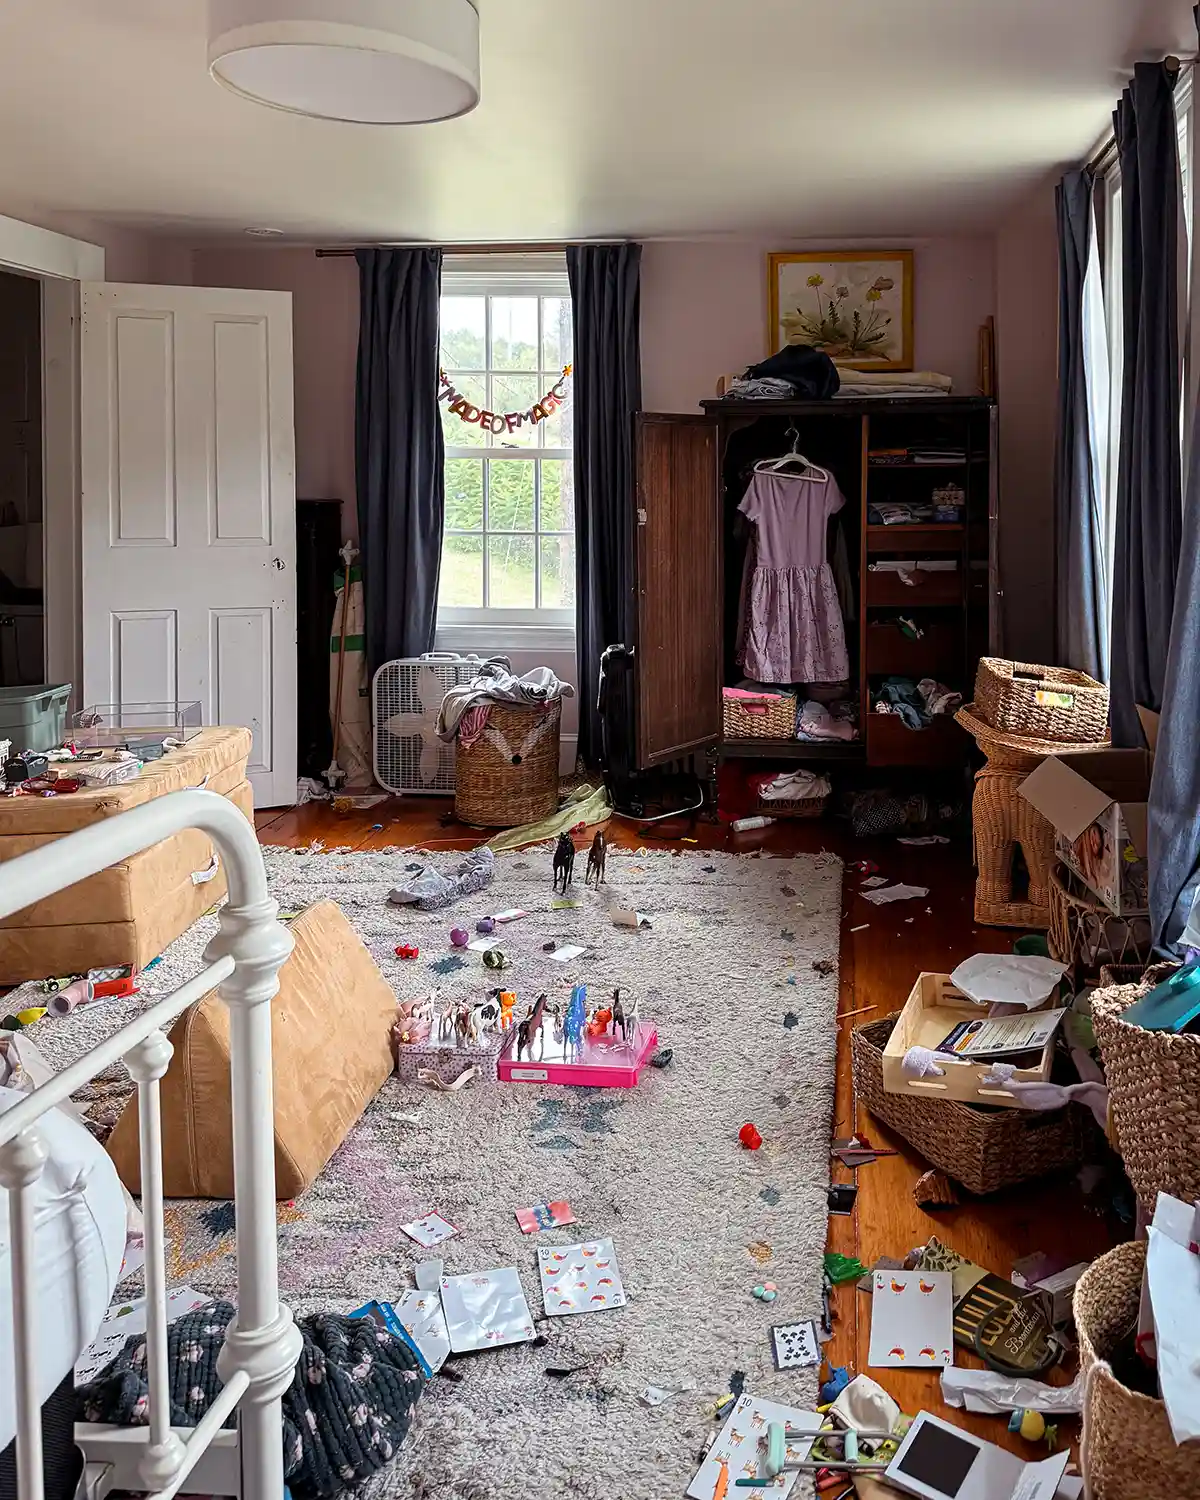
Meet Our Messy Home Office
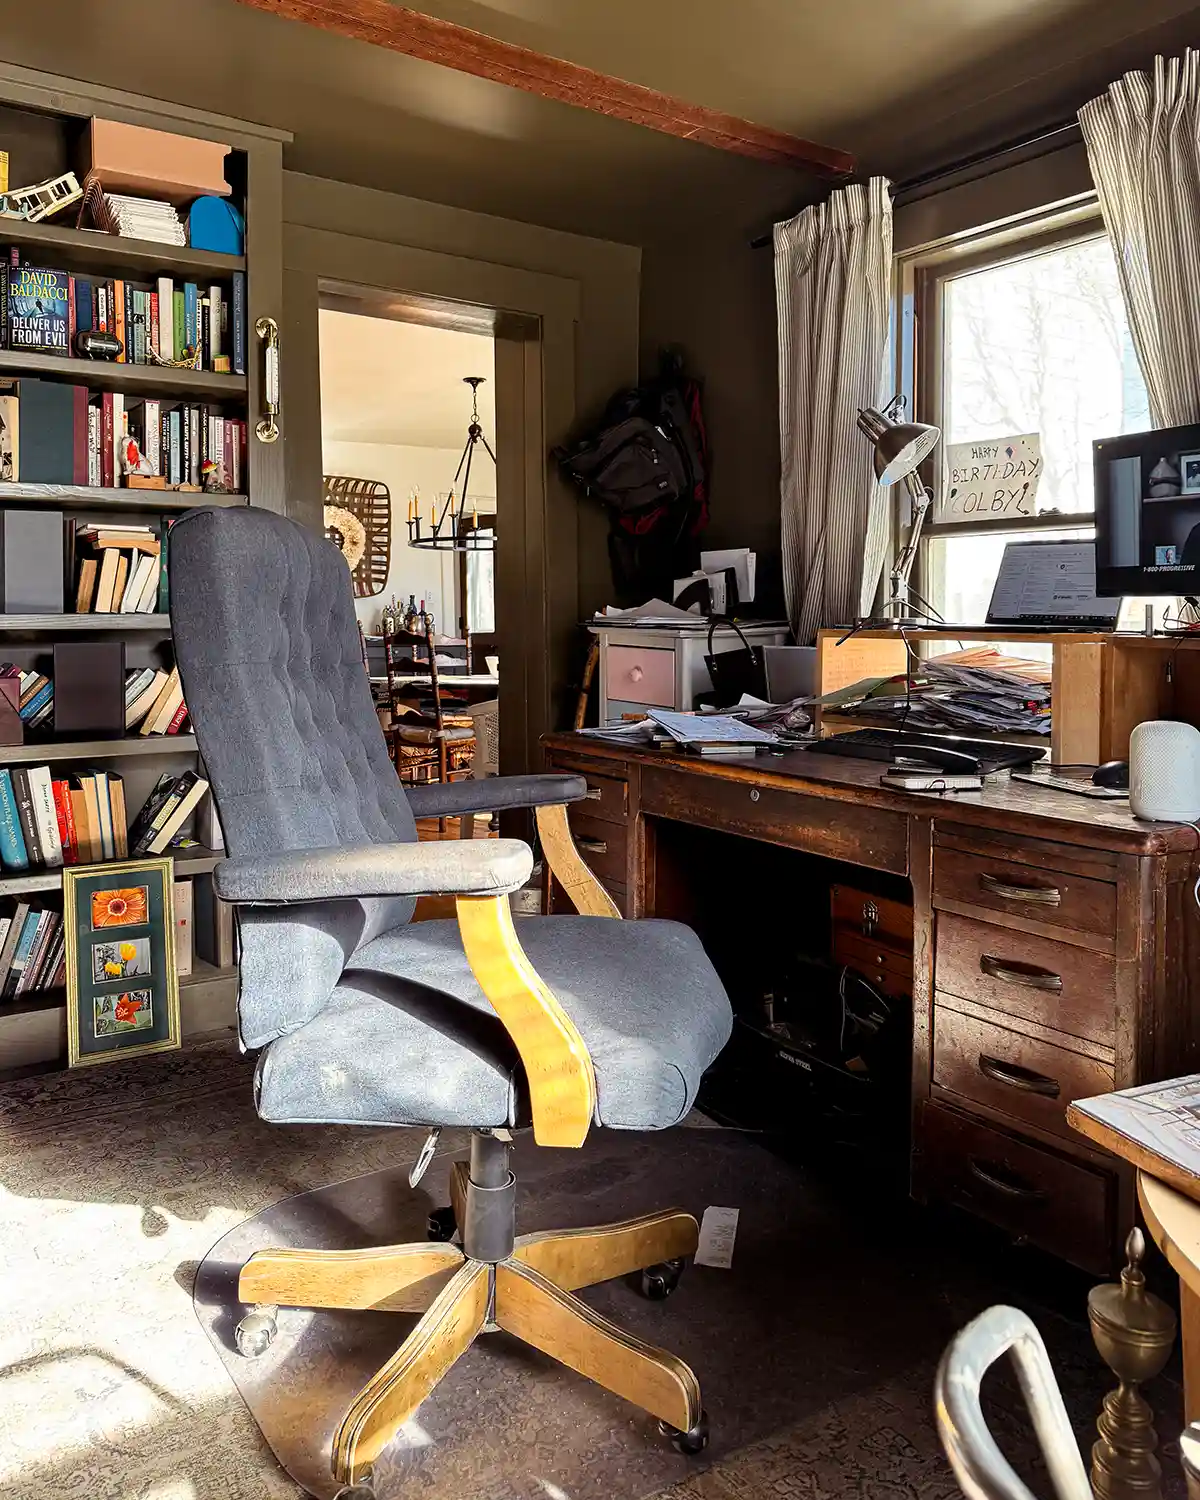
In our home, we turned the vintage keeping room (the room in old 1800s homes that had the fireplace to keep everyone warm in winters) into a home office. It’s not just a home office, but a multi-purpose space. A space to work, store books, house guests, and play guitar. Although its primary use is as my husband Colby’s home office. He works as a road salesman and needs a solid home base to work from. While I don’t work from the home office since I blog from just about every comfy corner of our home, I do use this space as a communal office supply location, as do our children.
A little history about our family dynamics that is relevant here. I’m the clean, organized member of the family, and Colby admittedly is not. When Colby first moved into the keeping room to use as his home office, he agreed to keep it tidy since it is the “pretty Christmas room” in our home. The space has been slippery-sloping into a clutter-filled demise for a few years now, and it’s time for a good cleaning and decluttering, which he’s been doing with me. Let’s give it the old heave clean ho.
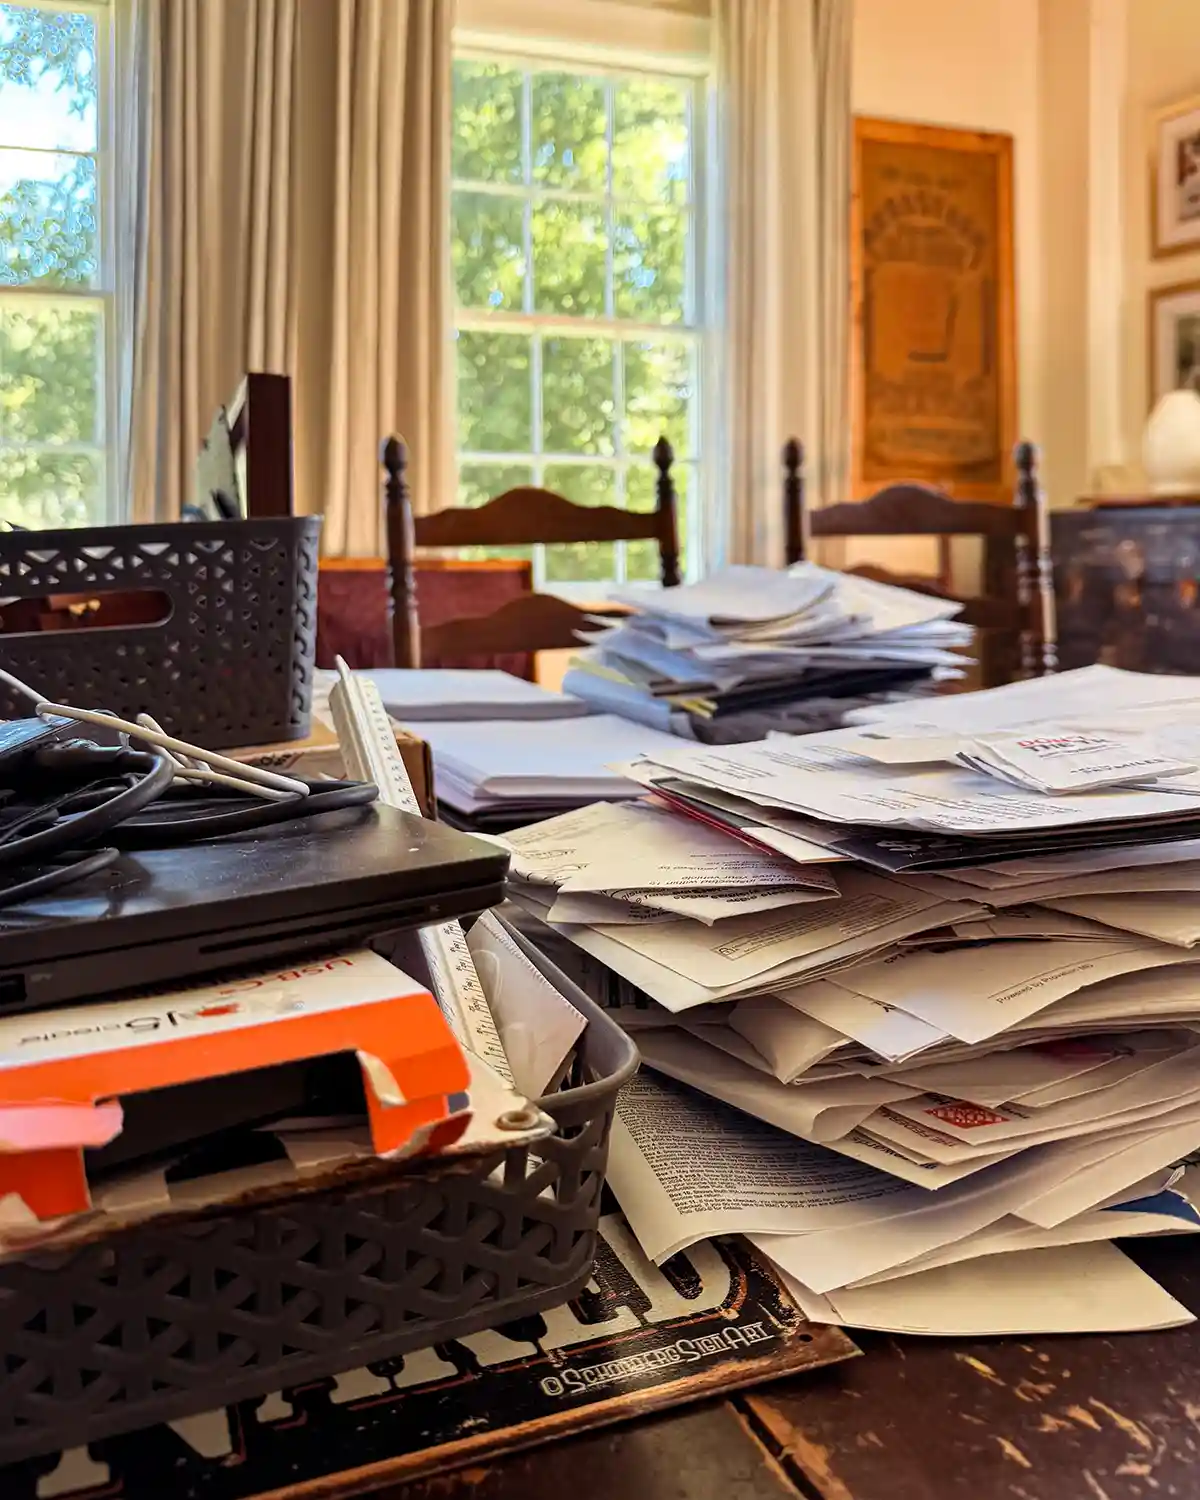
One last before photo before we start. Full of all the “things that don’t belong,” along with a super messy desk. Now let’s declutter.
Determine The Purpose Of The Space
So many home offices are more than just a home office. Show of hands. Who has a home office that doubles as a guest room? Or playroom? Or (true story) I once had a home office in the laundry room during pandemic times. Inevitably, the washer would always be on spin during Zoom calls.
The first step of a home office decluttering project is to determine the purpose of the room. Yes, it’s a home office, but what other use does it have? The place where broken toys are repaired (true for our space)? A home library? Music room?
Decluttering is all about removing unnecessary items so the important things have room. If you haven’t defined the purpose of the space, how can you start removing items and decluttering? So give it some thought before you get down to the physical work. How do you want your home office to function? What’s your work style? How can you use the space to function best for you and your family?
Sweep The Space For Obvious Trash
My favorite first action step for decluttering any room is to do a sweep for any obvious trash. It’s amazing how just a trash sweep can make a space feel better. And any decluttering step that makes you instantly feel good is the best way to start and keep momentum going. So grab a trash bag and breeze through that messy office, tossing anything that needs to go.
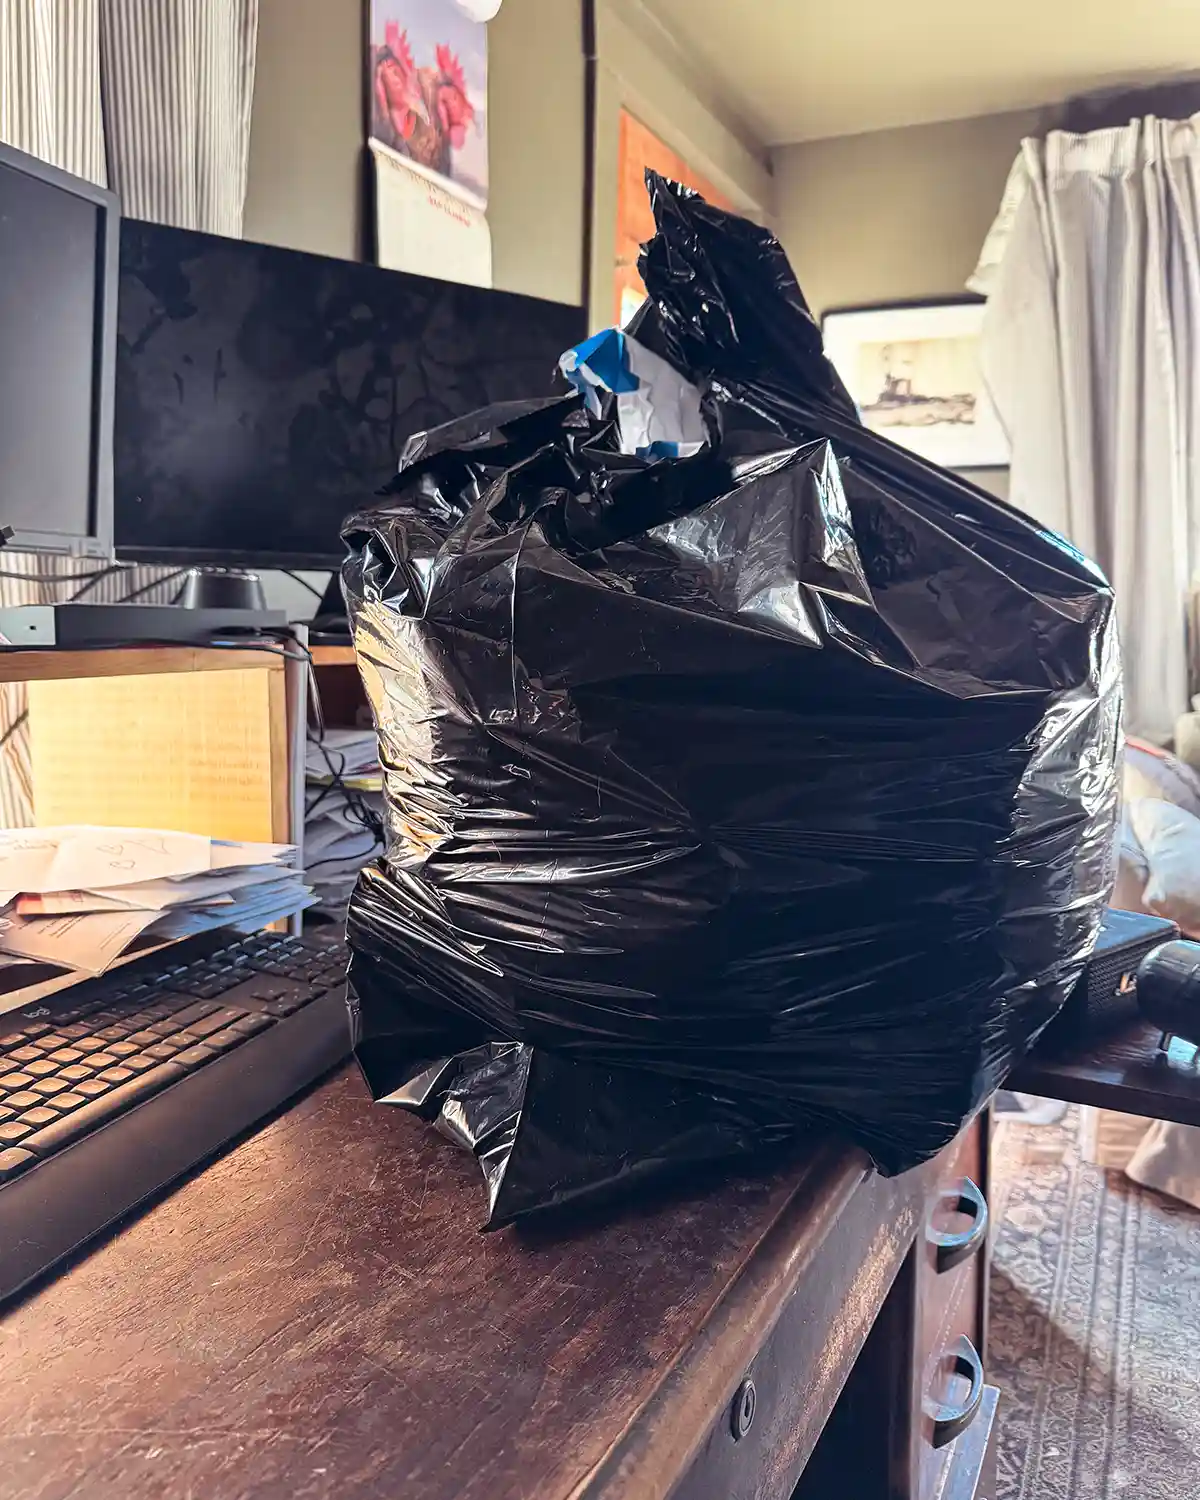
Don’t worry about getting too in the weeds at this point; just toss as much as you can. Open a drawer and get rid of all those broken pens and pencils. Recycle the printer box that’s been sitting there for three years, because what if you need to return the “new” printer? And toss that junk mail.
The amount of paper trash we gathered from Colby’s home office while doing a trash sweep was unbelievable! The junk mail, old magazines, out-of-date product catalogs for his job, house plans for completed projects (Colby is a window and door salesman), and other unneeded papers piled up quickly.
There, doesn’t that feel better?!
Work Through Non-Home Office Zone Items
Since home offices have several other purposes, which we defined a couple of steps above, let’s declutter the non-office space stuff first.
Start by gathering any items that don’t belong in the room. For example, in our space, we defined the zones as home office, guest room, book storage/reading room, and guitar room. Anything that does not fit those categories needs to find a new home.
So the pile of stuffed animals in the corner? Trucked those off to the playroom. The decor and furniture I picked up from the thrift store, and haven’t found a purpose for them yet? Up to the attic until I’m ready for them.
Once the obvious things that don’t belong are gone, go purpose by purpose, and start letting go of what isn’t needed.
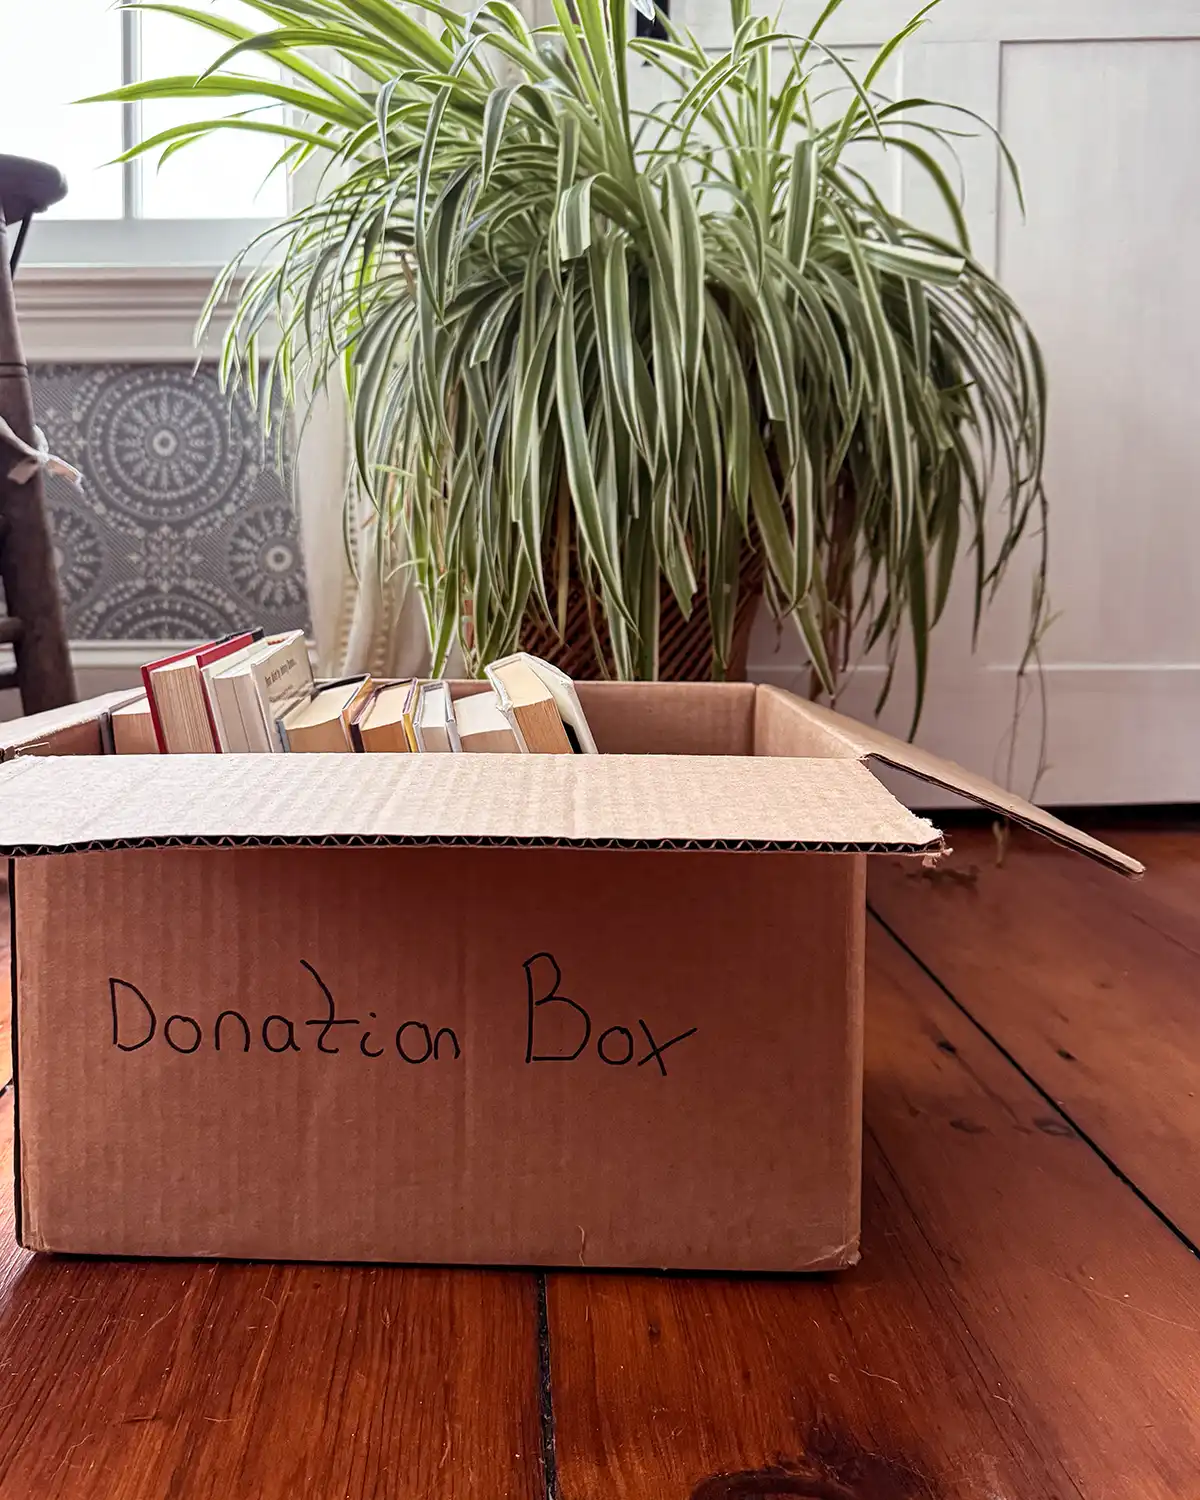
For example, a big section of our home office is dedicated to books. So I took some time and decluttered the books in the room.

Another purpose of the room is a guest room. We tried to declutter guest room items, but realized we are woefully lacking in amenities and things for guests in this space. Note to self, when working on the keeping room project and design plan, up the guest room ante and add some basic amenities and a dedicated set of bedding to store in here for the pullout sofa.
Let Go Of Items For Your Fantasy Life
Now is a great time to let go of some of those items you’ve been holding onto for your fantasy life. This step can be hard, so if you want to save it until later, that’s fine too. Sometimes you need to build the decluttering muscle a little bit first.
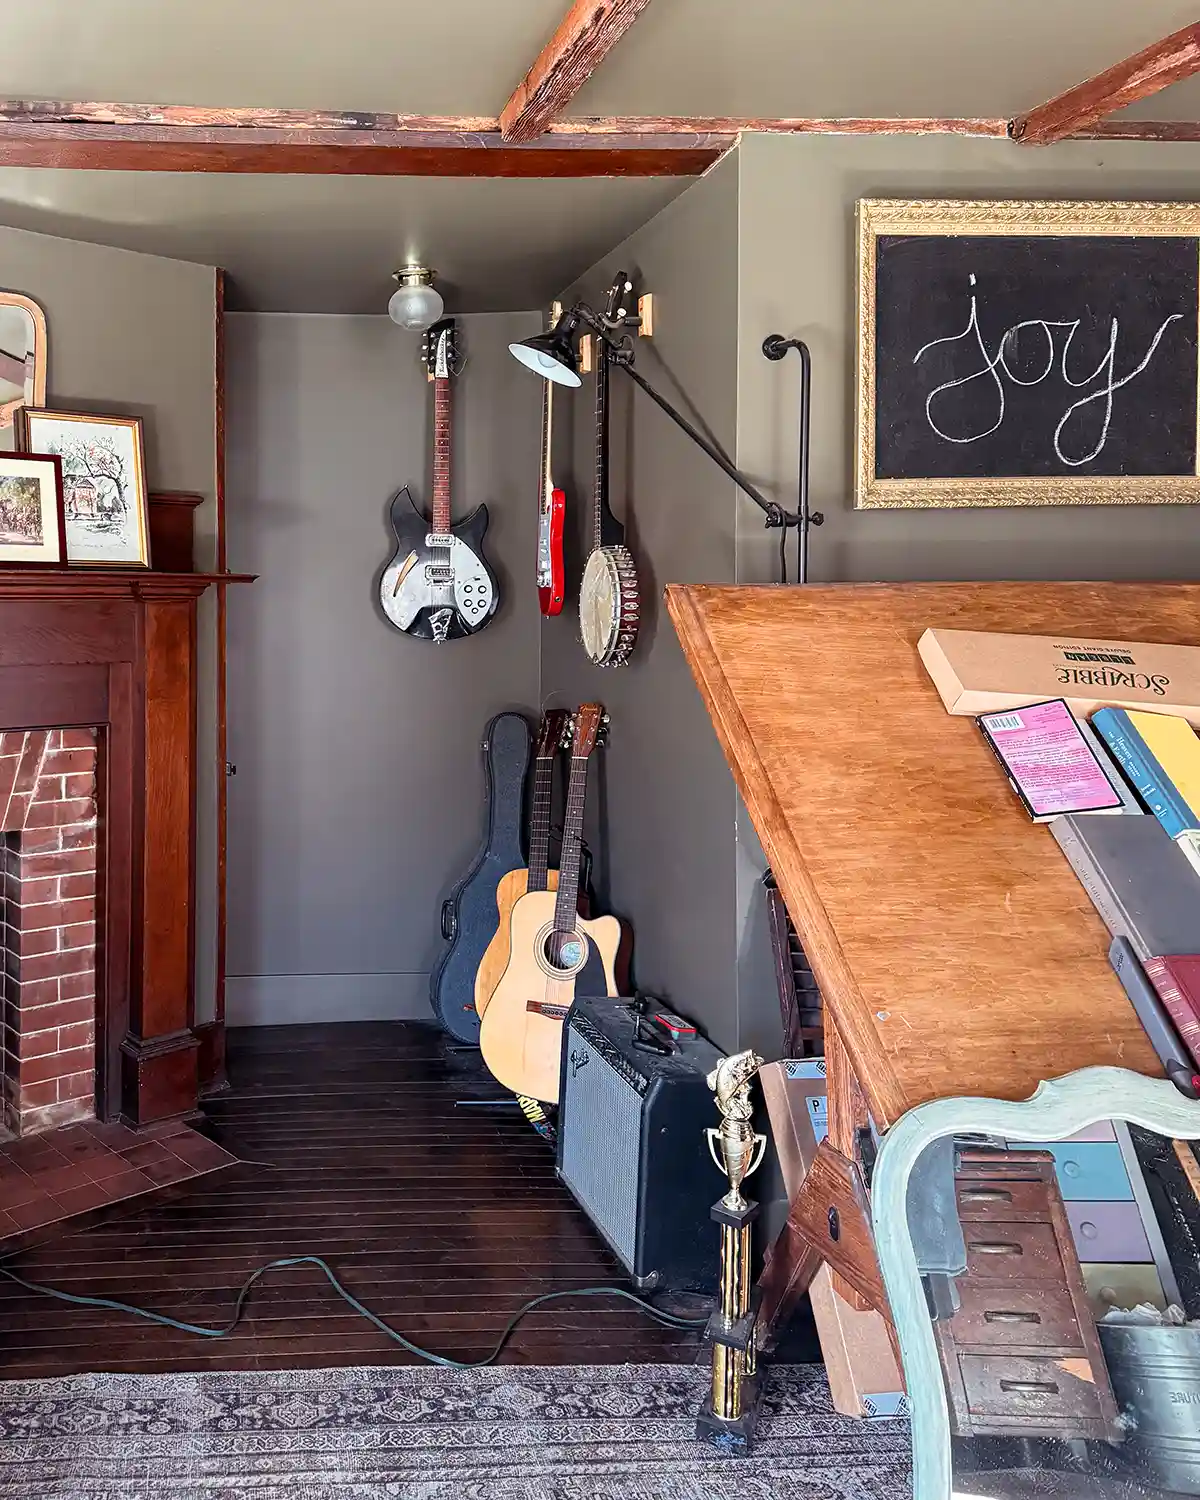
While Colby and I were going through the room, we found a few things, all bulkier things, that didn’t really fit the life we’re living now. One was a banjo in need of repair. Colby is a guitar player. He’s damn good (don’t let him convince you otherwise) and loves it. He’s been holding onto a banjo he picked up at a yard sale, along with the parts to fix it, for four years. He fantasized about repairing the instrument and learning how to play. He realized he doesn’t even have time to play his guitars right now, so why hold onto a banjo?
Another was a telescope. He and the kids received it as a Christmas gift many years ago. They’ve used it twice. In his fantasy life, he gazes at the stars with the girls. But the kids have no interest and are typically in bed before the stars come out. The telescope has found a new home.
Office Zone Decluttering Steps
Now that we’ve gotten rid of obvious trash and decluttered the secondary zones of the home office space, it’s time for the main event. Break out your inner wrestling MC voice, send the desk and filing cabinet to their respective corners of the ring, and let’s tackle the daunting task of decluttering the office zone.
For me, this was an incredibly overwhelming task. Oh the paper piles! And when tasks are overwhelming, it means I need to break them down into small, easy steps.
1. Designate An Office Decluttering Staging Area
Pick a spot close to your office that can work as a staging area or decluttering work zone. This will be a spot where everything office-related will be relocated for sorting and decluttering work to happen. Maybe it looks like using a separate room. Or maybe it’s setting up a large folding table in the office. Just make sure it’s a space that’s handy and can be used for a bit.
I prefer to have a large table to work on, and thankfully, our dining room is right next to the office. So I cleaned up our dining room of the kids’ art projects and set up my office decluttering work zone.
2. Empty The Office
The next step is to remove absolutely everything from the office. Well, maybe not everything. The desk and printer, filing or storage cabinets can all stay. Anything large and bulky or super inconvenient to move can stay in the room. We’re going to remove all the smaller items and take them to the staging area for decluttering work to commence.
Open all those desk drawers, especially that office junk drawer, and grab every last pencil. Empty that filing cabinet and pull out all the file folders and important documents. The boxes of unopened mail and piles of paper stacked on a side table? Those come too. The goal is to bring everything out of the home office area.
Leave no storage cabinet unopened or piles of paper clutter stranded. Everything office-related is coming out.
Now, instead of a cluttered office, I had a cluttered dining room. Huh. But this is where the real work begins.
3. Categorize All The Things
At this point, it looks like we’ve created a monster. And we partly have. But our next step is to tame said monster and categorize every single thing that came out of that space. Your categories may look something like this:
- Tax documents
- Work documents
- Other personally important paperwork
- Checkbooks
- Unopened mail
- Miscellaneous papers
- Office items (like rubber bands, paper clips, sticky notes, staples, etc.)
- Office tools (like scissors, stapler, staple remover, etc.)
- Printer paper
- Notepads and notebooks
- Printer supplies
- Label maker and supplies
- Cords
- Electronics
- Other random items
Make space in your staging area for each of these categories and others that may be specific to you. For example, because Colby works with house plans on the regular, one of our categories was “House Plans.” Most people won’t have that category, but I bet everyone has a category that’s very specific to them.
If it helps, you can also break out some of those brightly colored sticky notes and label each of your category spaces. Although that’s being very extra and I realize that.
4. Give The Office A Quick Scrub
While not a decluttering task, is there really a better time to give your office space a deep clean? There’s nothing there! Wipe down the desk, clean the drawers, and wipe that hard-to-reach nook behind your computer monitor.
5. Declutter Category By Category
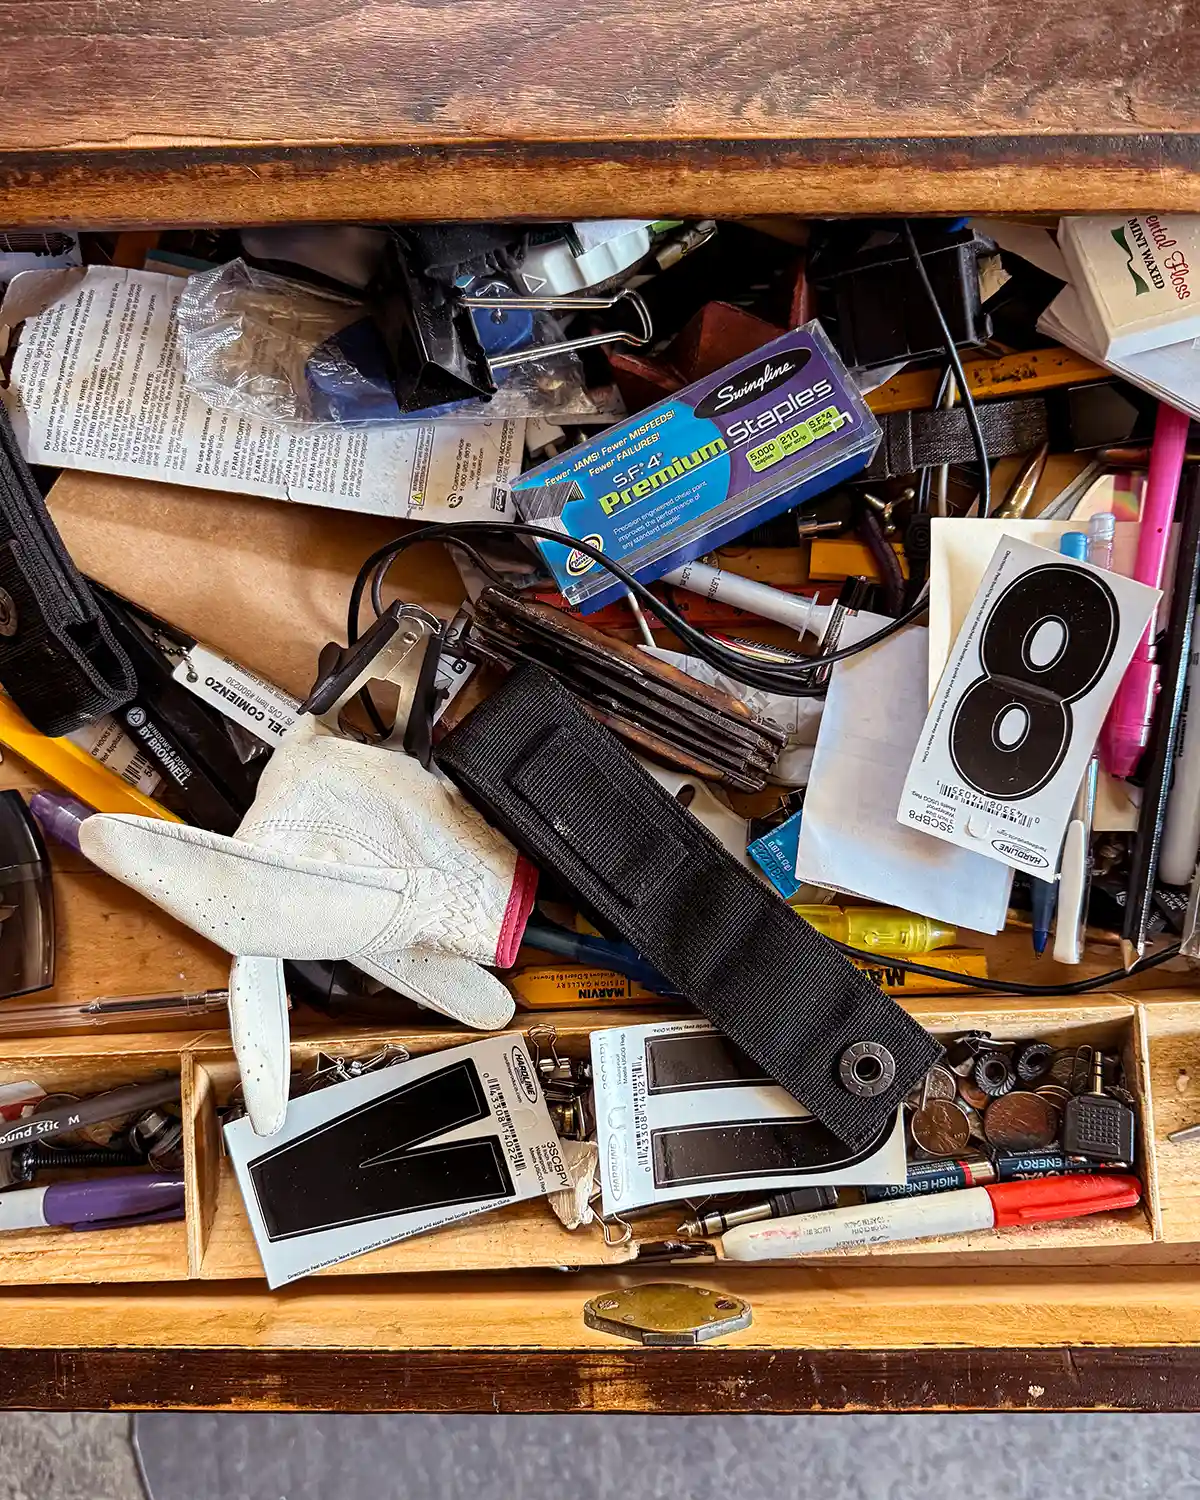
Pick one category to start with. Maybe the easiest category, if you feel like a warm-up is in order. If you’re a seasoned pro, go for it and tackle the important papers! Me…I’m starting with our excessive amounts of office supplies I pulled out of the desk.
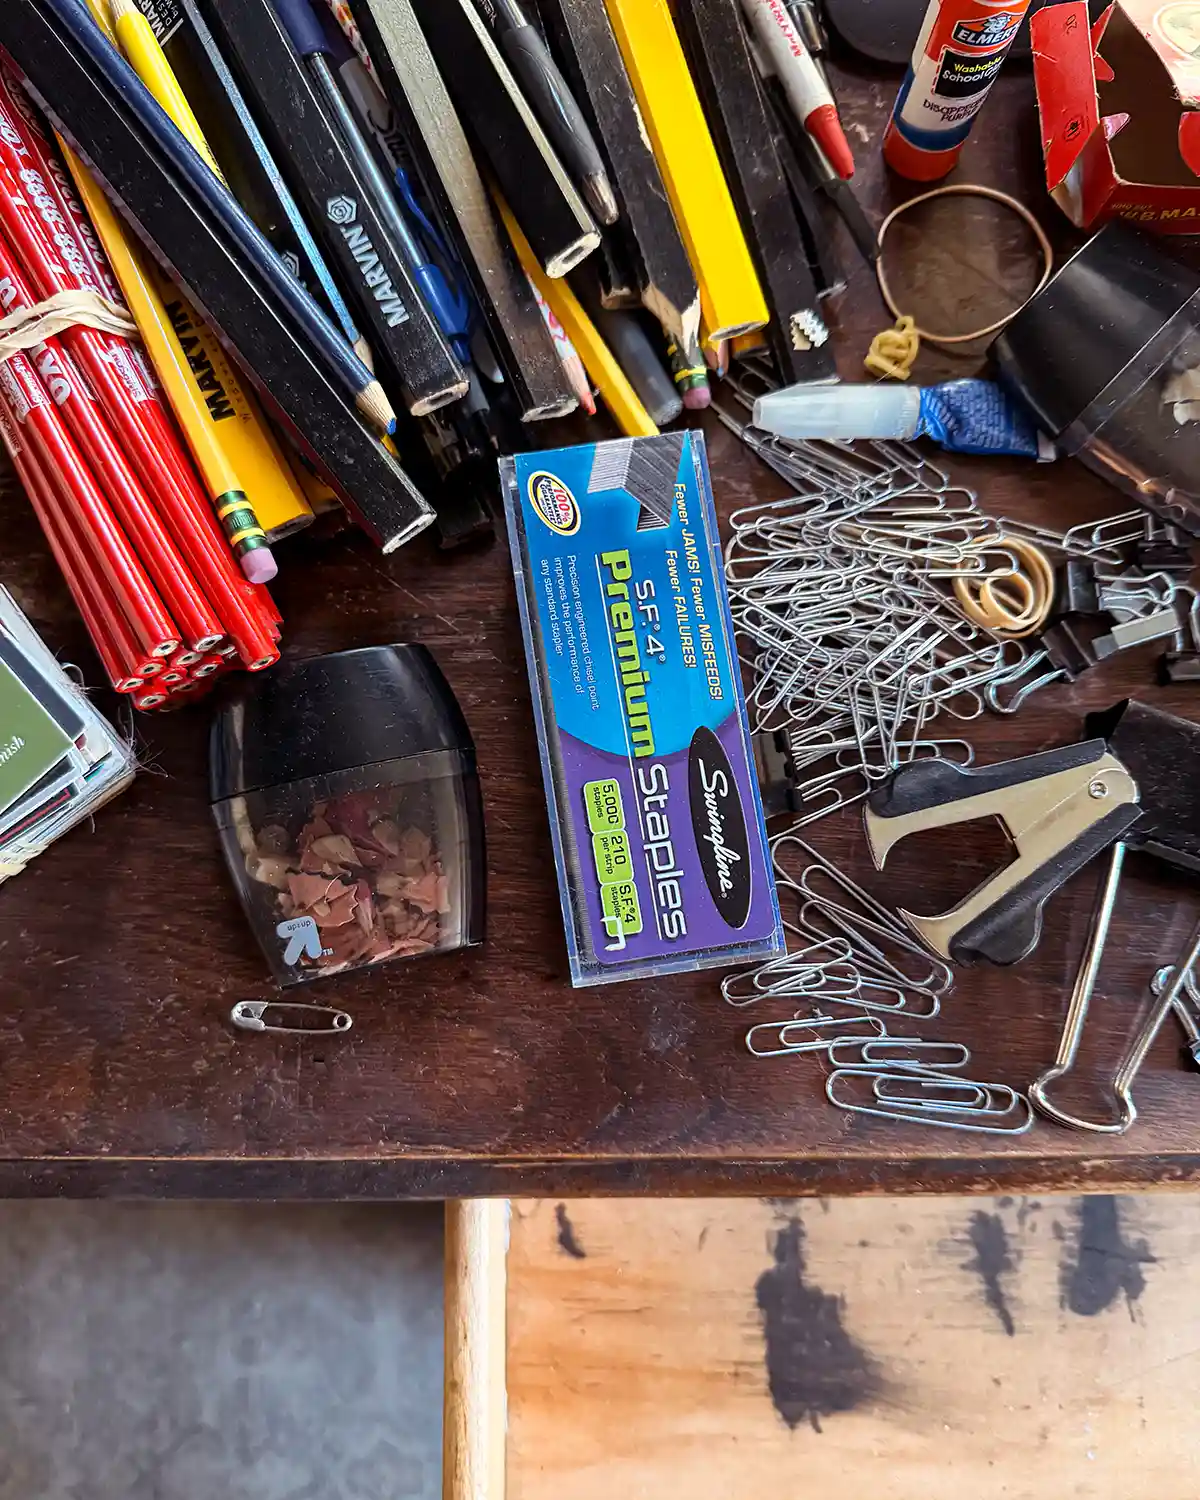
Go through that category ruthlessly and get rid of anything you don’t truly need. I started with the office supplies because I love a good softball to get the game going. Did we really need 73 pens and pencils in the office when we use our favorite five every day? Nope. Extra pens gone. I kept about a dozen total in the pens/pencils/Sharpies category. Although, I separated Colby’s business pencils. They’re like business cards in pencil form that he gives out to contractors.
After you’re done decluttering a category, get rid of the items you don’t want immediately. And by this I mean either toss them in the trash if they’re not worthy or pack them up and put them in your car to take to the donation center. By no means do decluttered items stay in the house. They will find a way back into your desk drawers if not immediately removed from the premises.
For the things that stay, return them to your home office and find a spot for them. Don’t worry about having the perfect organizational system just yet. Work with what you have, and you can address your filing system or organizational system at another time.
Continue working category by category. Before you know it, each little decluttering task will be done and the keeper items returned to your office.
At this point, your office should be feeling lighter, more usable, and the kind of space that inspires work. That is, if you enjoy your work (it’s me…hi). It may not be organized to your specifications, but before you can organize, it’s important to declutter first. It’s the most important part of organizing.
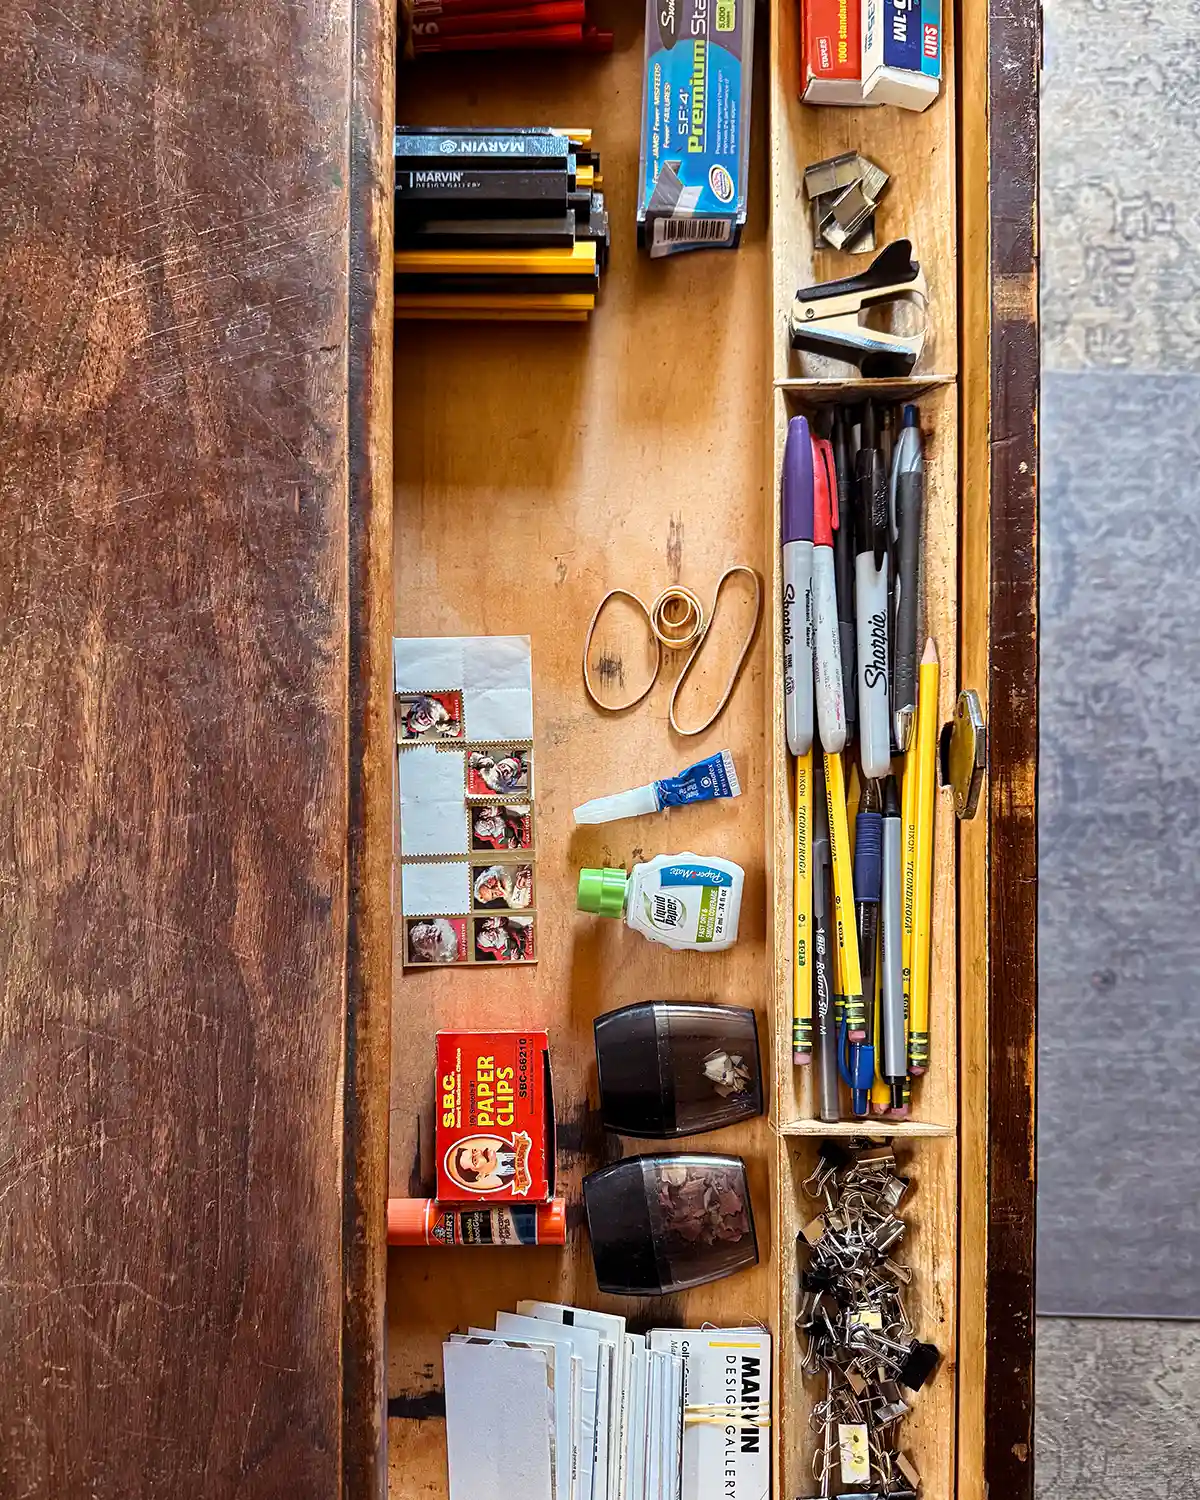
For example, here’s the office supplies returned to the desk drawer. These are all the supplies we kept, and we didn’t need a desk organizer to make it work. Someday, I’ll likely pick one up to keep things from rolling around the drawer, but this works for now. The important part is that it’s decluttered.
Other Office Decluttering Tips
Before I leave you to declutter your home office space, here are a few extra decluttering tips for tackling that messy home office.
Enlist Family Members To Help
Get the family on board to help with decluttering. At a minimum, include the family members who use the space. Colby and I decluttered the room together, which was so helpful. We both had contributed to the clutter, so it was both of our responsibilities to clear it. It was really bad in there, so the extra helping hands were appreciated. Also, we learned we each had our own hoards of paper clips, staples, and rubber bands. We will for sure survive any paper clip shortage between now and the end of times.
Take Your Time
While you can declutter a home office in a day, or maybe even an afternoon if it’s small and not too bad, don’t rush through the process resenting it the whole time. Nobody wins in that instance. It took us a couple of weeks to finish the job. Go at your own pace and tackle it a little at a time. If you do take it slow, two suggestions.
One, keep the space usable. Don’t make your work hours any harder than they need to be. Keep your important papers and materials for your job available with a space to do them in.
And two, don’t use “take your time” as an excuse to procrastinate. Actually declutter the space and make consistent progress. Even if it’s just one tiny little baby step every day.
Make A List And Go One Step At A Time
If the decluttering task at hand feels overwhelming, hit pause and take some time to write out a list. Make each task a manageable, less overwhelming one. Then tackle just a little bit in small pockets of time.
Take breaks when you need them, but keep coming back to that list, checking off one thing at a time. By the end of the day, you’ll have tackled way more than you thought you could.
Keep The Space Usable
As hinted above, since an office is a hard-working, functional space in the home, you need to keep the work area usable for when it’s time to tackle the work. No one wants to sit down to take a client call to find all the pens MIA and no notepad for jotting down important info. It’s not just about keeping a clean workspace, but a functional one. So at the end of each day, or decluttering session, be sure to return the office to usable.
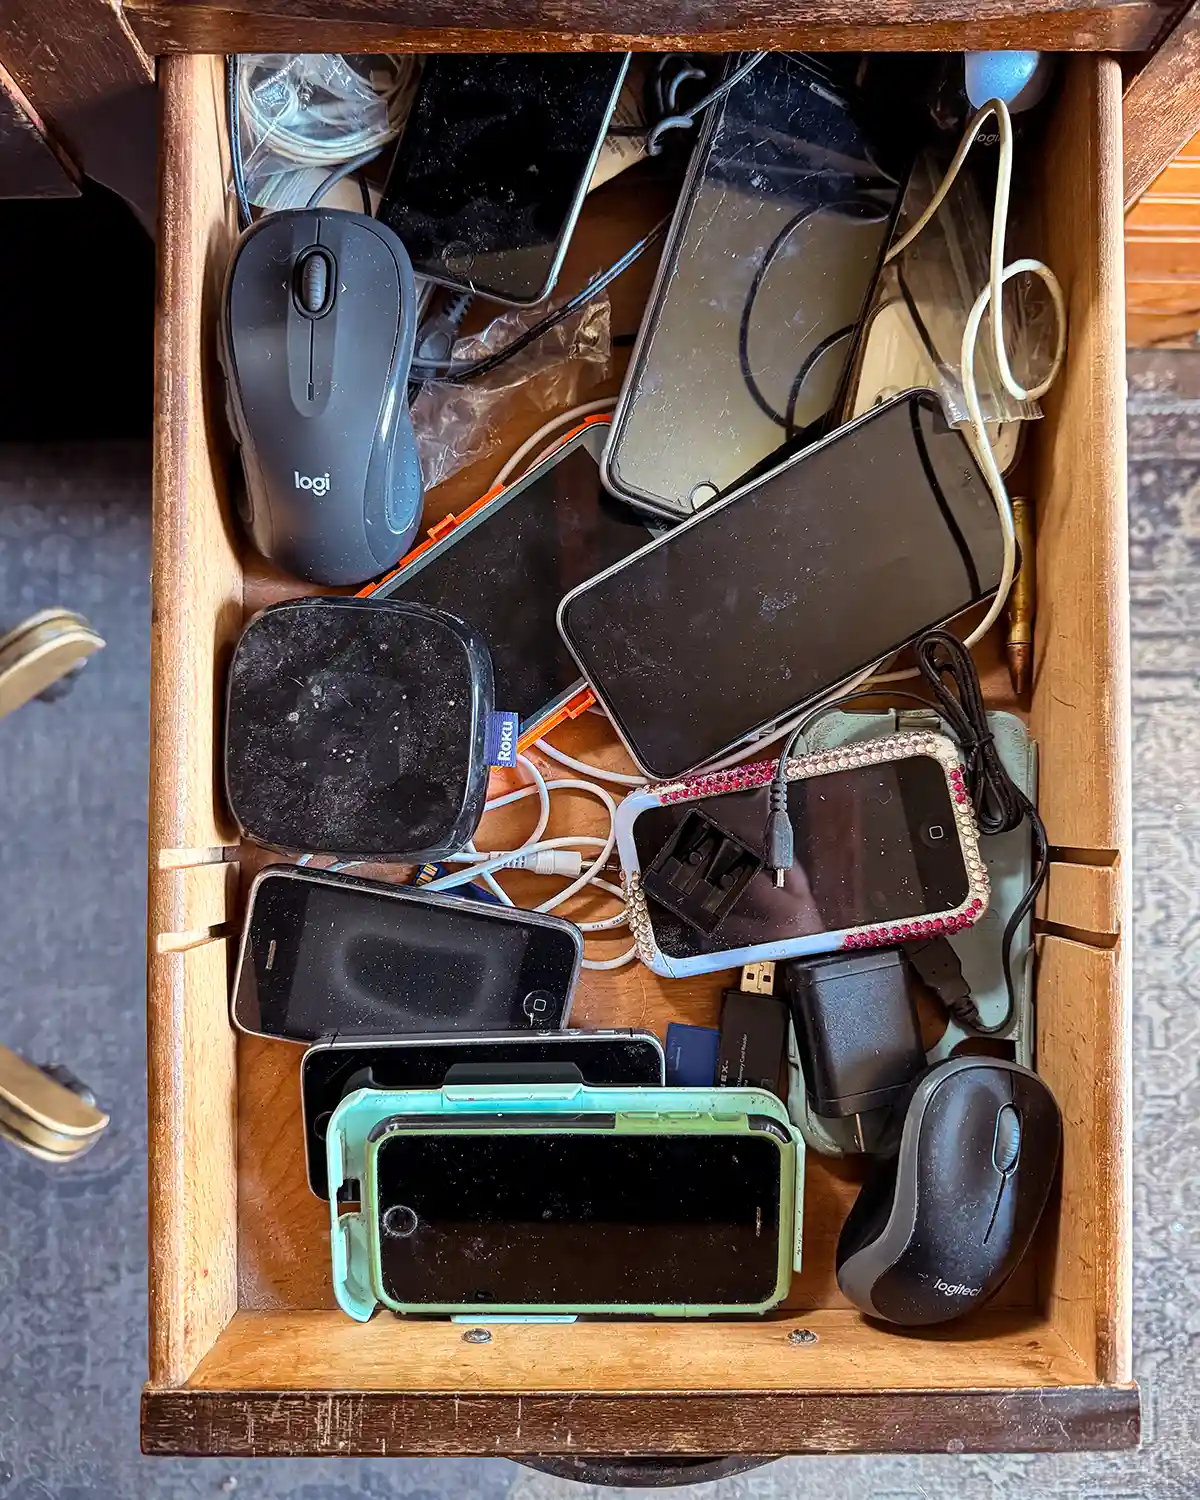
Address The Electronics
Be honest with yourself about the cords and electronics. And repeat after me, you do not need all those old wireless devices. Seriously, a little louder, “I do not need all my old wireless devices.” You know what I found decluttering? Just about every cell phone Colby and I have ever had, from the beginning of time. I found eight in Colby’s desk drawer and three more in the attic. Who remembers the old school Nokias?!
It’s not just about cell phones; it’s the printer that doesn’t work (removed one of those ourselves), or the laptop chargers for computers you no longer have that you’re saving just in case they work with a future computer, or broken mice. We hold some sentimental value for many of our old, outdated electronics, and it can be hard to let them go. Find a good electronic recycling drop-off spot and set them free. Believe me, it feels good afterward.
At least the phones entertained the kids, who could not believe that early cell phones were used only to make calls and play the snake game. Good times.
Save The Home Office Organization For Later
The sexiest part of most organizing and decluttering projects is the part where you set up all the fancy desk organizers and storage containers that you just picked up from The Container Store. Honestly, it’s my favorite part of any decluttering and organizing project, but it’s the carrot dangling to get me to do the unsexy, grunt work of decluttering.
The best solution for organizing a home office space is to get as much clutter out as possible FIRST. Don’t buy the computer paper organizer first. Once you declutter and see what’s left, the things that truly need organizing, you’ll know exactly what you need. And honestly, you probably have all the organizers you need.
Address Computer Files Later
Decluttering computer files, while also an important decluttering step, is another project for another day. I know we are all drowning in digital file overload, but let’s just focus on the physical clutter in our home offices first. After all, outer order, inner calm.
Once your physical space is clear, then tackle the digital clutter.
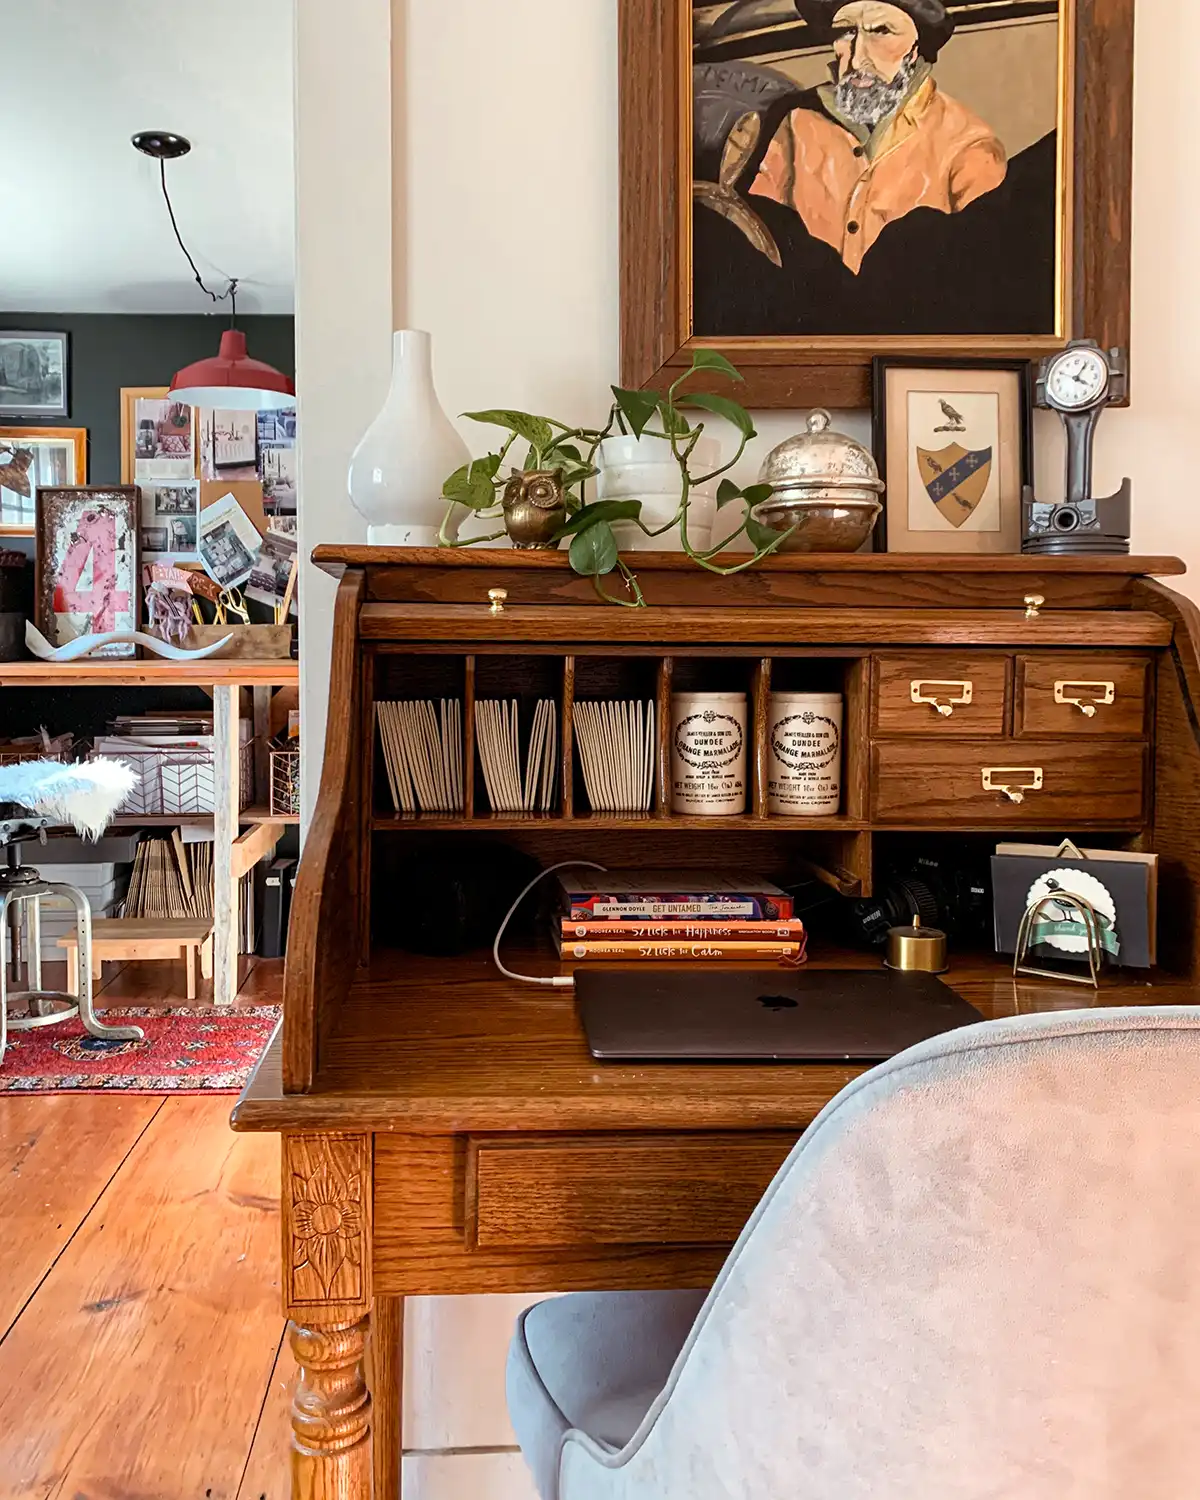
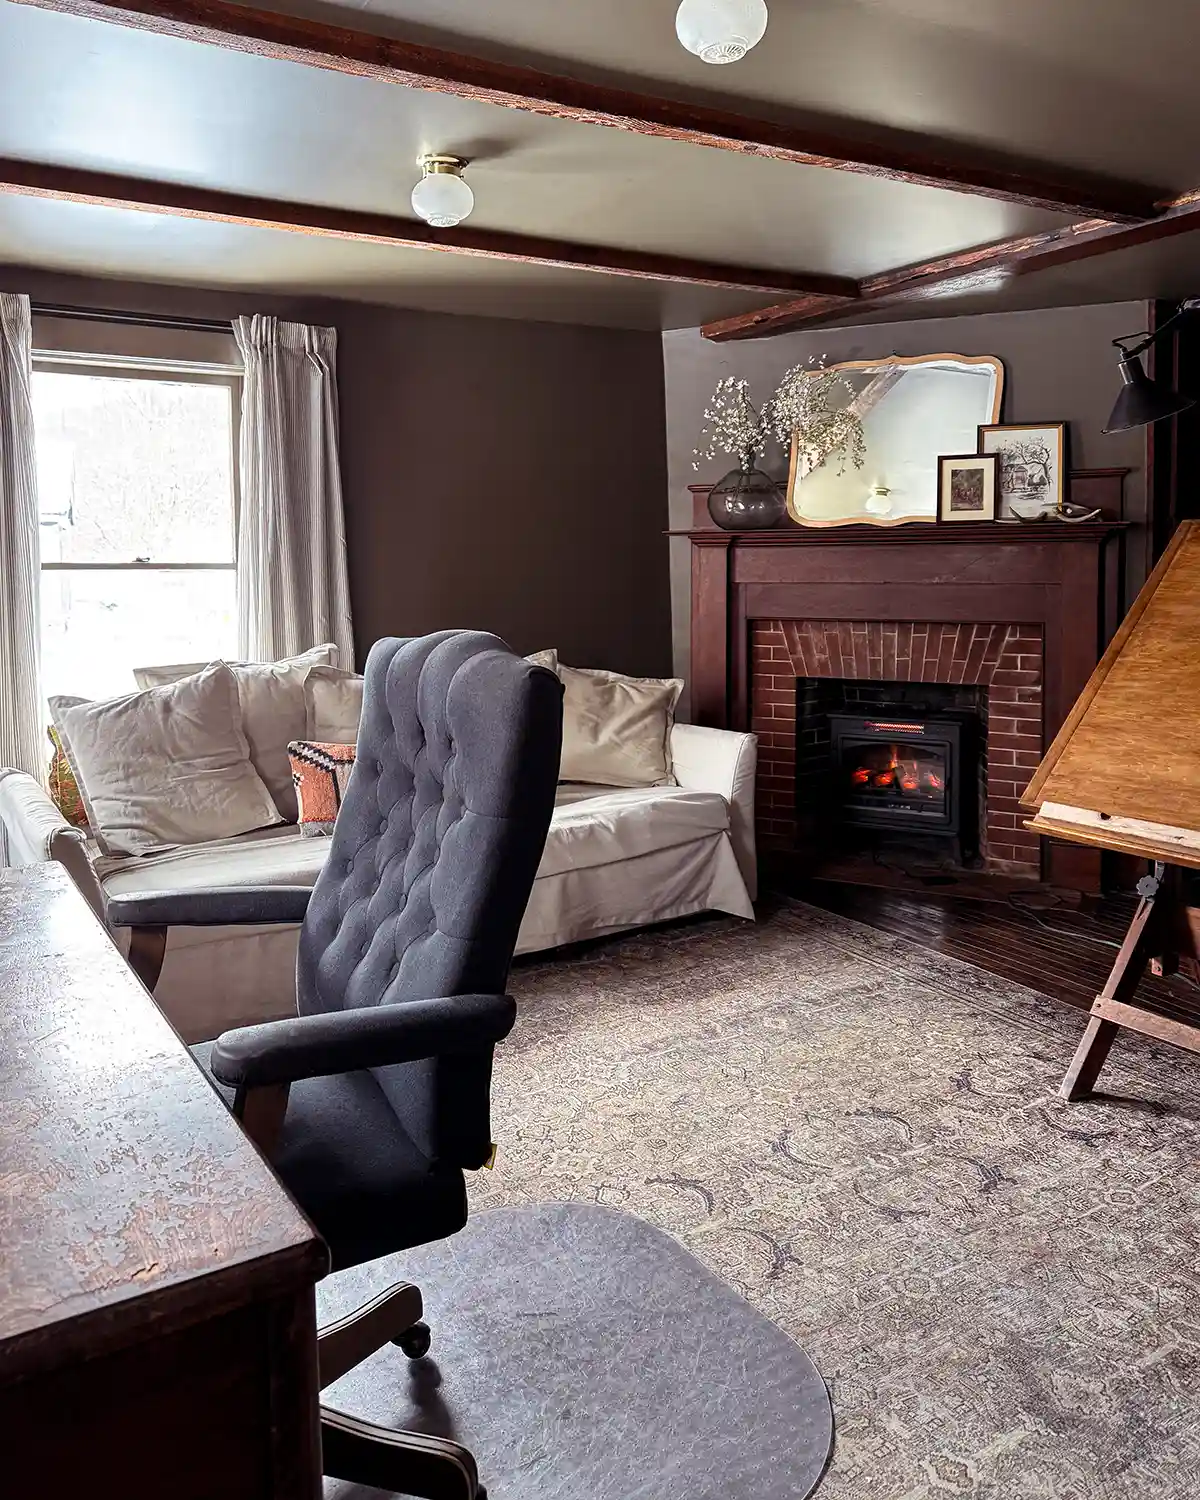
Meet Our Decluttered Home Office
Before we part, I leave you with our freshly decluttered home office desk space. Isn’t she a beauty?!
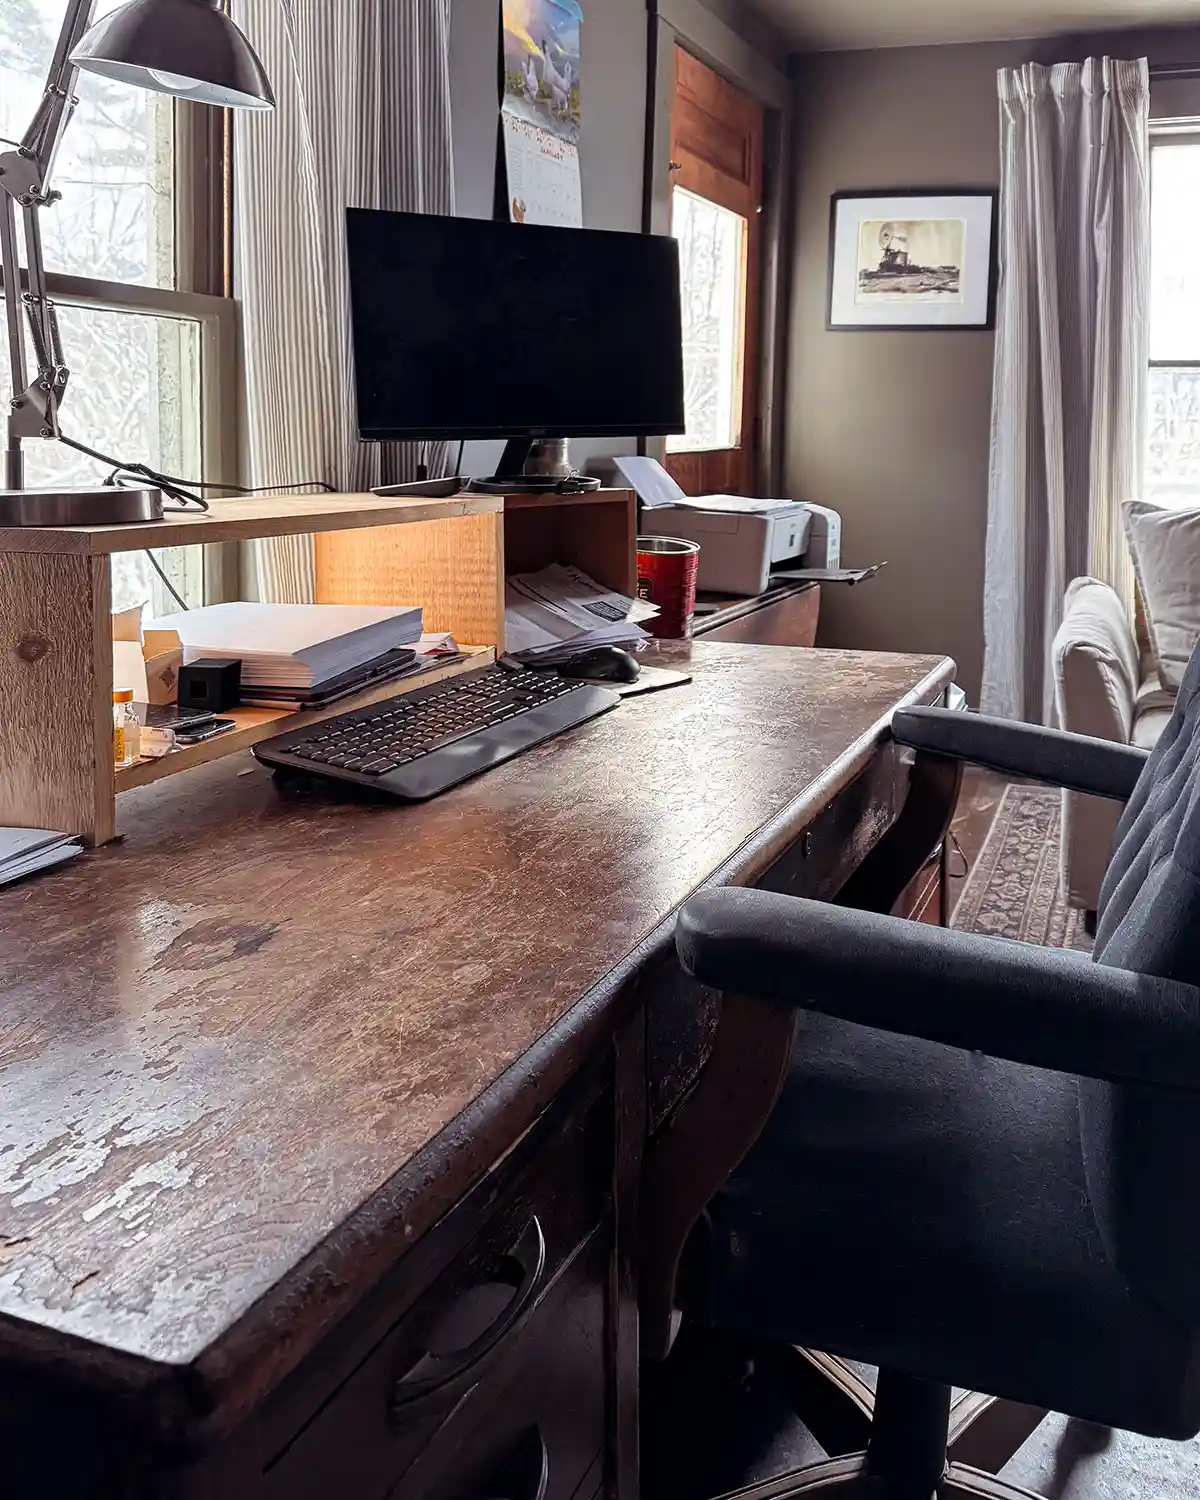
It may not be pinnable just yet, but it’s already so much easier to work in here and find things thanks to decluttering our entire home office. Seeing how Colby works at his desk now is already cuing what types of organizational systems would make it function better for him. Like a storage spot for computer paper that isn’t underneath his monitor. And some storage system for in-process paperwork for his job, instead of the piling system he’s currently using.
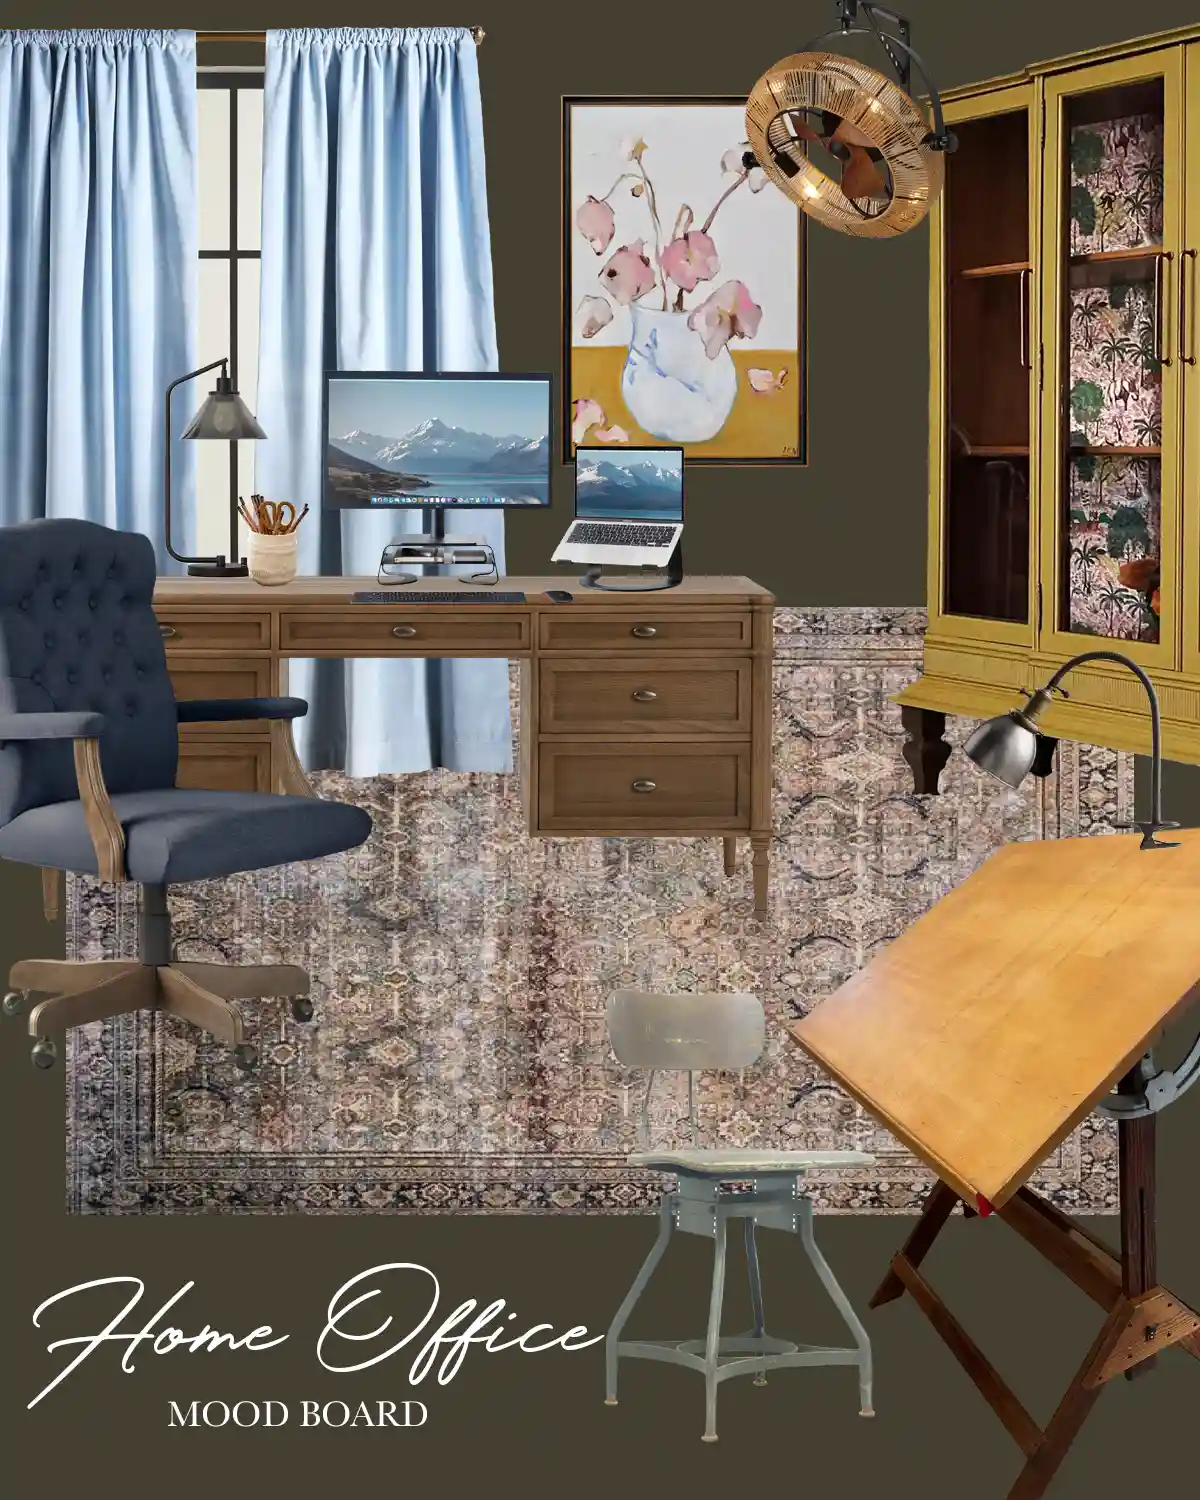
I have plans to really finish off this room, and the first BIG step was clearing it out and cleaning it up. Now to assess our organizational systems, find some big ol’ art for the walls, thrift some furniture, and organize it all!