Building a DIY shed roof isn’t the most beginner-friendly DIY project, but it can be done with preparation and education. There’s a lot to consider when building a roof, and how you do it all depends on the specifics of your project.
While this post isn’t a detailed how-to, it’s more of an overview of how we built our replacement shed roof. BUT it’s full of all the tips and tricks I’ve gathered from my husband Colby, our resident roofer and construction guru, who has logged 28 years of experience in the construction industry, including five years as a framer.

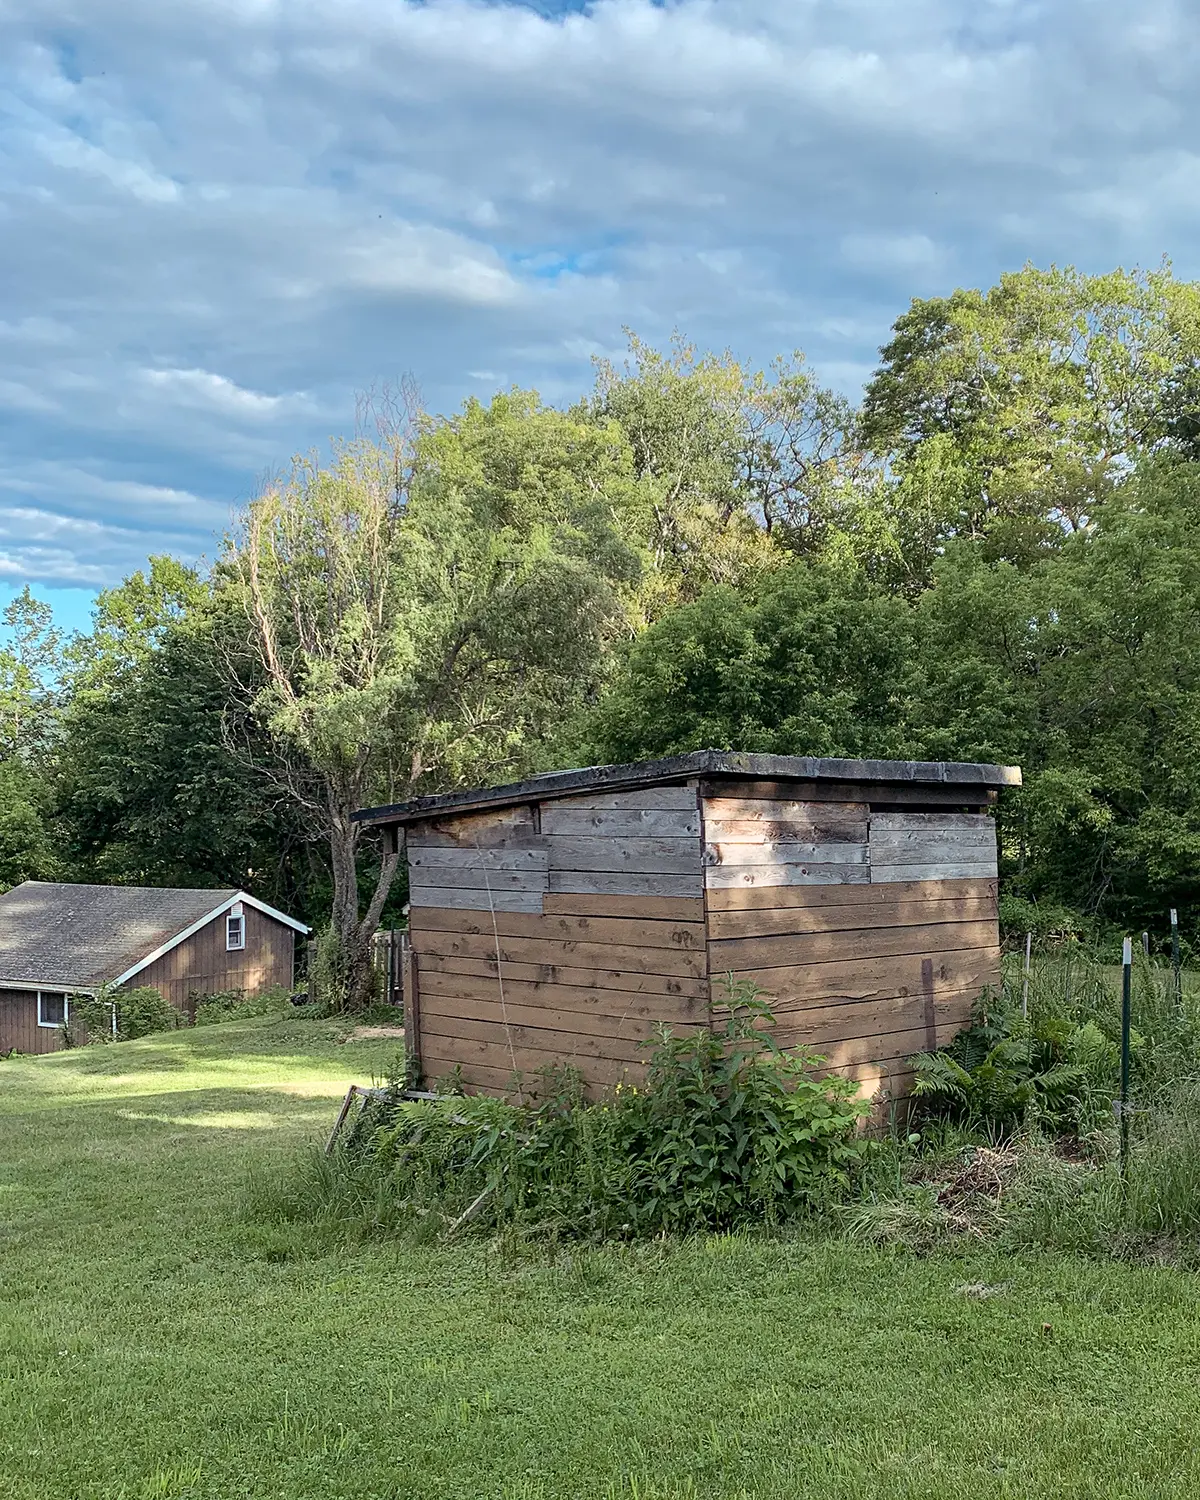
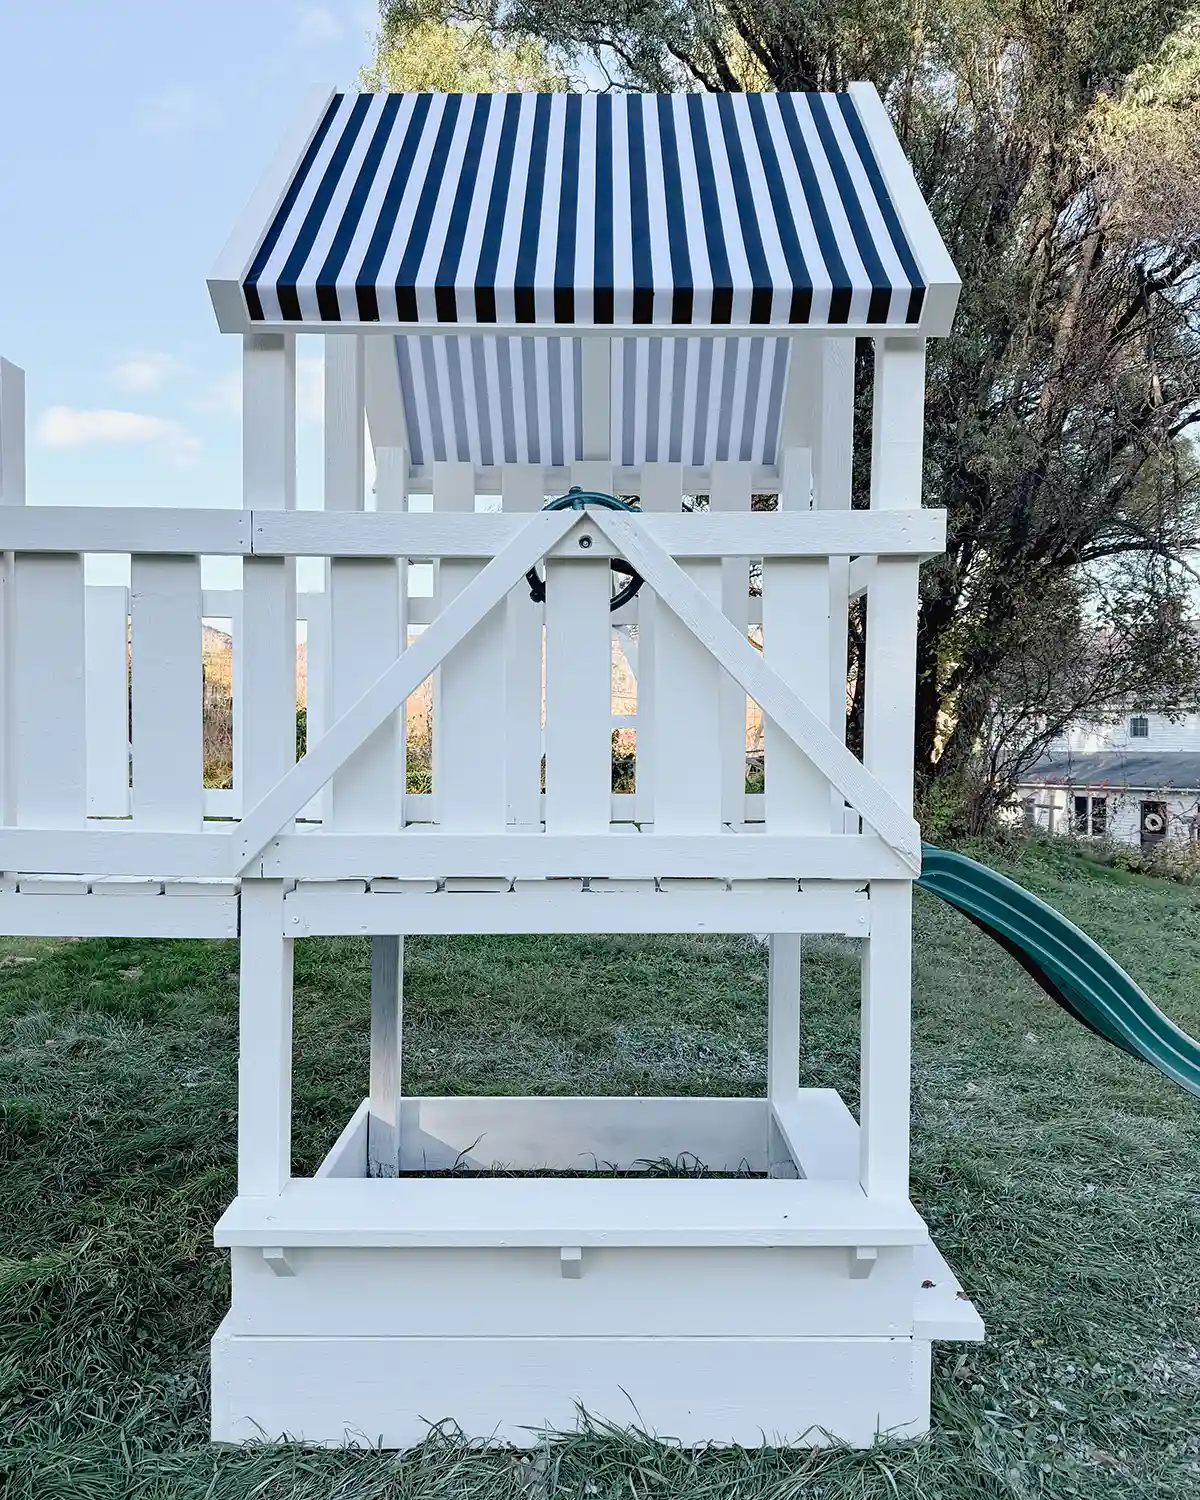
We’ve been working on converting an old, pent roof (single slope roof) shed into a playhouse for our girls, and one of the first steps in the process was replacing the roof. The old shed wasn’t tall enough, and we didn’t love the existing roof style. The existing structure would look much better with a pitched roof. Plus, the old roof was rotting and falling down. Minor detail.
While this post isn’t a step-by-step tutorial for how to build a shed roof, it is a basic guide for how to build a basic, pitched style of roof, along with ALL the tips and resources we used to tackle this project. Like a dear diary of this is how we did it. All shed roofs are different, with different materials, slopes, etc. It’s far too complicated and project/location dependent to do a step-by-step tutorial.
Before we start, most areas have building codes to abide by, many of which include sheds. We live in a rural Vermont location that does not have building codes. Abiding by your municipality’s codes is an important consideration, scratch that, THE MOST important consideration. So look them up and make sure you’re following the letter of the building code law. And getting a building permit if you need one. So for our project, we’re building it to our personal preference, making it as sturdy as we deem necessary. How you build yours is up to you and your specific building codes.
Start With A Sturdy Structure
Before you can build a sturdy roof, you need to start with a sturdy structure. This is especially true for us since we were starting with an old shed in the early falling down stages. The old roof was falling in, so we started by taking it off and assessing the building materials left behind. This is where we started with our roof building. A demoed old shed.
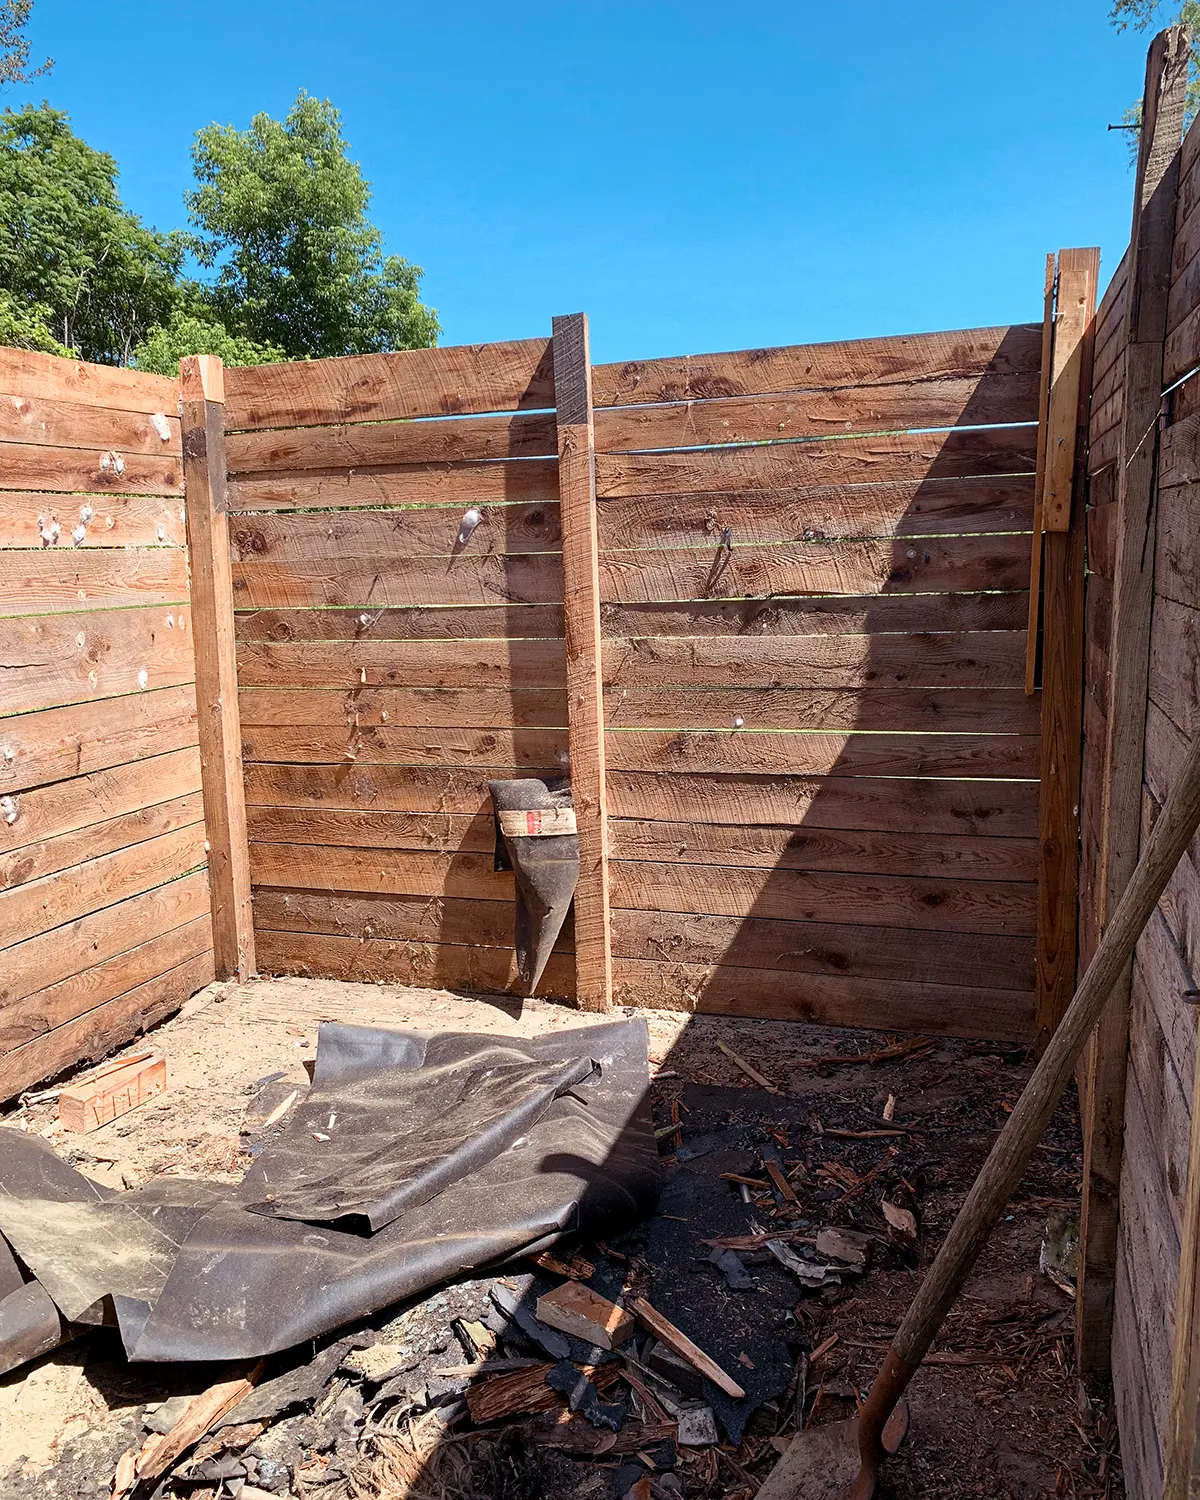
This first step looked like going over the entire structure and ensuring the walls were framed correctly, straight, and square. Anywhere things went wonky, we added more framing, and replaced rotting or structurally unsound parts.
Wall stud spacing depends on the building codes in your area. For our shed, we went with 2′ on center. 16″ on center is more common. We could get away with it because we used 1″ thick roof sheathing. This is a tip Colby picked up while working on houses in coastal Maine, where people commonly used 1″ thick, rough-cut lumber for roof sheathing. If using 5/8″ sheathing, 16″ on center may be a better choice, but check your codes.
A popular building material you see for roof sheathing is ZipBoards. This material comes with general guides for stud spacing. Brown ZipBoards are 5/8″ thick, which is a common choice for roofs. The green boards are 7/16″ and are more commonly used for walls. If we had used ZipBoards, we would have adjusted the wall framing to 16″ on center. Again, codes are your friend.
Plan Out Your Rafters
The second step to building a pitched shed roof is to plan out the rafters, including roof rafter spacing. Every good project should start with a good plan.
First, we decided on the type of roof to build onto the shed. There are many roof types, but we chose a simple gable roof. Other types include a hip roof, saltbox roof, gambrel roof, pent roof (single slope), and more.
It was also important at this step to know the roofing material we’d be using. Depending on the materials selected, the framing may need adjusting, also making adjustments to the rafters, including rafter locations and how much lumber is needed.
This is where we thought through different slope options and planned the slope of the roof specific for our project, which determined how we built the roof frame. Determining the pitch of a shed roof can be tricky, but there are helpful tools. The pitch depends on your preferences, how much storage space you may need, and building codes. We opted for a basic 12/12 roof pitch, but there are other pitches to consider.

What Length For Roof Rafters
Knowing the roof would have a 12/12 pitch (essentially an equal rise over run), it was time to plan out our specific rafter needs.
There are many online tools out there to help you plan your rafters. A roof pitch calculator makes it so much easier! We used the RedX Roof App this past time, and it worked well. We plugged in the outside wall dimensions and what we wanted the roof pitch to be (or the center height). Then the app spat out the length from the peak to the outside edge of the wall. Then, we had to determine the length of the rafter tail (how far off the wall you want the roofing to come out).
In the end, this app informed us of what size rafter boards we needed. Since rafters line up with studs, we counted how many studs we had in our structure, which told us the number of boards we needed.
What Width For Roof Rafters
The width of the rafter boards depends on the pitch of the roof, along with the length of the rafters. This is the type of thing you’ll find in building codes or knowledge from a truss company, since roof trusses are engineered for how much snow load the roof can hold. If you don’t have local building codes, you can always look at the general building codes for reference to help you determine the right size.
Determine What You Need For Collar Ties
Collar ties in roof framing is the horizontal structural boards that are installed in the upper third of a roof’s lofted space. They connect opposite rafters to keep them from separating. This is particularly helpful with wind uplift or supporting uneven loads. The use of collar ties are crucial for maintaining roof integrity and preventing structural failure, especially regarding high winds and extreme weather conditions. For us, we always think of the winter months
What a roof needs for collar ties depends on the building codes in your area. What may fly in New England does not work in Florida. Consult codes and plan the collar ties for the roof framing accordingly.

Make A Materials List And Go On A Lumber Run
Armed with our rafter plans and ALL the roofing calculations, it was time to make a materials list and go on a lumber run.
Most of our materials came from a local lumber mill, and many were scrap boards. At this point, we also picked up a ridiculous amount of screws and roofing nails, felt paper, and shingles.
Set Up A Mobile Shop
I love setting up a mobile shop. It especially came in handy since we were working in the yard, a fairly good distance away from our actual shop. So out came the circular saw, chop saw, sawhorses, saw stands, a plethora of hand tools, roofing squares, levels, and more. Although no matter how many tools we brought out to the yard, we were perpetually running back in for a forgotten chalk line or yet another pencil (where do they go?!).
Framing The Shed Roof
Let’s start building some trusses! Most trusses, especially house rafters, come from a building trusses company that engineers it all. So you don’t have to go the DIY route, consulting codes, calculating pitch and rafter lengths, etc. But this is not the case when you’re trying to save money and DIY a shed roof project. Here’s how we did it.
Prop Up The Ridge Beam
The first thing we did was prop up the ridge beam, the center beam that runs parallel to the floor under the peak. To do this, Colby added posts on each gable end to support the ridge beam. Sometimes a temporary support in the middle is helpful too. It’s important to make sure the posts that support the ridge beam are absolutely straight and plumb.
Once everything looked good, the ridge beam was attached to the posts and tacked onto any temporary supports. And by tack it on, it was tacked in on REALLY good.
You can see in the progress pic below (which is a few steps ahead) how the ridge beam is propped up by a vertical support post. Strapping is also attached to help keep the rafters and roof square and solid until everything is installed.

Pre-Cut Rafters
After determining that everything was square, plumb, and level, it was time to precut the rafters. In our case, we started with an old shed that wasn’t even close to square, level, or straight. We had so much trouble squaring up the walls without having to rebuild the whole thing. Thus, we couldn’t precut the rafters. It was one at a time for us.
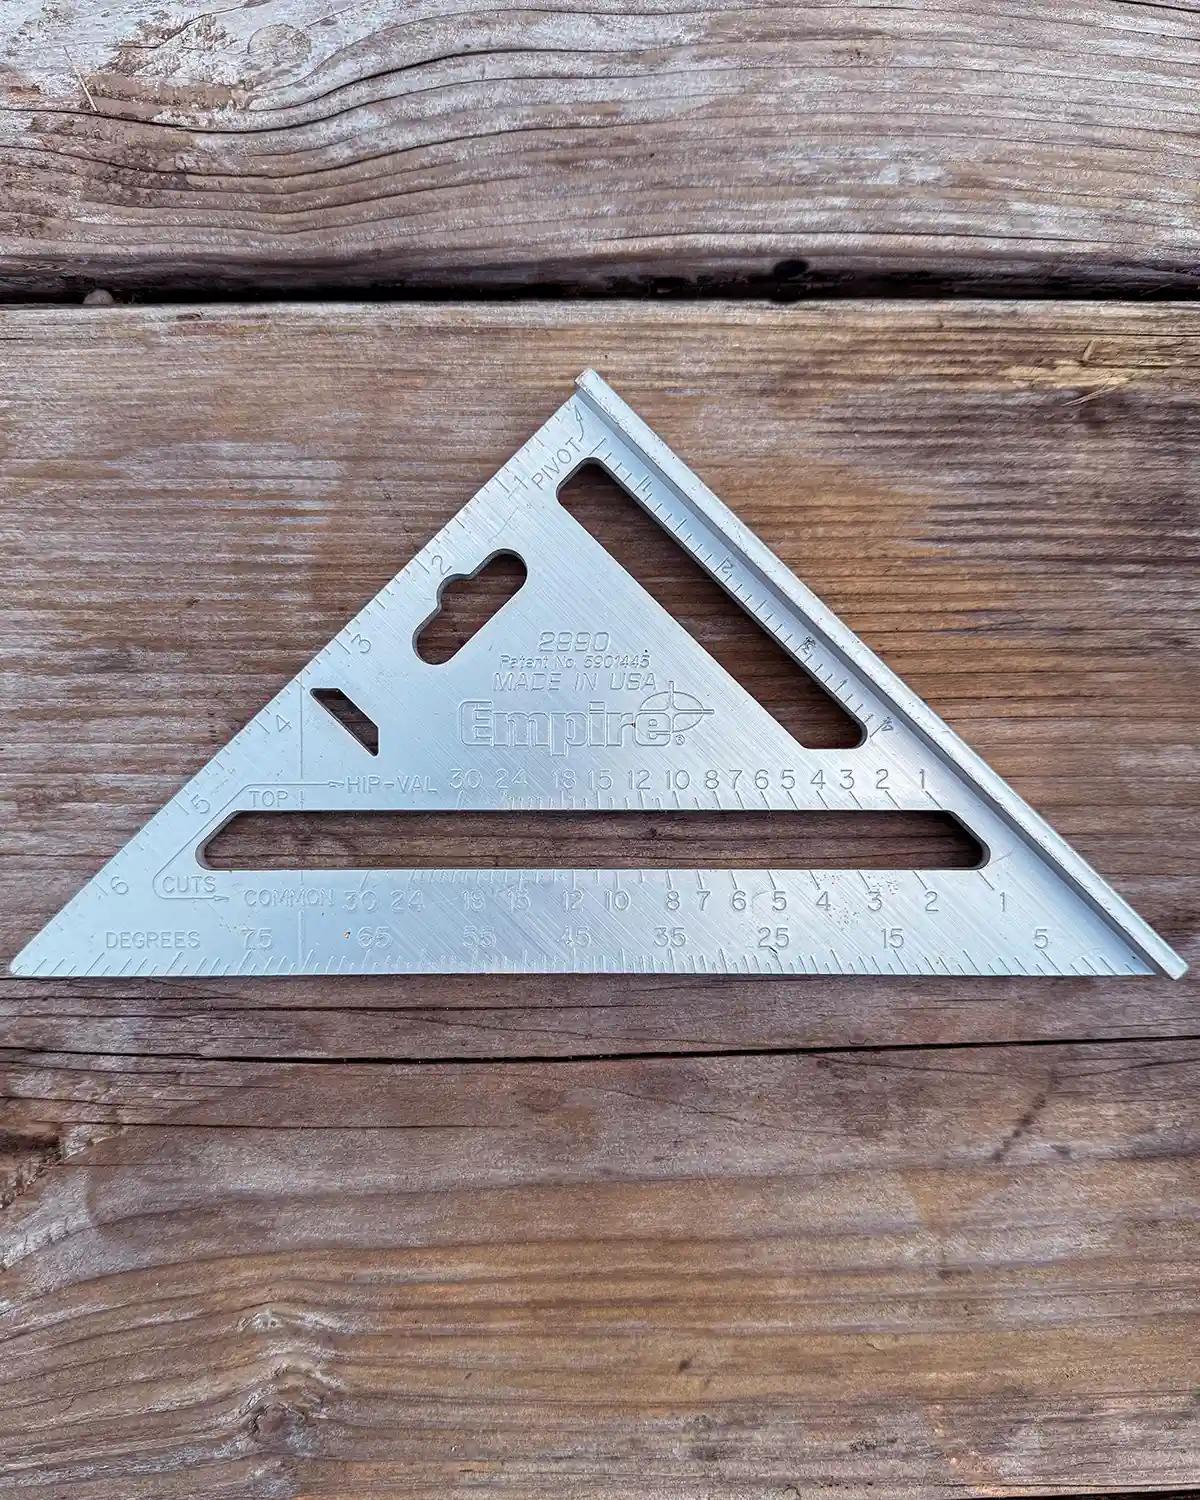
Use A Speed Square To Cut Rafter Angles
For this step, a speed square (Home Depot) is your best friend. We used a speed square to give us the angle of the rafter cut so it would tie into the roof. Ours is a 12/12 pitch roof, so it was a simple 45-degree cut. The speed square helps mark cut lines for the most common roof pitch conversions.
Speed squares come in various sizes, commonly 12″ or 7″ sizes.
Pre Cut Birdsmouth
I often work with Colby on projects and am always learning something new, and this was the first time I worked on roof rafters with him. One thing I learned was about a birdsmouth.
What is a birdsmouth (in terms of roofing)? While Colby described it vaguely when I asked what the notch was for, I turned to the almighty search engine, which defined a birdsmouth notch as a notch cut into the bottom of a roof rafter to allow the rafters to rest securely on the top plate of a supporting wall. It helps to distribute the load of the roof evenly onto the wall and helps prevent walls from bowing and rafters from cracking.
Birdsmouth cuts depend on the size of the wall and rafters. So the larger the wall, the larger the rafter needs to be to make a larger birdsmouth.
Attach Rafters To Center Beam
Next up was attaching the rafters to the center beam with framing nails.
When attaching the pre-cut rafters to the wall framing and ridge beam, it’s easier to attach every other board. It’s like stair-stepping. We first attached the first board on the left of the beam, then instead of doing the opposing board to the right, skipped that one and attached the next one up on the right. It’s much easier to nail directly through the ridge beam and into the rafter this way, and it also makes for a sturdier structure while you’re working.
After attaching every other board, we then went back through and filled in the other sides. To attach these, you have to toe nail from the other side. Toe nail means nailing boards together in an indirect way to secure them together. Essentially, nailing from the side of the rafter and into the center beam.
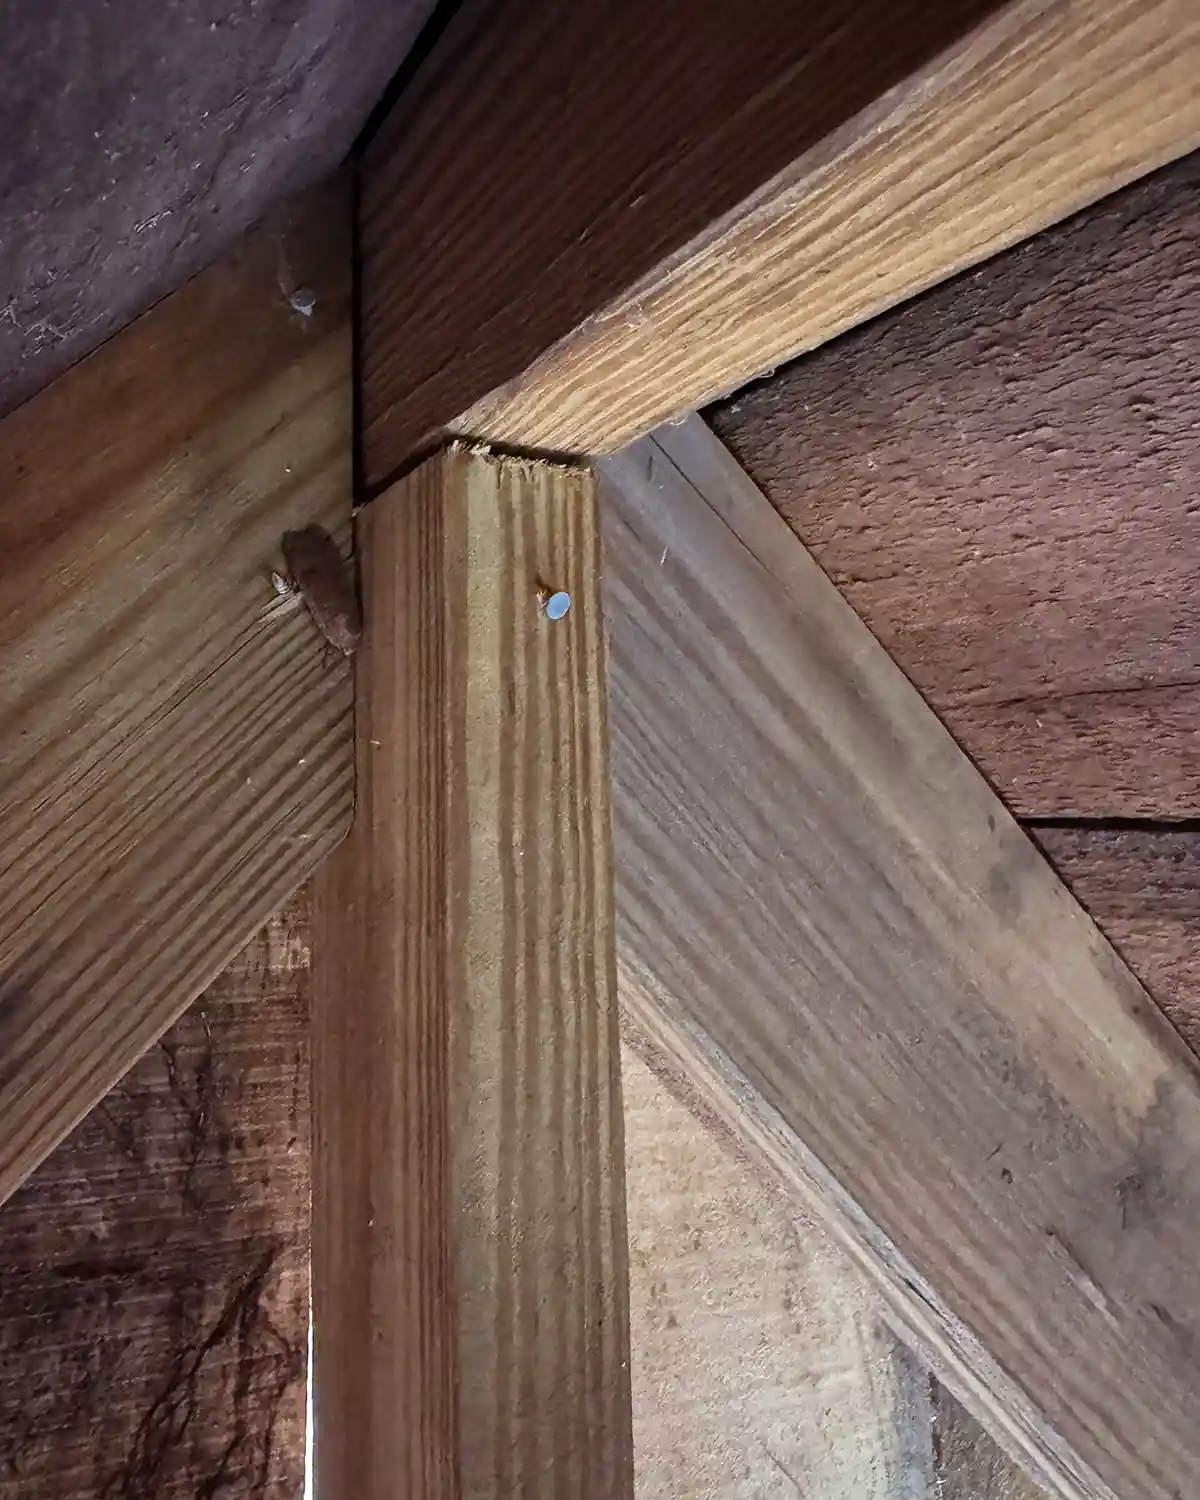
At this point, we also toe-nailed the rafters into the top plate, the horizontal framing at the top of the wall, on top of the studs. The top plate is a specific wall plate, which is any of the horizontal framing of the walls.
Check Gable End Rafters If They’re Plumb
The next step was to put a level on the vertical post on each gable end to make sure that it was still plumb. We’re always checking for levelness, squareness, and plumbness over here. It’s a good habit to get into. If all is good, move on. But if something is out of whack, even just a little bit off, now is a great time to fix it, as it will affect the roof sheathing.
Attach Temporary Strapping To Keep Everything In Check
We did a few minor adjustments to help square up the rafters and the shed framing, and then attached temporary strapping across the rafters. This temporary strapping kept everything from moving while tackling the next steps, attaching the collar ties, and sheathing.
Attach The Collar Ties
Collar ties are the horizontal framing attached to the rafters in the upper third of the roof framing. They help secure the roof and help it resist high winds and uplift, which can separate rafters at the ridge.
Collar tie size and location are something that your local building codes will inform you of. For some small sheds, they may not be required by codes. We preferred to include them and installed them at the desired height we wanted within the top third of the roof framing.
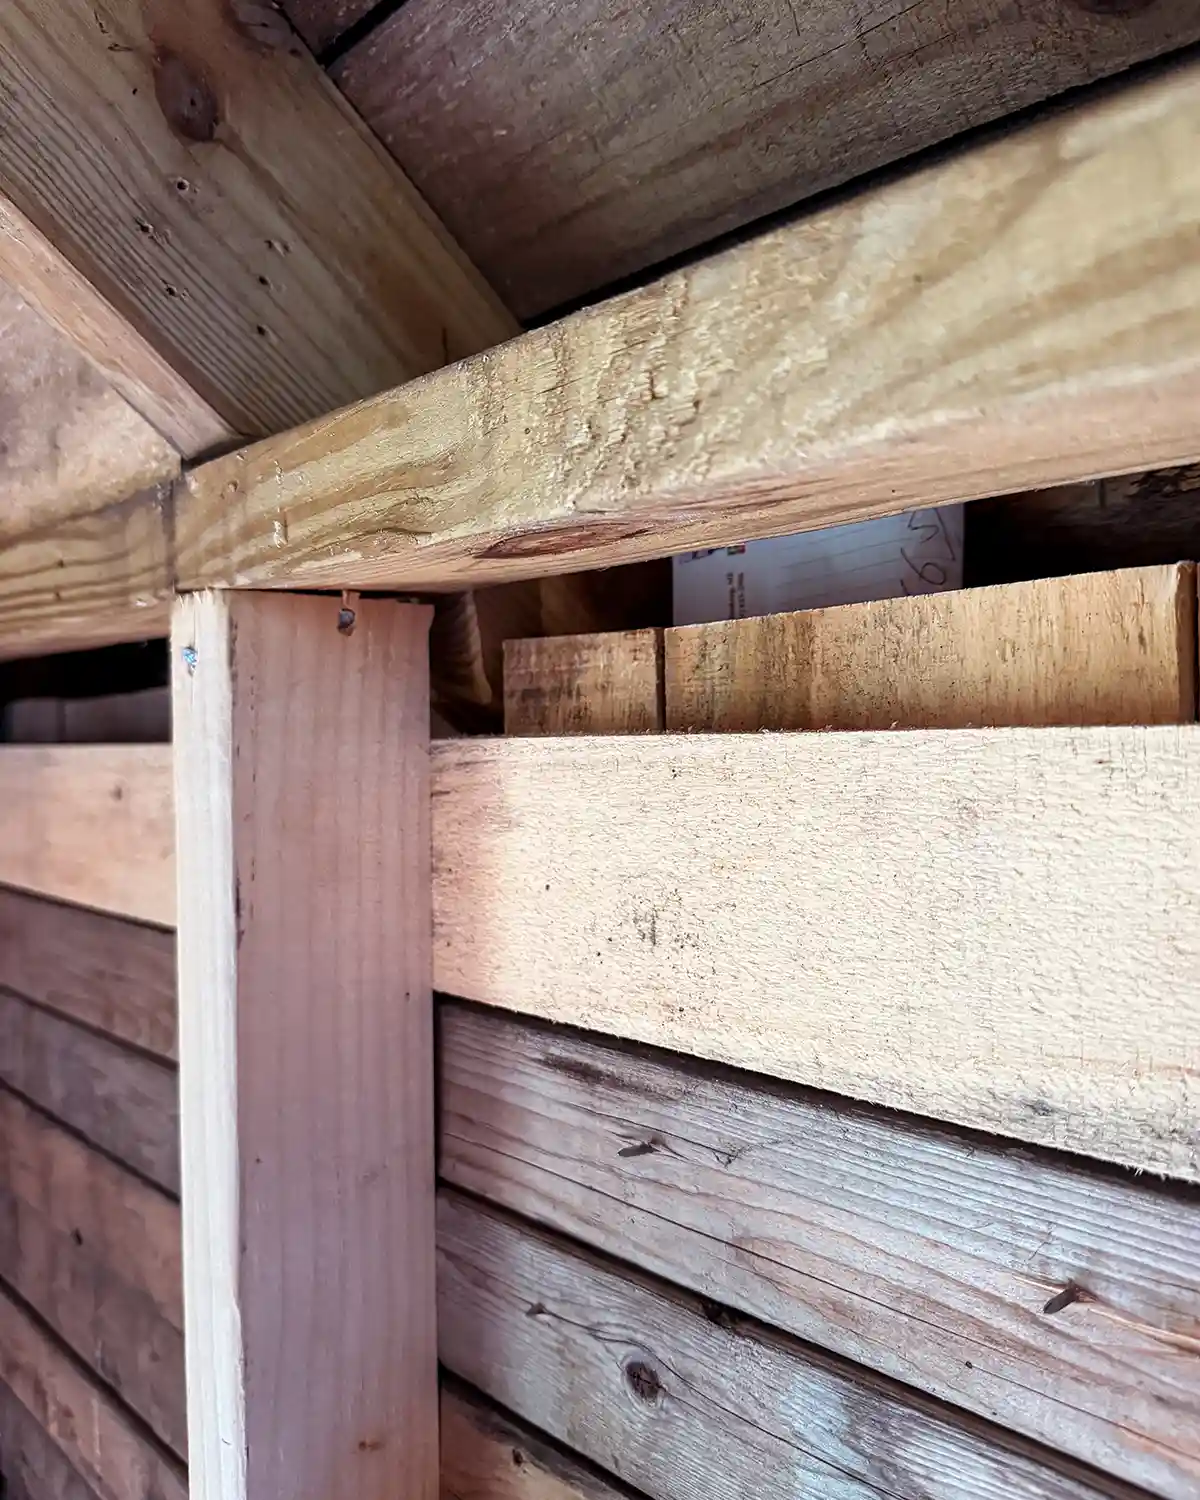
Add Gable End Studs For Easier Siding
After the collar ties were attached, we added some gable end studs to help us side the shed more easily. This made the gable end more sturdy and provided a place to nail the siding into. We debated whether or not we needed to do this, but it’s a good idea for larger structures, and we erred on the side of sturdier.
Here’s what the gable end looked like before we added more studs and sided the gable.
Installing Fascia Board
Next up was installing the fascia boards, ensuring a flush fit. We tacked the board up first, double-checked that it was level, and then secured the fascia board to the rafters using wood screws.
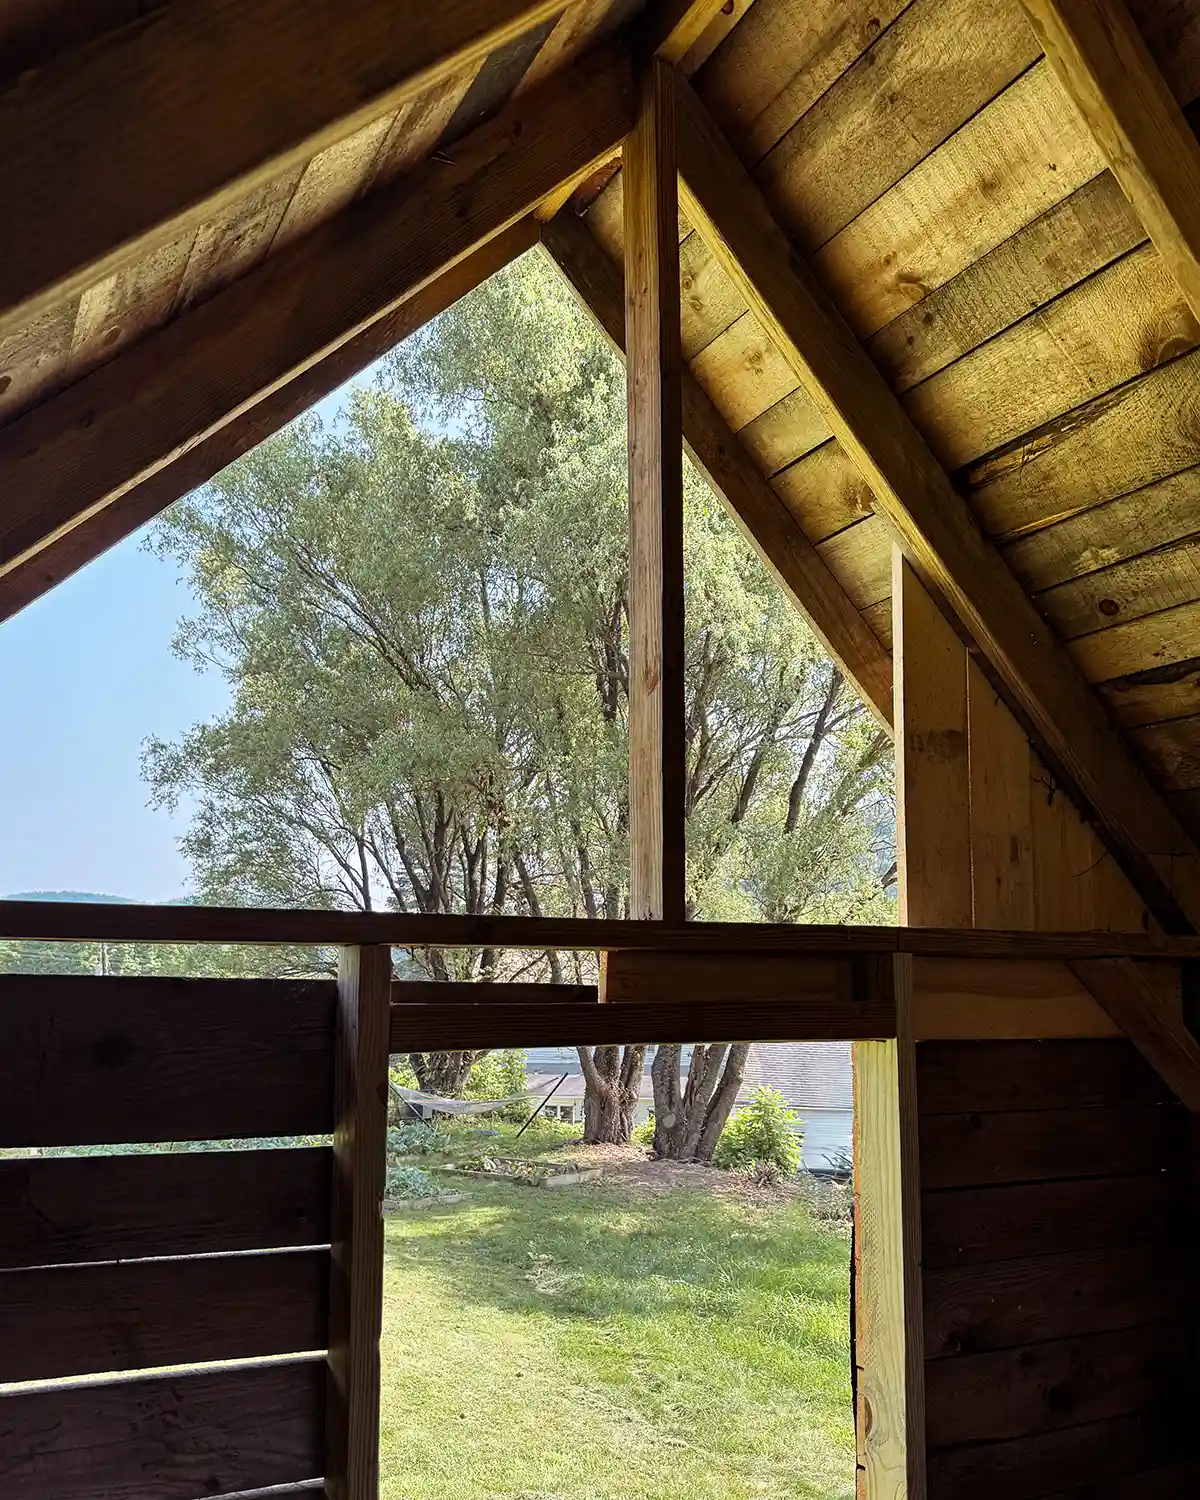
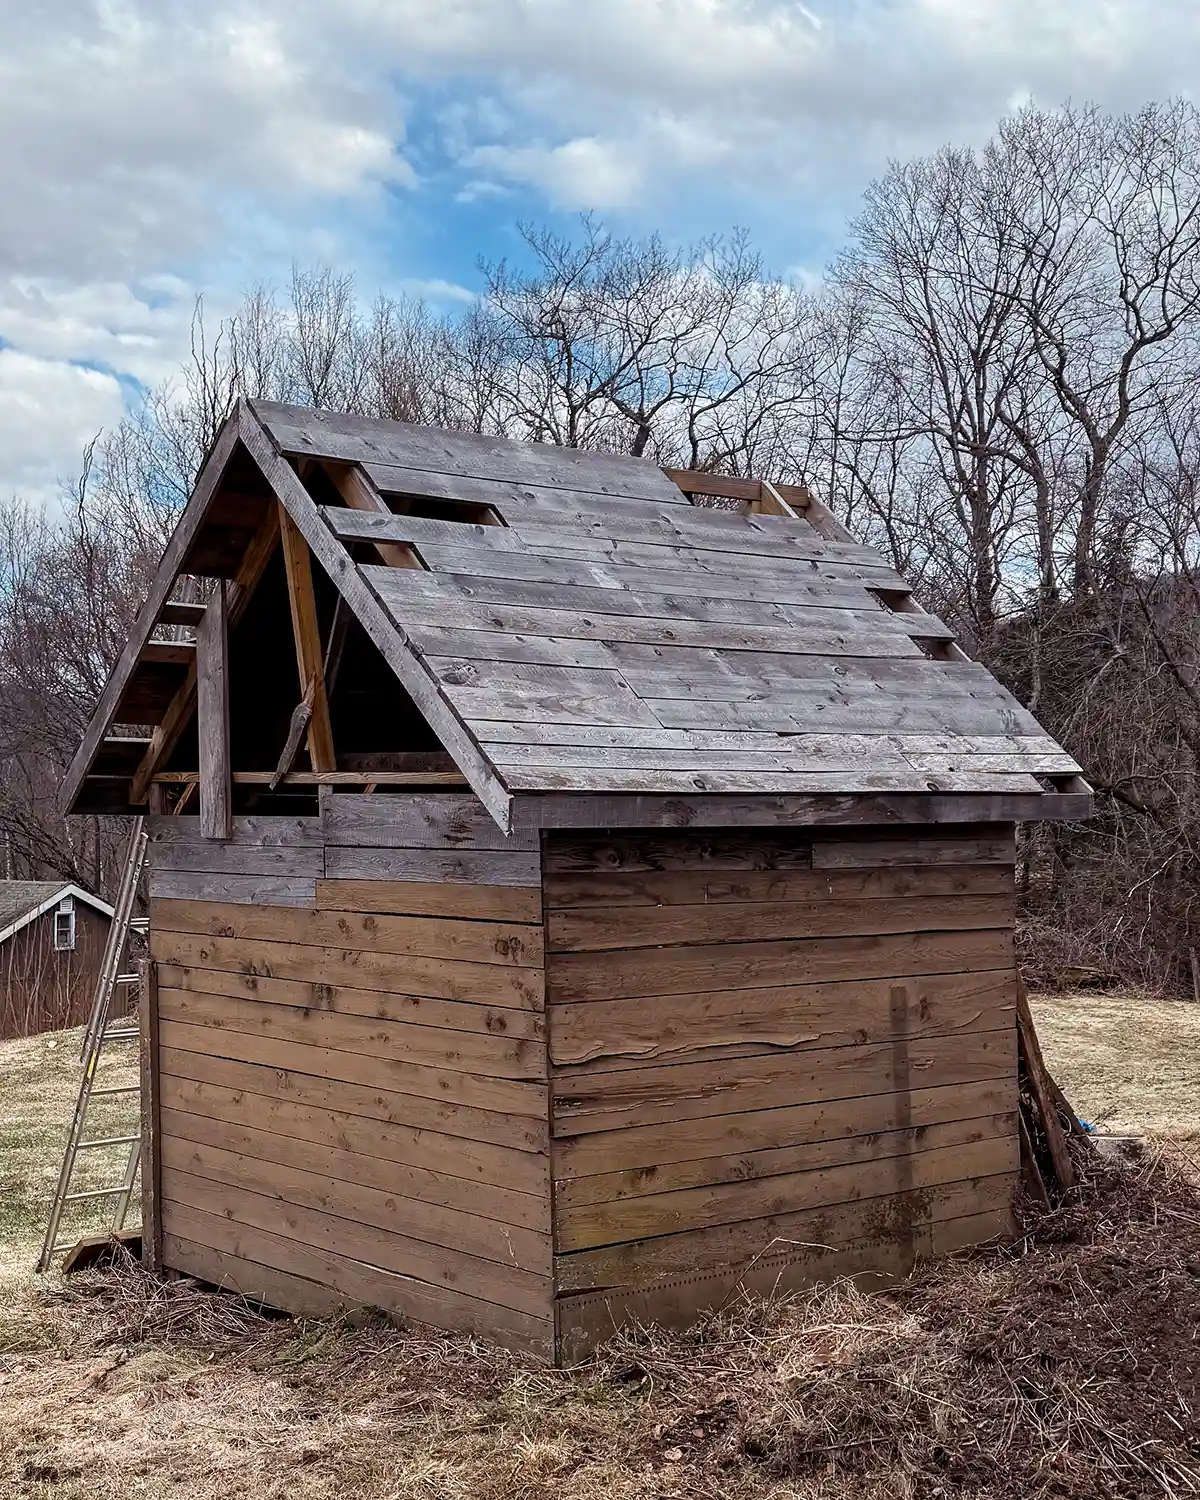
Attach Roof Sheathing
Then came the time to attach the roof sheathing. The most common materials to use for this step are plywood sheathing. But when you have a friend with a lumber mill and you can get rough-cut boards for cheaper than it would cost for plywood, you use those to save on the budget.
Check Roof Squareness And Snap A Line
Another pause to check for roof squareness. If we used plywood sheathing, which is rectangular, we would know pretty quickly if the roof wasn’t square.
To check, we measured with a tape measure and marked a few guidelines onto the rafters, always measuring up from the fascia. This gave us a guide to keep the roof sheathing straight as we worked our way up the ridge.
If things aren’t square, the sheathing will start to drift. It’s important to fix the squareness before getting too far in.
Our roof wasn’t perfectly square, but that was to be expected. We did our best, but the shed was basically a shack when we started, so we weren’t too worried about the roof being slightly off.
Install The Roof Sheathing
For the roof sheathing, it’s very common to use plywood sheets but you don’t have to. Alot of people use 2 x 6 tongue and groove boards. Our choice was to utilize rough-cut lumber boards.
Each board was screwed onto the top of the rafters, starting on the bottom of the roof and working our way up. We didn’t worry about the boards overhanging as long as they reached our ideal overhang length. After they were all securely attached, Colby marked a cut line using a straight edge and cut the length of each roof to even the boards out.
Excuse the missing pieces. This is what it looks like when you need to go dig in the scrap pile for the last few pieces. Also note the temporary supports for the ridge beam and rafter strapping to keep everything from moving while the roof is going on.
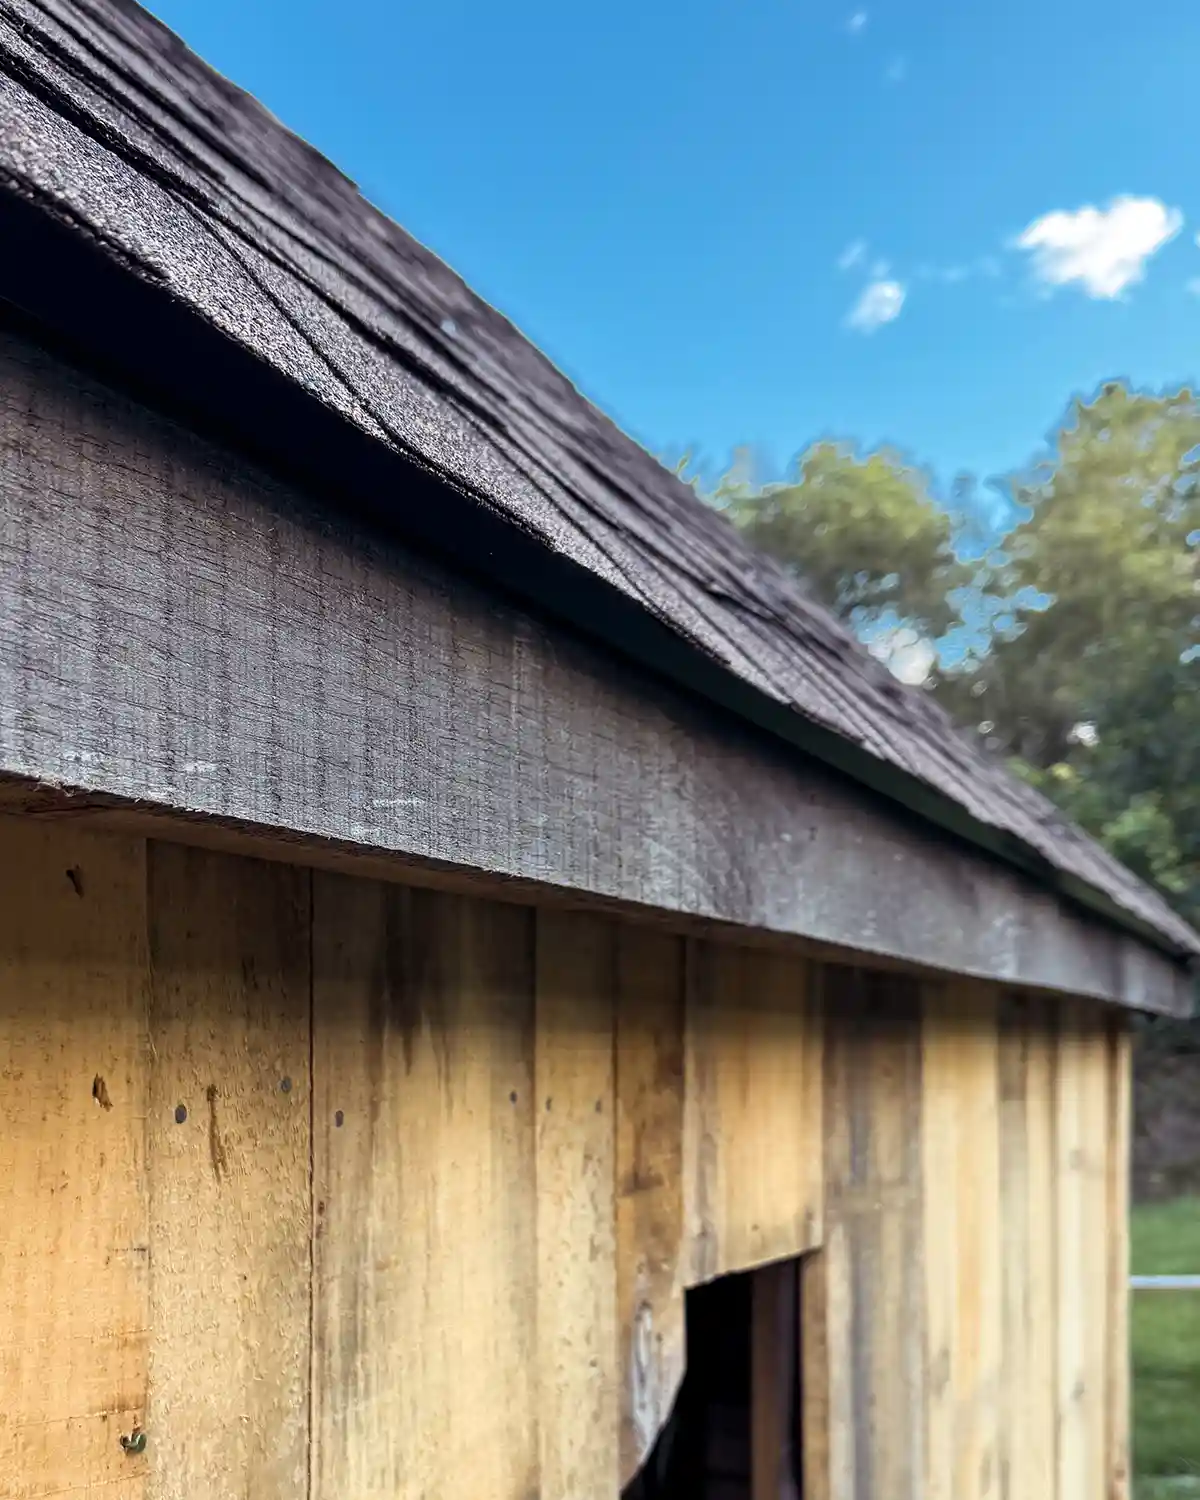
Attach Drip Edge
Next up was attaching the drip edge all the way around the roof. The drip edge goes over the roof sheathing but under the felt, extending past the edge of the fascia board to direct water away from the roof.
Attaching the drip edge is relatively easy. Nail it to the roof every 12″ or according to the manufacturer’s guidelines, nailing in a spot that the first row of shingles will cover.
We first attached the drip edge to the bottom edge of the roof and then went up the gable ends.
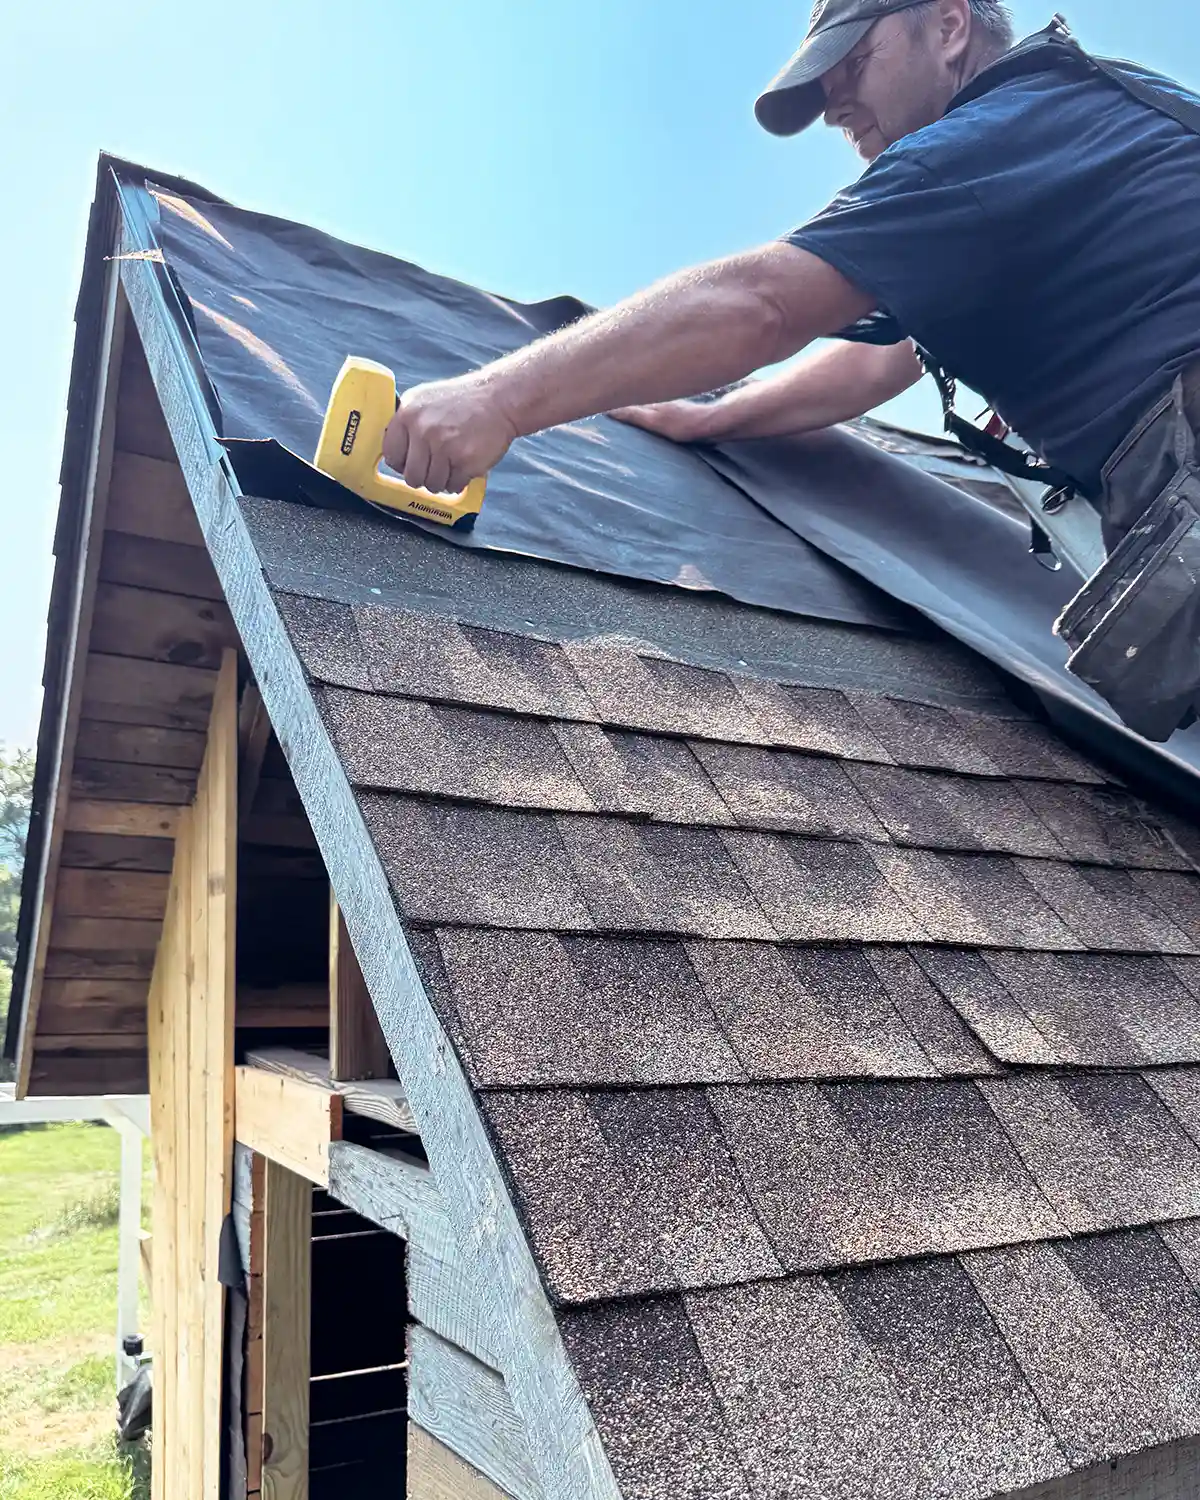
Install Roofing Underlayment
Our next step was attaching the roofing underlayment to the sheathing, tar paper or felt paper. We chose to use felt paper (Home Depot), which is a little thicker and was recommended for the asphalt shingles we were using. Tar paper is a little thinner and more prone to rips.
We made the mistake of attaching the tar paper before we were fully ready to shingle. AKA, we were a few bundles shy on shingles when we started, and when we returned to the store, the product was out of stock. While we waited for more shingles, the felt paper came off and ripped in the wind. We had to replace all the exposed, ripped felt paper once we could purchase more shingles. Don’t be us. Purchase more shingles than you think you need before you start roofing.
To attach the felt paper, we precut strips in the length needed for the roof, took it up the ladder, and stapled it to the sheathing. It is recommended to use roofing nails with caps on them, which helps prevent the paper from ripping. But to save on time and budget, and another trip to the hardware store, we stapled the paper to the sheathing instead. We started near the fascia boards and worked our way to the ridge, covering the whole roof in felt paper.
Some tips that helped us were to start nailing the paper to the roof in the middle of the strip of felt that was getting attached, then work our way out to the edges, nailing every 6-8 inches. This helped keep the paper flat and secure, without bubbling up.
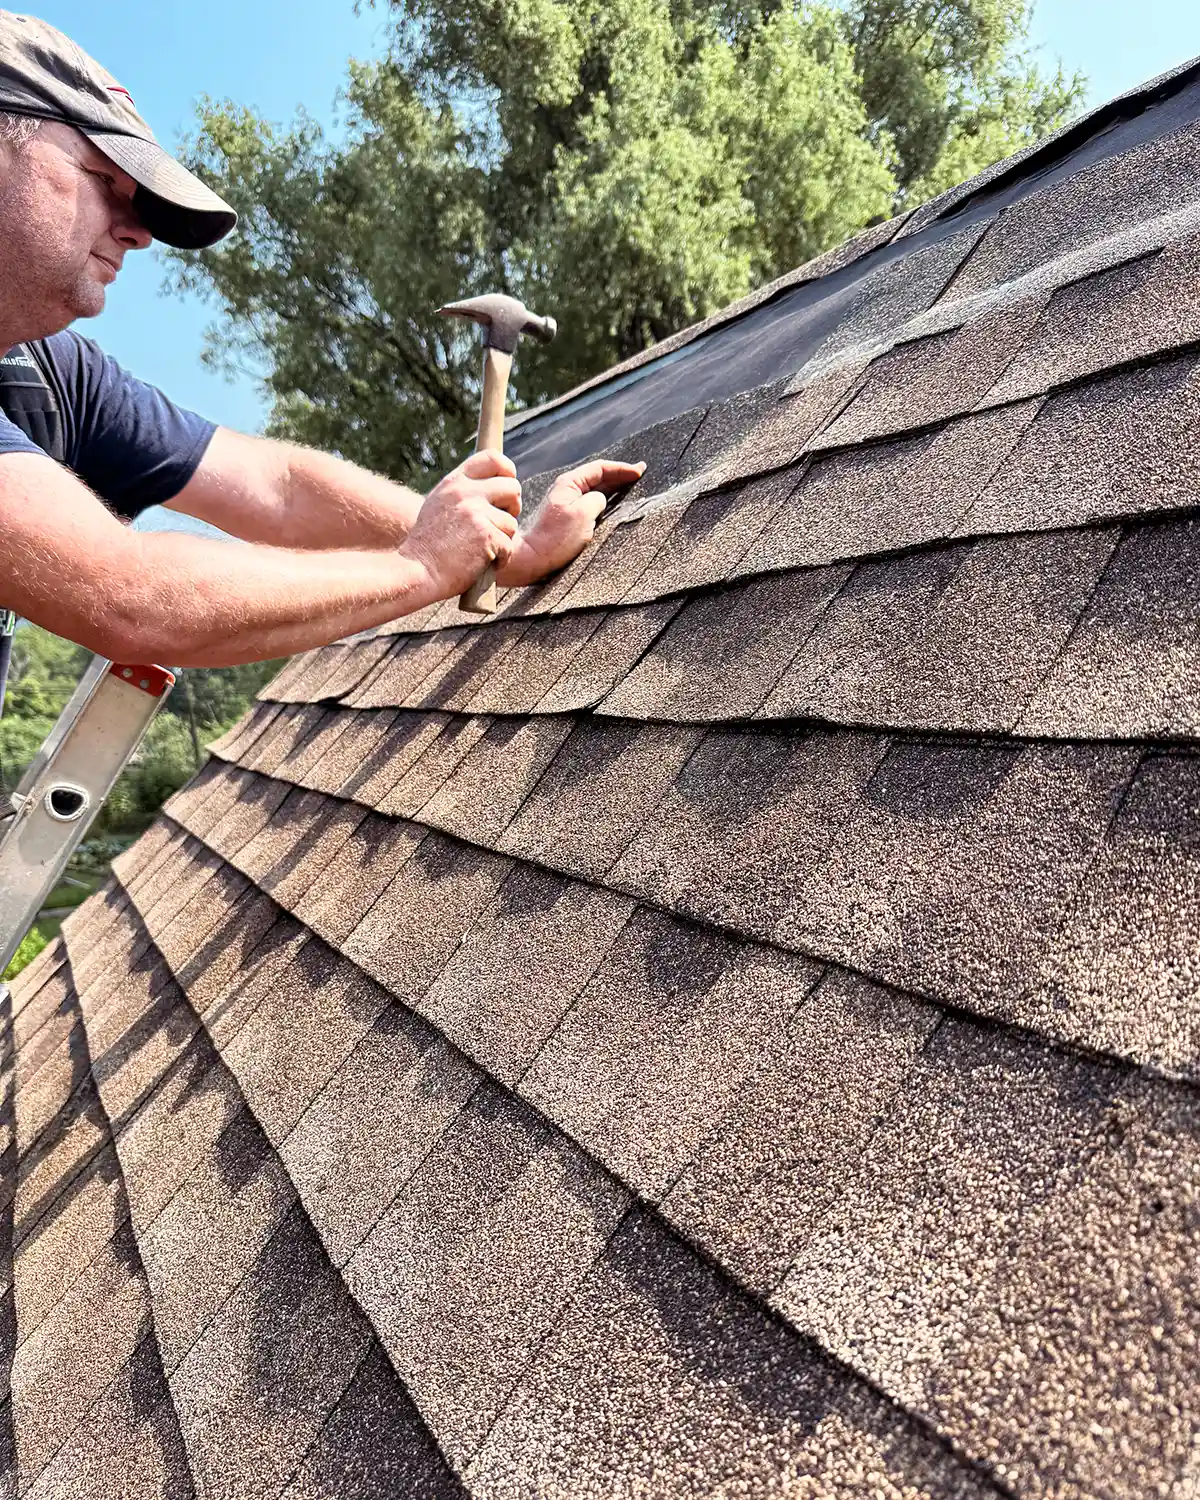
Install Shingles
And finally, the pièce de résistance, the part that really makes a shed roof feel like a shed roof, is installing the shingles. We opted for asphalt shingles, which are the most common and one of the more affordable options. They’re also one of the most readily available. But the color we’ve been using for all our outbuildings, Shakewood, has been hit or miss with sourcing from our local Home Depot.
We’ve done a whole post about how we shingled our house roof when we lived in Maine many moons ago, so I won’t go into too many details about shingling a roof. However, I’ll leave you with a couple of tips that helped us shingle the shed roof.
The biggest tip that helped us was to stay on the manufacturer’s suggested line to nail on and use the amount of nails they recommend. It’s best for the shingles and also helps with shingle warranty issues down the road in case of shingle failure. It’s important to shingle according to the manufacturer’s recommendations.
Shingle away, starting by covering the drip edge along the fascia and work your way up to the ridge. Then shingle the ridge cap and done.
You Can DIY A Shed Roof
That’s the basics to tackling a DIY shed roof for storage sheds or a garden shed. In our case, it’s a former flat roof storage shed turned playhouse.
Figuring out how to build a pitched roof for a shed is not the easiest project in the world, and is a more complex DIY project but it can be done. Hopefully, this overview helps give you a basic idea of what it takes. In general, take it one step at a time and always abide by your building codes! Have I said it enough?! Perhaps not. BUILDING CODES! There. I’m done. Happy roof building!
Next up for our project, finishing siding the exterior shed walls, laying the shed floor, installing the loft, and making operable playhouse doors and windows for the current openings. Here are the shed plans for the playhouse conversion for reference on where we’re going.