Sometimes, one gets overzealous and cuts down a bunch of mini pine trees that are overtaking their meadow to use as Christmas decor. Then, sometimes, one realizes they own only ONE Christmas tree stand. So sometimes, one must get creative and make a DIY Christmas tree stand bucket—or three.

This happened 10 Christmases ago and to this day, every year, we cut down a few mini pine trees and make these stands for the trees. I love how sometimes, lovely limitations like a lack of tree stands or funds to purchase tree stands, lead to the most creative and magical solutions.
Our first Christmas here, we felt a bit house-poor. Some big things needed to be repaired and purchased, including appliances, and spending money on Christmas decor was not an option. What we had was a meadow full of mini pine trees and a dozen galvanized buckets we used as wedding decor.
The solution was DIY bucket Christmas tree stands with free-to-us trees. The project cost us precisely zero dollars.
Before we dive into the DIY project tutorial…
A Word Of Caution
I have only done this Christmas tree DIY stand tutorial on real, mini trees. However, one year I used it for a 5-foot pine tree outdoors but I used a larger bucket since it was a taller tree.
I’m sure there are ways to adapt this method of making a tree stand for a larger tree or an artificial tree, but I have precisely zero point zero experience doing so. All my trials have been with a small, real tree that I’ve neglected to water.
Okay, now that you’ve been warned let’s dive in on how to make this homemade Christmas tree stand.
How To Make A Christmas Tree Stand With A Bucket
Supplies
- Small Tree
- Galvanized Bucket (Home Depot)
- Scrap Plywood
- Wood Screws
- Rocks or Gravel
- Tree Decor
Tools
Step 1: Find A Tree
The first step, find a tree to use. We have a meadow filled with tiny pine trees so every year, we cut down one or two of them.

For those without such a meadow, ask a friend. Or you can always grab a mini Christmas tree from a tree lot for this project.
If you’re cutting down your own Charlie Brown-style Christmas tree, I highly recommend a Hackzall for the job. It’s like a tiny version of a cordless Sawzall reciprocating saw.

While not necessary, it quickly cuts the tree trunk with minimal effort.
Step 2: Prep The Bucket
Next up, grab your galvanized bucket and prep it for the tree. Keep in mind the size of your tree and make sure that it’s proportionate to the size of your bucket. The bigger the tree, the bigger the bucket needed.
Then, measure the diameter inside the bucket to make the wooden base. You want to cut a circular piece of wood that fits inside the bucket at the bottom.

With your measurements, draw a circle on a scrap piece of plywood with the same diameter you just measured and cut the wood with a jig saw.
Find the center point of the wood and carefully secure a wood screw without drilling through the wood completely.
And test out the base size by placing it in the bottom of the bucket. It should fit flatly on the bucket’s bottom.

Do you see the screw in the middle of the piece of wood? It’s small, but it’s there.
Step 3: Attach Tree To Base
Now attach the mini tree to the Christmas tree base. This step is a lot easier with two people. But if you’re flying solo, hold the tree in one hand and screw the base into the tree with your other hand.
You could also hold the tree between your knees to free up two hands. But, “a little full, lotta sap.” Name the Christmas movie?!

Make sure the base is level and the tree will stand straight up.
If you didn’t cut straight across the tree trunk, you might have to attach the base at an angle. See photo above.
This is totally fine. In fact, if you plan to water the tree, the gap leaves space for the tree to soak up the water.
Then test out your stand in the bucket.

Step 4: Place The Bucket And Tree
Now it’s time to find a home for the tree. Whether its final resting place is in the dining room, on top of a coffee table (if it’s a smaller tree), or in a hallway like ours, it is much easier to place the tree before we weigh it down with the gravel that holds everything in place.
Put your tree into position and trim any branches that need it.
Step 5: Fill The Bucket
Next, we’re going to fill the bucket with stones. I almost always have a bag of landscape gravel for projects like this. They’re inexpensive and handy. The bag I used was only $4 at Dollar General.
Grab the tree with one hand, making sure that it’s straight up and down. Using your other hand fill the bucket with the gravel. If you didn’t quite get the base screwed on at the right angle, you can fix that by shimming the wooden base with rocks until it’s level.
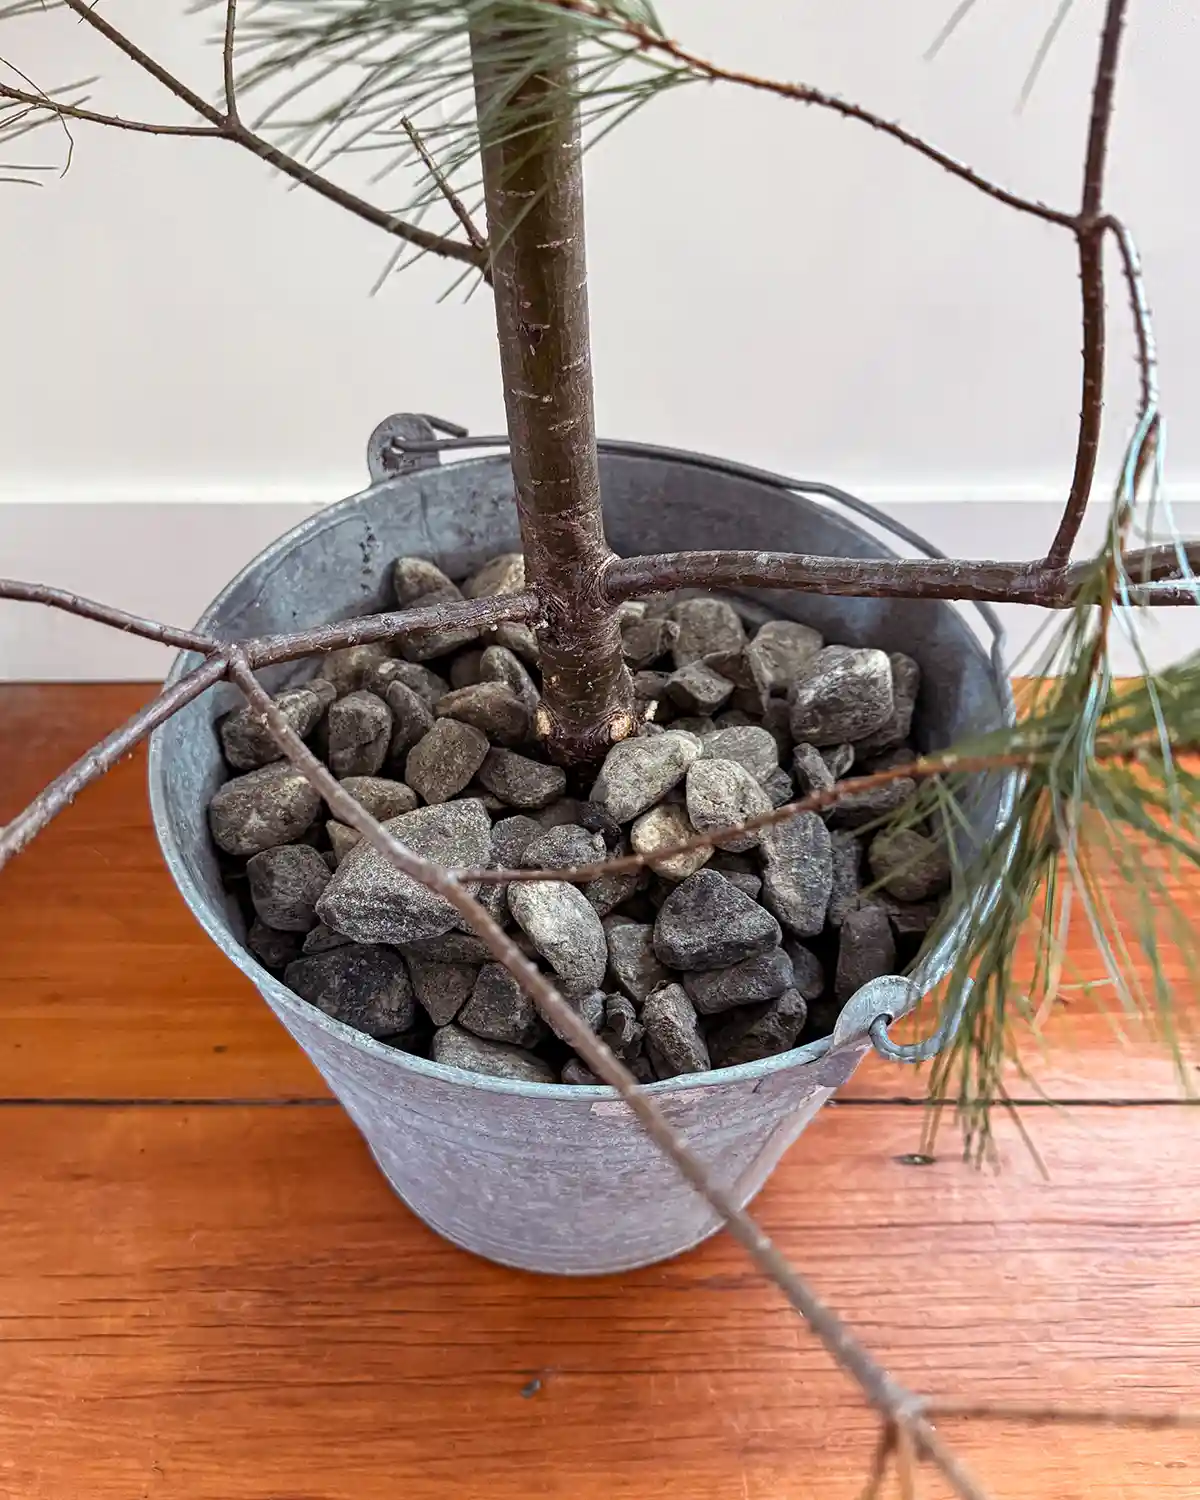
I had a hard time with this step since my tree had branches so close to the bucket. The bottom branches didn’t leave enough room to pour the rocks into the bucket so I transferred the gravel one handful at a time. In retrospect, I would have trimmed more bottom branches off or found a different tree.
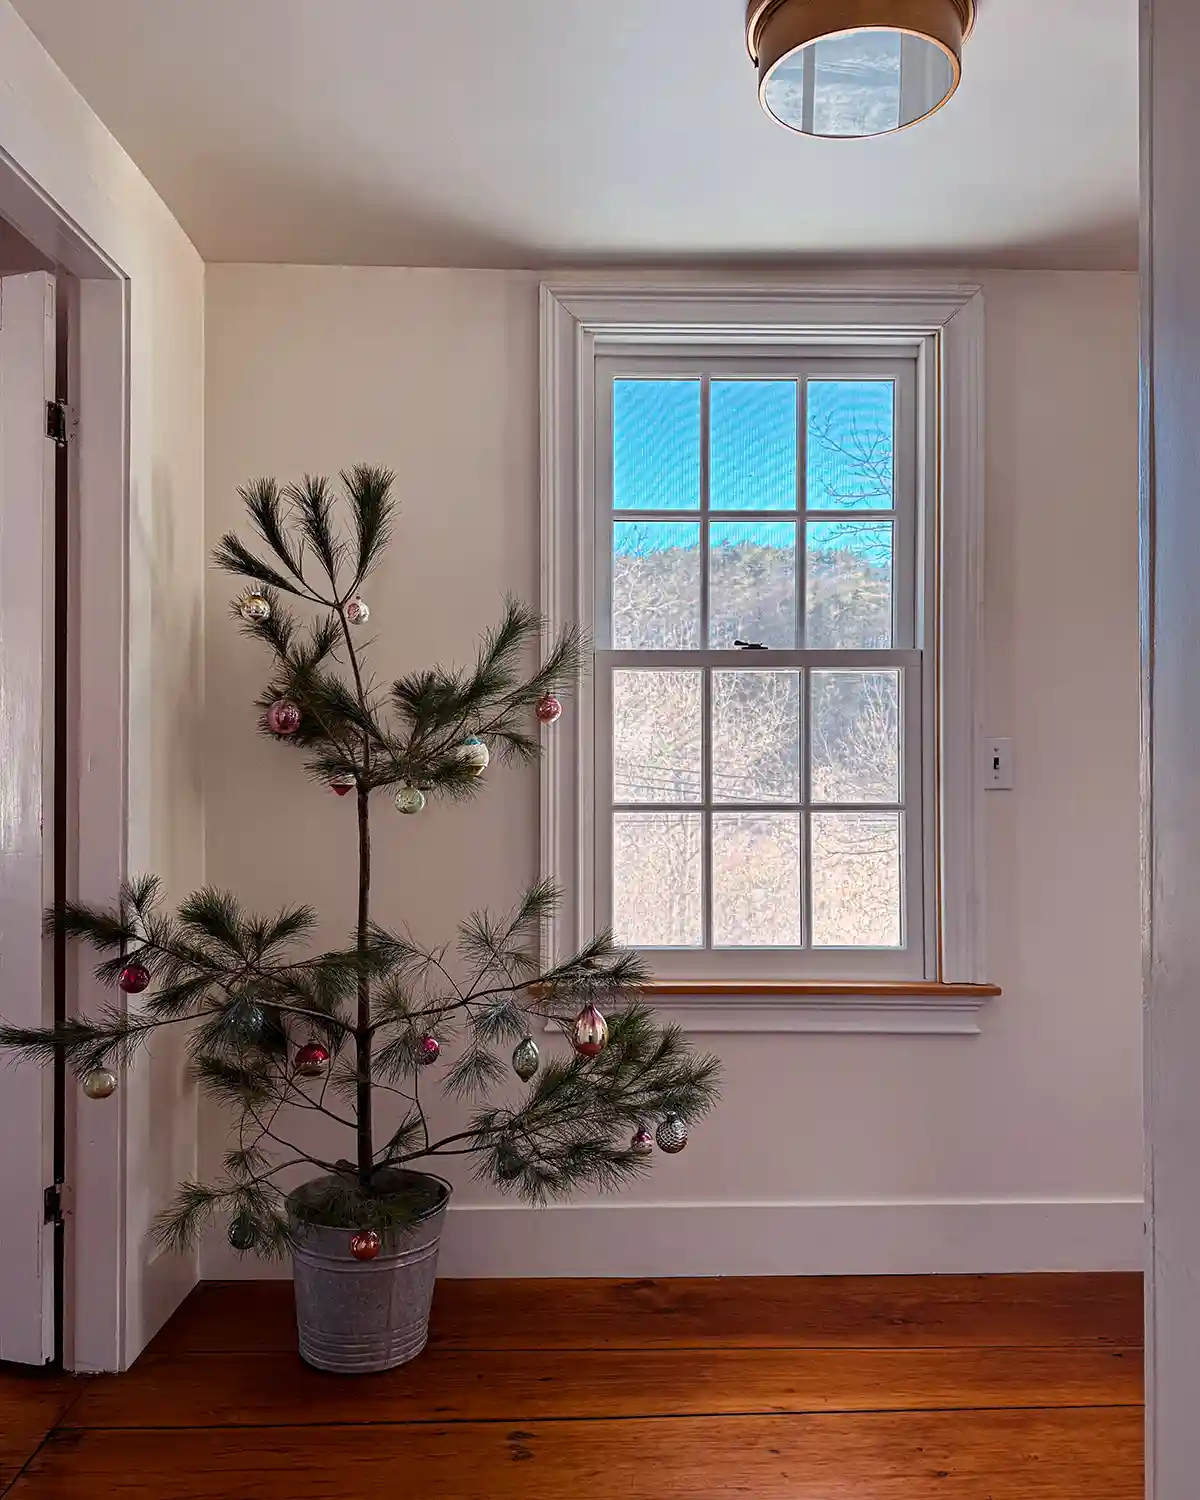
Step 6: Decorate
Once the bucket is full, it’s time to haul out the holiday decor and decorate that sweet, little tree.
I typically display my collection of vintage ornaments on the tree. This year, as soon as I put them up Colby walked by and broke one. Seconds later the dog’s tail whipped around and broke another. This is after the kids broke the ones I found at Brimfield when our three-year-old took them off my craft room desk and stuffed them in her backpack. That was fun to clean up!
Needless to say, shortly after snapping the finished pic, down came the vintage ornaments, and up went the plastic ones. Someday I’ll be able to have nice things again.
Et voila! A cheap and easy DIY Christmas tree stand using a galvanized bucket.
Christmas Tree DIY Stand FAQs
A few FAQs for those who may want to give this SUPER easy project a try this holiday season.
How Big Of A Tree Does This Work For?
I wouldn’t use this method for any tree taller than chest height. If you want to do it for a bigger tree, you’ll want a bigger bucket to counteract the added height and weight of the tree.
Can You Water The Tree?
Yes, you can water the tree but a few words of caution.
Galvanized buckets tend to leak and leave condensation between the bucket and the floor. If you’re watering the tree, protect your floors with a plastic tray underneath the bucket.
Otherwise, fill the bucket with warm water and leave some space between the base and the tree stump for the water to infiltrate.
What Size Bucket To Use?
The bigger the tree, the bigger the bucket you’ll need. I find that a standard galvanized bucket is the perfect size for a mini tree no taller than 4′ or about chest height.
Will The Tree Fall Over?
While a smaller tree is unlikely to fall over, there’s always a possibility. Especially if kids, husbands, cats, and dogs are around.
To add extra security, you can tether the tree to the wall. We typically do this with our regular Christmas tree because hashtag cats!

Can You Use This Tutorial For An Artificial Christmas Tree?
I’m sure there is a way to convert this tutorial for a faux Christmas tree but it depends on how the tree is made. Plus, most artificial Christmas trees come with a basic stand. If the stand fits in the bucket, plop it in and cover it with rocks.
Where To Find Galvanized Buckets?
Galvanized buckets are fairly easy to come by. I’ve found them at our local hardware store, big box home improvement stores, in the cleaning supply section of stores like Walmart, and online at Amazon. But what can’t you find there?!
Can You Use A Plastic Bucket?
Absolutely you can use a plastic bucket. Use whatever bucket makes your heart sing! In fact, a plastic bucket is less likely to leak if you choose to water the tree than an old bucket would. You could even double up and place a plastic bucket within a more aesthetic galvanized bucket.
How Long Will The Tree Last Without Water?
After ten years of not watering our trees while using this method, I can attest that the tree lasts a solid 2-3 weeks before it starts to get a little dry. Between weeks 3 and 4 the tree starts dropping needles.
So TL;DR, a fresh-cut tree will last about 3 weeks. Going four weeks is a bit of a stretch.
And with that, I hope you’ll try to make your own DIY real Christmas tree stand using a bucket, rocks, and a wooden anchor base. Merry Christmas!