Just to be clear…we’re talking about fall art…f’art…not farts. But if you did, I’ve got a ton of Goose related fart stories I could share…like about his jarting (jump farting) and snarting (sneeze farting), but this is a DIY blog, not a flatulence blog. So I believe the word you are looking for is….anyway….Let’s talk about fall art. And the fall art that I crafted for our overly bare walls in the living room.
Like in our fall tablescape, I opted to step outside of the “normal” fall color scheme and went with blue. Mostly because we have a slew of blue paint leftover from our blue ombre baluster project of yore.
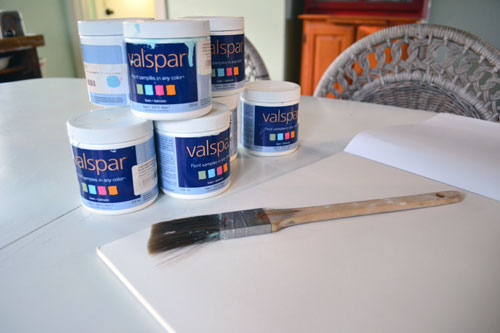
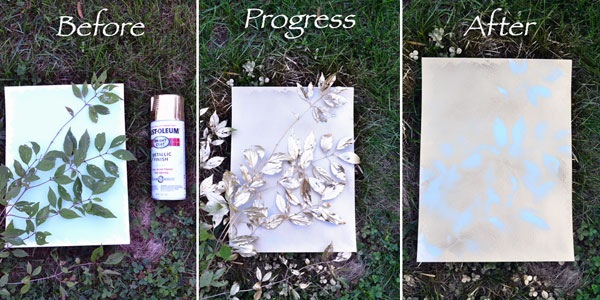
But I saw some leaf silhouette art on Pinterest that piqued my interest and kind of put my own spin on it. Here’s the fall art play by play. First, I started by gathering my supplies which included a pad of watercolor paper that I picked up from Staples for $5, leftover paint pots from Lowes, and a paint brush. Later, I also used some leaves from the yard and half a can of gold spray paint leftover from when I gilded a shovel for a deck ground breaking….seriously….I’m that girl….wish I was kidding.
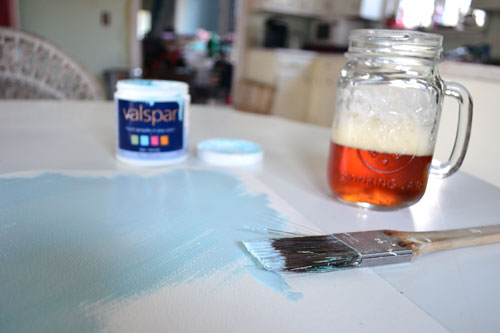
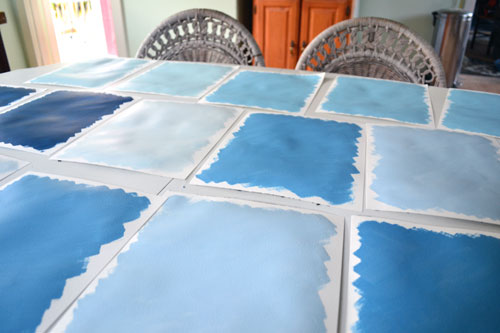
Then, armed with a beer in hand (like any good artist), I started painting the watercolor paper with various shades of blue to serve as a background color for my silhouette art.
15 sheets in total utilizing 7 different shades of blue.
After the paint dried, I took the sheets outside for leaf painting time. I gathered various foliage, placed them on the paper, and spray painted away, leaving a silhouette of the leaves.
Hmmm…not quite the results I was hoping for. On Pinterest, the leaf art silhouettes looked so much cuter with defined edges and a distinct leaf shape. Mine just looked like leaf blobs! And that’s when Colby started making fun of my “art project”, the neighbors came over to poke fun, and it was just a grand ol’ “let’s make fun of Angie” fest. Lovely…just lovely! But I persevered, powered through, and damn it, made me some art! And honestly, once the gold paint dried, it looked SOOOOOO much better.
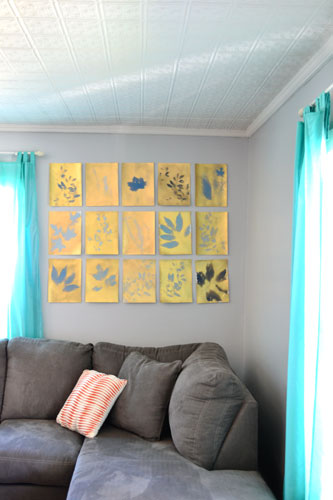
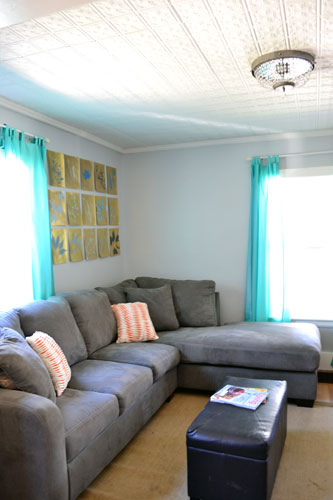
To hang the art, I simply taped each piece up on the wall, eye balling a 3 x 5 grid pattern. Now that I’m looking at this, it looks a little crooked, but for temporary fall art, it’s not so bad.
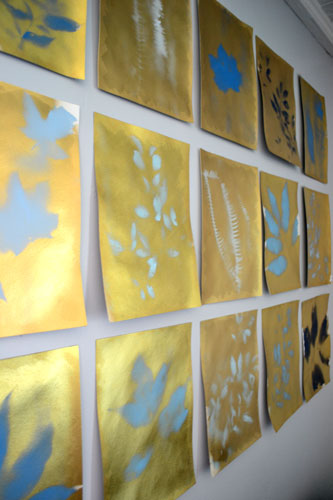
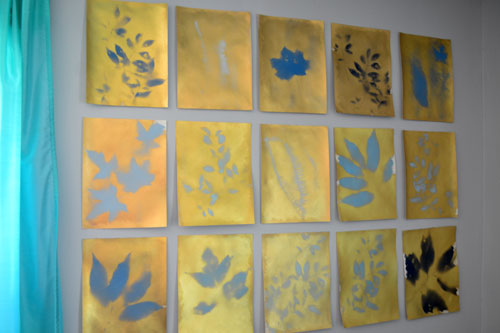
Here’s a closeup so you can check out the leaf art better.
Some leaves worked out better than others. Like the fern silhouettes ended up looking like spine-ie worms, but others, like this guy, came out much more recognizable as leaves.
One thing I learned from the spray painting the leaf part, you know, for next time or if anyone else is thinking of recreating this project, is to flatten your leaves down before you lay them on your paper to spray paint. I didn’t. I just placed the leaves on the paper and sprayed away. Big mistake. That’s why most of the leaves have a feathered look, because they blew around on the paper as I spray painted over them. Oh well, live and learn and then get Luvs.
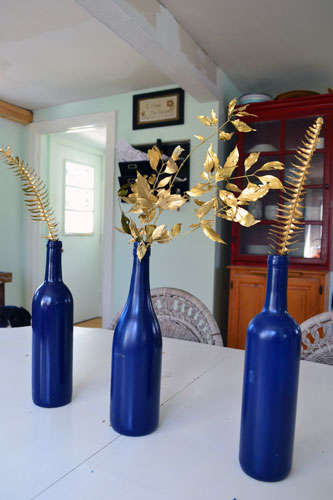
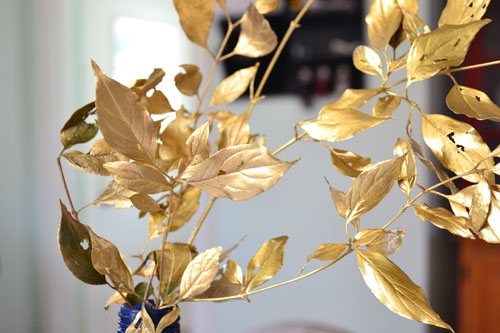
On another note, I had a waste not moment and turned the gilded leaves into a little table centerpiece.
The leaves were quite cute in the blue spray painted wine bottles, which are leftover wedding decor. I dig a gold and navy color combo. It’s my jam.
Pssst…This post is part of the It’s Fall Y’all fall decorating series hosted by Kevin and Layla of The Lettered Cottage, Rhoda from Southern Hospitality, Kate from Centsational Girl, and Sarah from Thrifty Decor Chick. I’m linking this post up to Sarah’s blog next Thursday when she hosts an easy fall decor link party. Be sure to go stop by Sarah’s blog to ogle all the EASY fall decor projects, including my own!




I love love love this!! What color and type of spray paint did you use for the wine bottles? I’m thinking about doing this for my centerpieces!