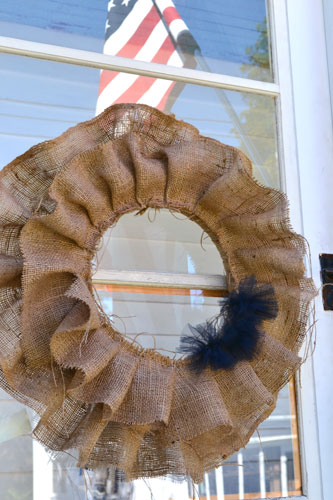
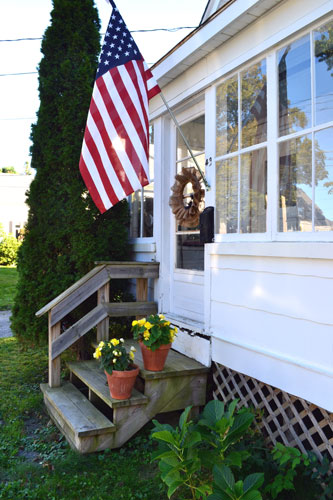
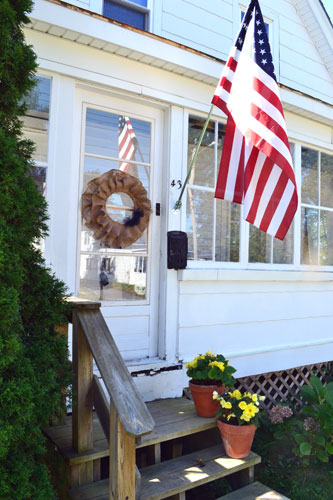
And another It’s Fall Y’all project is under our belts. This time around it’s an outdoor project. And I knew exactly what I wanted to do yet I had no idea what I wanted to do. Does that make sense? Let me explain. My aunt texted me (see mom…people your age text!) a picture she took at a craft store of a burlap wreath. Loved it! So I decided to make a burlap wreath. I had no idea how to make a burlap wreath, but I had the burlap, enlisted a little help from sir “wingin’ it”, and made this beastie burlap wreath, which hangs proudly on our front door:
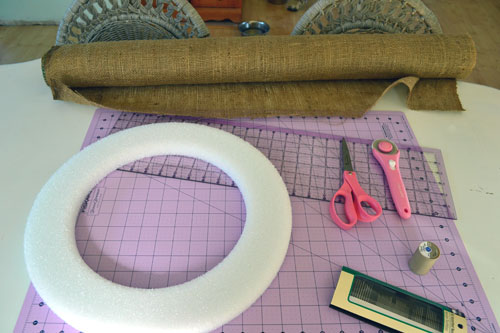
Looking back, had I known exactly what I was doing and what I know now, this project would have been a cinch. But it took a little figuring out time. I started with a roll of burlap which was leftover from one of my mom’s projects, a wreath form from the craft store that I picked up for $5.49, and my sewing/cloth cutting supplies.
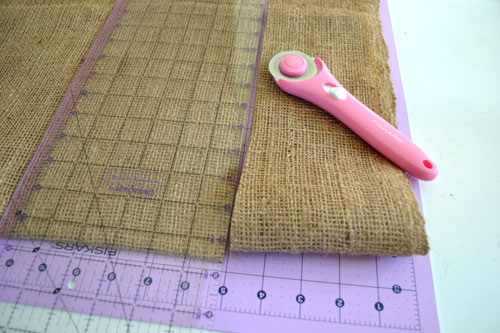
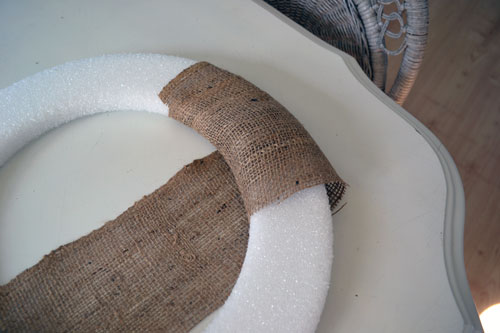
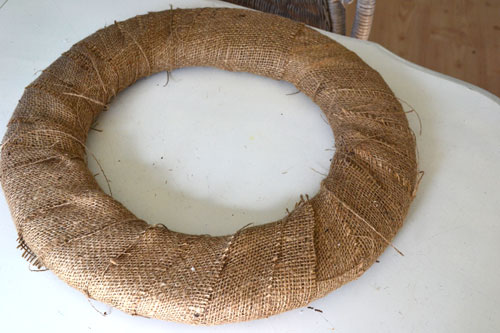
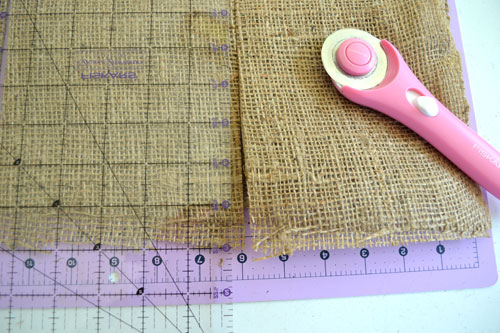
The first step was to wrap the wreath form in burlap and cover up the styrofoam, making a nice burlap base layer to work with. To do this, I used my rotary cutter and cut a couple of 5″ wide strips. I didn’t know how much fabric I needed length-wise so I resorted to a very precise measuring system of holding the fabric roll above my head as high as I could and chopping it off there. Which made the burlap strips about 7′ long.
Next step…wrap away.
To secure the end of the burlap wrapping, I just whipped out my needle and thread and sewed the end to the burlap layer underneath it.
Now with a burlap covered ring, the next step was to add some ruffles. I opted to go with a slightly wider burlap strip. I was thinking a 6″ wide strip would be a better size for the 15″ diameter ring. So I cut four, 6″ x 7′ strips of burlap and prepared to sew.
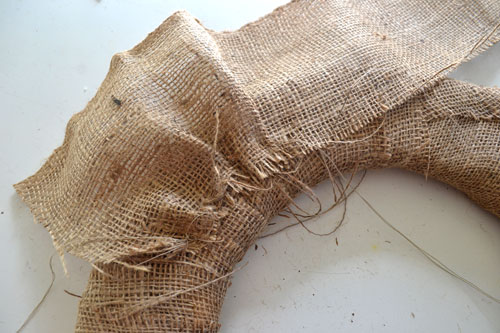
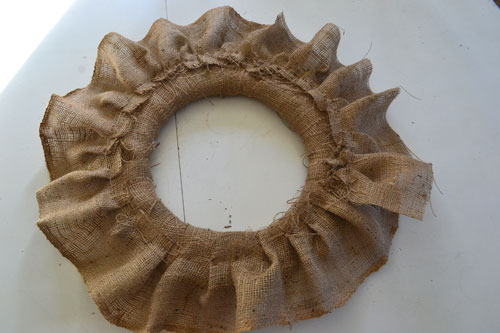
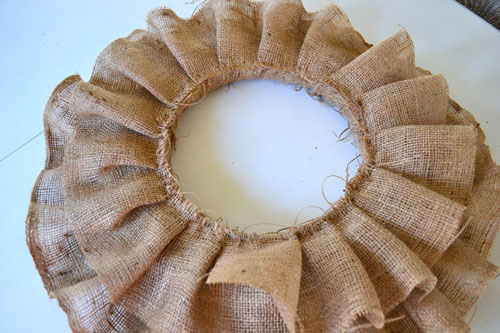
I started with the back of the wreath, taking a burlap strip and sewing it to the base burlap layer using a running stitch. Every couple of inches, I would gather the burlap into a ruffle and sew it onto the burlap underneath it.
It took almost two of the 6″ x 7′ strips to make the back layer of burlap ruffles. here’s a shot of the wreath from the back.
Then I flopped it over and performed the same steps as with the back layer. But on the back layer, I sewed the burlap closer to the outside edge of the ring and on the front layer, I sewed the burlap strip closer to the inside edge of the ring, thus making a layered looking using the same width burlap strips.
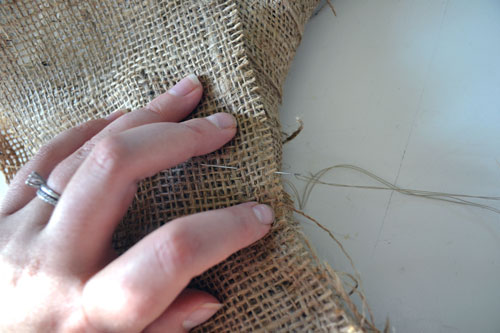
On the front, I learned a little somethin’ somethin’ about an easier way to sew it. Instead of sewing a running stitch, trying to sew the layers of burlap together without sewing into the wreath form, I discovered the whip stitch and started to sew perpendicularly to the ring.
So much easier! Or should I say “sew” much easier! Har har har! I’m pretty sure I use that same bad pun every time I blog about sewing. There was a lot less losing my needle in the wreath form and a lot less poking myself with a needle. Always a bonus! AND the sewing looked neater.
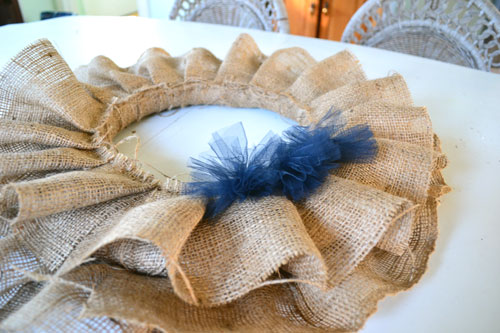
After sewing all the burlap layers, I wanted to adorn the finished wreath with something colorful. Since I still had about thirty tulle pom poms leftover from crafting our wedding favors, I opted to sew a trio of them onto the wreath.
I can foresee myself keeping the burlap wreath for a long time, as a wreath base, and then changing out the wreath accessories periodically. The navy tulle bows go quite nicely with the flag out on the front of our house.
Once October rolls around, I’m thinking I might spook up the wreath a little thanks to some reader inspiration! Shout out to Kimberlee for the inspiration to add some spooky snakes or spiders to the wreath come Halloween time! Love it!
And then maybe some pumpkins on the steps instead of the flowers. Cuz…you know…what’s October without pumpkins?!
Pssst…This post is part of the It’s Fall Y’all fall decorating series hosted by Kevin and Layla of The Lettered Cottage, Rhoda from Southern Hospitality, Kate from Centsational Girl, and Sarah from Thrifty Decor Chick. I’m linking this post up to Rhoda’s blog tomorrow when she hosts an outdoor fall decorating party. Be sure to go over, check out all the fall goodness, and tell Rhoda I said hi!


Oh this is fall perfection at its finest! A truly wonderful wreath.
While we don’t have much fall here in Phoenix I would love for you to stop by to see where I did find a bit of fall.
Have a blessed day!
Thanks so much for the sweet comment! I’m off to check out your blog in three…two…one…
I love your wreath and your cute little step! At first I honestly look at this and thought that it was going to be super complicated to make this, but I think even I could have the patience to do one of these! Thanks for the inspiration!
P.S. A flag and a white house gets me every time too. 🙂
Oh my gosh…I melted when I read this comment! You’re too cute! I know EXACTLY what you mean about white houses and flags! I feel the same way. So classic! Thanks for stopping by!
Your wreath is so simple, yet gorgeous! I definitely need to do something with burlap this fall!
Awwww…thanks so much Shauna! Gotta love burlap! Good luck with your project!
I made a burlap wreath last year and just love mine, but I love how sweet and girly yours is too! I am a sucker for ruffles and love the creative touches you put in your design! Simply lovely!
dee dee
Awwwww thanks!