Update…Pottery Barn made me take down my images comparing my iPad stand to theirs (intimidated maybe?!). Thus…me and Pottery Barn are no longer like peanut butter and jelly. It’s been real Pottery Barn. We’ve had some good times. RIP my love affair with Pottery Barn…hello Crate & Barrel!
Okay…so I know I promised you a tutorial for you…yesterday…one of the Pottery Barn iPad stand knockoff that we made and revealed back here. And didn’t do it yesterday (bad blogger…hanging head in shame). But it was just one of those computer-not-working-dog-is-obnoxious-Colby-was-on-the-road-and-I-have-no-idea-how-we-made-the-iPad-stand-without-him kind of days. You have those too, right?! But karma rewarded me with some serious good news today (hint hint…it may involve a little feature in a glossy…booyah). Anyway…back to the iPad stand and our little tutorial.
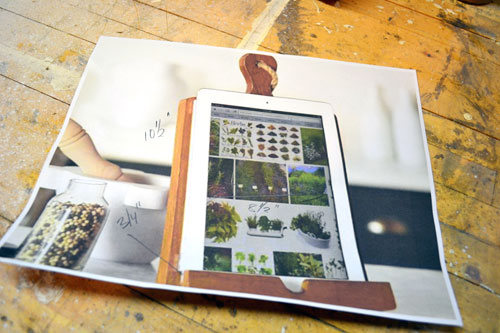
First thing is first, the plan complete with measurements.
To get an idea of the size for the stand, Colby measured his iPad and adjusted the measurements here and there to make sure there was a bit of a wood border around the edge.
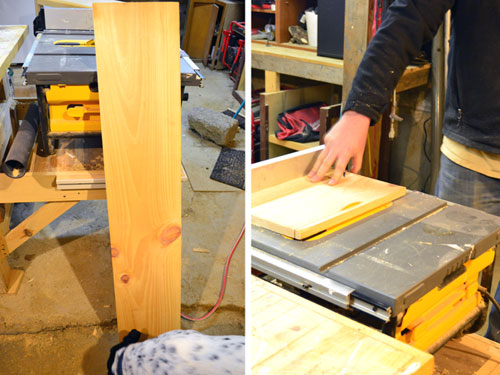
Then we took the one thing we bought for this project, an 8-1/2″ x 4′ pine board for $5 at a local lumber yard, and cut it down to size using a chop saw/table saw combo.
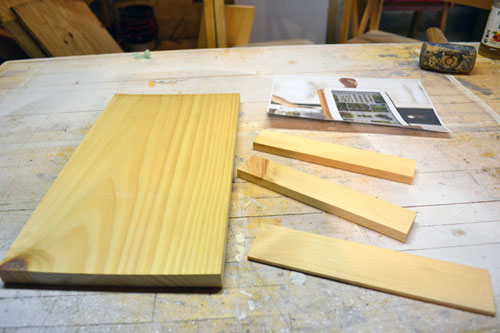
This left us with four pieces of pine: one 3/4″ x 8-1/2″ x 14″ piece for the back, two 1/2″ x 8-1/2″ x 1-1/2 pieces for the lip, and one 1/8″ x 2″ x 6″ piece for the back/stand.
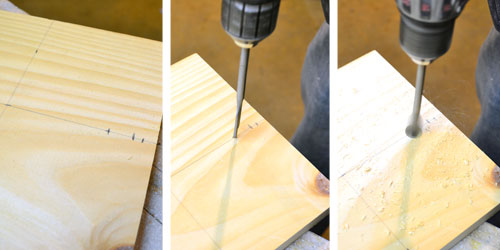
Next step, was marking the large piece of wood for all the cuts, starting with the hole for the rope at the top of the stand’s neck. Once we marked out where the hole would go along with the “shoulders” of the stand, Colby used a 5/8″ drill bit to drill a hole through the wood.
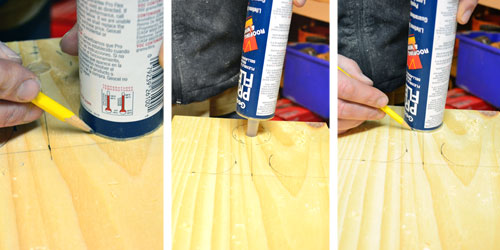
Next, Colby craftily used an old tube of caulking to help him draw out the rest of the iPad stand. The tube fit perfectly through the hole to make it easier to center/trace the round top of the stand. The tube even helped with the curves coming down the neck and into the shoulders.
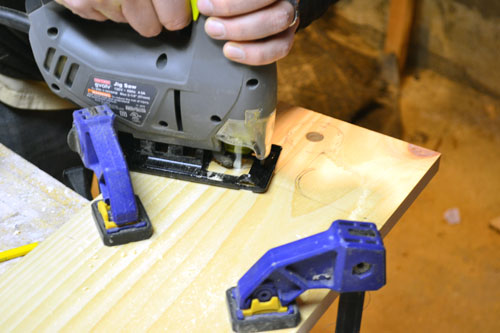
Then he clamped the piece of wood to his work bench and carefully cut it out, following the lines, using a jig saw.
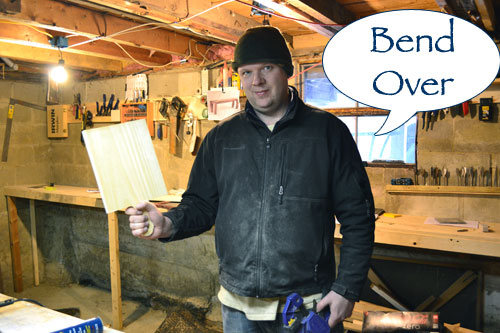
After cutting it out, we were left with…well…essentially…a paddle. And yes…he really said that. But with a much smirkier look than he’s sporting here.
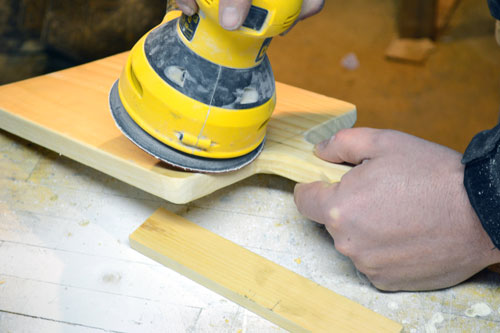
The next step is what really added some rustic charm to the iPad stand. Using an orbital sander, Colby rounded out all the edges around the “paddle”, making sure to be completely willy nilly about it. Official DIYing term right there. The more random, the better. Maybe that’s why we used the “random” orbital sander..har har har…ba dum bum…I’m here all night.
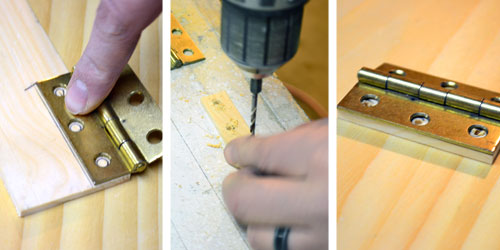
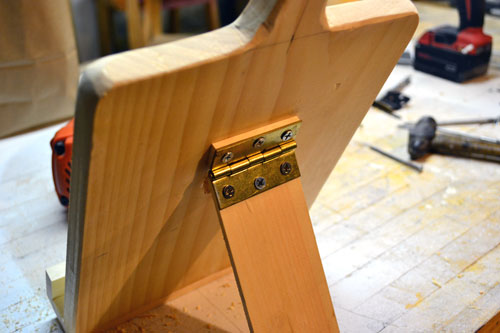
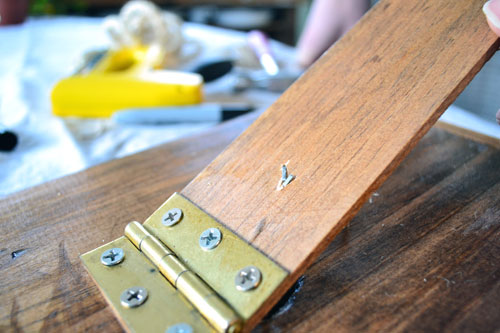
With the paddle part all cut out, our next step was to attach a piece of wood on the back, in a picture frame on the mantel kind of way, so the stand would stand up on its own. We thriftily used an old door hinge we had kicking around the workshop. The idea was to attach the hinge to the shim sized piece of wood and also to the back of the stand. But to do this, we had to add an 1/8″ thick piece of wood (the same thickness as the stand piece) underneath the hinge to make it even with the stand piece. So Colby traced half the hinge, cut it out, and drilled a trio of pilot holes into the wood.
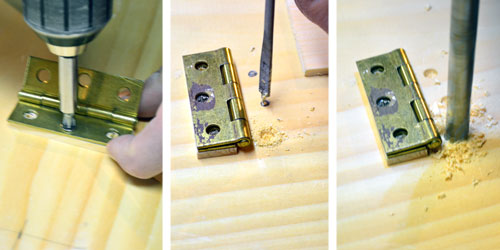
Then using some leftover screws from another project, screwed down the hinge to the back of the iPad stand. With one half of the hinge adhered to the stand, we then had to attach the second half to the wood shim stand. But, the screws we had were just a bit too long. Thus, if we screwed them into the shim, they would go completely through it and into the iPad stand, meaning the hinge wouldn’t actually hinge. So using a spade bit, Colby drilled out the space underneath the hinge so the screws would have some empty space to hang out in.
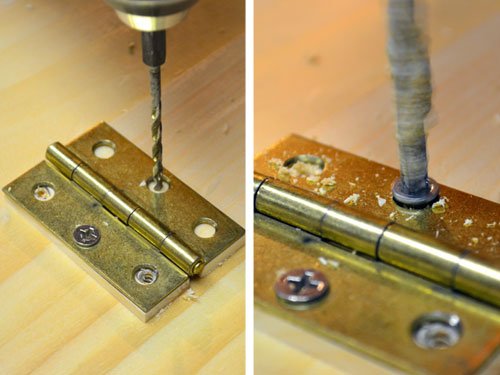
And then attached the piece of wood to the hinge, drilled some pilot holes, and screwed in the screws.
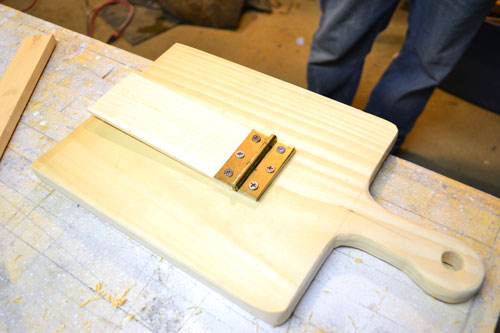
And voila…a hinged up stand back.
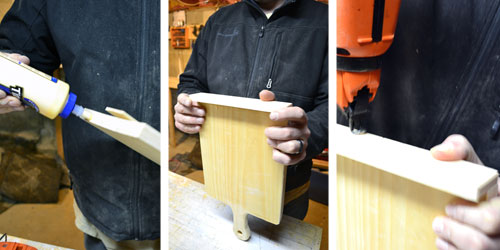
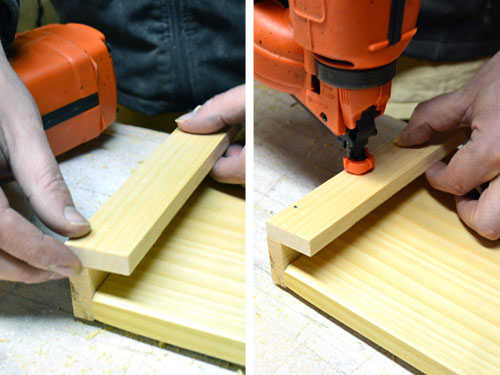
The final workshop steps included gluing, placing, and nailing the bottom of the stand on using some wood glue and some finish nails (we’re lucky enough to have a Paslode finish nailer but a hammer and nails work too).
And then repeating the glue, place, nailing combo for the lip of the stand too.
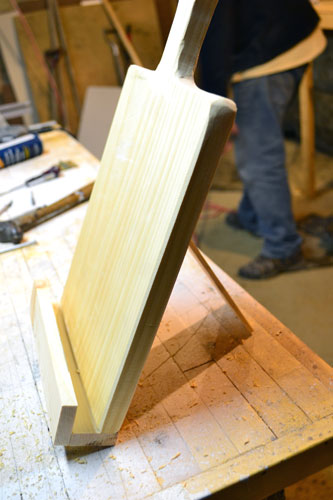
And done…minus the finish work part of it all.
The next step was the finish work, that I didn’t really document because…well…I forgot. But it included staining and polying the stand, using the Early American Minwax stain and Varathane water based polyurethane.
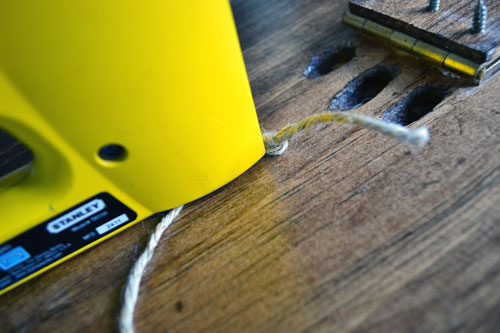
Once the poly dried, our last step was attaching a piece of jute between the stand piece and the body of the iPad stand. We simply used a stapler and stapled the jute first to the back, first tying a knot in the jute to keep it from slipping out.
We eyeballed it for the length of jute between the two pieces of wood.
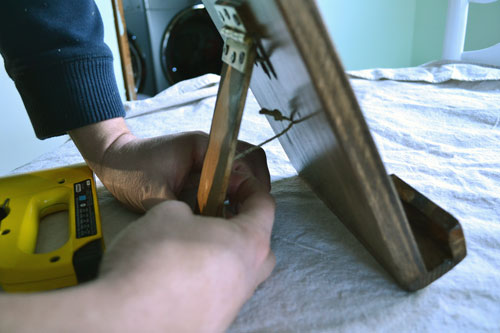
Then stapled the jute to the stand piece.
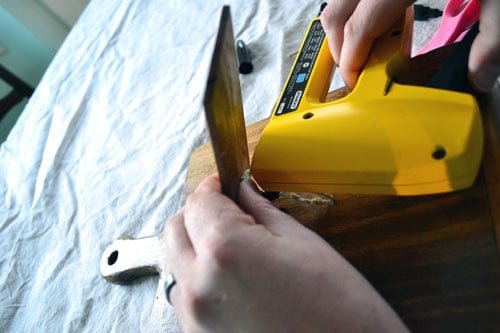
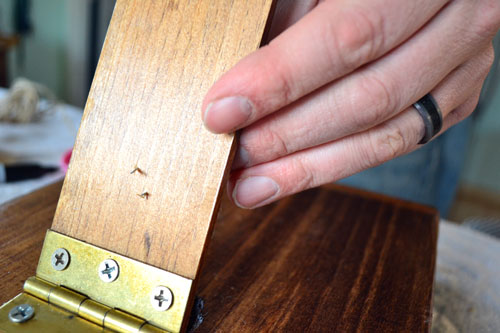
Because the piece of wood was so thin, the ends of the staple poked through.
But to rectify it, we just whipped out the hammer (picture me pulling out a hot pink hammer from a hot pink tool bag…I’m serious…ask my mom) and nailed down the ends of the staples.
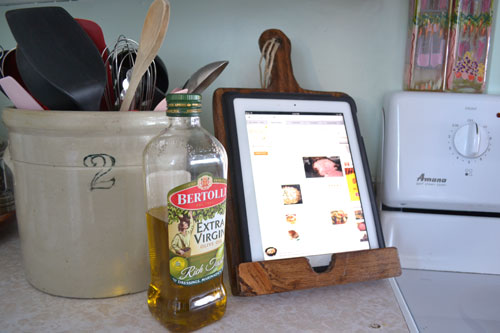
And…scene. Well, not really. We later realized that we needed a little cut out at the bottom of the stand so we could use the power button. Power…minor details. And we also added a few strands of jute to it so we could eventually hang the stand somewhere in the kitchen. Now we just need to find a spot to do that.
Psst…So enough about us, hogging up the blogisphere, what about you guys? Did you make anything uber awesome this weekend? Any knockoffs? Pottery Barn knockoffs? Or anyone want to join my Pottery Barn Lover’s Anonymous club? My name is Angie…we meet on Thursdays.


Angie, that’s awesome!
Eeee…thanks Amanda!!!
Love this! My mom is super handy like your Colby, (I married a nerd and love him that way, but we own 0 power tools) This is totally going on my, I really want this for Christmas list this year! 🙂 –See you Thursday at Pottery Barn Lover’s Anonymous.
Hahaha! You’re the best! Now we just need to recruit a few more members for our little support group…shouldn’t be too hard.
Ok, so I just checked out the Etsy shop and am SUPER excited about the KindleFire version of this coming as I have a Kindle Fire! AND I’m excited that you are offering other finishes! I’ll be ordering and asking for a darker espresso’ish finish…..I can’t WAIT!! 🙂
Yes! I’m so glad you said that because I’ve gotten so much feedback saying “A Kindle Fire version?! Really?!” But there’s nothing out there like this for a Kindle Fire…it’s an opportunity! Okay…so when we get it done I’m emailing you that it’s done and slapping on nice, dark finish for you!
Love this! You did such a wonderful job. I don’t even have an iPad (yet) and I still pinned it. 🙂
Awwww…thanks Chrissy! And since it only costs five dollars to make, I think you should take your iPad stand savings and purchase that iPad!
I love that justification! lol I see an iPad in my future! 🙂
Now where is that old wood cutting board I have shaped just like that?
Oooooh…that’s a great idea! Repurpose the old cutting board into an iPad stand! Love it!
LOVING this project. Now I just need an iPad so I have a reason to make one of these!
It works real well holding cookbooks too! Just FYI…no iPad needed!
I wanted this immediately when I saw it in the Pottery Barn catalog! I hesitated to buy it with my PB gift card because, as I told my husband, “why waste the $35 when we could so easily make one?”
Needless to say, he convinced me to just buy it (less work for him), but I just showed this post to him and got to say “I told you so.”
Great job by the way! It looks almost identical to the “real thing” I now have sitting on my counter. But yours was way cheaper and you get to say you made it! Excellent!!
Haha! I love a good “told you so” moment!!!
Haha! I love a good “told you so” moment! Colby and I actually had the same debate except Colby was pro “let’s make this” and I was all “I don’t know”. So glad we made it! Since you have the real one, I’ve been wondering, what’s the back like? Is it picture frame style with a little slip back stand thingy?
Thanks so much for sharing this project. It just so happened I hit my handy brother up for this just when he needed a woodworking project. I sent him the link yesterday morning & by late yesterday afternoon he was sending me pics of the almost finished stand. All that is left is the staining. This is just what I needed in my kitchen & lucky me he had everything he needed to make it with on hand.
Oooooooh….that’s so awesome! I’m glad it worked out for you! When you get it finished, send me a pic at [email protected] I would LOVE to see how it turned out!
Like yours better, can I buy it seriously?
Haha! You know…I’ve gotten so many questions about and purchase inquiries about the iPad stand that we’re seriously considering starting to produce them for sale. Thanks for the comment!
I cannot believe that they made you do that! I have a favor to ask, my boyfriend and I were in the process of following your tutorial and out dog got a hold of the paper I had printed the tutorial on, is there anyway you could email it to me!? I would GREATLY appreciate it!
Thank you!
Would you be able to email your tutorial, or sell the plans? I saw your blog last night and wanted to show my husband for possible christmas gifts, and now it’s gone 🙁
Hello,
Thanks a bunch for the tutorial. I think I’m going to copy most of this for my mother-in-law for this Christmas. Where did you get 1/8″ wood? You mention that you only bought one board but you didn’t say anything about planing the pine down to the 1/8″ thickness. Again nice job, thanks!