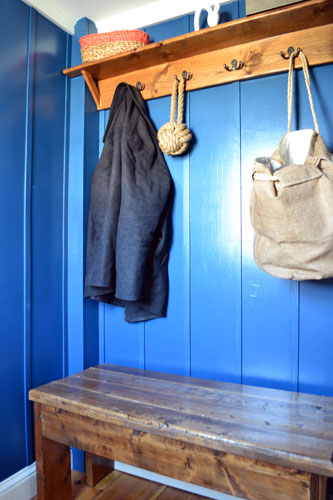
It’s official…our entry is done! And done with pizazz, otherwise known as entrifical force. And an entrifical force our entry certainly is complete with some organization and Nate Berkus accessories. Bam!
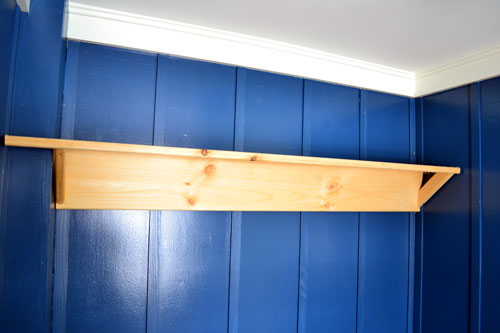
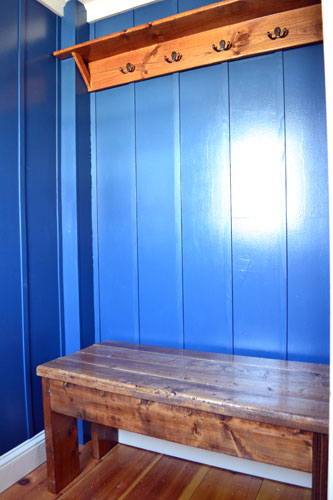
Almost knocked you over there, didn’t she?! I told you the entry is sporting some serious entrifical force. Last time I say that, I swear. But let’s step back to the very beginning. Back to when Colby built a custom shelf for the entry.
It’s just wedged right in there, no screws necessary, it’s such a great fit. But why a custom shelf? One…because that’s how we roll, two…we like real wood as opposed to most of the fake wood/laminate big box store shelves, and three…because we fit the shelf around the beam in the entry thanks to a little notching.
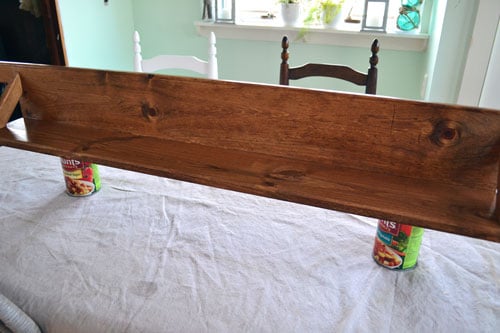
So with the entry shelf built, I gave it my usual stain/poly combo using the same materials/method as when we finished the entry bench. Side note…it’s amazing how two different woods take stain so differently! The shelf has more of a reddish tint to it than the bench does.
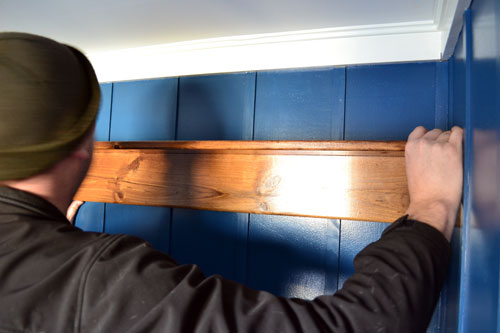
Anyway, once the stain/poly dried, up on the rooftop click click click wall the shelf went. Colby just wedged it right in there before whipping out the level to make sure it was properly positioned.
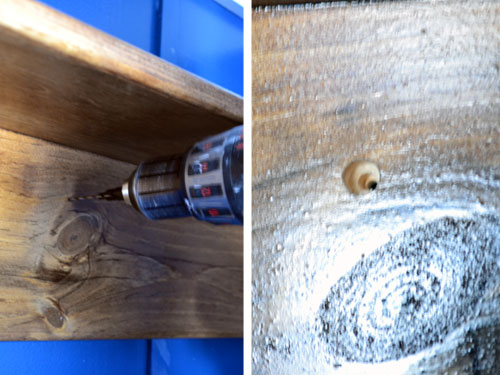
Then the fun part, attaching the shelf to the wall. We opted to just screw the shelf directly into the wall. But to kind of hide the screws that would be visible, we used these countersinks.
Countersinks, in my words not Colby’s official-like-technical-terms, is like a drill bit/hole saw combo. The bits drill a pilot hole into the wood for the screw, and also bore out some of the wood around it so you can sink the screw below the surface of the wood. Here’s a shot after using the countersink bit:
And here’s the shot after we screwed the shelf to the wall. Note how the screw “sinks” into the wood.
If we so choose, down the road, we could cover the screw with a wood plug, blending the screw holes in with the rest of the wooden shelf. But we don’t mind the pair of exposed screws so we’re leaving them for now.
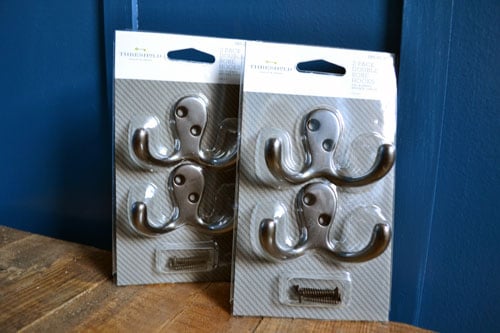
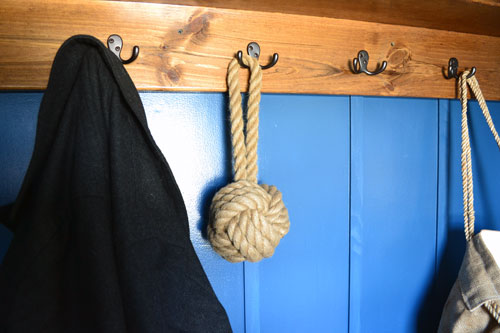
With the shelf in place, our next step was to add some coat hooks. I ended up going with a couple sets of hooks from Target’s Threshold line, in an oil rubbed bronzed finish. They only set me back $3.99 each (before my 5% Target card discount).
And just screwed them into the wooden shelf, making sure to screw them in evenly and level-ie.
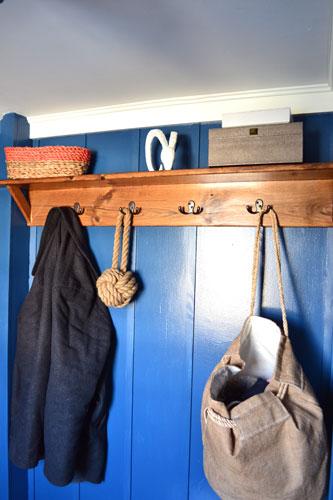
It’s easier to tell in the shot below, but we tried to line up the coat hooks with the pieces of wood we used for batten. You know, so everything kind of looked all even, spaced out correctly and professional like. You can also see how the same stain played differently with the two different types of woods.
With the shelf in place, I put away my wood finishing cap and unleashed some serious accessorizing fury. I had picked up a few items at Target to help organize the space but most everything we brought into this entry was “shopped” from throughout our house.
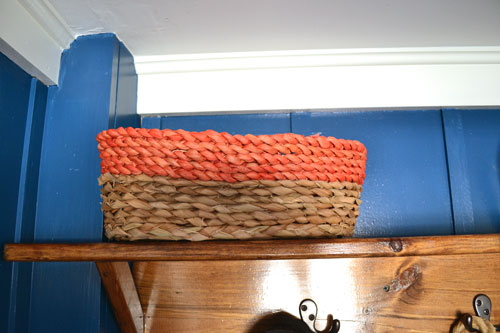
The basket was new. It’s a bread basket from Target that I picked up for $7.99.
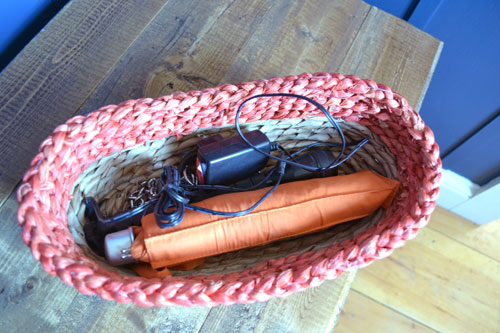
It holds a flashlight, an umbrella and the charger to Goose’s magic collar (the only thing that keeps him from running into on coming traffic).
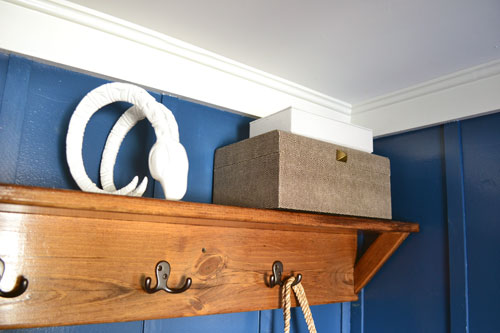
The other side of the shelf sports the Nate Berkus ram’s head I picked up a while back, a Martha Stewart for Staples white office box, and a recently purchased Nate Berkus for Target storage box (the larger one).
The white box holds all of our batteries in an organized fashion. I know it’s strange and un-typical-like to store batteries in an entry, but I wanted to add another box to the shelf and I HAD to organize our battery mess somehow, so this works for now. Maybe after the big kitchen remodel someday we’ll have a nice little spot in a junk drawer for battery organization. Until then, the box in the entry is working.
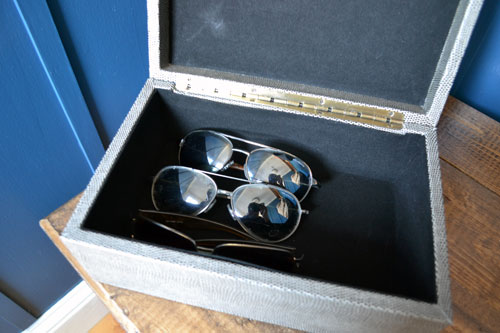
The Nate Berkus box holds our sunglasses. It keeps them out of Goose’s zone of terror and also keeps them dust and dirt free.
I hung up a rope knot (which you’ll learn a little bit more about tomorrow) on one of the hooks as well as the small Pottery Barn burlap sack that we use to hole all our winter hats and mittens.
It’s so comforting to have a nice little spot once we come in our house to drop bags, hang up our coats, and dump the mittens and boots. It’s taking a little bit of time to get used to our new little dumping zone, we still tend to leave things on the kitchen table, but we’re coming around. What’s left on the entry to-do list? The only task left for this space is to add a little art on the walls, which I’ve been scheming ideas for a few weeks now. You know I’ll keep you posted. But until then I’m reveling in our entry joy.
Pssst…What have you guys been organizing lately? Any mudroom projects?







LOVE!!!! 🙂 …. also, that target stuff was toughhhh to walk by… i wanted the little twine wrapped rhino and hippo 🙂 ….where would I even put those in a frat house? Miss you! and hoping to see all of this awesomeness in person soon!
Ooooh…I love those too! Like so much love for them! I bet we could make them ourselves with some twine…hmmmmm! Craft project!