I called my dad last week to wish him a happy birthday. He turned older than dirt so a call was the least I could do (you’re welcome Dad!). My dad is one of seven of my fans and never misses a blog post so our phone call quickly turned into a “What house project are you working on” conversation which turned into a “When are you actually going to finish a project” conversation. I know, I know. In the last few weeks, Colby and I have started working on the living room (which is oh so close to done), started in on a bathroom remodel, and dove into a landing makeover. I hear ya Dad, believe me, I hear ya. But for the record, we did start and finish a guest bedroom makeover in one week. One week! So this post is dedicated to you Dad. We built a small deck for our back entry AND painted the door green.
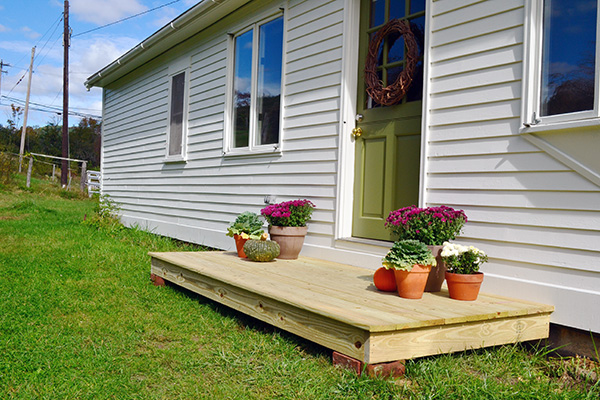
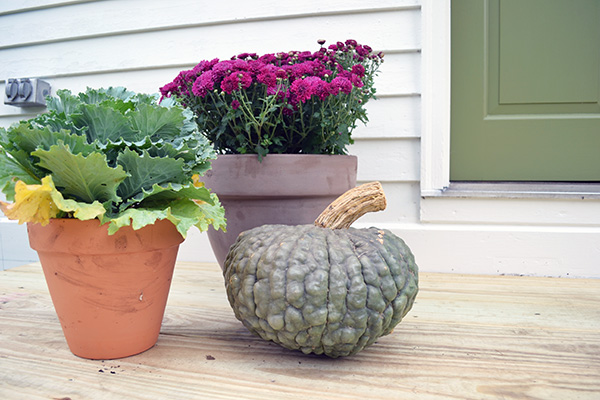
AND decorated it with some mums, pumpkins, and lettuce for a festive fall stoop.
Before we dive into the how-to and get to the good in-progress pics, let me remind you what this looked like a few months ago on closing day:
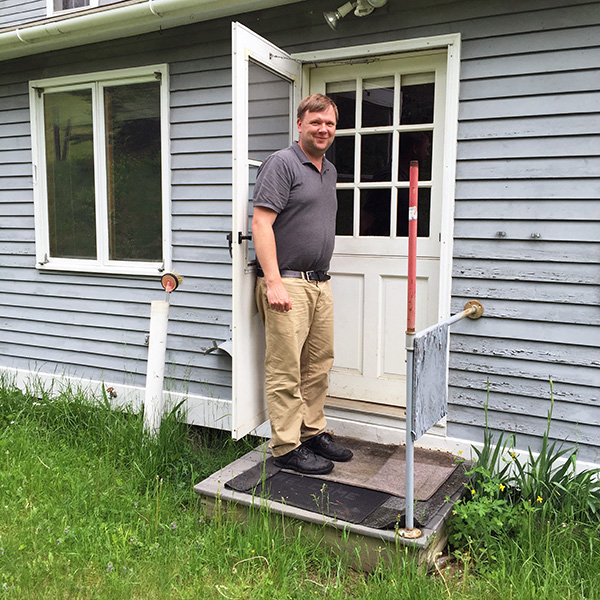
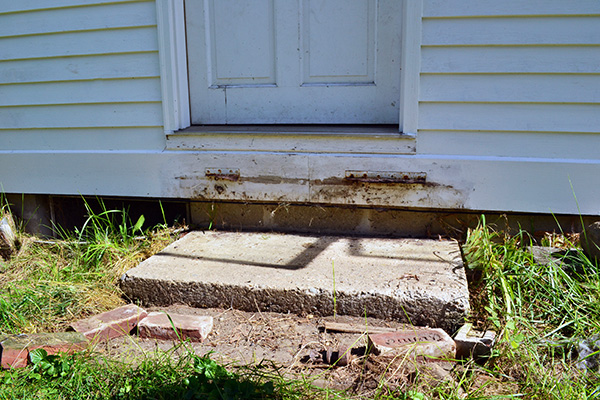
Beauty, eh?! The old mini stoop was composed of a PT base and a composite top. It wasn’t too terrible and we could have cleaned it up, but it was a tad small.
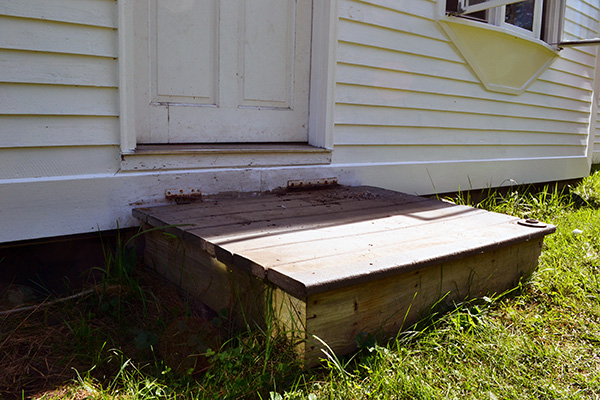
And this was how it was attached to the house with a rusted-apart hinge system:
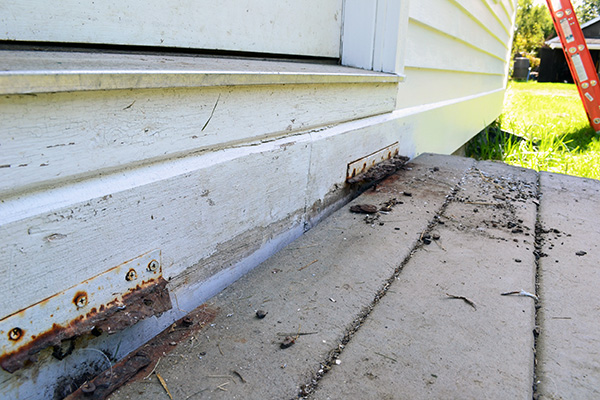
Honestly, stoop building wasn’t high on the priority list at the time. We tackled this project a few weeks ago when we should have been scrambling to button up the house painting before winter or putting the bathroom back together again or installing the dishwasher that’s sitting in a box in our kitchen (more on that later). But sometimes you just need to make your entry look a little cuter and have one…nice…space. So we spent a morning and $150 on materials to make over our entry and build a new stoop.
After removing the old composite mini deck we found a cement step. We briefly thought about removing it. Briefly. But our plan for the mini deck building project was to build it a bit bigger than the old stoop so we could easily build it right over the cement.
Armed with (5) 2″ x 6″ x 12′ pressure-treated boards for the frame and joists, (9) 1″ x 6″ x 10′ pressure treated for the deck boards, (14) joist hangers, a box of deck screws, and an annoying dog who just wants to chase groundhogs, we were ready to build a deck. We started by building a 4′ x 10′ frame.
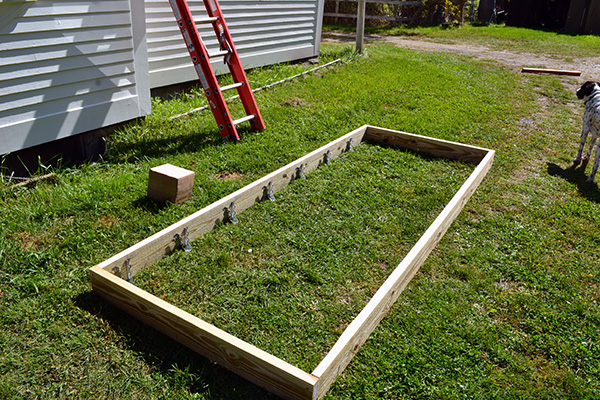
And attached the joist hangers 16″ apart with the deck screws.
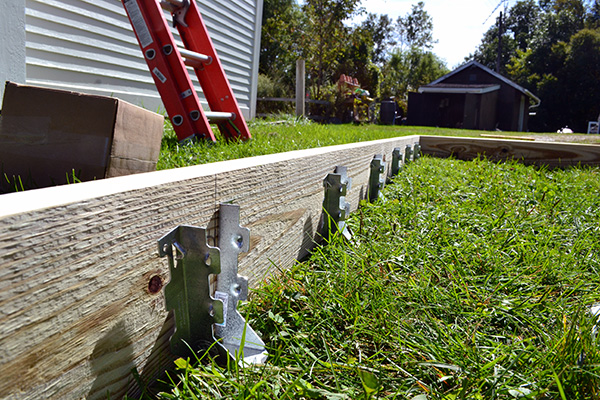
Then we moved the frame over to the house, shimmed it with some bricks until it was level, and screwed the frame to the house.
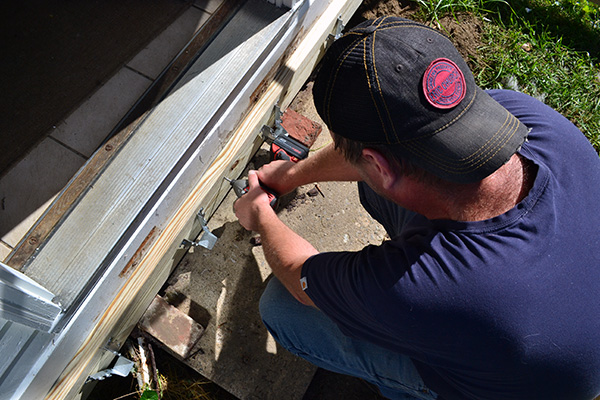
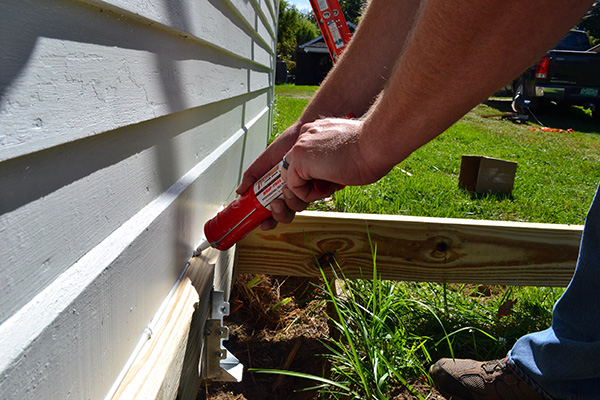
Code enforcers, avert your eyes. The next step was caulking the seam where the deck frame meets the house. You don’t want any water getting between the deck and the house. It’s a recipe for a rotting disaster. Our caulking step isn’t really the right way to do it. You really should install flashing. We took a shortcut since we have a big overhang with gutters so there shouldn’t be too much splash back when it rains.
Finally, it was deck board installation time for Colby I started painting the door green (it’s Benjamin Moore’s Home on the Range). When attaching deck boards in general, start on the outside edge and work towards the house. That way the narrowest board will be tucked up against the house instead of the outside edge of your deck. Board by board, Colby screwed them into the joists.
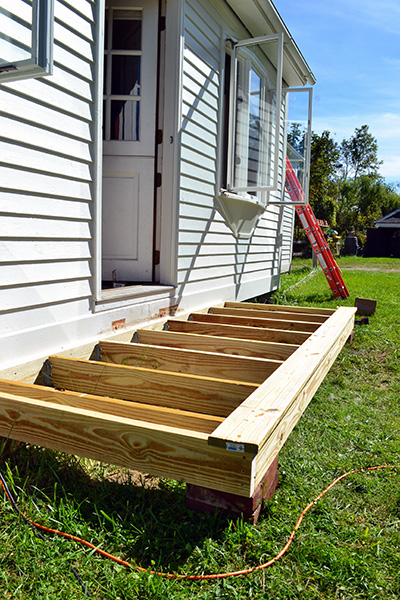
And by noontime, we had a green door and a new 4′ x 10′ back stoop.
We built the stoop larger than the original for a couple of reasons. One, so we could both stand on it simultaneously while unlocking the door with arms full of groceries and not fall off suffering egg casualties. And two, so there’s space to holiday-ify the entry. I’m dreaming of big ol’ whiskey barrel planters some day but considering we’ve spent a ton of money on paint and appliances lately and we’re currently scared of how much it’s going to cost us to heat this house come winter, I didn’t feel like spending another $150 on giant whiskey barrel planters. Maybe next year. For now, $50 worth of pumpkins and plants was enough.
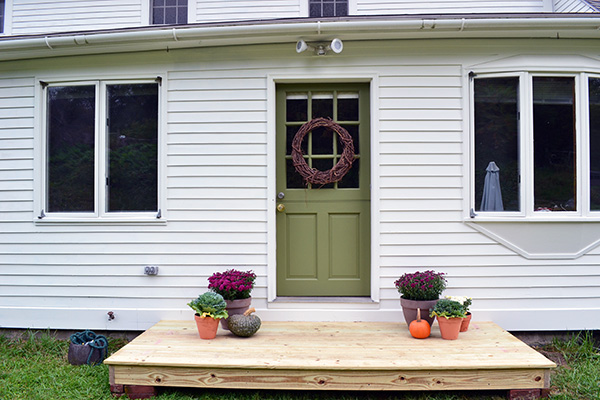
The new stoop also fits into the grand master plan for the back yard which includes a stone patio (I’m dreaming of slate), gardens along the house, a stone fireplace and grill station, and an outdoor dining nook. But those won’t happen for a while and knowing me, I’ll change my mind a few times (or a thousand times!). Until then, we’re enjoying how much fresh paint and a new back stoop have dressed up the back of the house.
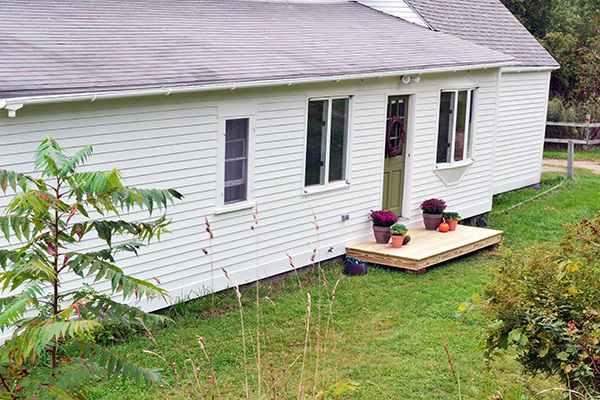
And the mums. I’m definitely enjoying the mums too.
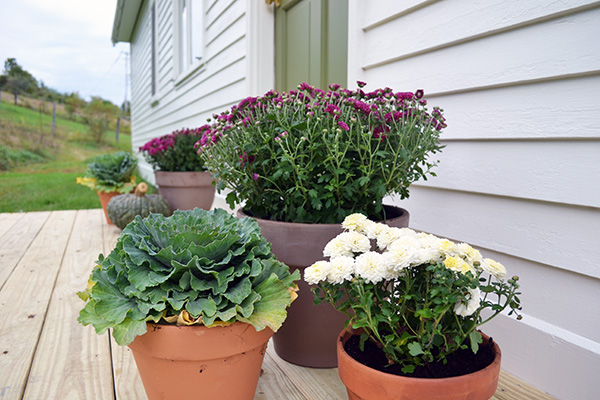
It’s sad to say but I don’t think I ever decorated our stairs or deck for fall at our old house. No mums. Maybe two pumpkins over the course of five years. We just never paid much attention to the exterior of the house which is one of my biggest regrets from the old pad and likely why we’ve spent our entire summer working on the exterior of the new house. But alas, it’s getting chilly and we’re starting to move things indoors.


This looks great!! I can see the decoration ideas forming in your head. Christmas trees, scarecrows, maybe even a pink flamingo. Can’t wait to see the next project!!
The stoop and décor look great.
Thank you!