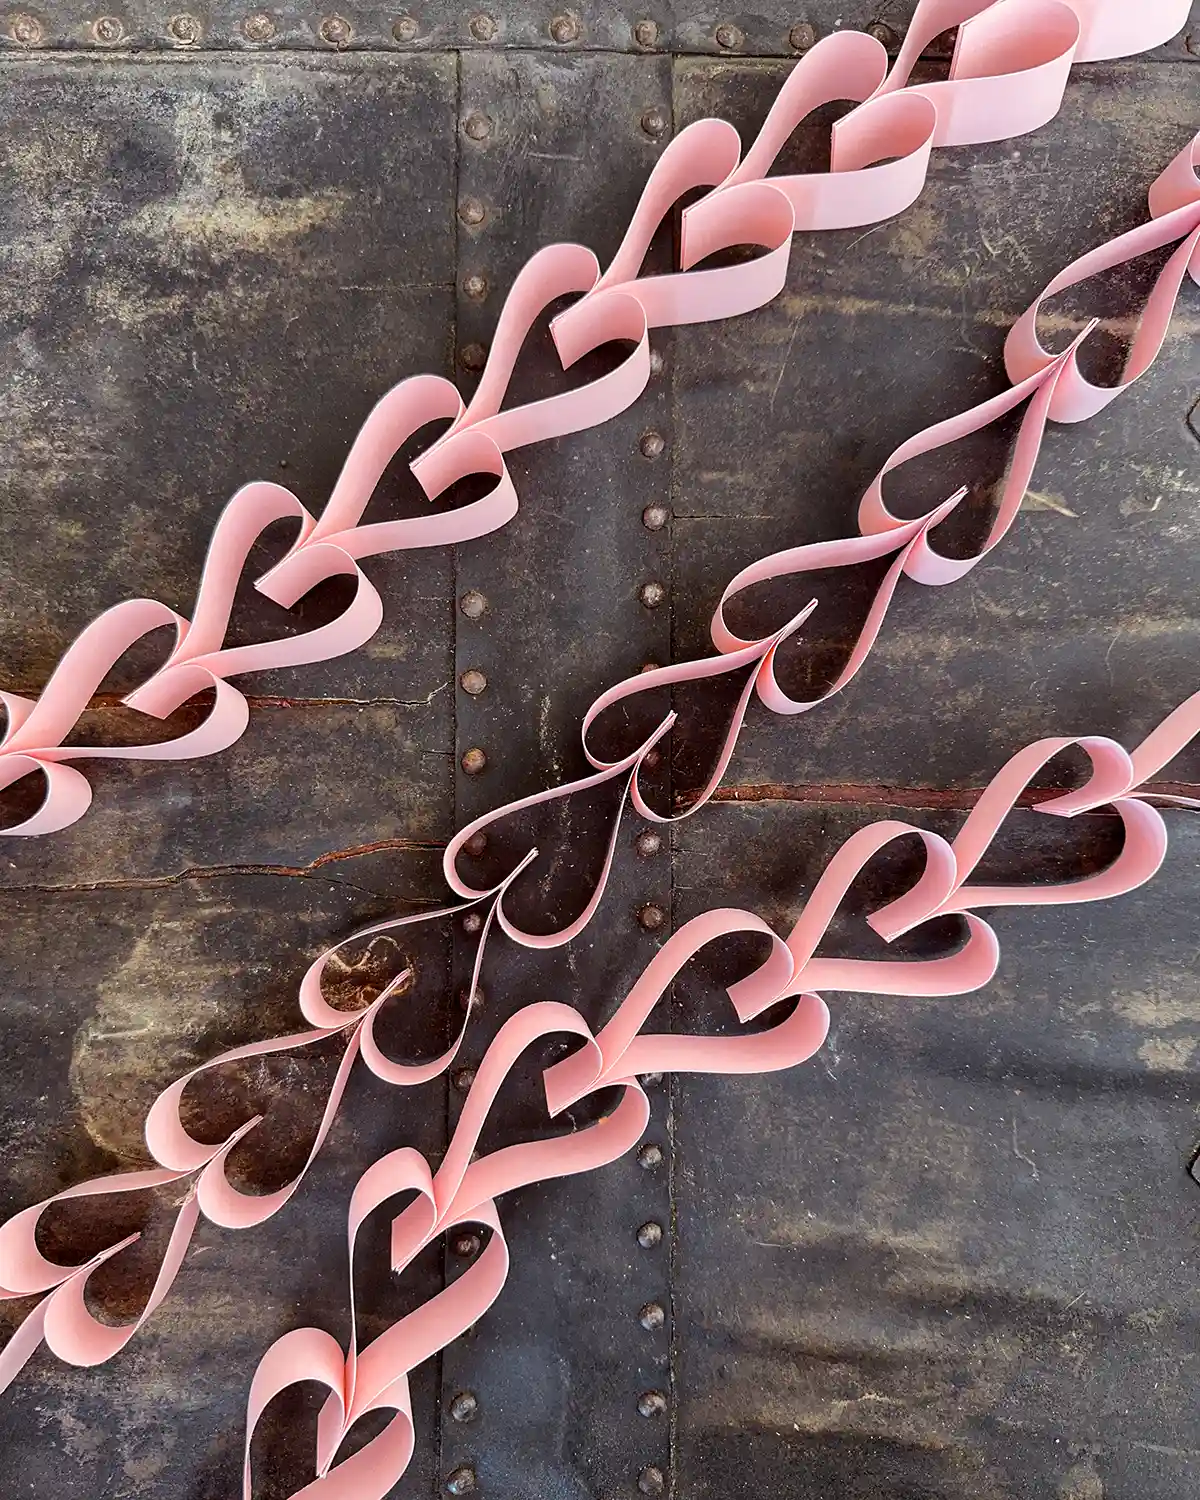
Most days I feel like I’m losing at the parenting game. But occasionally, you have a snow day, break out the construction paper for a Valentine’s Day crafting session, and feel like you’re winning. True story. Last week, the girls and I made some heart paper chains that turned out so cute. Today, I’m sharing the tutorial on making a paper heart chain (or three) for Valentine’s without spending a lot of money and happily crafting with the kids for an entire afternoon. Here we go.
I vaguely recall many moons ago seeing these gorgeous paper heart chains. Perhaps on Instagram? Or maybe TikTok? I can’t remember. But the image had always stuck in my head. It was like one of those countdown-to-Christmas paper chains made out of strips of paper. Except that instead of a circle it was formed into a heart shape. Since then, I had this grand vision of making loads of heart paper chains and decking every inch of our dining room with them.
I scoured the internets and found a few tutorials to start with. The kids and I played around, making massive amounts of paper hearts, until we finally landed on this tutorial. To preface, most people used a stapler to secure the paper hearts. I’m not like most people and wanted to hide the staples. So I opted to make the paper chain using double-sided tape. I was a little hesitant with the tape, worrying it would let go. But as of writing this post, the heart paper chain has held on, and maybe five or six needed extra securing.
I divided this tutorial down into two methods: one using staples and one using double-sided tape. Both are easy and both are secure. To each your own. My preference is the tape. It does take a little longer to make and isn’t quite as secure as staples, but I like not seeing the staples attached to the paper hearts. Onward we go!
Supplies:
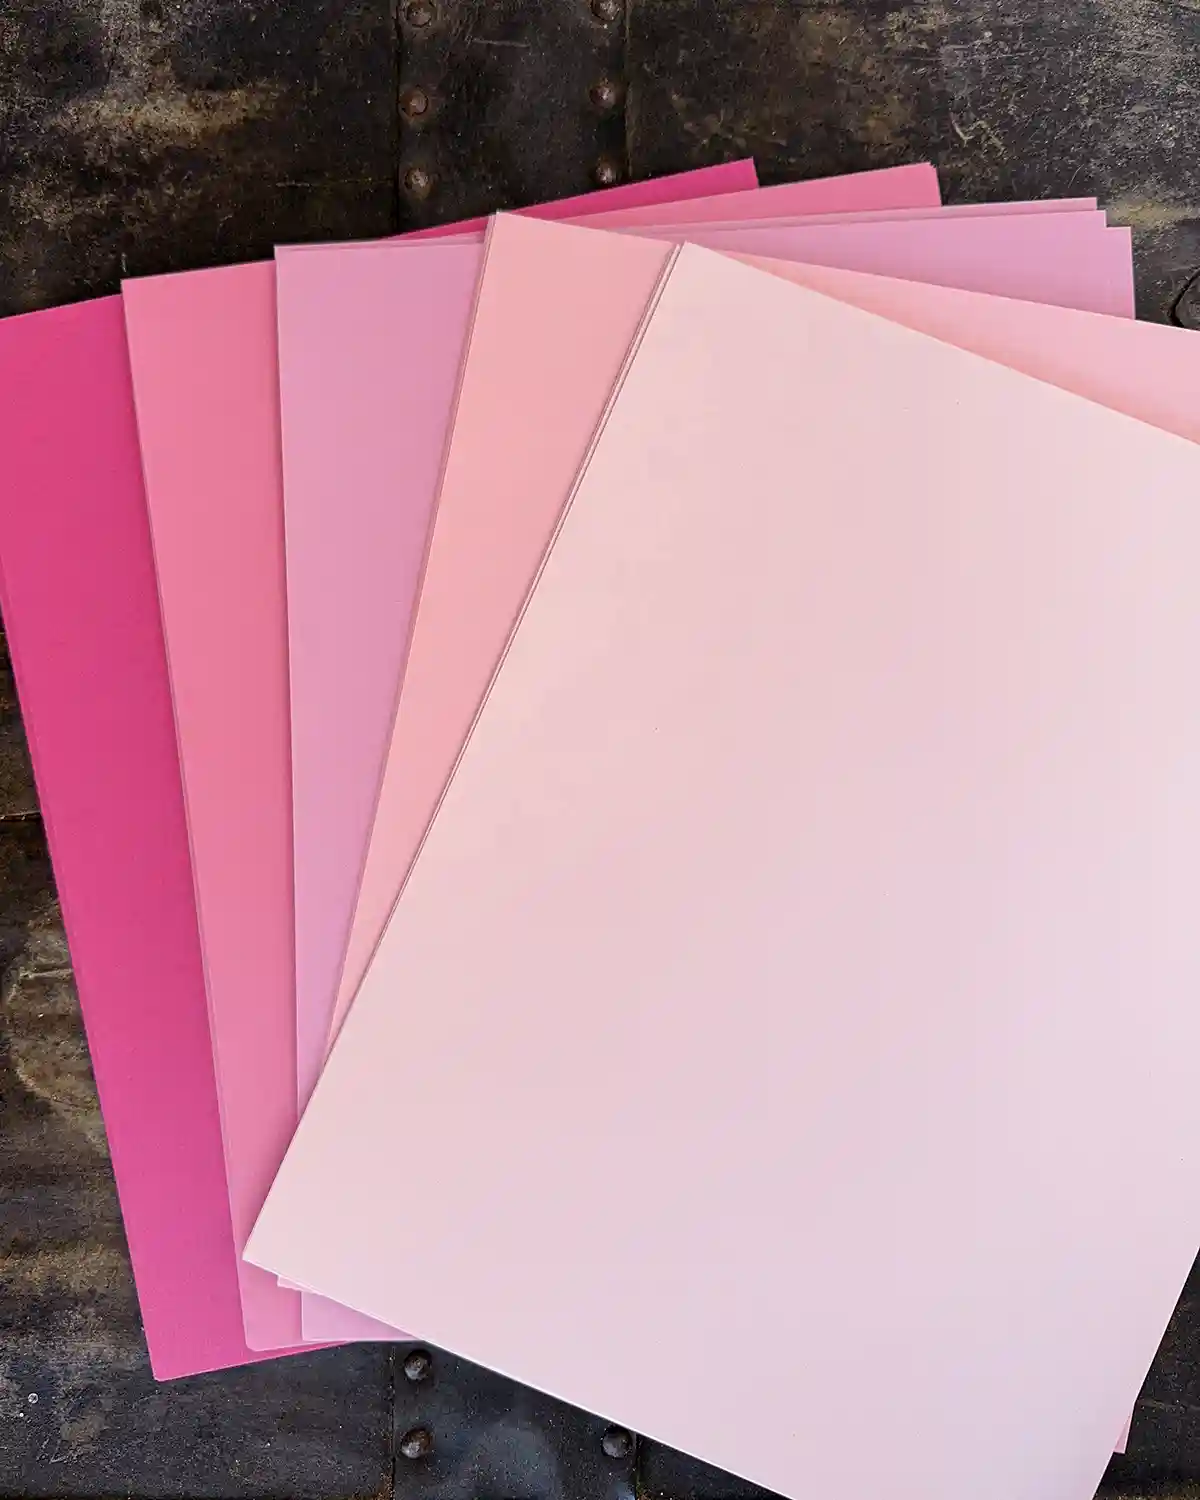
- Pink Cardstock (Michael’s)
- Double-Sided Tape or Staples (Target)
When choosing your paper, I highly recommend a multi-color pack of cardstock, like this one I bought from Michael’s. At the time of purchase, it cost just under $4 and was more than enough to make several long chains. Buying a multi-colored pack meant fewer decisions for this over-analyzer. I opted to use the lightest pink, the darkest pink, and the pink in the middle to make my three heart paper chains.
Tools:
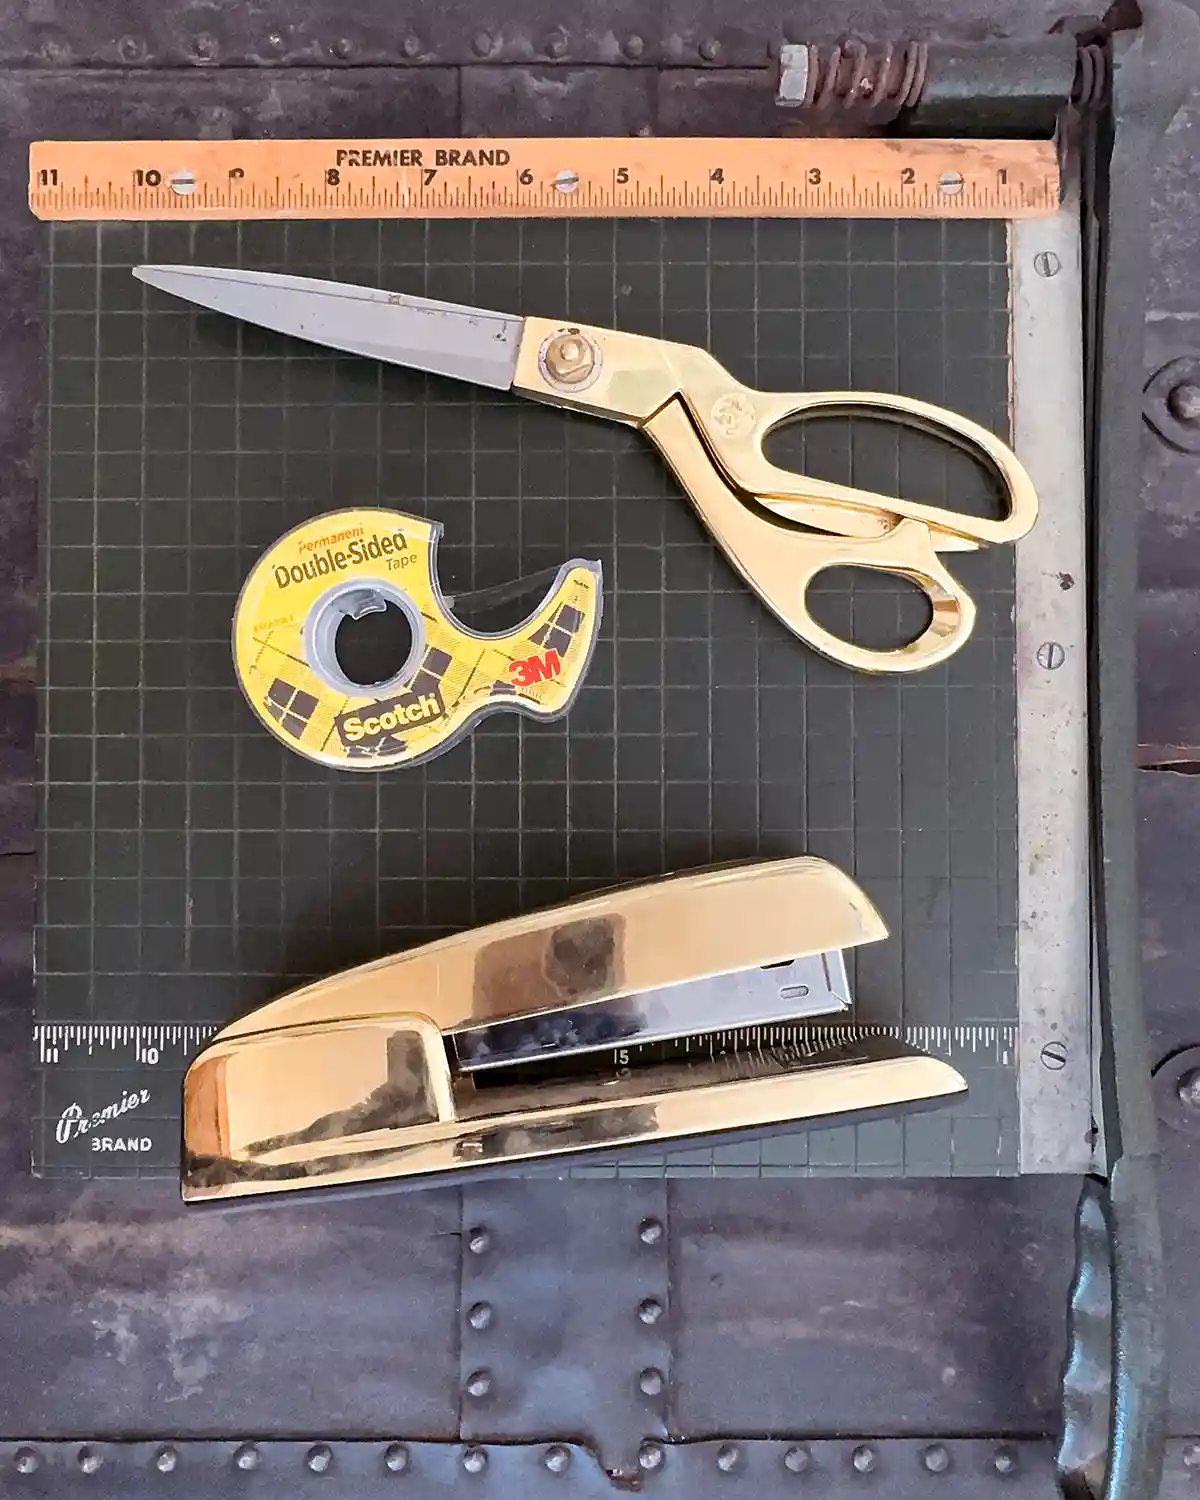
- Paper Cutter (Staples)
- Scissors (Target)
- Stapler (Target)
A word on tools. I cannot recommend using a paper cutter for this project enough. I prefer one of those heavy-duty vintage ones. I scored mine from eBay for around $20, but Etsy has quite a few to choose from as well. I’ve also found them at flea markets and thrift stores. When I bought mine I thought, “I’ll rarely use this” but I feel like I use it weekly for all kinds of things. Hashtag worth it. And now for the tutorials.
Making A Paper Heart Chain Using Double-Sided Tape
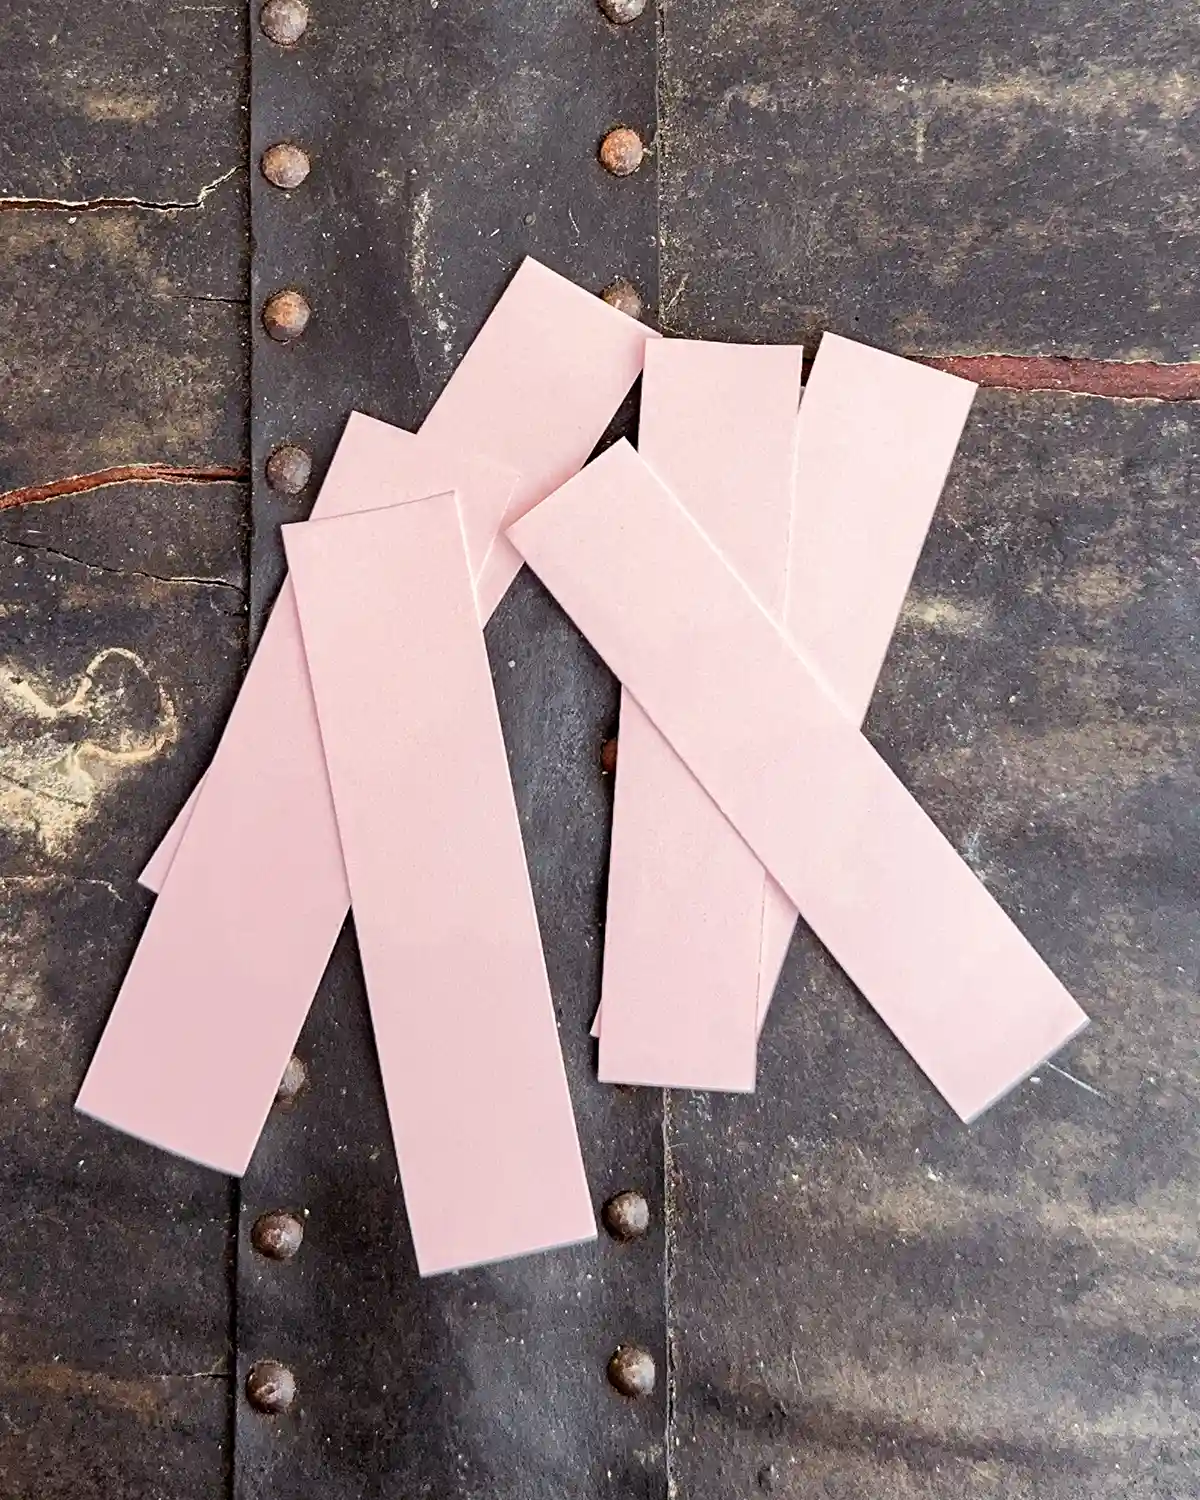
Cut The Paper
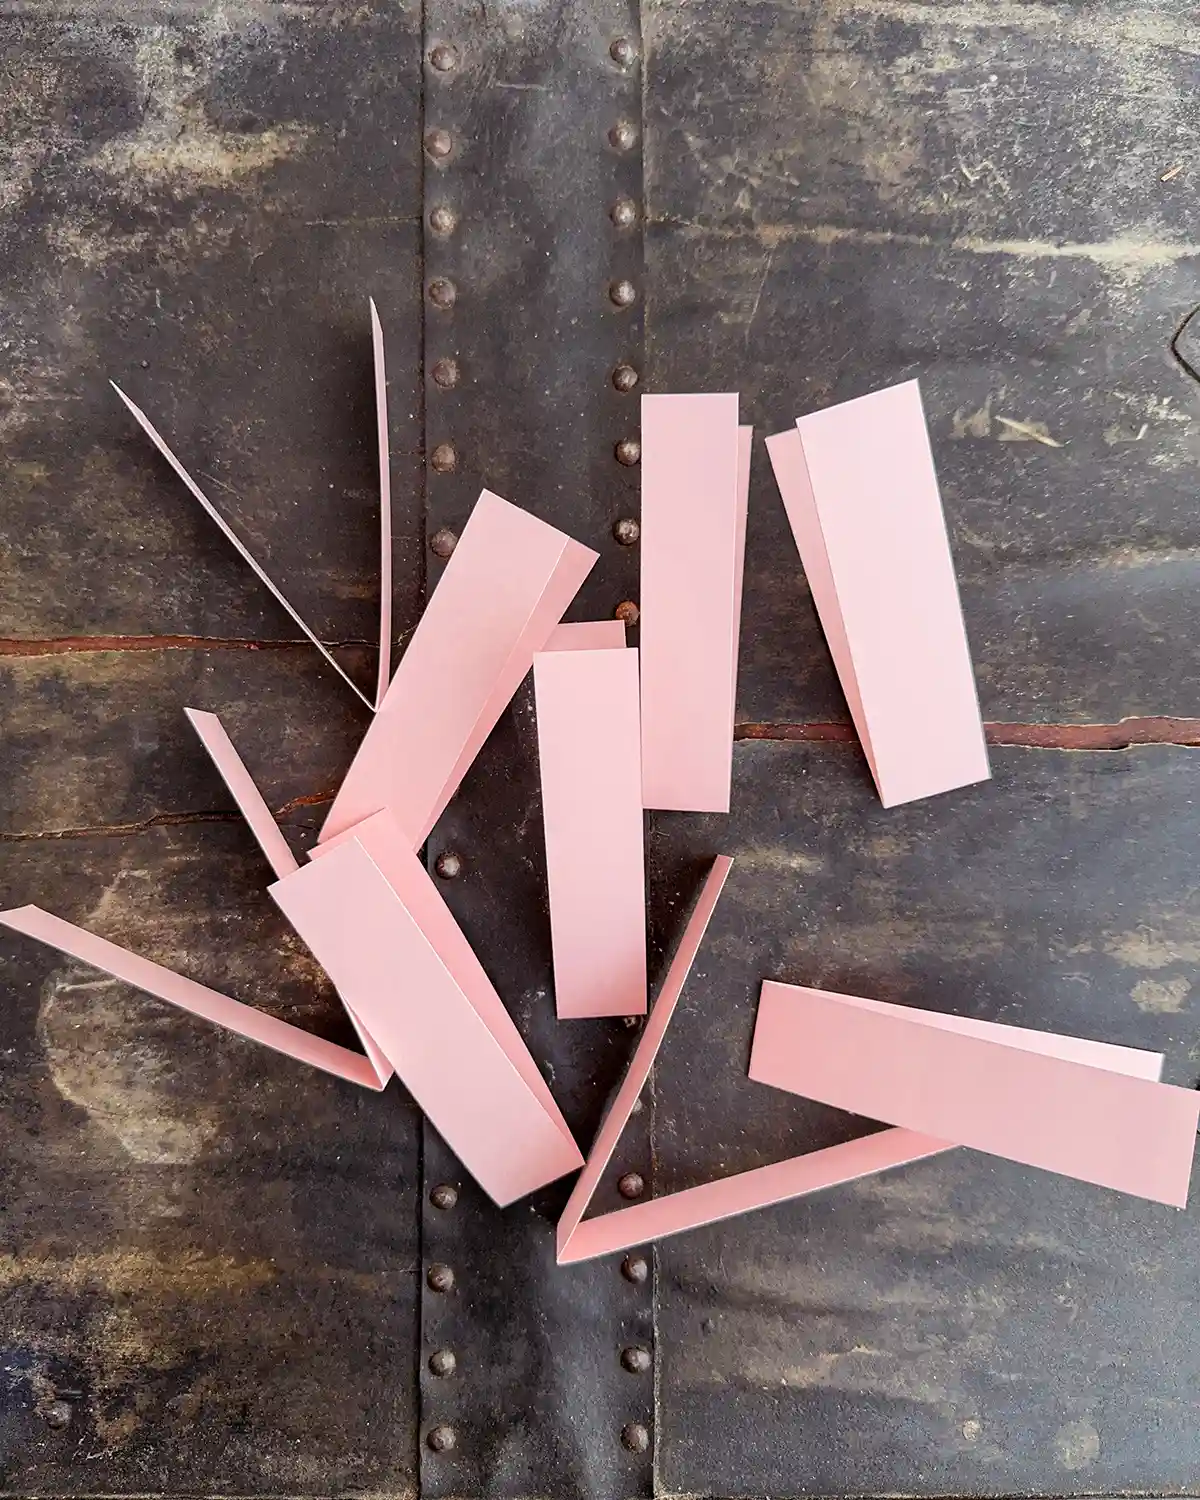
Each heart is made of a 1″ x 8.5″ strip of paper. To cut these paper strips quickly, I opted to use a paper cutter. It made quick work of the task making it easy to cut multiple sheets at a time with straight, even cuts. Choose the size you want to make, but I wouldn’t recommend shorter strips than this. Any smaller and I feel like the hearts would start getting smooshed. Also, one-inch strips felt pretty spot on size-wise and an efficient use of paper.
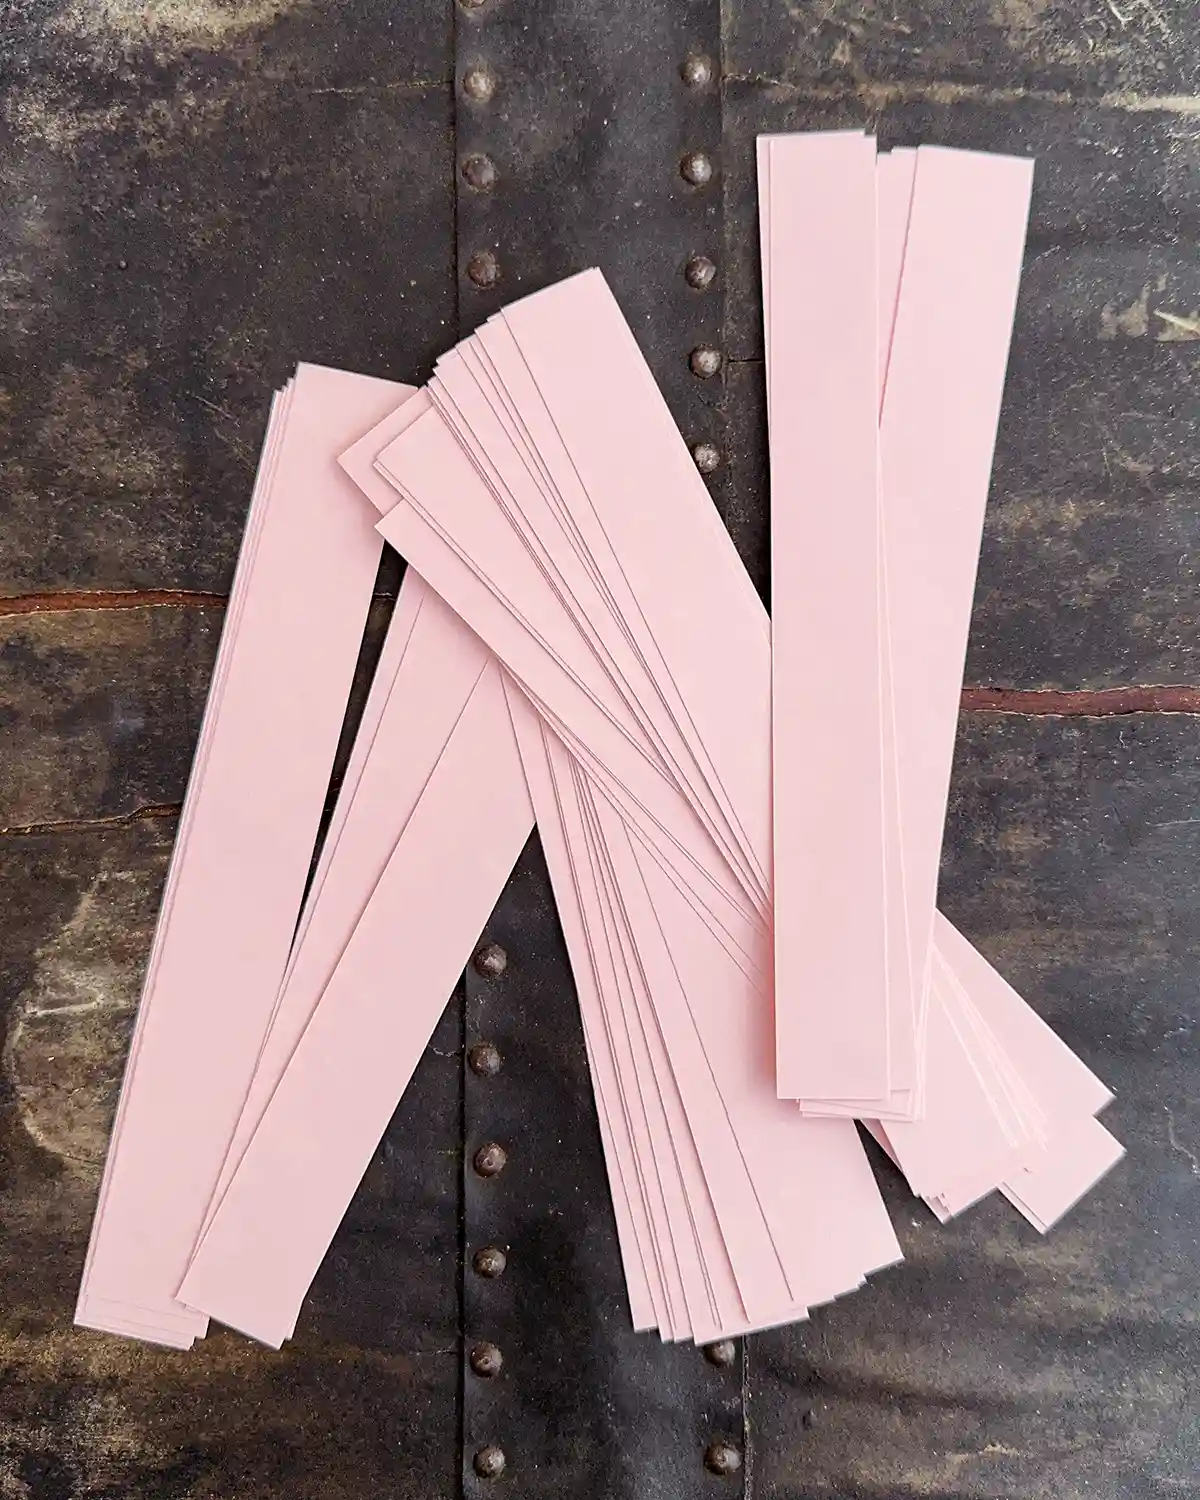
The paper pack I used had 10 sheets of each color, and I cut each sheet into 11 strips, yielding a total of 110 strips of paper for each chain of hearts.
Fold The Paper
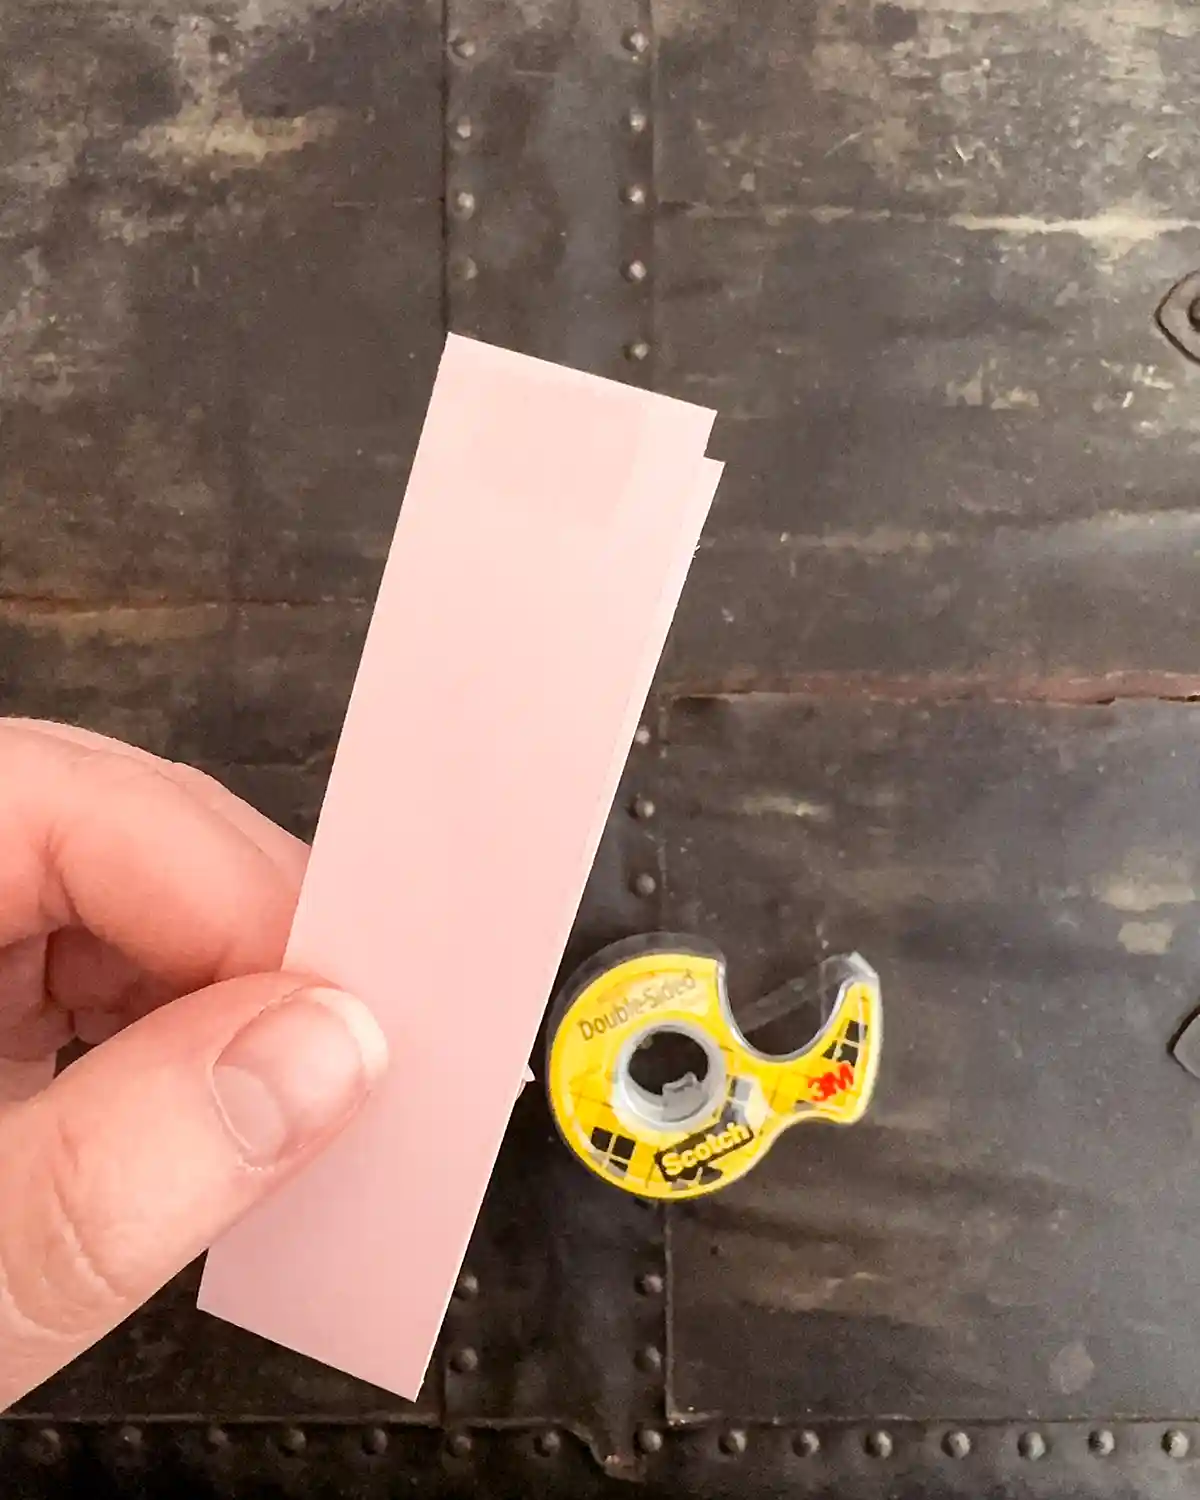
Next, take each strip of paper and fold it in half. You don’t have to do this all at once, which would get quite boring. Do it in batches as you go. This step was easy for little kids and a way to include your children in your Valentine’s Day craft.
Make The First Heart
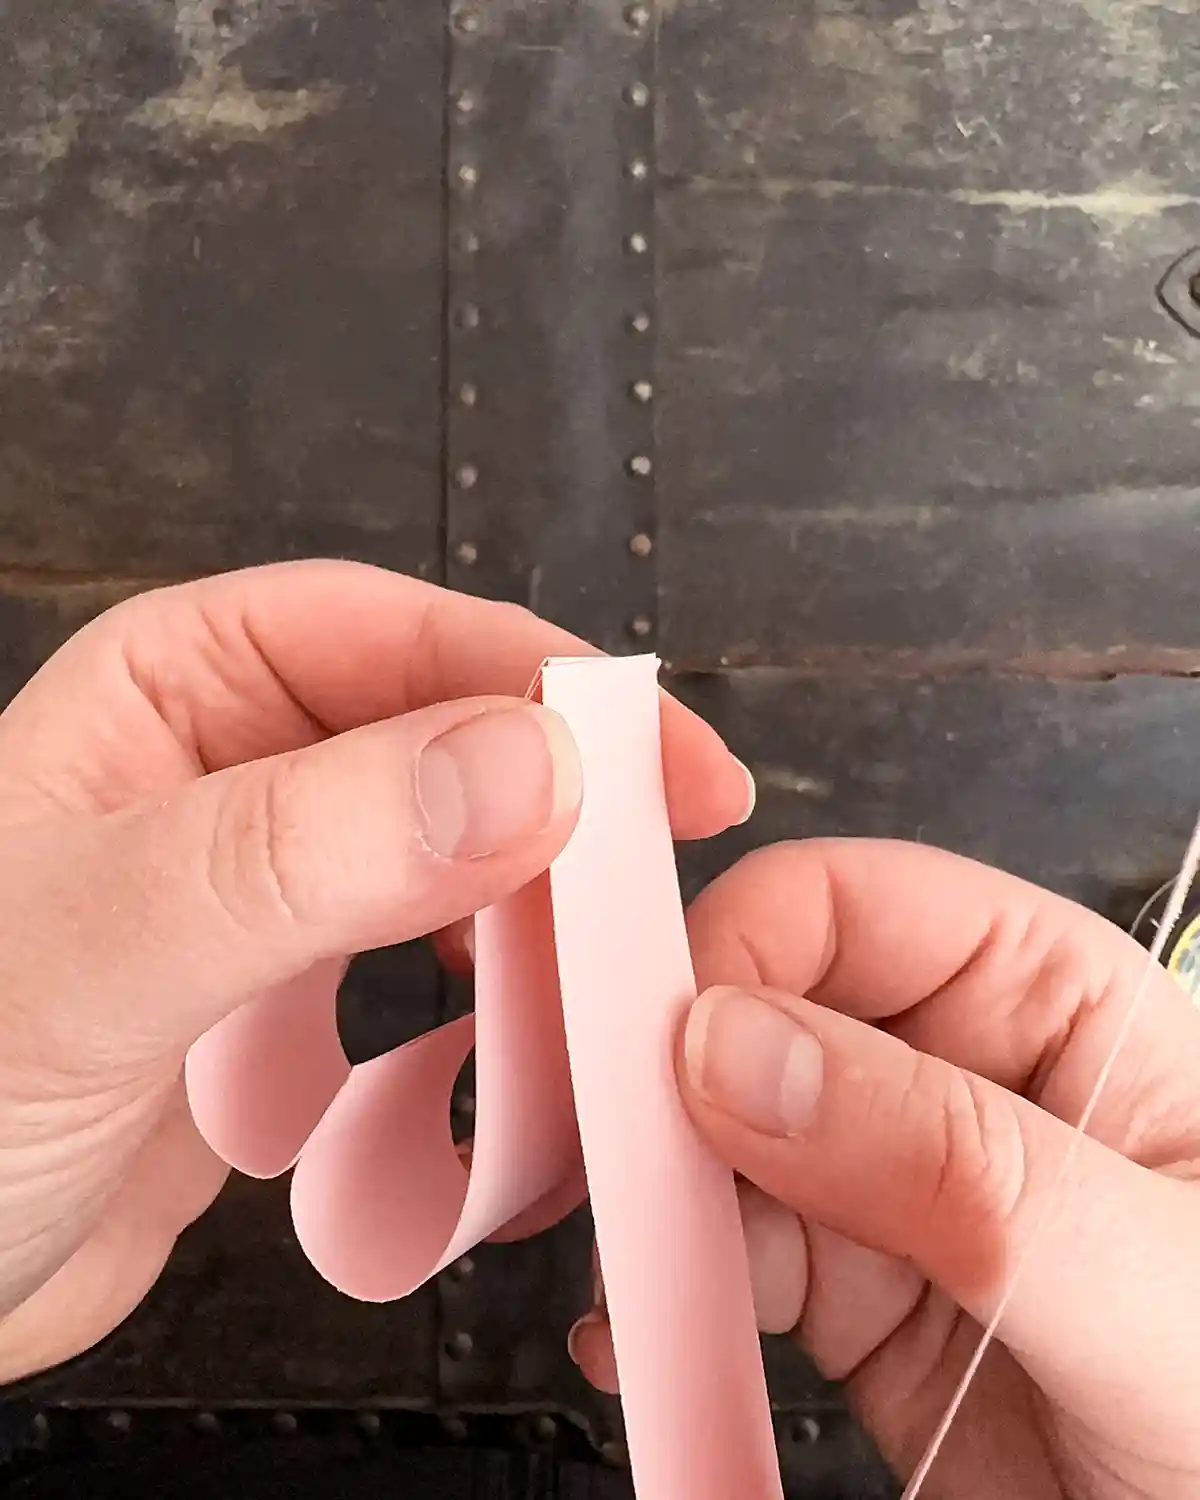
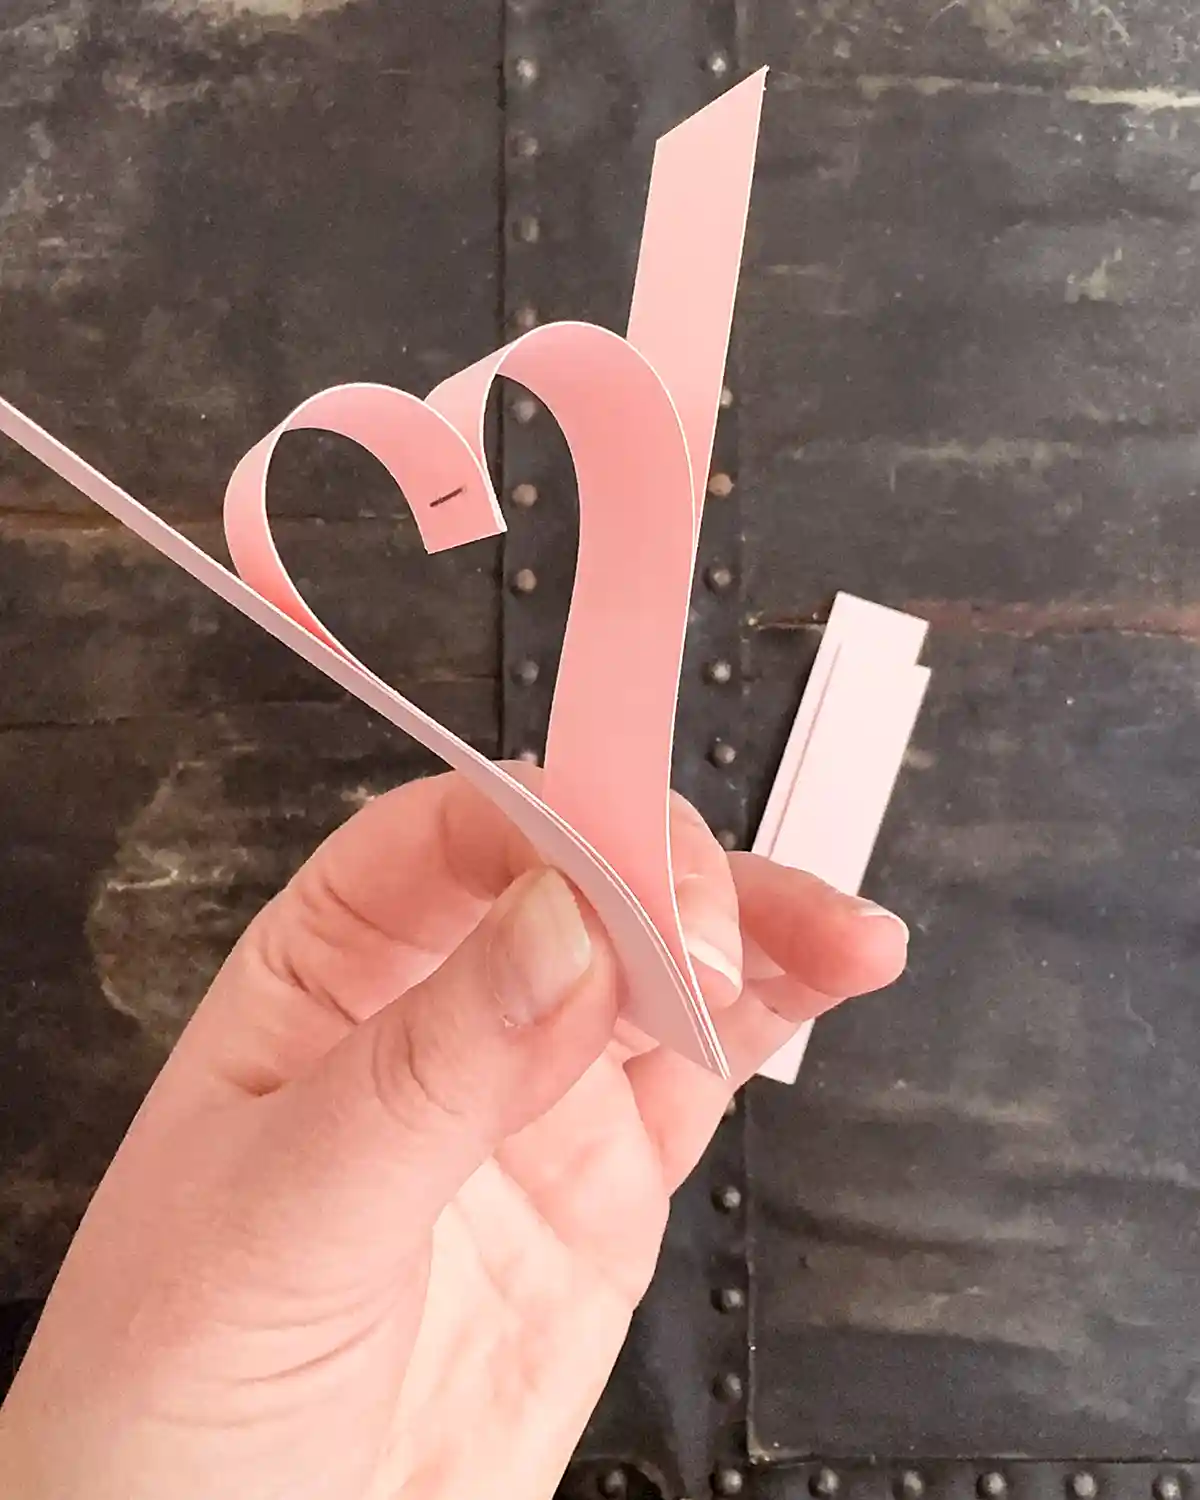
To make the first heart using double-sided tape, tear off a small piece of tape, about 1/4″ in length. Then place the piece of tape at the end of the folded paper on the outside, as close to the edge as you can get.
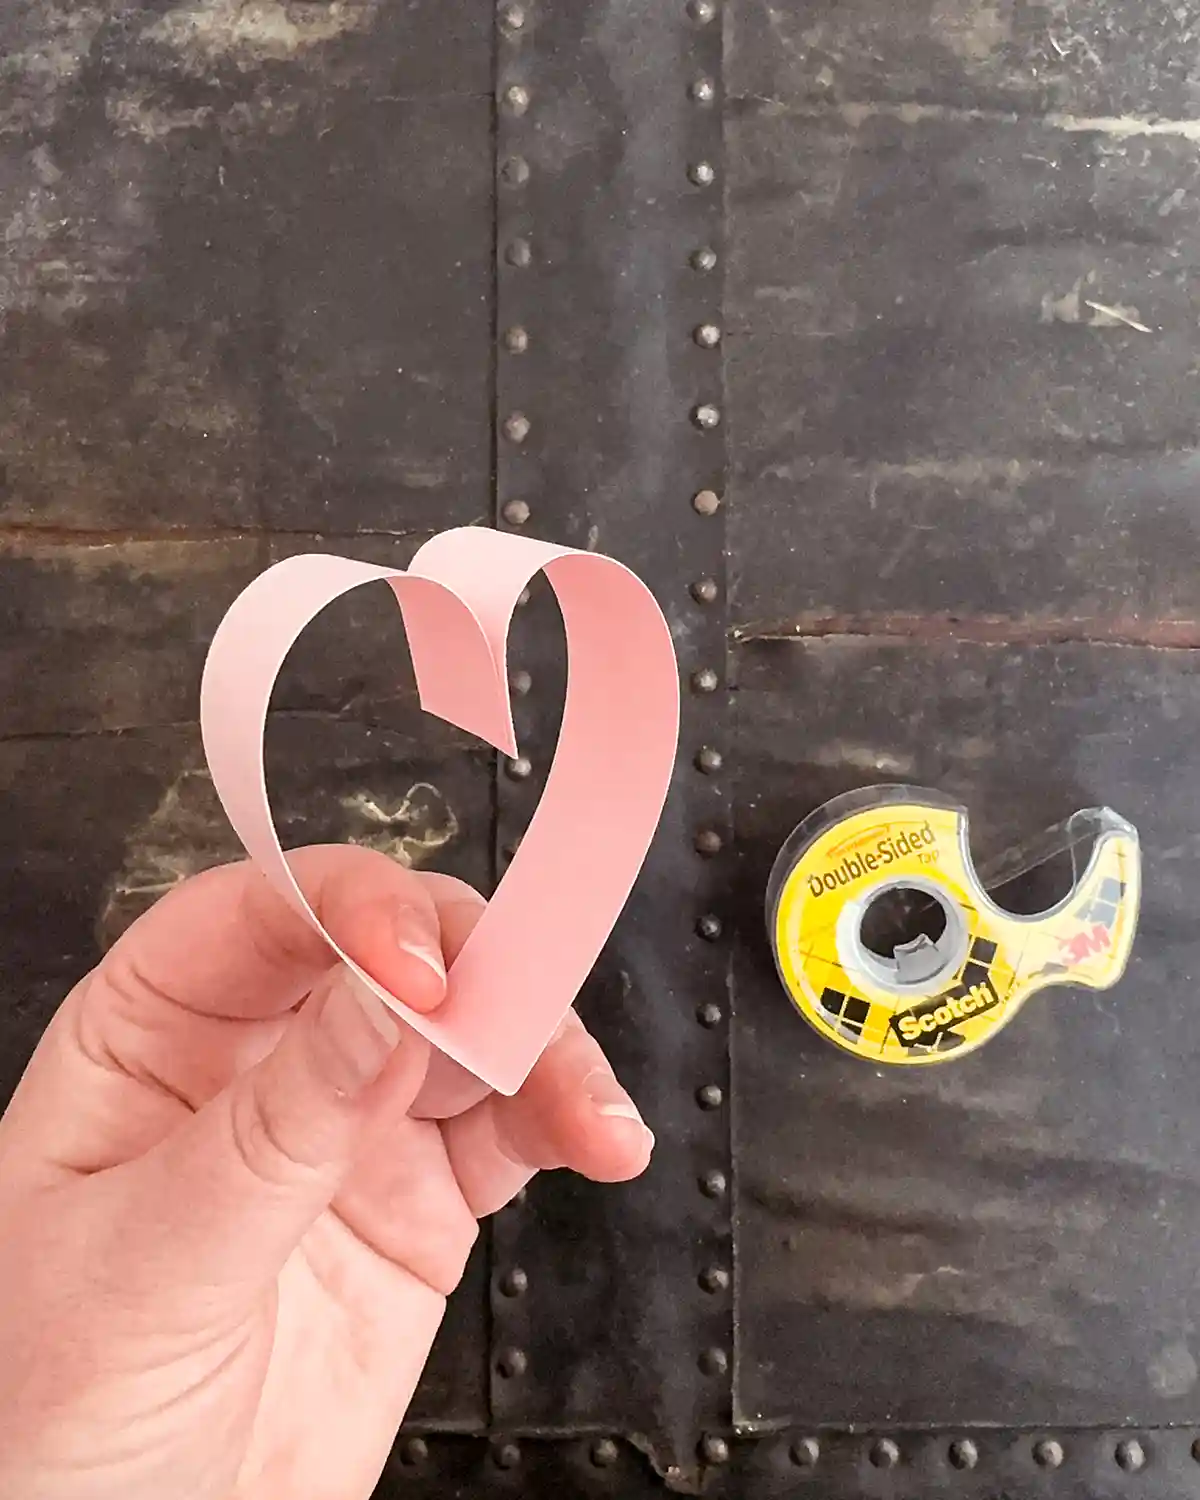
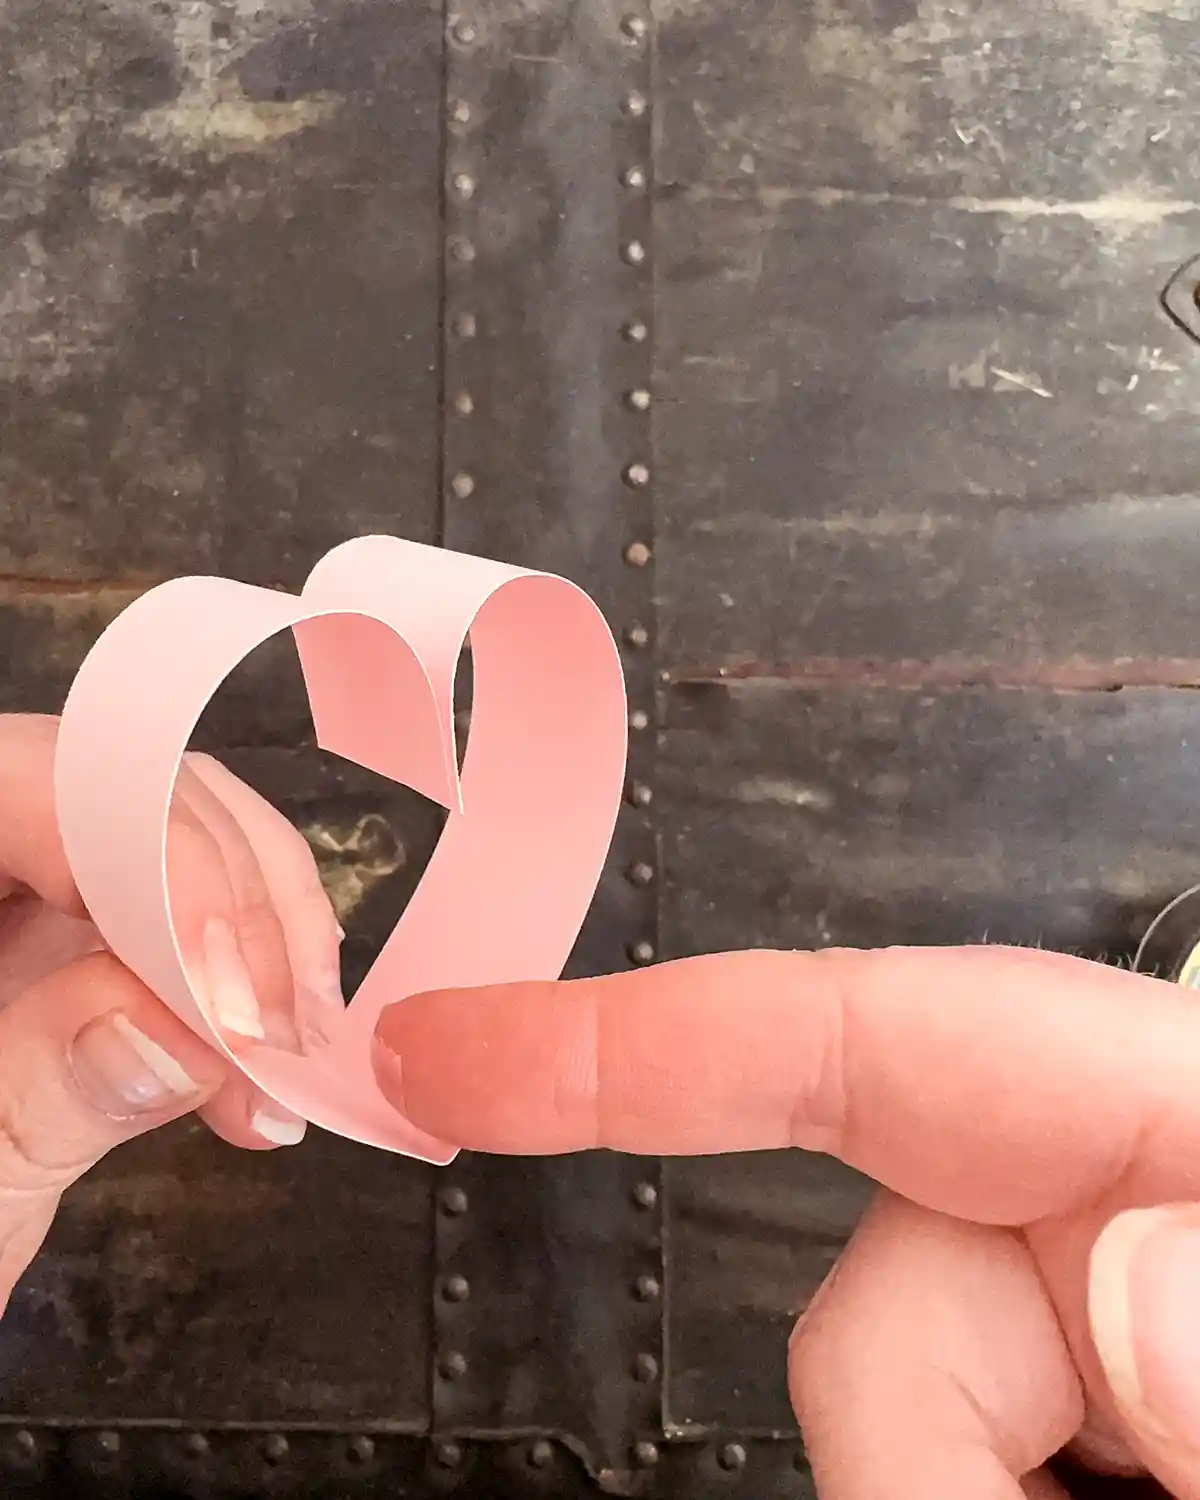
Fold the two ends toward each other, line up each outside edge, and pinch together over the tape securing the top of the heart. This is one instance where a picture is worth a thousand words. Enter the photographic evidence of this step.
You could stop there and call your heart done and move on, but this is where I did a little experimenting. Should I tape or not tape the inside, bottom point of the heart?! I made prototypes of the heart garlands with the option on the left taping the inside bottom of the heart and the option on the right leaving it open.

I liked the smaller, tighter look on the left so I went in that direction.
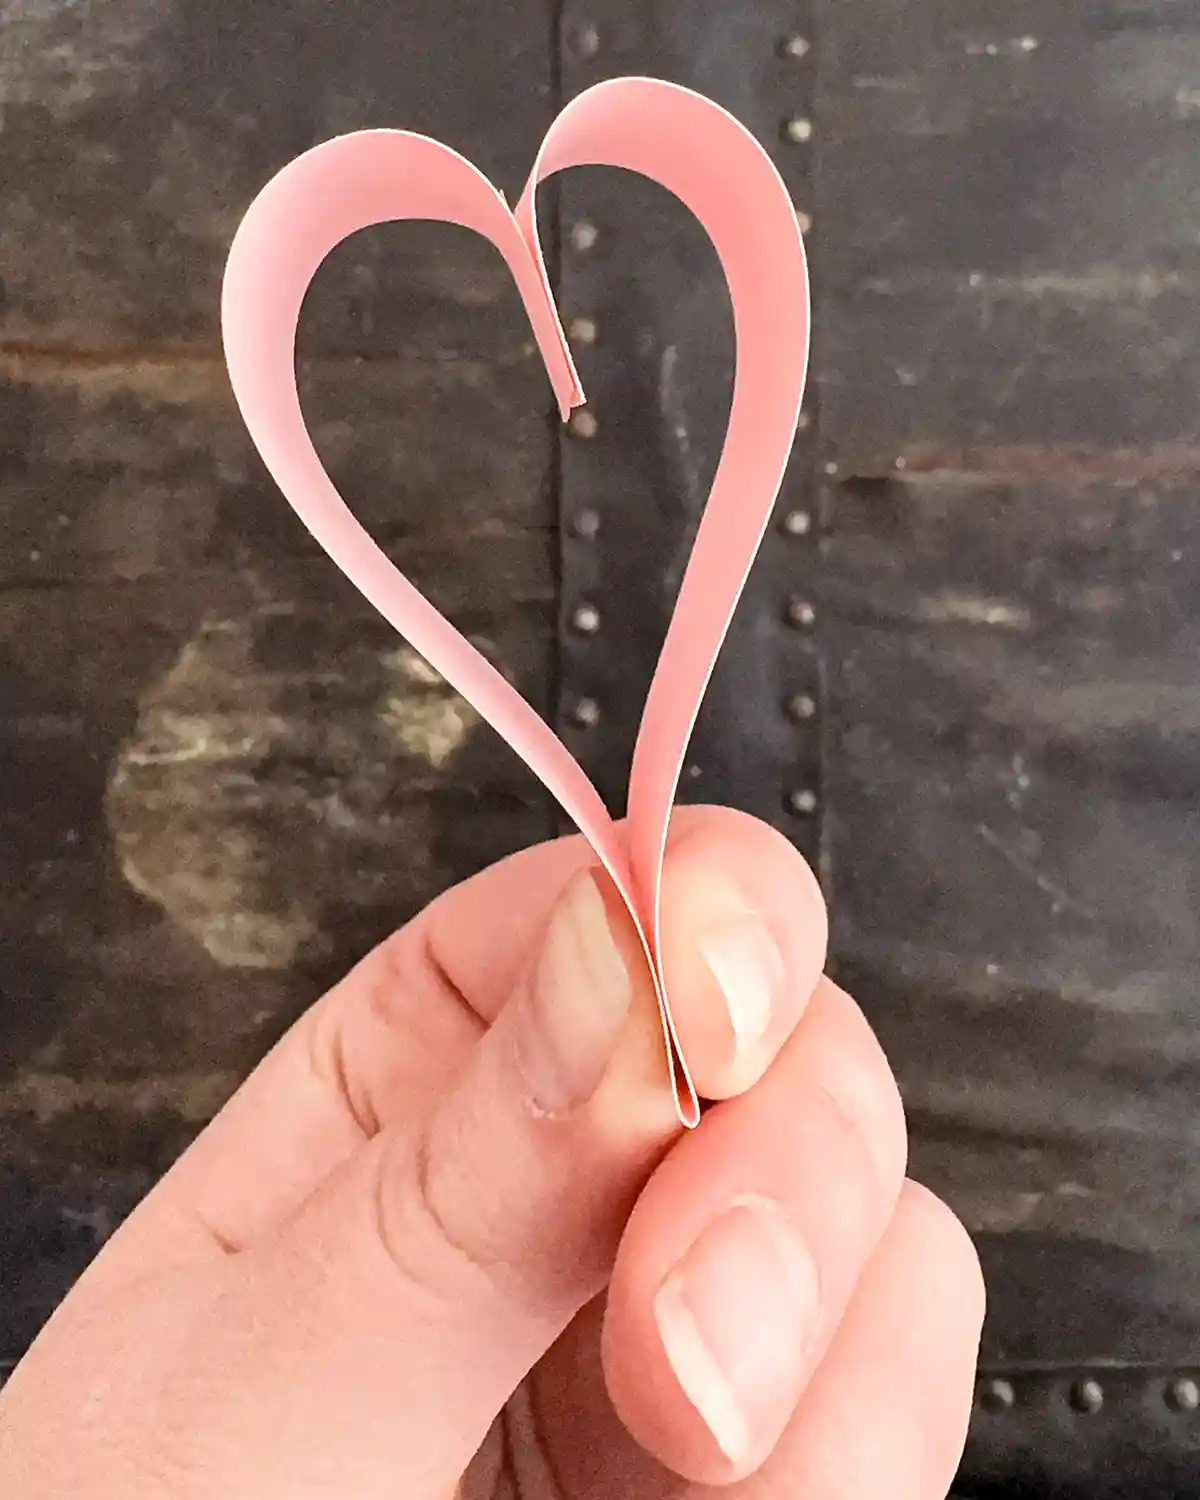
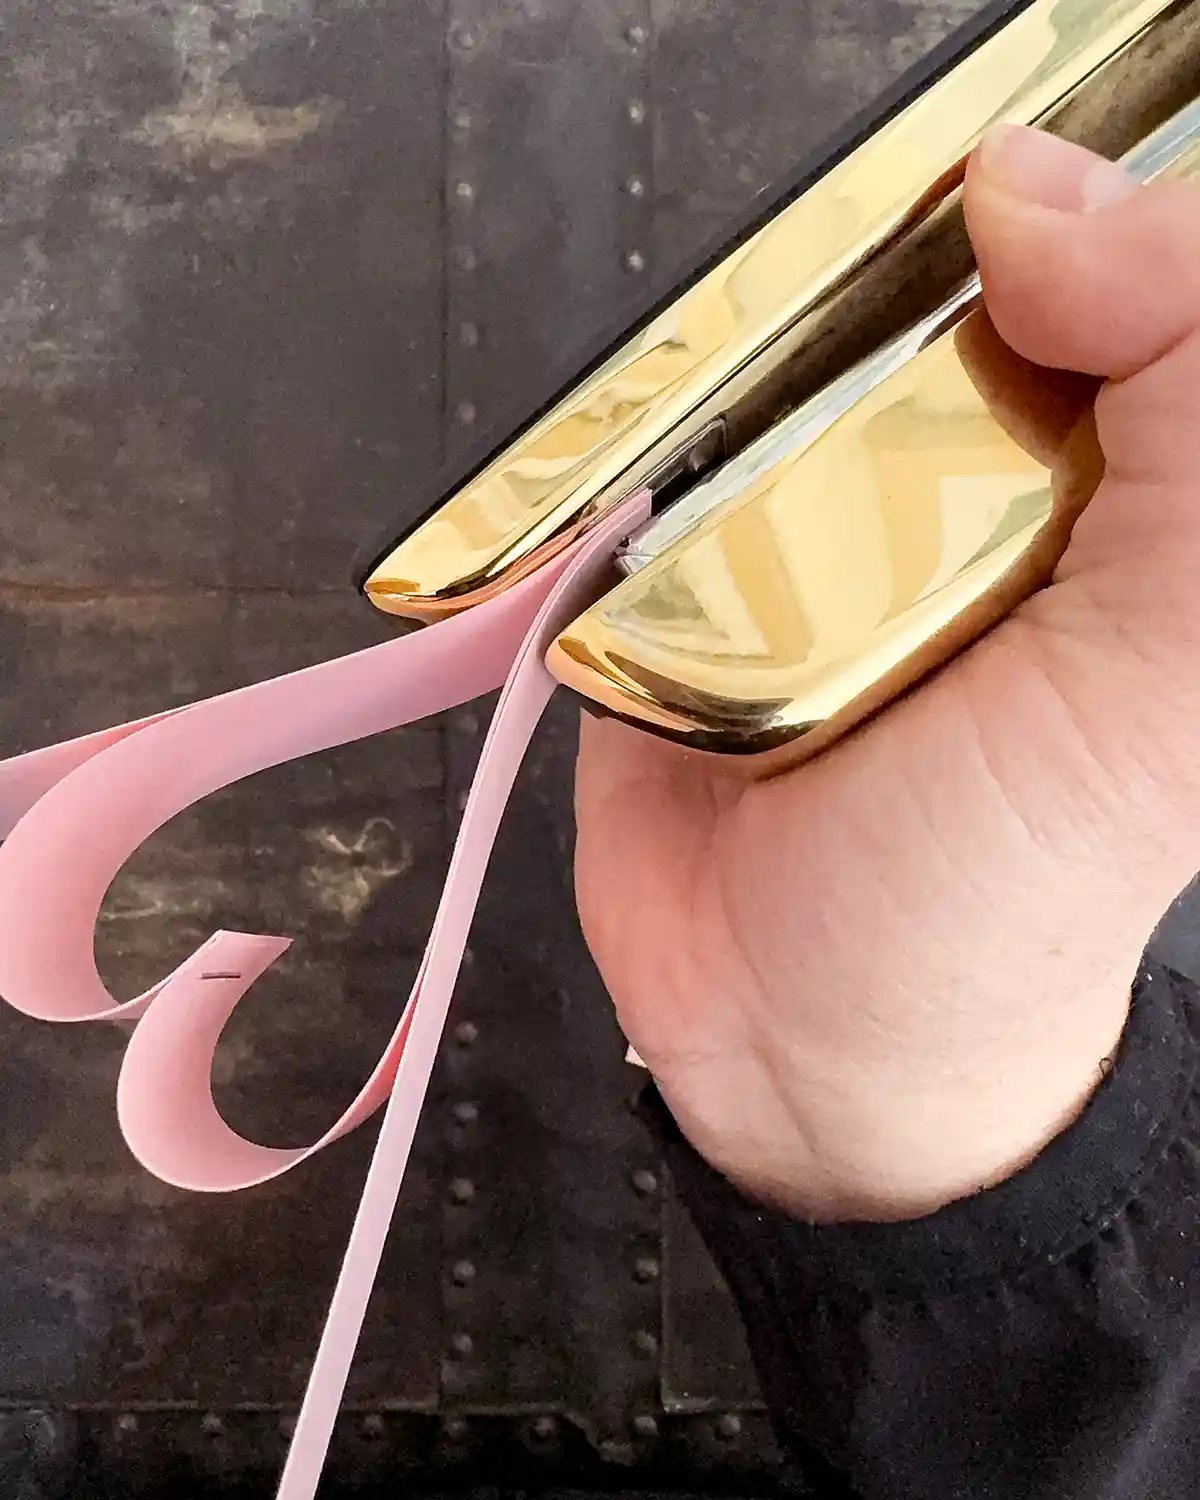
To tape the bottom of the heart, tear off another 1/4″ piece of double-sided tape, carefully place it inside the bottom of the heart as close to the fold as possible, then pinch both sides of the heart together at the bottom.
The result is a smaller heart and the first one of this paper heart chain craft. We’re one heart down with 109 to go. No biggie. Let’s pause for a second, appreciate the single heart, power up with an iced coffee (or my current obsession, an iced matcha latte with a splash of maple syrup), and proceed.
Chain The Hearts
Now to turn that single heart into a chain. Grab another piece of folded paper and, like before, place a 1/4″ piece of double-sided tape on the outside edge of the paper. But this time place the tape on both outside edges.
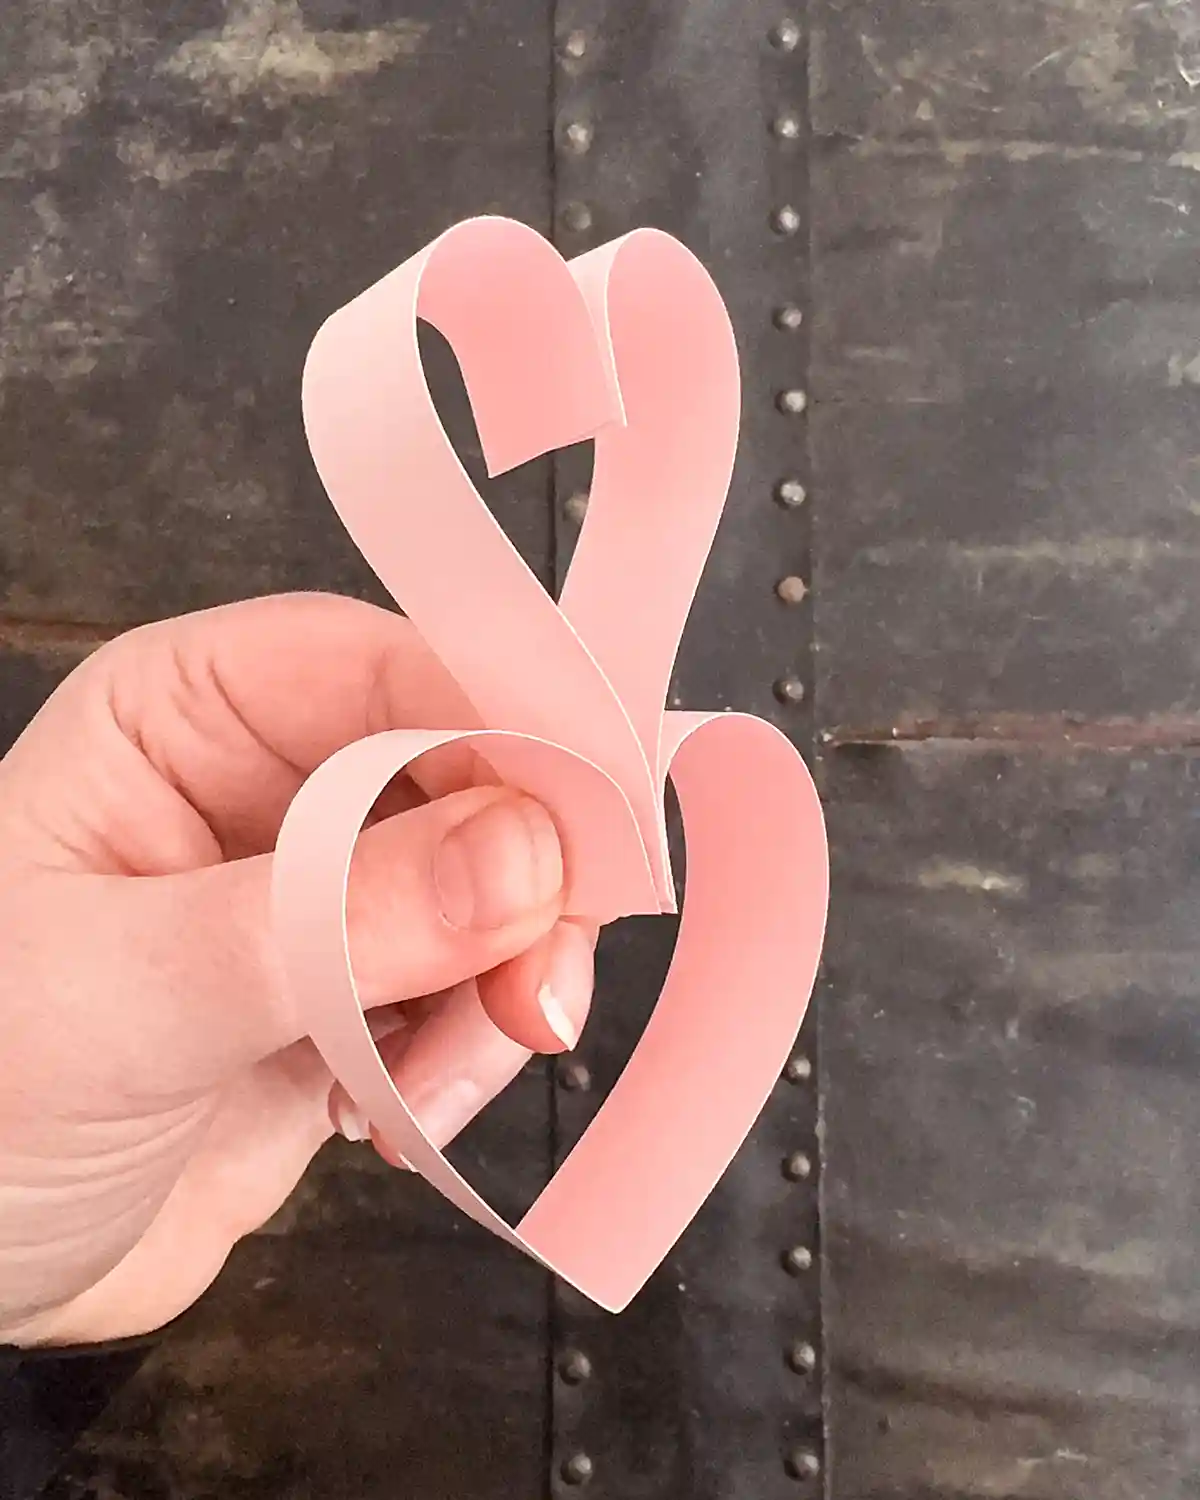
Flip the heart upside down, and line up the bottom edge with the taped, outside edge of the folded strip. Press to secure the tape. One side of the heart is secured. Congratulations!
Now, carefully pull the other edge of the folded paper to line up the outside edge with the bottom of the first heart. You want all four end pieces lined up together as squarely as you can. Press down on the tape to secure. Voila! The beginnings of a chain! That wasn’t so hard, was it?!
Lather Rinse Repeat
Now this is where you repeat the last step over and over and over again. 108 more times if you choose to use all 10 pieces of paper like I did. This is where you can enlist help. I wouldn’t say this step is a great one for children of all ages, my seven-year-old helped but struggled some.
I am a person who likes to do something with my hands while watching television. I’m sure that says something about my emotional well-being. You know, not being able to sit still and relax. But that quirky personality trait is perfectly honed for this craft. So cozy up with some Netflix and craft away.
To put it into perspective, finishing one chain with 110 strips of paper took me just over an hour while watching Gilmore Girls yet again.
Making A Paper Heart Chain Using Staples
Alternatively, you can also make this paper heart chain using staples instead of double-sided tape. Let me walk you through the modifications to make this work in the easiest possible way.
Cut The Paper
Cut strips of paper as you did using double-sided tape. The difference is that instead of folding the paper in half, you cut it in half. You’ll end up with strips 1″ x 4.25″.
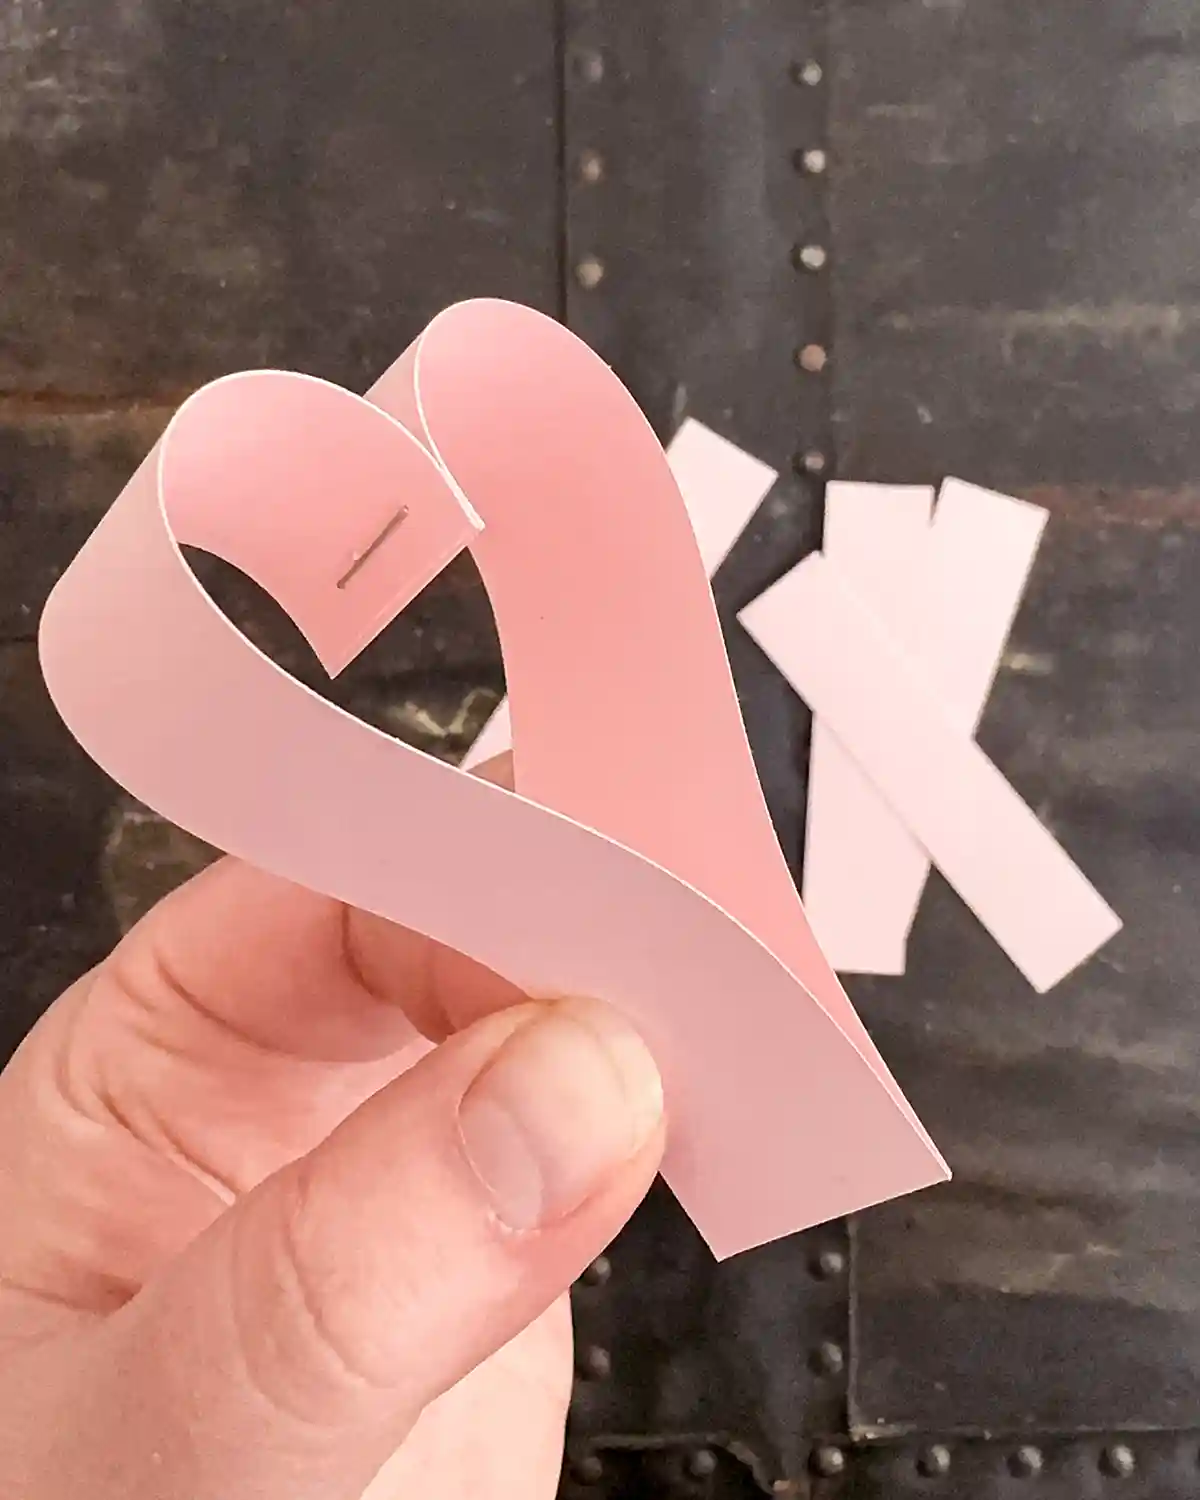
Loop The First Heart
To make the first heart with staples, take two strips of paper and place them directly on top of each other. Line up each end as precisely as you can. Place a staple towards the edge of one end of the layered strips.
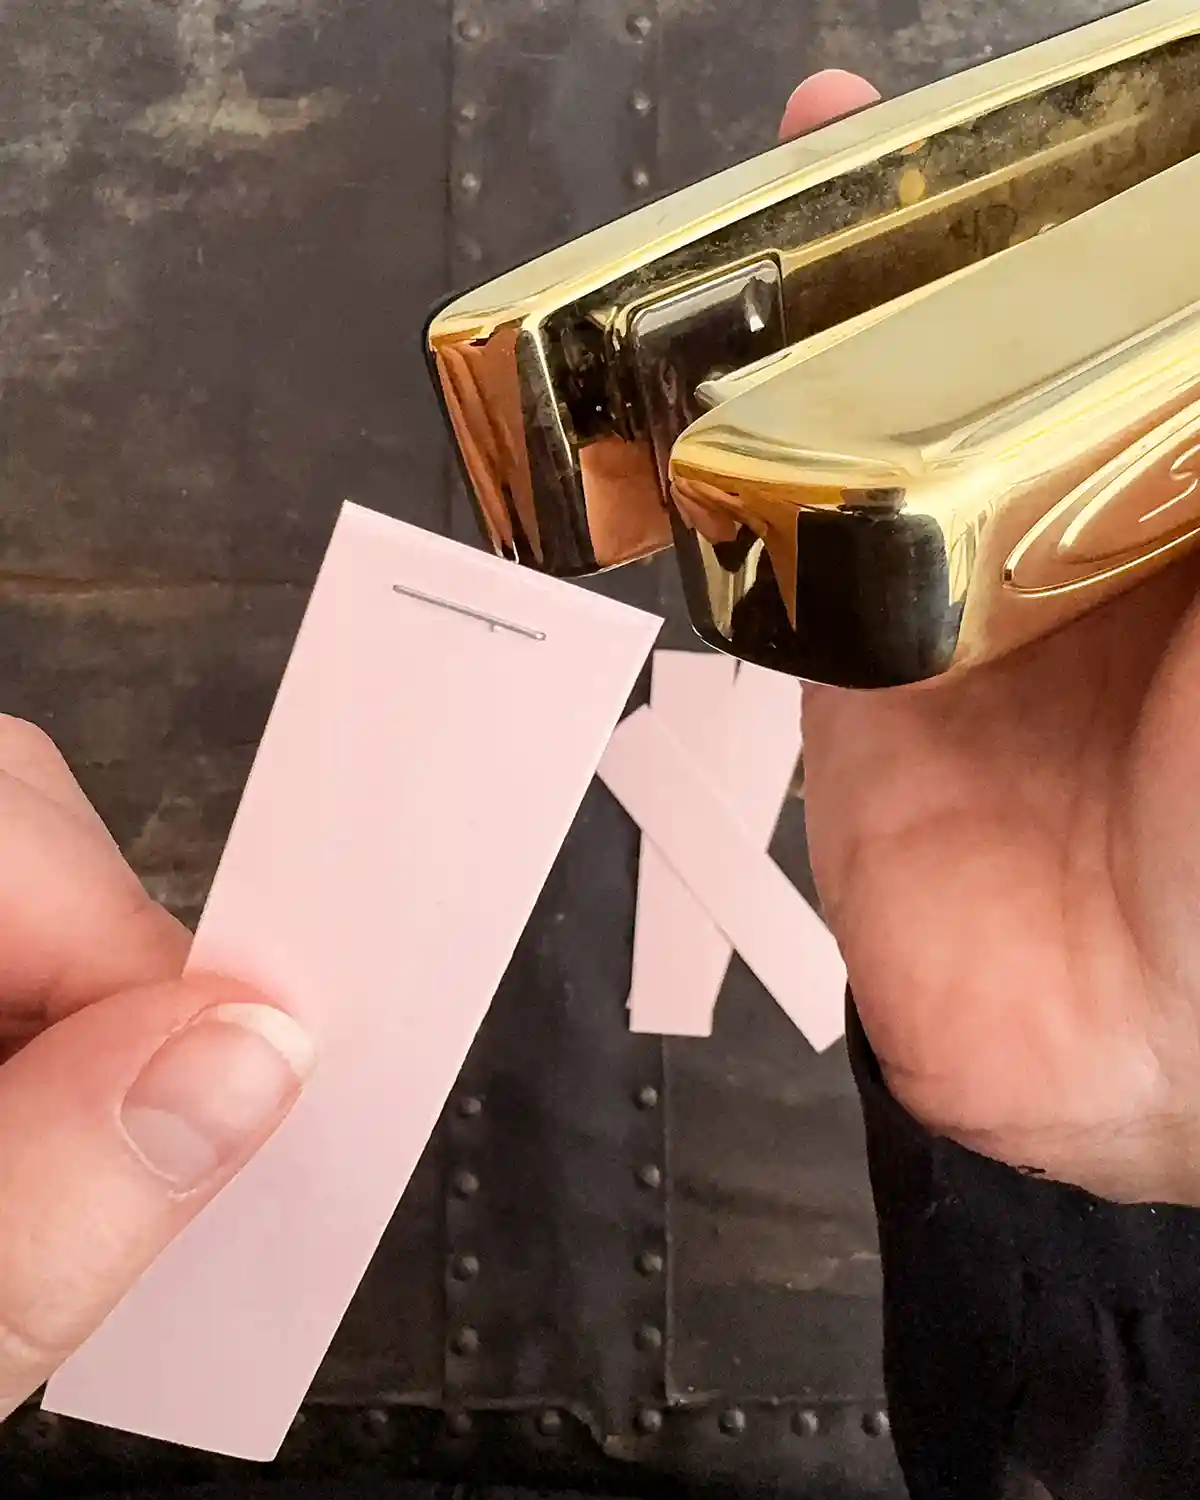
Then fold over the other ends of the paper strips in opposite directions. Line up the other ends of the paper strips. Don’t staple just yet. You need to start the second heart in the chain before securing the first heart.
Chain The Hearts With Staples
While holding the bottom of the first heart, place another strip of paper on each side of the heart, lining up the bottom edges of the paper strips. You should have four paper strip edges all lined up in your hands.
Grab your stapler and carefully staple the bottom, close to the edges of the paper strips. Or as close as you can secure it.
Continue, adding strips, looping, and stapling until the chain unfolds.

The Great Tape Vs. Staples Debate
I didn’t want to use staples to make my paper chain because I didn’t want to see the staples, but I was so worried that double-sided tape wouldn’t be secure enough. No one wants to spend three hours making and hanging paper heart chains for Valentine’s Day only to come down the next morning and find them fallen apart on the floor.
For the first chain I made, only three hearts out of 110 came untaped after 24 hours. None of the second and third chains I made came apart. I used older tape for the first chain and new tape for the others. Coincidence that the older tape pulled apart? I think not. A week later, no other incidents were reported at night.
So, hot tip: Double-sided tape works just fine, especially if you use a fresh roll. If a few come loose, just secure the problem hearts with staples.
How To Hang The Paper Chains
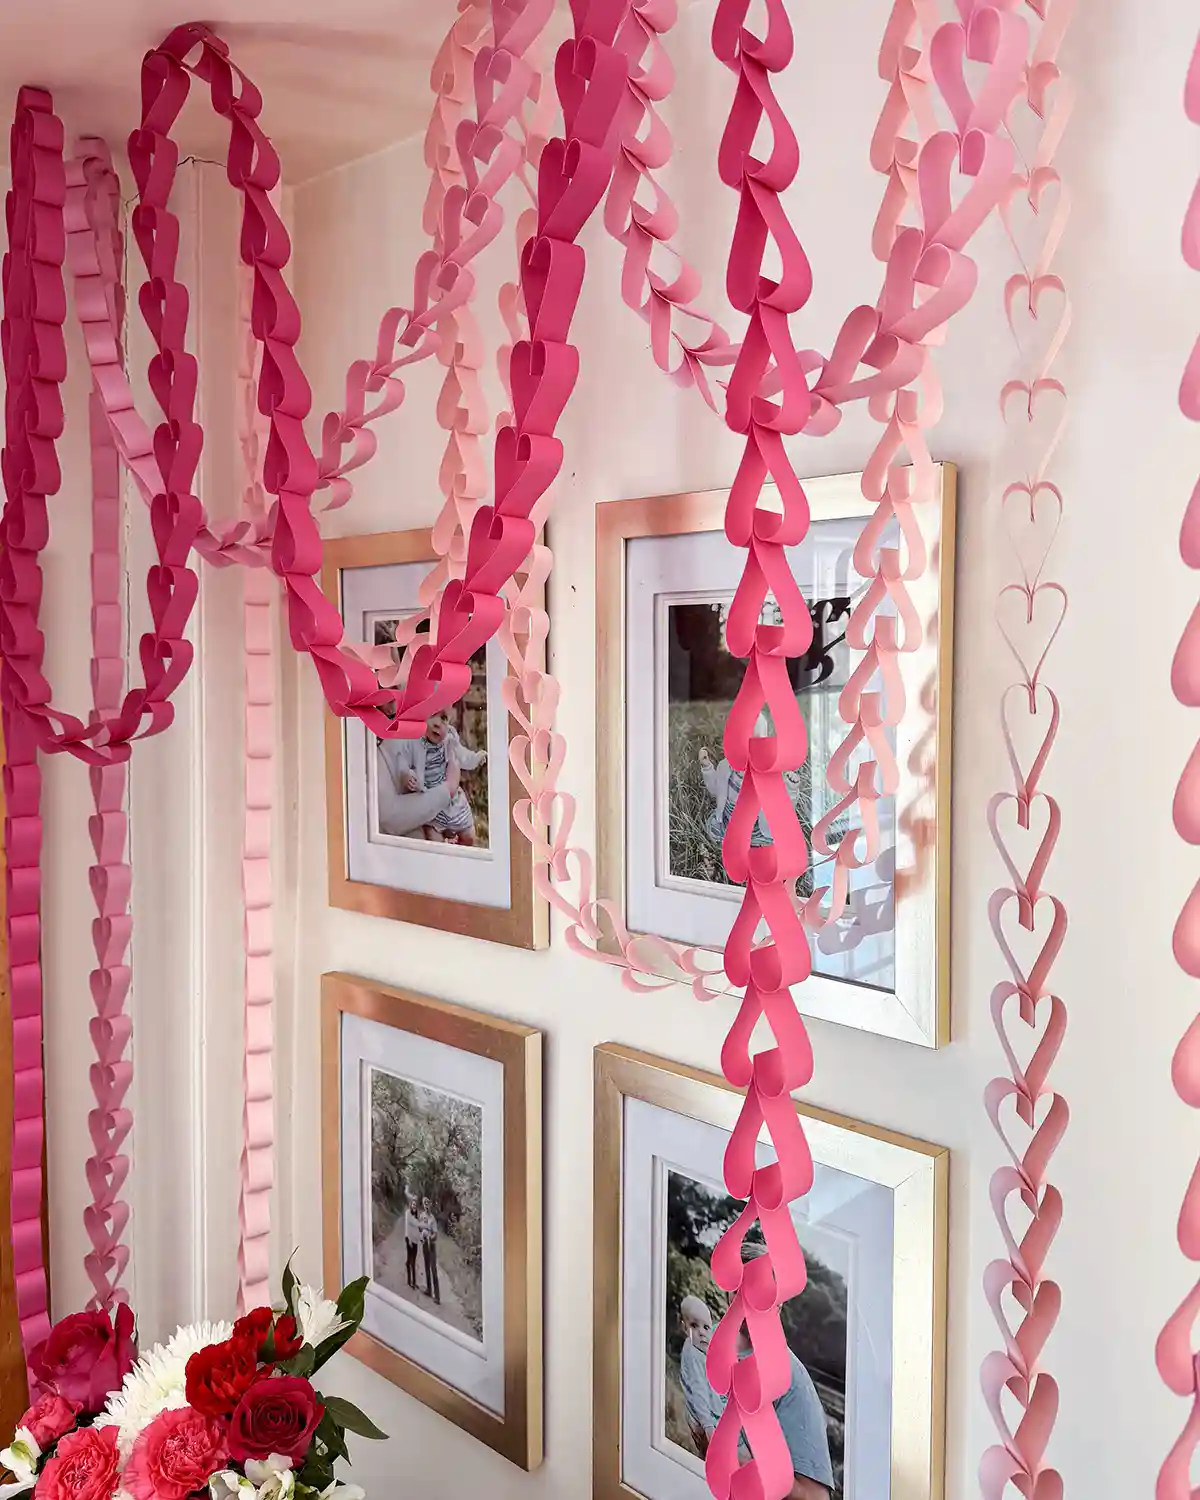
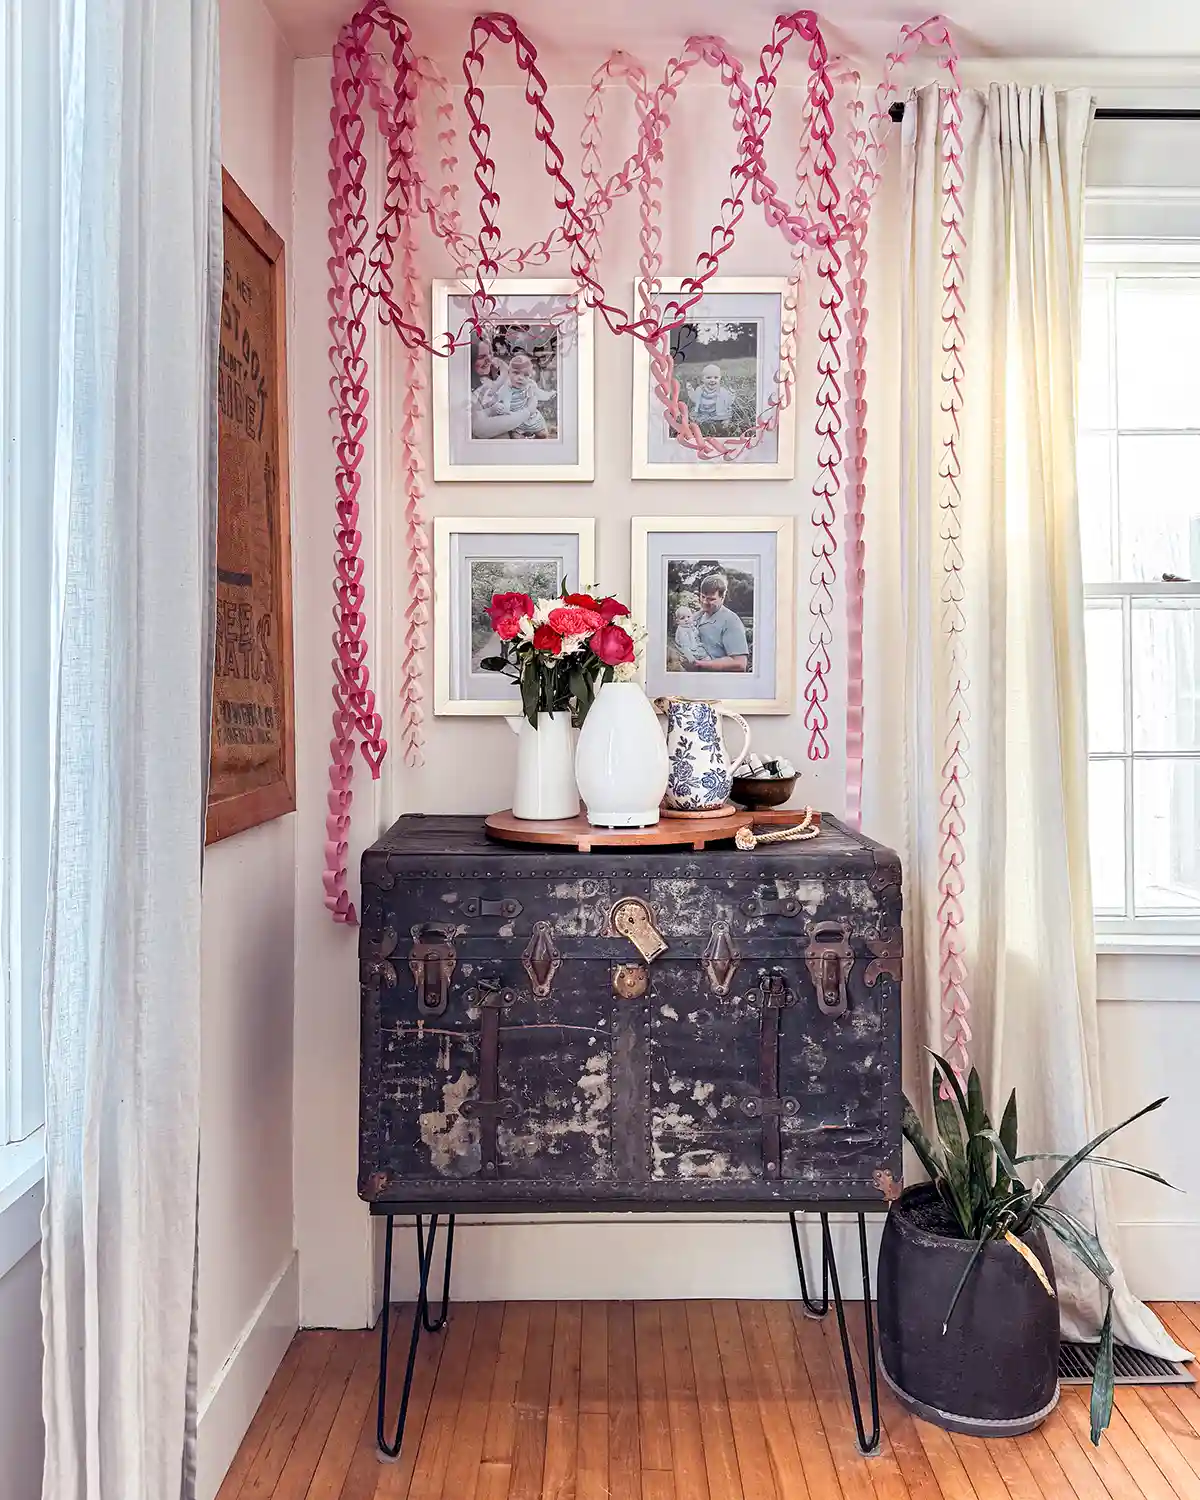
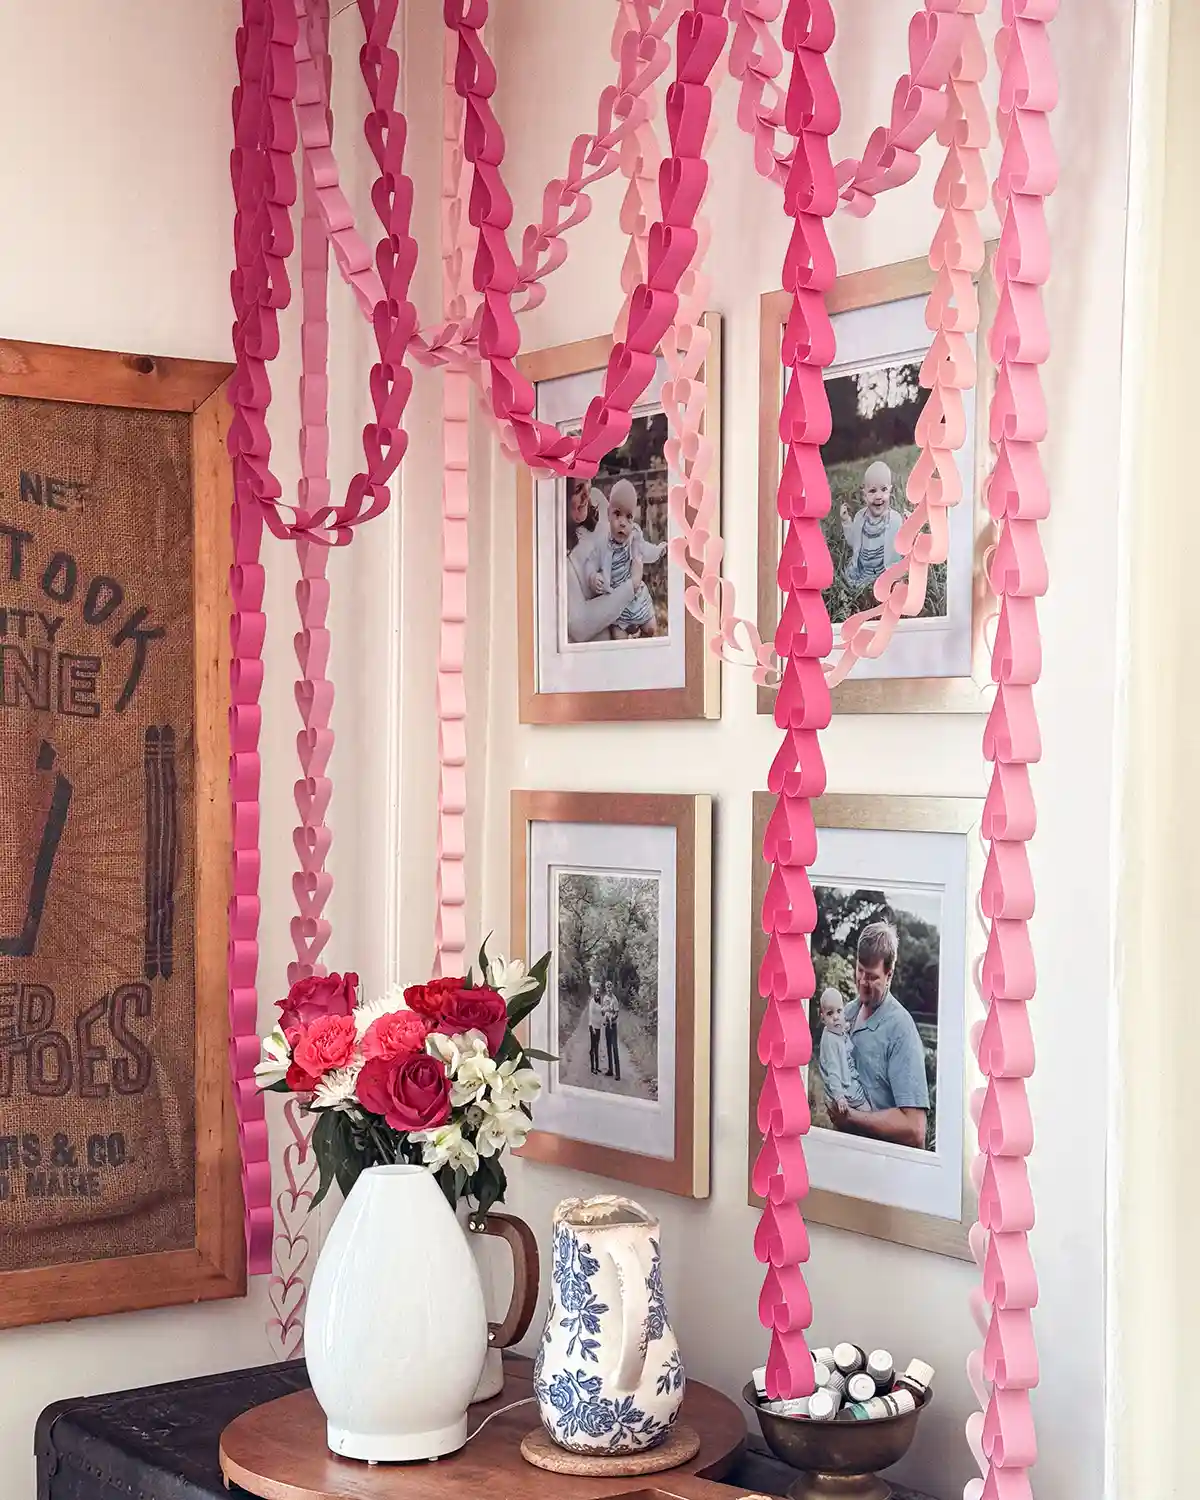
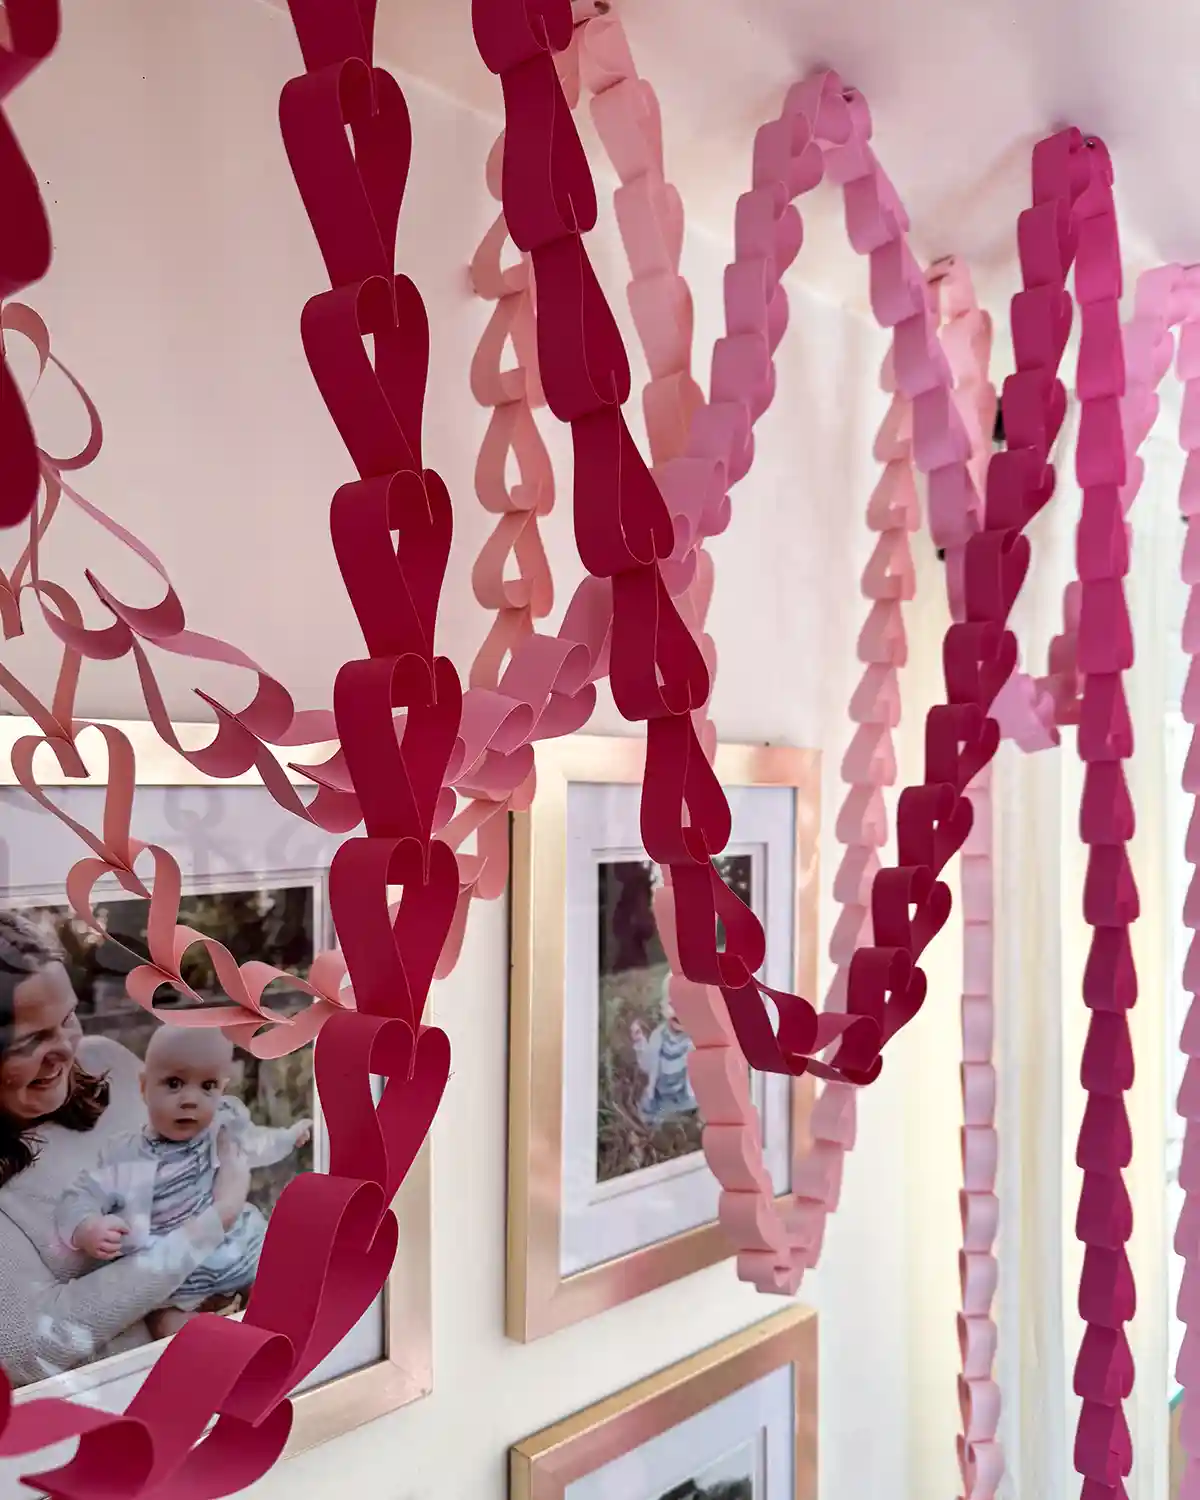
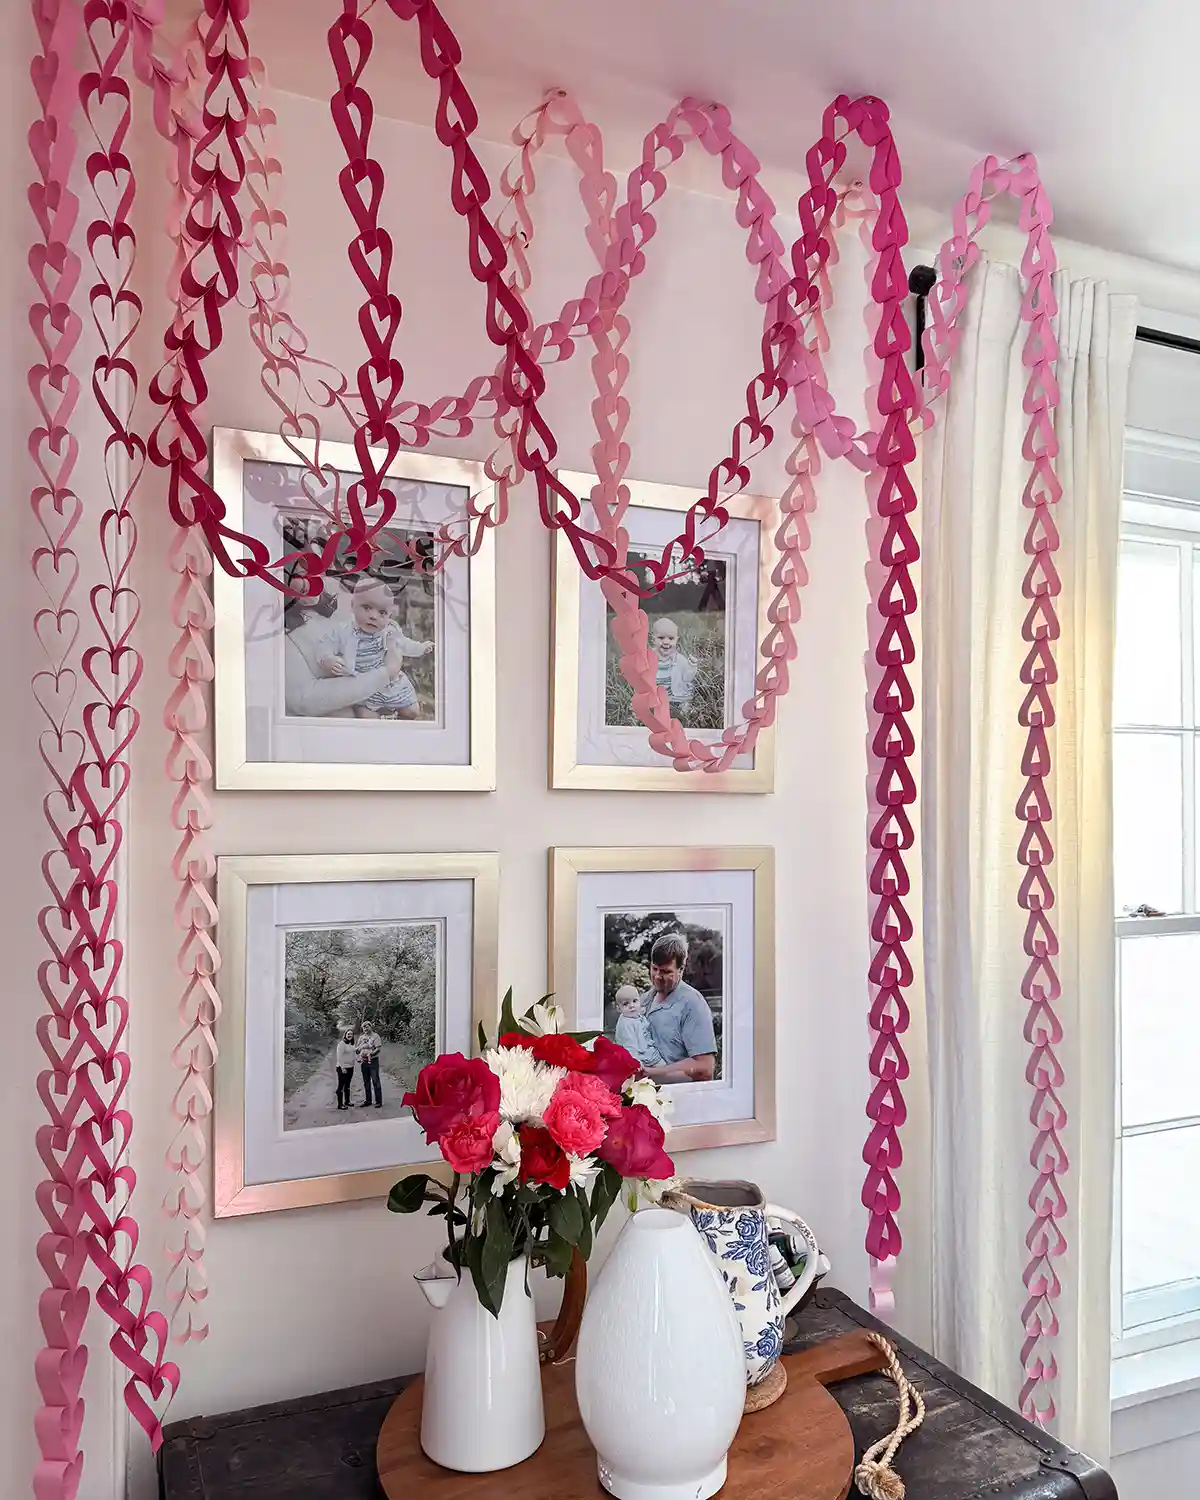
It took me a hot minute to figure out the hanging of the paper chains. I had a vision of them hanging from the ceiling, layered in front of each other in a drapey fashion. Like so.
After some deliberation about taping or hooks in the ceiling with a piece of ribbon tied to the heart garlands, I opted for the simplest solution. Tacks. I just pushed a tack through the inside of the heart and into the ceiling. Sometimes the simplest answers are the best ones.
Paper Heart Chain Stats
Length Of Each Chain: 18′
How Much Paper Used Per Chain: 10 sheets of 8.5″ x 11″ paper
Time To Make Each Chain: 1 hour
Happy Valentine’s Day Crafting
I have made a few Valentine’s Day crafts and decorations over the years but this is by far the least expensive, biggest impact, and most fun crafts I’ve tackled. I LOVED making these garlands and didn’t want to stop.
I shamelessly bought three packs of paper, not knowing how much I would need for each heart paper chain. Out of my pile of 150 sheets, I used 30. So let’s just say I have quite a few pieces of paper left to continue on this craft next year. Magic 8 Ball, shall I fill my dining room with paper heart chains? “Outlook Good.”
Pssst…So tell me, do you celebrate Valentine’s Day? Or make any fun decor or crafts?! Do tell! Happy Valentine’s Day, dear readers!

What a charming and fun Valentine’s craft! I love how it’s simple enough to do with kids but creates such a festive, heart-filled atmosphere.
Awww…thank you for the sweet comment!