Is it sad that I’ve had this post (and subsequent play on a Rihanna hit for the blog post title) planned since October? Or equally sad that these are the things I remember but can never remember to pay the cell phone bill? Anyway…so now that Rihanna is officially stuck in your head too, let’s get down to deck business and more importantly um-ber-ella ella ella eh eh eh business. You see, last October at one of those end of the season outdoor sales, we scored a $20, Martha Stewart outdoor umbrella from Home Depot.
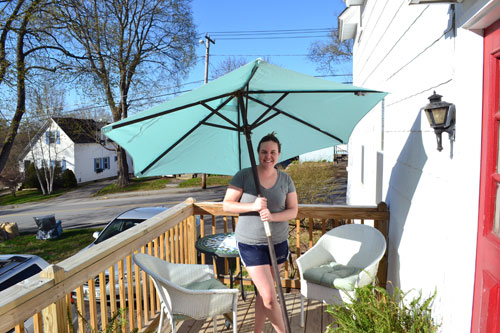
And since October is when we’re usually packing everything outdoor away in the shed, the umbrella went straight from Home Depot, into my car, and into the basement where it weathered the Maine winter. So a week or so ago when we brought out the deck furniture, we were itching to bring out the umbrella.
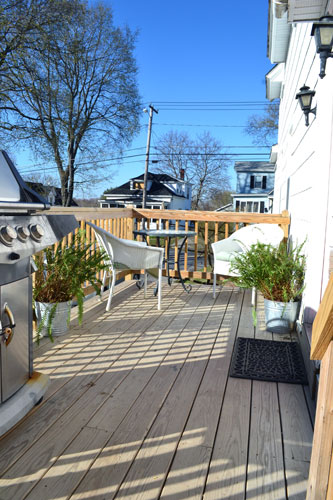
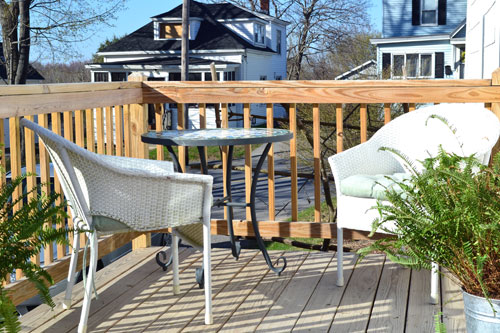
The game plan was to add the umbrella to the dining nook of our deck to provide a little bit of shade for mid afternoon lunch on the deck. But more importantly add a little bit more style to the space.
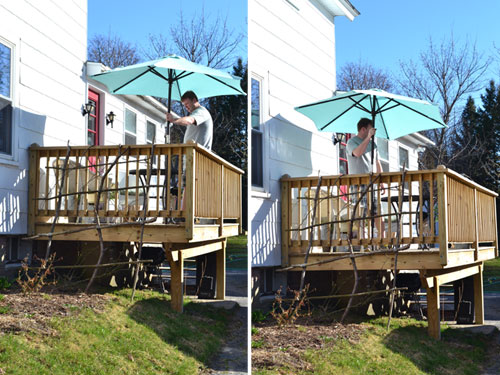
I even made Colby hold the umbrella in multiple locations to make sure we chose the optimal umbrella spot. These are the things that are apparently important to me…optimized umbrella placement. Look how amused Colby looks with his “job”. Colby is clearly not worried about optimal umbrella locations.
Since we had a $20 umbrella and no umbrella stand, with precisely zero point zero desire to shell out $80 for a stand from Lowes, I was bound and determined to come up with an equally cheap umbrella stand solution. And since we had a ridiculous amount of galvanized buckets hanging around (they were leftover from our wedding decor) and heavy chunks of cement (from when Colby knocked down a weird half wall in the basement), I made due with what I had at hand.
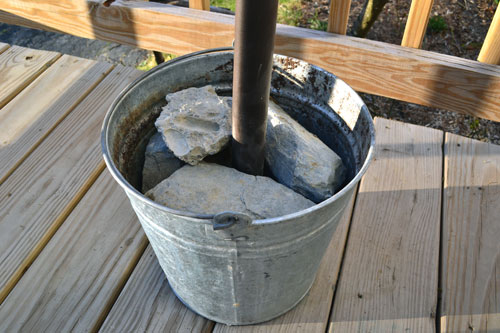
It worked like a charm and properly secured/supported the deck umbrella. Colby held the umbrella in place while I strategically placed the cement chunks, wedging them in the bucket surrounding the umbrella shaft. But since the cement blocks were a little rough on the eyes, I prettied it up with a $3 bag of river pebbles from Lowes.
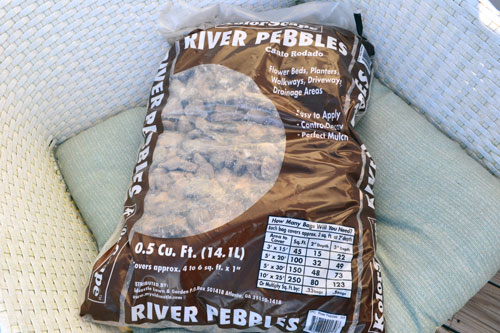
And just dumped them over the cement blocks, shimmying the bucket so the rocks would settle into the gaps and support the umbrella even more. Tah-dah….instant, cheap, DIY umbrella stand for a whopping cost of $3 for the pebbles.
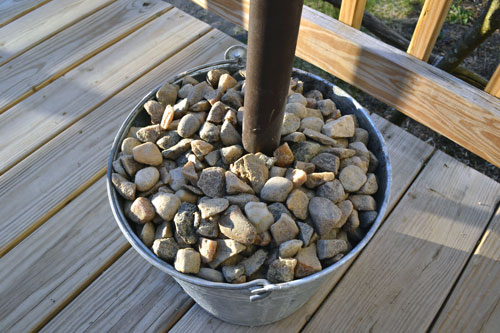
The whole DIY umbrella stand project took all of five minutes to finish…if that. Which left lots of time to grill and enjoy our first dinner on the deck of the grilling season.
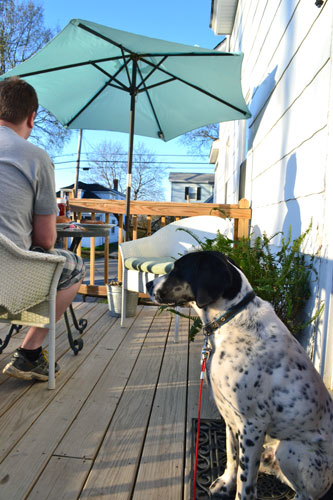
Goose enjoyed his first drool-over-the-grilling-meats of the grilling season. He got some too, no worries. Our dog is officially spoiled.
Pssst….Isn’t it crazy how we did this little deck umbrella project just a week-ish ago and there isn’t a single leaf on a tree and now everything is leafy, green and in full bloom. Spring came to Maine with a vengeance this year! But enough about us, how are you enjoying your outdoor time this spring? And deck jazz-i-fication projects going on in your neck of the woods?


Such a great idea! We built a wooden base that slides under the bench, but if we were using a table I would do this!
Awww…thanks Barb! Ooooh…and building a wooden one sounds like a great idea too! I never thought of that!
Have you had a problem with the wind blowing it over or has it been pretty stable? Mine won’t go under a table, it’ll go directly into something like this so I’m wondering if I should add cement.
Yes, occasionally it tips over when we have big wind gusts. We ended up wrapping a rope around it and tied it to the deck. For the most part it’s fine, but something heavier or wider may work better.