Just how do you grout tile? And how do you grout shower tile? Today, I’m sharing how we recently grouted our bathroom wall tile including how we grouted the tile shower. It’s a simple project that any DIYer can do.

This was our fourth rodeo with tile grout. We’ve tackled tiling and grouting three subway tile showers and in our first house, grouting floor tiles. Tiling is one of my favorite DIY projects, and tiling and grouting go hand in hand.
Supplies:
- Grout (we used premixed grout)
- Grout Sealer (we use this waterbased grout sealer)
- Caulk (bathroom caulk)
- Painter’s Tape
- Plastic Sheeting
- Foam Brush with Small Plastic Container or Grout Sealer Applicator
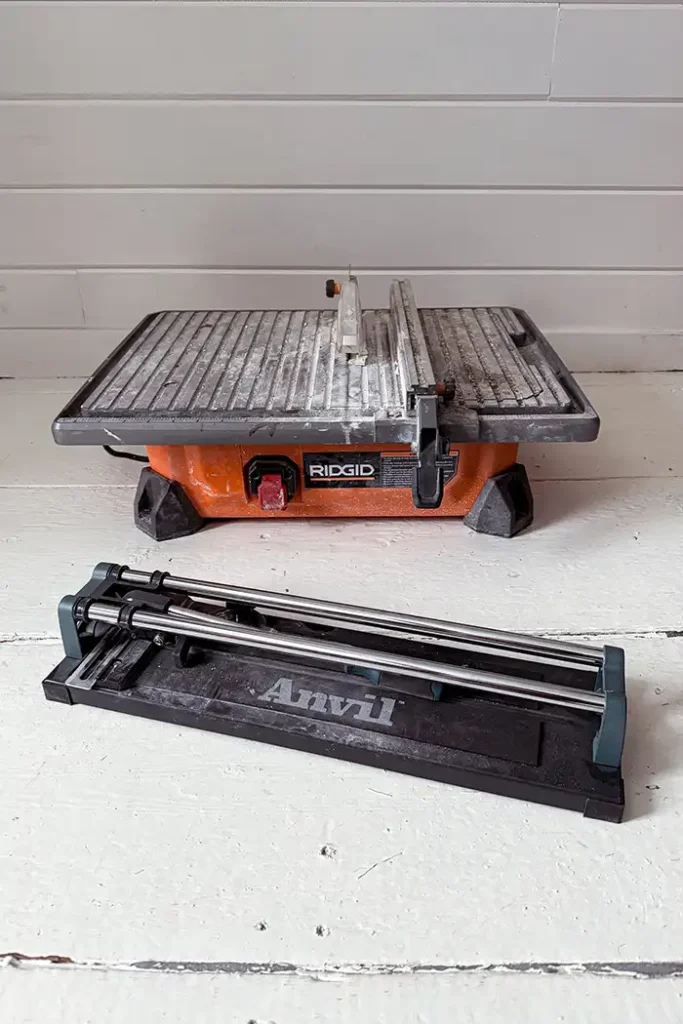
Tools:
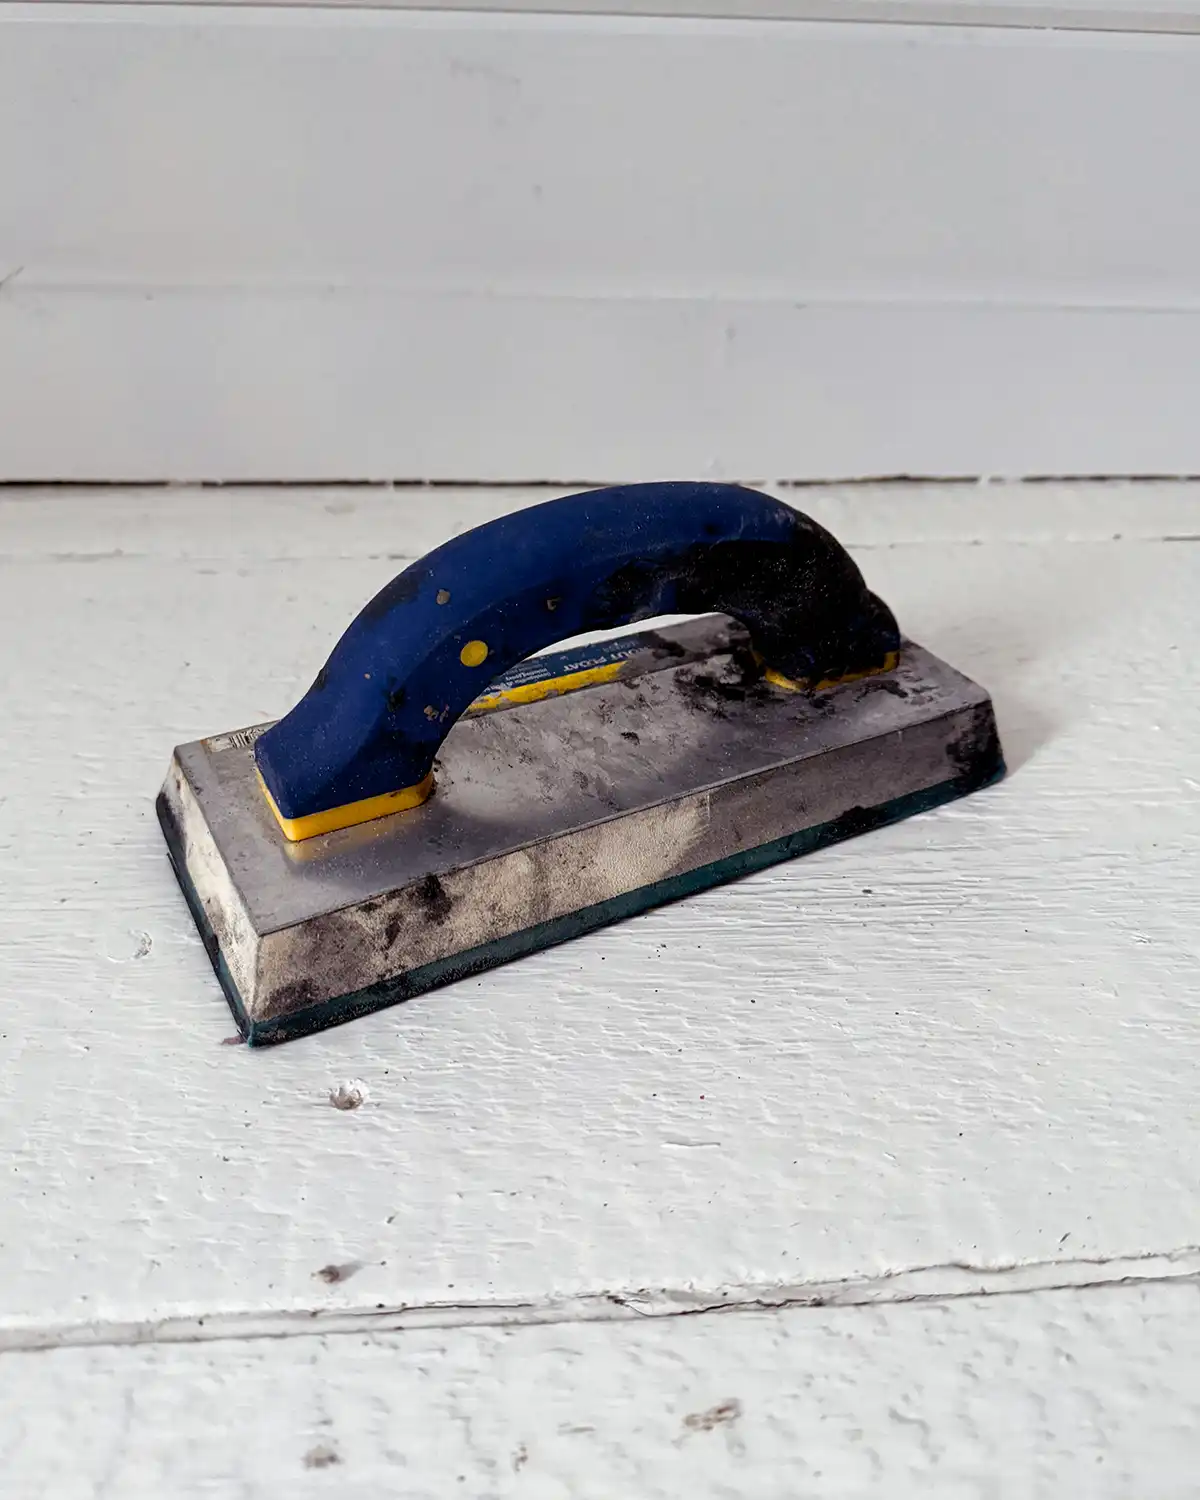
- Rubber Grout Float
- Grout Sponge
- Margin Trowel
- Buckets
- Small Chisel or Grout Saw
- Microfiber Cloth Towels
- Caulking Gun
- Personal Protective Equipment like Rubber Gloves
You can find more details about choosing grouting tools in our Tools for Tilers post. All the tips and how-tos for tiling are in our Tiling Guide for Beginners post.
Step One: Choose Your Grout
The first step for grouting is choosing your grout. A few considerations in selecting grout are the type of grout, color, and whether or not it is premixed. Let’s explore.
Different Types Of Grout
There are three different types of grout on the market: sanded grout, unsanded grout, and epoxy grout. The easiest way to choose the type of grout you need for your tile project is to look up the manufacturer’s recommendations for the type of tile you used, also factoring in the size of your grout lines.
Sanded grout is one of the more popular options for grouting tiles. It’s typically used for grout seams of 1/8″ or larger since the sand in the grout helps solidify a strong grout joint. The material is also really gritty and can scratch some materials when applied.
We’ve used sanded grout for our ceramic subway tile showers and a ceramic tile floor, all of which had grout lines of 1/8″ or larger.
Unsanded grout has much finer particles in it than sanded grout for a smoother grout line. This grout works best for narrower seams up to 1/8″ wide since it tends to shrink as it dries and cracks.
We used this grout in our marble subway tile shower since we didn’t want to scratch the tiles. We can attest that it does crack. We had three spots where we had to remove the grout and reapply because of cracking or shrinking.

Epoxy grout is a third type of grout that is much less porous than the other two grout types. This type of grout is waterproof, works well for wider seams larger than 1/8″, and does not need to be sealed. Epoxy grout is known for being a little more difficult to work with and can turn yellow when exposed to sunlight.
This is the only type of grout we haven’t worked with as homeowner DIYers.
To Mix Or Not To Mix Your Grout
That is the question. Grout comes in two different types of containers: ready-mixed grout and powdered mix. So how do you choose? We’ve used both for our projects and here is how we chose.
Premixed grout is more expensive but easier to use since it’s ready to go. I will almost always choose pre-mixed grout because of the convenience. I love that I can just open a bucket of grout, work on small areas of my grouting project, stop whenever I want, and simply close the bucket back up. It’s also handy if you need just a tiny bit for a grout touch-up or repair.

The biggest downfall of premixed grout is the limitations in color. We chose premixed grout when we needed a simple white grout for a couple of projects and a basic black grout for our most recent primary bathroom renovation.
But when we needed a specific gray color in a non-sanded grout for the marble tiles in the kids’ bathroom, we went with a powdered mix.
Choosing A Color Pigment For Grout
I could write an entire blog post about how to choose among the many different colors of grout. But here’s my number one tip for grout color selection. Do you want the tiles to pop or blend?
If you want the tiles to blend, choose a grout color in a similar shade as the tile. So for example, with a white ceramic tile shower choose white grout.

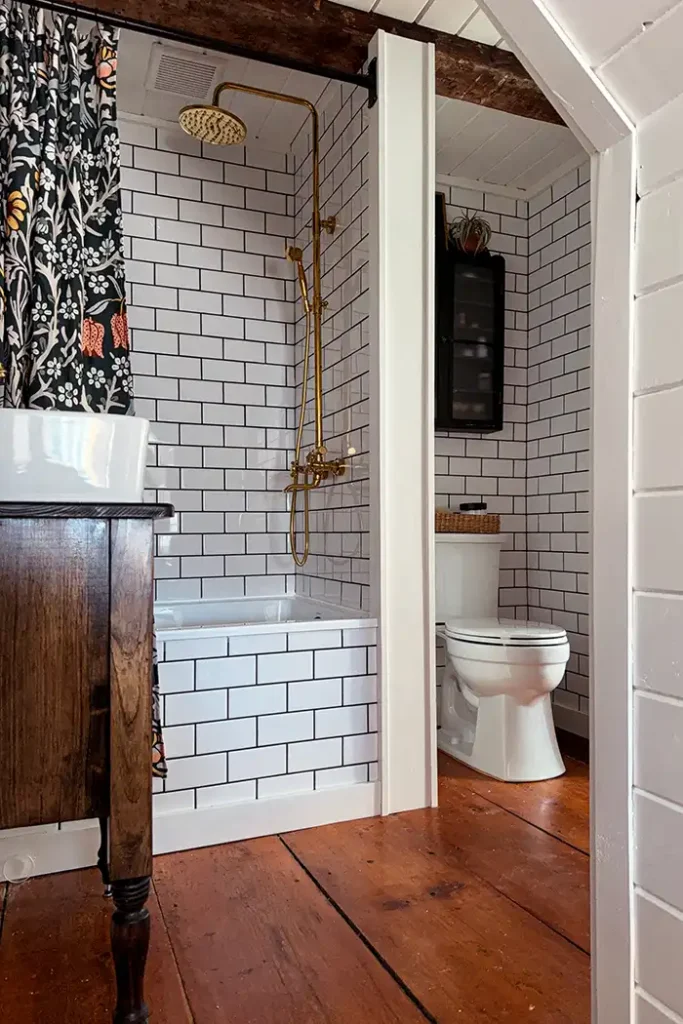
However, if you want the tiles to pop, choose a grout color either lighter or darker than the tile. A prime example of this is in our recent bathroom renovation using black grout with white ceramic tiles. It is definitely a statement!
Also, consider the undertones of your tile and the grout. Does your tile and the general design of your space have warm or cool undertones? Try to keep the grout undertones in line with the general design feel.

Step Two: Prepare Tile Surface For Grout
Next up, let’s prepare the tile surface and also protect your other surfaces for the grouting process.
Start by cleaning your tiles to prepare them for grouting. Make sure the space between the tiles is clean and free of any tile adhesive that may have squeezed through. Clean up those spaces with a small chisel, putty knife, or grout saw. Then clean up the surface of the tiles, wiping them with a clean damp sponge or damp cleaning cloth.
Now is also the time to protect your workspaces. Tape off any areas you don’t want grout, lay plastic or cardboard to protect other surfaces like tubs, and remove anything from the space where you don’t want grout to end up.

Step Three: Mix And Apply Grout
Now let’s gather your supplies and get to grouting! How do you apply grout? Let’s go.
First up, if you’re using a cement-based grout powder, mix it according to the manufacturer’s instructions. I could not recommend mixing in small batches enough. It feels like every time we do a tile project, we mix up either too much tile adhesive or too much grout. Err on the side of less is more and go for a little at a time.
Using a margin trowel scoop a small amount onto your grout float. I’ve been known to use a paint stir stick when I couldn’t find our trowel…case in point…picture below. Oy.
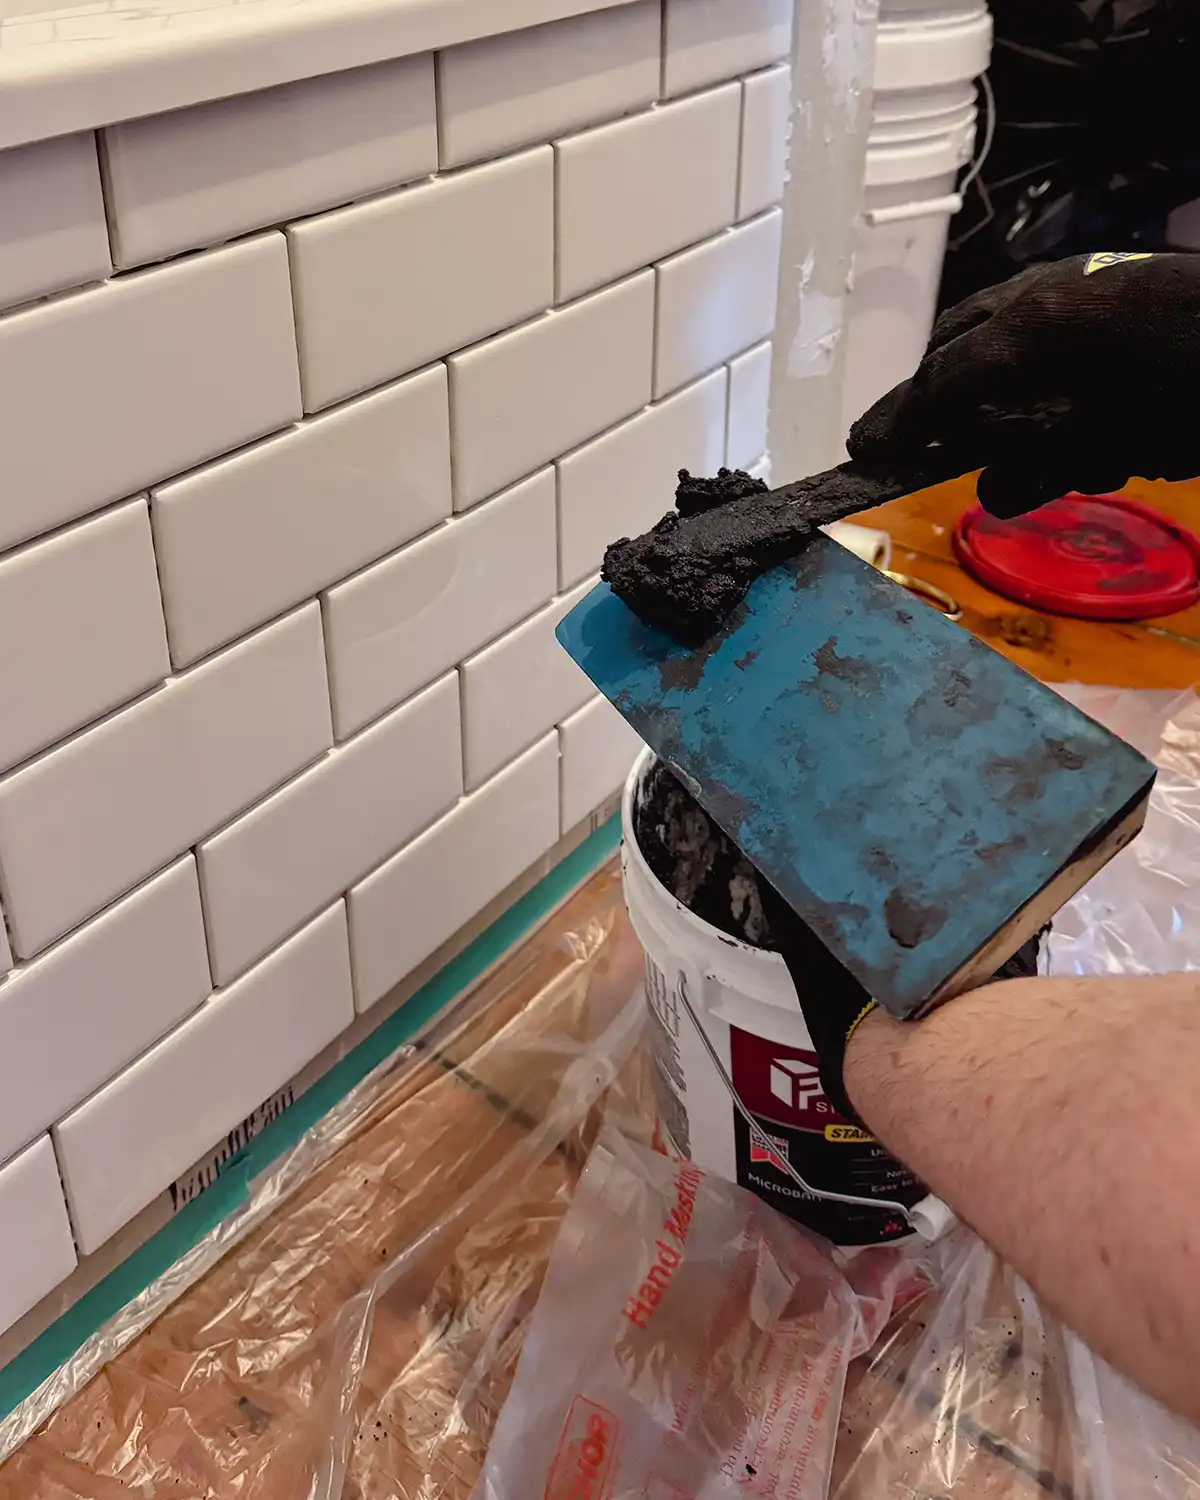
Holding the float at a 45-degree angle, sweep the grout across your tile in arcs, making sure to fill the tile joints in completely.
Next, holding the grout float at about a 90-degree angle with the tile surface, wipe off as much excess grout as you can.
Work in small sections, applying just a bit of grout at a time. I tend to work in about a 3′ x 3′ section. Sometimes more, sometimes less, depending on how quickly I’m working. You just don’t want the grout to dry out too much before getting to the next step.

Step Four: Wipe Excess Grout With A Damp Sponge
Wait just a few minutes for the grout to begin to harden before cleaning with a grout sponge. This is when I fill a bucket of water, or three.
Dunk your grout sponge in the bucket of water, wring out as much water as possible, then wipe the tiles with the sponge. Use a circular motion or if you have square tiles, go at an angle. Just be careful not to wipe in the direction of the grout lines as it can remove grout from the joints.
Sometimes, you do have to wipe in the same direction as your grout lines. For example, in the pic below, the tile is butted up against the lip of the tub and is a small, tight section. Just be careful not to pull the grout from the joints. A light touch is key.

Keep rinsing your sponge in clean water and wiping the tiles until you get the majority of the grout off the face of the tiles. Don’t be too worried about the grout haze left behind. We’ll get to that in a moment.
Lather rinse repeat. Keep working in small sections, wiping the tiles with a damp sponge. You’ll likely need to replace your bucket of water a few times with fresh, clean water to get the last of the grout cleaned off the surface of the tiles.

Hot tip, don’t dump grout water down your drain as it can clog your pipes.
Step Five: Clean Grout Haze
Once the grout has hardened, there’s often a slight haze on the face of the tiles. The haze was more evident when we used black grout compared to white grout with white tiles.

To clean up the grout haze, wipe the tile surface with a damp cloth. Then using a dry microfiber cloth, wipe the tiles down, kind of buffing them.

Speaking from experience, it’s best to clean the grout haze off the tile face within the first day or two after grouting. We successfully cleaned the grout haze off our tiles a week later, using water and a soft cloth. But the longer you wait, the more elbow grease is required.
And clean! Well, kind of. You can see the clean tiles in the middle with the tiles covered in grout haze above and below.

It’s a tedious process but an easy one to pick up or set down at any time. I tackled much of the grout haze cleaning while waiting for children to fall asleep.
Step Six: Seal Grout
Next up, seal the grout. Grout sealer helps create a waterproof grout line for wet areas and also helps prevent staining.
When it comes to sealing grout, first consider the grout manufacturer’s instructions. The pre-mixed grout we used for our primary bathroom doesn’t require sealing to be waterproof and stainproof. I took this with a grain of salt and tested it. Water does bead on the grout lines, but I’ll likely seal it periodically just to be sure.
To seal, first let the new grout dry for the length of time recommended by the manufacturer. Then, using either a foam brush or grout sealer applicator, spread the sealer along the grout joints. Clean off any smears quickly and then let the sealer dry for at least 24 hours or as recommended in the product application instructions. Each product has different recommendations for drying times.
Two of our favorite products to use for grout sealing are the water-based version of the 511 Impregnator Sealer and the SurfaceGard Maximum Strength Penetrating Tile and Grout Sealer.

We use the 511 Sealer for sealing just grout. The other product, the SurfaceGard Sealer in the spray bottle, is the one we reach for when we need to seal both the tiles and the grout, like in our marble subway tile shower.
Step Seven: Caulk
The final step is to caulk any gaps. These are places where the tile meets the floor, tub, shower, or any other spot not covered. We also like to caulk the small gaps where the trim lays against the tile, which is essential in wet areas.
Using a caulking gun, fill the gaps with the caulk, and smooth it out gently with a wet finger.

Operation Grout Complete
And scene. Your grouting project is now complete and you can enjoy your finished tiling project. Hello shower time in the freshly grouted shower!

Time to kick back and relax. Or if you’re like me, dive into the next major project immediately! Why…why does one do this?!