Next up on the master bedroom renovation…more affectionately known as the renovation that never ends (not to be confused with the song that never ends)…the window trim. Colby cruised through the window trim installation and finishing like a mob car chased by the cops. Before I could snap a solitary picture, the window trim installation process looked kind of like this.
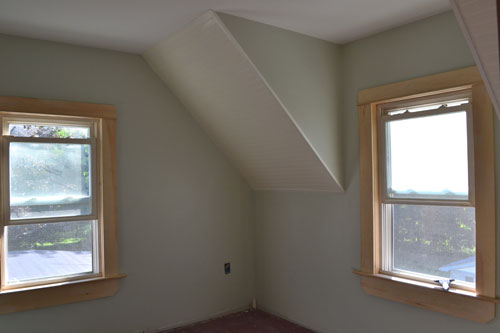
So we’re skipping the “how to install window trim” obligatory post in lieu of a little oohing and ahing over the new trim. I swear I’ll do a how to post when we tackle it in our guest bedroom reno. By the time we get to that our nuptials should be over leaving beaucoup time on our hands for shooting the pics and writing up the details. But anyway……..ooooooohhhhh.
Ahhhhhhhhhh.
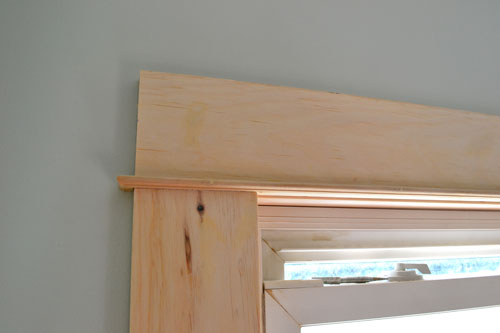
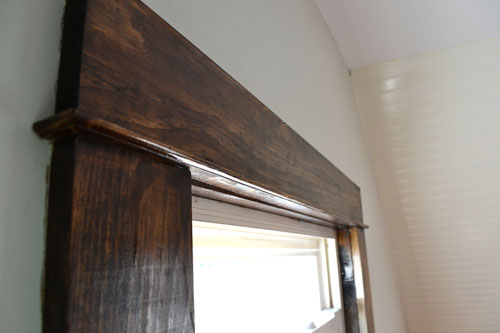
When installing the trim, Colby used basic pine boards that he trimmed down to size. He did add a little old world style, architectural interest near the top of the trim where he added this little bump out.
Here’s a closeup of the bump out (which I’m sure has a much more appropriate name).
It reminds me so much of the late 1800s trim that we had in our old, Victorian style apartment. It added just that extra little touch of character in an otherwise cookie cutter trim situation. Next up…staining.
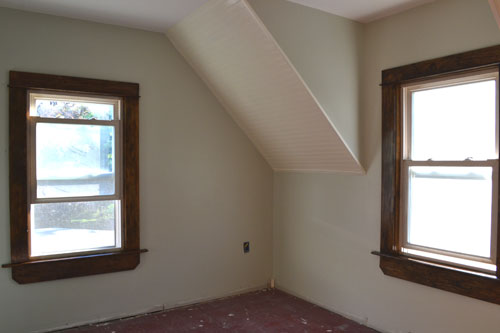
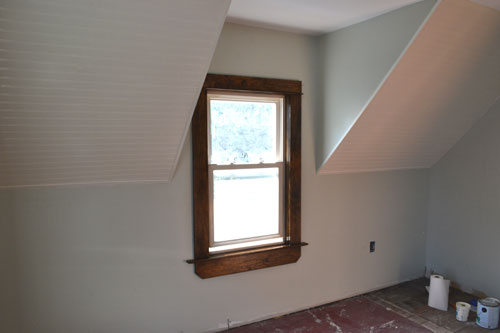
Cue up the ooohs and ahhhs. We’ve used the dark walnut stain in the bedroom, otherwise known as the craft room, across the hall. And our master plan (cackle cackle….evil fingers) in this second floor remodel we’re amidst is to continue the dark walnut stain in the trim throughout the whole floor. We opted to paint each room different and style it different, like including the bead board in this room, but bring cohesiveness to the small second floor with the dark trim.
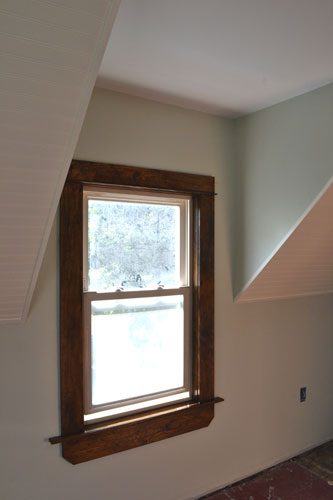
I’m really loving the dark trim, gray/green paint, and white bead board combo. I’m totally feeling it. And it’s just making me extra anxious to finish up all the other projects in this room so we can finally move back into the space.
If you crop out the floor, the room is starting to look really finished.
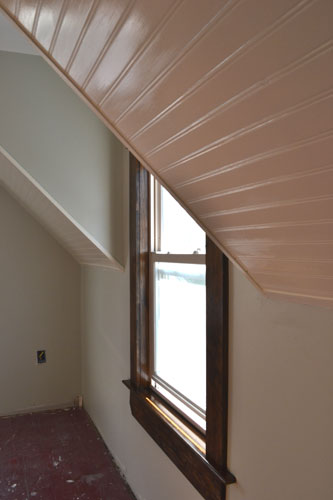
The floor is almost….almost cropped out in the pic below. Just squint a little bit, or place your hand over the floor. Yup…that works. No more severely scratched and damaged old red, painted floor boards.
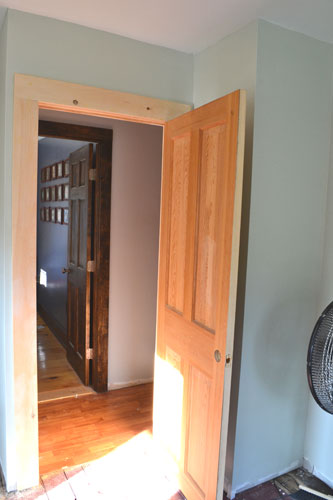
And while Colby was busy installing window trim, he also uninstalled the old solid wood door, ripped out the old trim, installed new trim, cut a new door down to size shaving the bottom and the top, and installed the door. No big deal. Just another quick little project tackled by the Colbster. Seriously…this would take me about five months to do…once I got over my fear of saws of course…not twenty minutes like it did him.
Now we just need to stain it like the trim and door for the craft room turned temporary bedroom situation across the hall.
So what are the upcoming projects for the master bedroom you ask? Glad you asked. Let’s fill you in. I think it’s an appropriate time to make a list. Who am I kidding, it’s always an appropriate time for a list!
- Stain and poly the door and door trim
- Prime and paint the floor a glossy white color (very cottage style)
- Install and stain baseboards and basecap
- Start moving into the room
- Build wall to wall shelving for a closet (I still need to convince Colby this is a good idea…I’m not sure he’s sold…but he’s a guy…guys don’t always understand closets like girls do)
- Make curtains for the closet out of painter’s drop cloths
- Install blinds or curtains or both…oh my
- Oh…and how could I almost forget…a light fixture
There are about a gazillion and a half (sometimes a girl needs a half) projects for this room but I’m trying to pace myself and go with the flow a little bit. When it comes to room design, I like the noodling approach. Make a few minor changes/additions here….see what happens. But the next episode…nah nah nah nah nah…floor painting.
Pssst…Catch up on all the master bedroom renovations starting when we cleaned out the room (note the nasty before shots), absolutely demolished it, came up with a plan mood board style, sheet rocked, mudded and sanded, primed, painted, and installed bead board. Whew…alot of heavy stuff!




Looking gooooooood
Eeeeeee…..thanks Pat! I’m starting to really itch to move in…or maybe I’m just catching Goose’s fleas?!
Hi there! Came across your blog from a Pinterest post. Can I ask you what brand of stain you used? Dark walnut right? Did you precondition the wood first? And did you stain your doors yet? We just bought our first home (yay!) now the work begins! We are redoing or floor and we need to stain all the treated pine to go with it.. Oh boy! Anyway I think the color you used would work nicely!