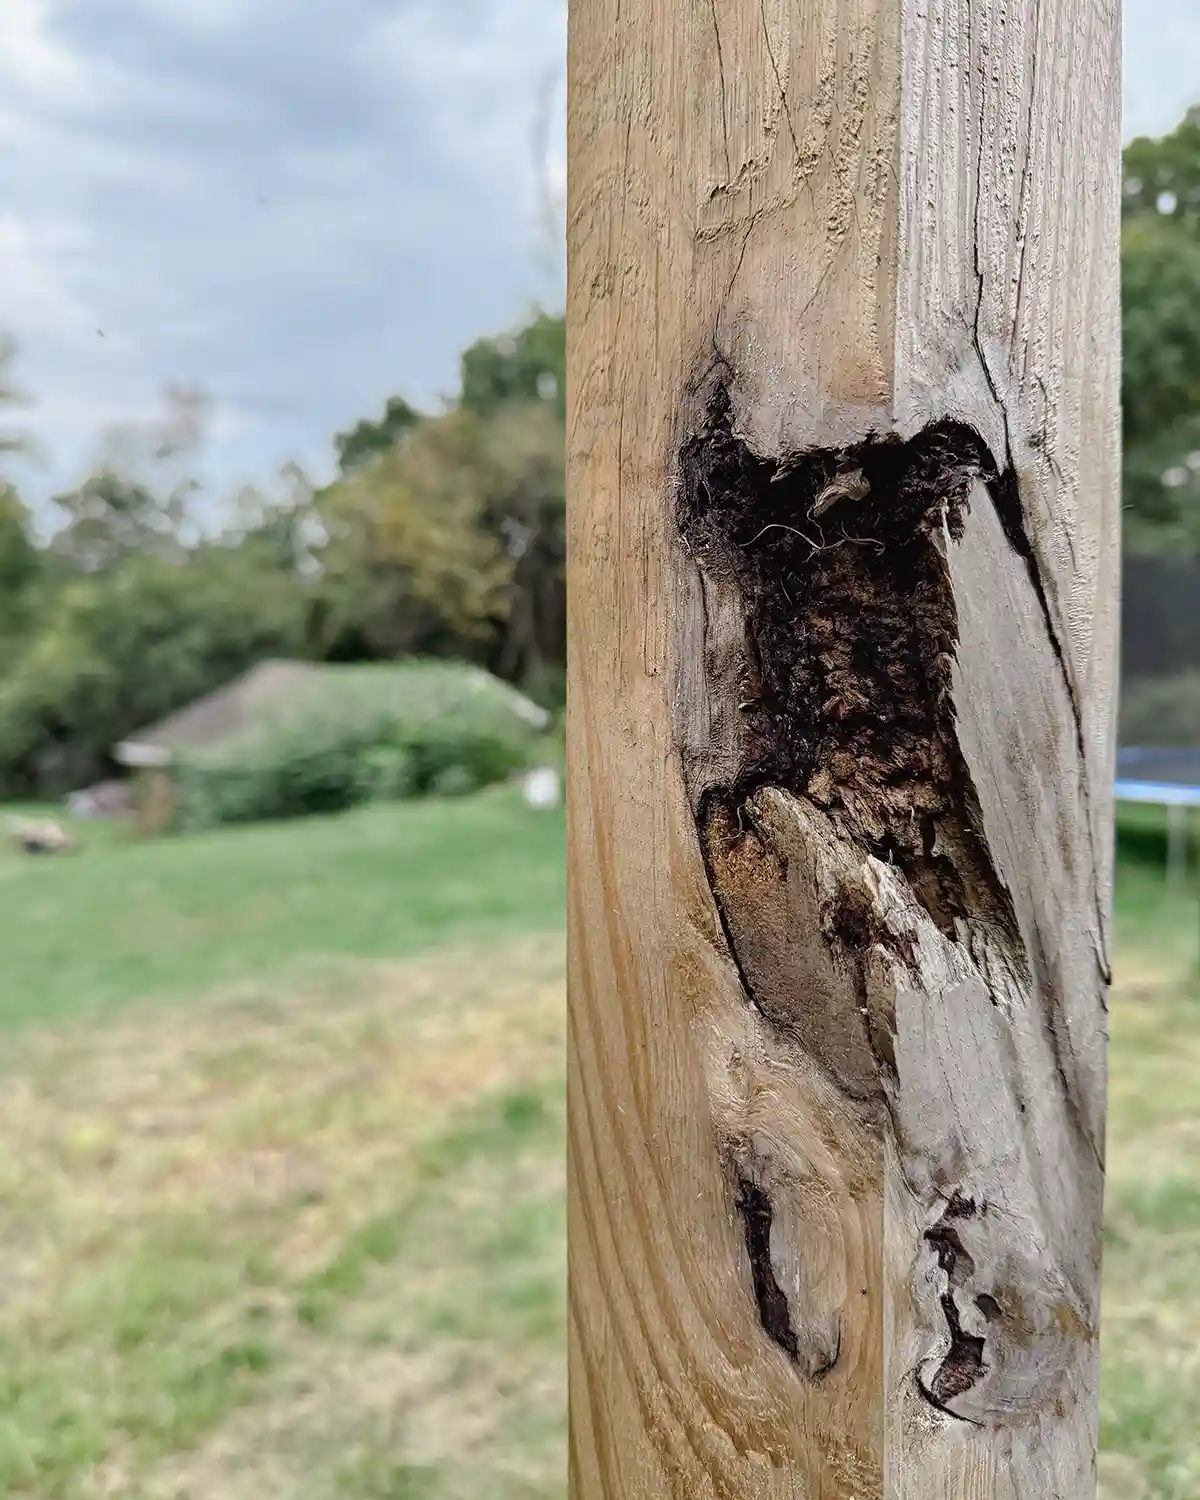
One of the greatest parts of DIYing, in my not-so-humble opinion, is learning new things and acquiring new skills. One such new-to-me task that turned up this fall when working on the playground, was how to use Bondo wood filler to repair large holes in the structure’s wood. Enter largest hole exhibit A.
I’ve always used DAP Plastic Wood or regular wood putty to fill holes. But when we came across this monster of a hole, I was on the hunt for the most durable product I could find for exterior use. One that’s of professional grade or good for more advanced repairs.
We considered all kinds of possibilities to fill the big holes, from adding wood plugs, acrylic fillers, epoxy wood filler, and more. We scoured a wood working online community and various articles (Bob Villa forever with the win) and came up with the best and easiest way for us to tackle this task.
After much deliberation, Bondo wood filler came to our rescue. Not to be confused with Bondo auto body filler…Colby and I had a mini fight over how these are not the same. It’s a durable, water-resistant, paintable wood repair material.

Using Bondo Wood Filler
In truth, I was super nervous about using Bondo to repair wood, mostly because it’s a two-part mix which was mildly intimidating. While not a kind of epoxy, the mixing process is similar. Mixing was super simple once I nailed the ratios and I may be a Bondo convert.
Before I begin, you can find the official instructions for mixing and using Bondo wood filler on the 3M website. Below, I’ll step you through the instructions and add some tips as I learned things that weren’t in the 3M guide.
Supplies
- Bondo Wood Filler (Home Depot)
- Orbital Sand Paper Variety Pack (Home Depot)
- Paint Stick (Home Depot)

Tools
- Paint Can Opener (Home Depot)
- Putty Knife (Home Depot)
- Bondo Spreader (Home Depot)
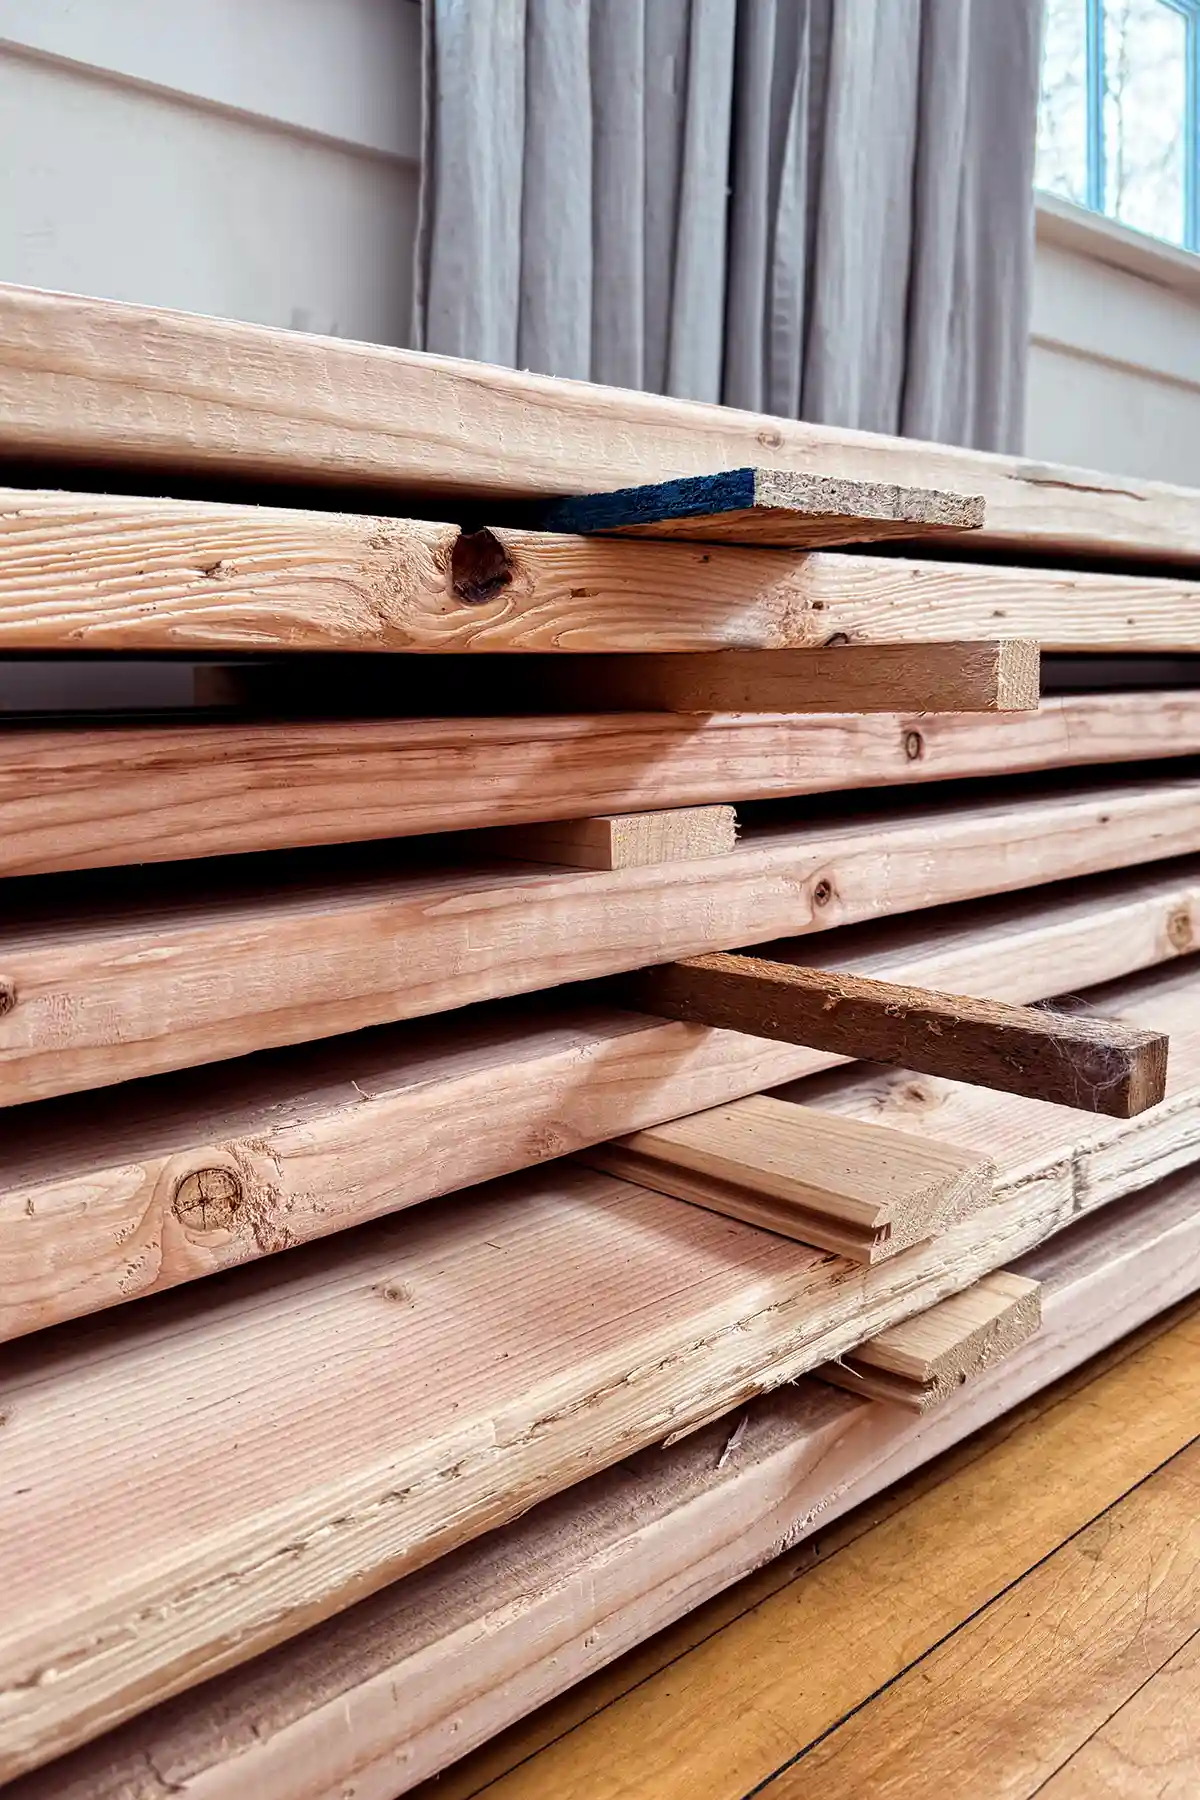
- Something To Mix Bondo On (we used a piece of wood)
- Orbital Sander (Home Depot)

Prep Work
The first step is to prep your wood surface. Remove any loose pieces, sand if necessary, and generally clean the surface. The surrounding wood should also be clean and prepped.
If there is wood rot present, that’s a whole other ballgame. We didn’t have this problem for this project since we were repairing new pressure treated boards and filling screw holes.
3M makes another product, Bondo Rotted Wood Restorer, that they recommend for these instances. I haven’t tried it yet, but I do have a future project I would like to test it on.
Next up, gather supplies including a surface to mix the Bondo on. We used a piece of scrap wood with a wood handle nailed to the back of it that we could use almost like a drywall hawk. It worked really well.
Mixing Bondo
Then it’s time to mix the Bondo. It does not work straight out of the can since it needs the cream hardener added to it.
Using the paint stick, scoop the wood filler out of the can and onto your work surface until you have about a 3-inch diameter amount of the product. I found this was the perfect amount to work with. Always work in batches and in small amounts at a time.

Open the hardener tube and squeeze a line across the wood filler. The instructions say a 3″ line for a 3″ blob but I felt this was too much. The higher the hardener-to-wood filler ratio, the faster it sets up and dries.

For your first time especially, err on the side of less wood hardener. For reference, the pic above was too much for me. It provided about 3 minutes of working time. If that. The pic below was about the perfect ratio. It left enough time, about 5-6 minutes, to fill a few holes at a time.

Filling Holes
Using a putty knife, mix the two products until they are well incorporated. Scrape any excess off the putty knife since the two-part wood filler cures and hardens super fast. You won’t have the chance to easily clean it off later.

Pick up a spreader, scoop up some of the mixed filler onto it, and apply it to the wood holes. This is just the first layer. There’s no need to apply excess filler all up front. We’re filling the gaps a little at a time, layer after layer.

Use firm pressure and work a little at a time.
A spreader works great when filling smaller holes, and you have a flat surface to drag the spreader across (see the above picture). However, we found a small putty knife works much better when applying filler in extra large or deep holes.

Drying
The dry time varies depending on the temperature conditions (75 degrees and below dries slower) and how much hardener you use. I found that within 15-20 minutes it was dry.
Sanding
After the first coat was dry, I broke out an orbital sander with 80 grit to smooth out any rough patches. I used a finer grit sandpaper of 120 for the final sand. You could even go one step further with 220 grit, especially when you need a smooth finish for furniture repairs or window sills.

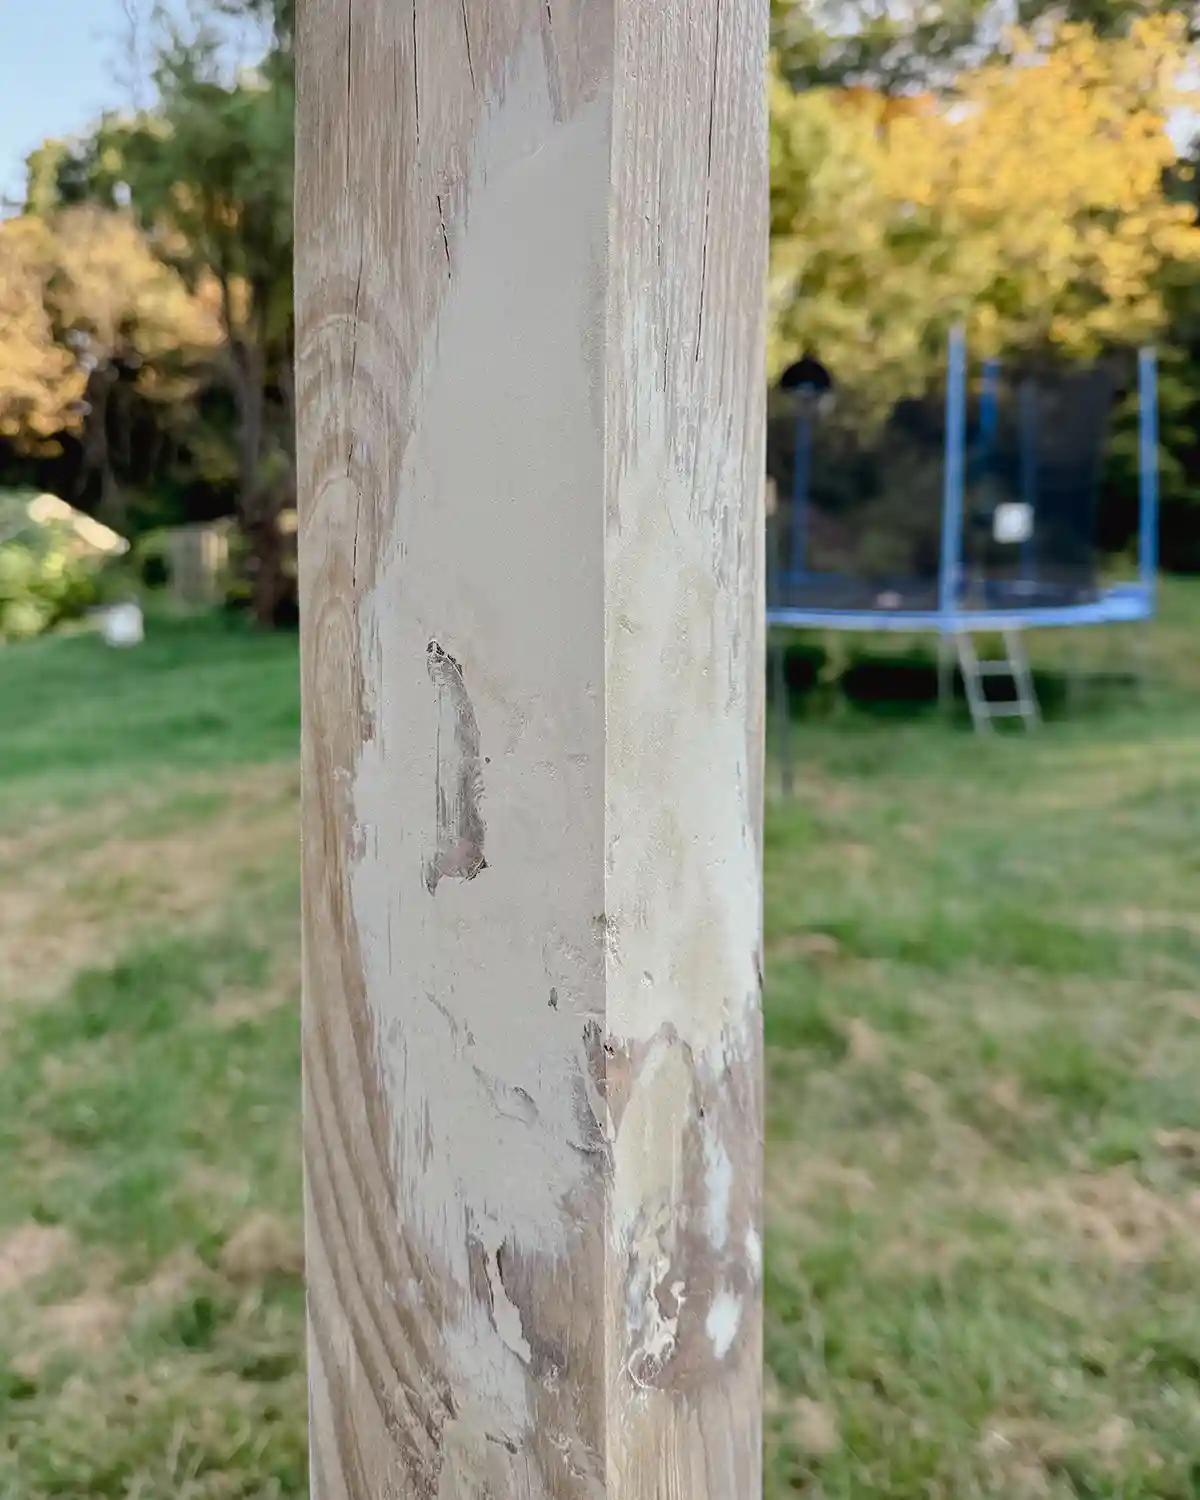
Just before painting, I gave the entire filled area a final sand with the 220 grit and it helped smooth out the entire surface. After painting, you can’t even tell there was a deep hole here, other than a small gap I probably should have applied another layer to.
Repeat
Lather, rinse, repeat. Keep mixing, filling, drying, and sanding until you’re happy with how the hole is filled.
For best results especially when working with bigger holes, work in small batches using thin layers.
Your final coat will be filling small gaps, air bubbles, or small cracks. It’s best to fill these for optimal results with painting.
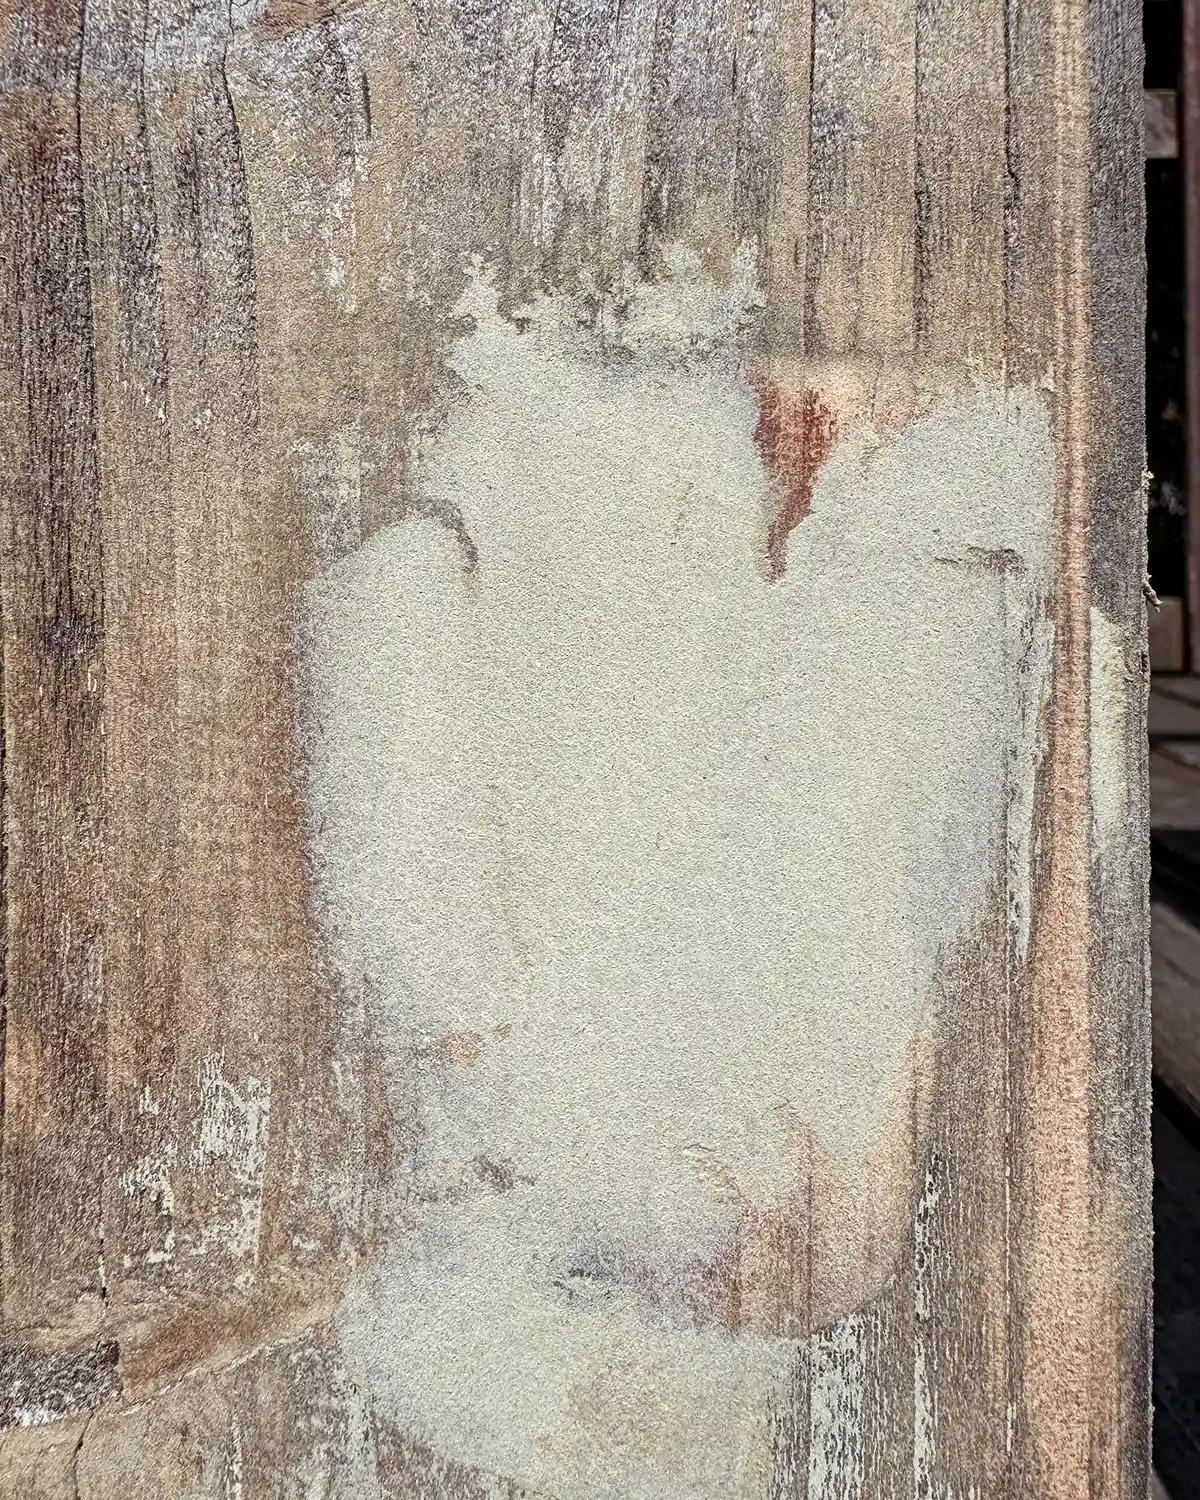
Before And After
Here’s how our largest wood hole looked after filling in the missing pieces of wood. It’s filled rock solid and is such a durable repair.
And here is another example of where we filled almost 1″ holes in repurposed wood while renovating an old, hand-me-down playground.
The Bondo wood filler did such a great job filling the large gaps and was the best choice for our project.
More Tips For Using Bondo Wood Filler
Below are a few more things I learned about how to use Bondo on wood. These things can’t be found in the product’s directions and I learned by doing.
Ensure Good Ventilation
I was working on this project outside and could not imagine what using it inside would be like. It is potent. If at all possible, work outside with this product. If you’re working on interior projects, be sure to work in a well ventilated area.
Painting And Staining
This product is paintable and stainable. However, it’s like any other stainable wood filler. You can apply a wood stain to it, but you may not want to. Wood fillers don’t accept stains like wood does. So while you wouldn’t notice small holes filled and stained, you’ll notice a 5″ gap filled with Bondo and stained.
Personally, I would only plan to use this product if I was painting. It provides a durable, solid finish without shrinking making it perfect to paint. Prime first before applying two coats of paint.
After painting, the holes are no longer visible.
Light Layers And Small Batches
I cannot emphasize this enough when doing Bondo wood repair. Work in small batches and apply light layers.
This stuff dries SO fast and becomes unusable quickly. Plus, you can’t just dump what you didn’t use back in the can. When you only have a five-minute (max!) window to apply the wood filler, you don’t want to mix big batches.
Once you get the process down, you can mix bigger bathes. But the smaller the better when learning.
Bondo Vs. Plastic Wood
When comparing the two products, I found both exceptionally similar wood repair fillers with two big differences.
DAP’s Plastic Wood is so convenient. You can just scoop it right out of the can and apply it to your project. While it works well for larger projects, especially compared with basic wood putty, it takes a while to dry and can shrink because of the long dry time.
While it says it dries fast, I’ve worked on some projects where I’m waiting hours to half a day for it to dry. It’s hard to make timely progress if you need four or more coats.

This is the product I would use for smaller holes and restoration projects. Think nail holes to light layers of filling in rough wood.
Bondo filler dries FAST. Like warp speed fast. Maybe not that fast, but set your project down, grab a cup of coffee, and then pick it back up fast. Because of this, you can fill large holes quickly without sacrificing durability.
The fast dry time also means minimal shrinkage. You’ll get to your last coat quicker and will have a smoother hole.
This is the product I would use for a larger wood project and filling holes bigger than 1/2″.
So Am I Convert?
While two-part wood filler forms like Bondo are less convenient, its perks outweigh the cons.

I love that Bondo is water resistant, has exceptional strength, and provides permanent repair to my wood projects quickly. While I will still reach for a spot putty to fill a nail hole, I will forever reach for this restoration product for all other repairs. This has been the best wood filler I’ve used and bonus that I can find it at my local hardware store.
I was blown away at the quality and the smooth, solid base it provided before painting. It’s the best product for me when tackling unwanted holes.
I anticipate using this on a broad range of projects so watch out! I have a few furniture projects and other woodworking projects I want to try this on and half a can of Bondo left to attack them with.
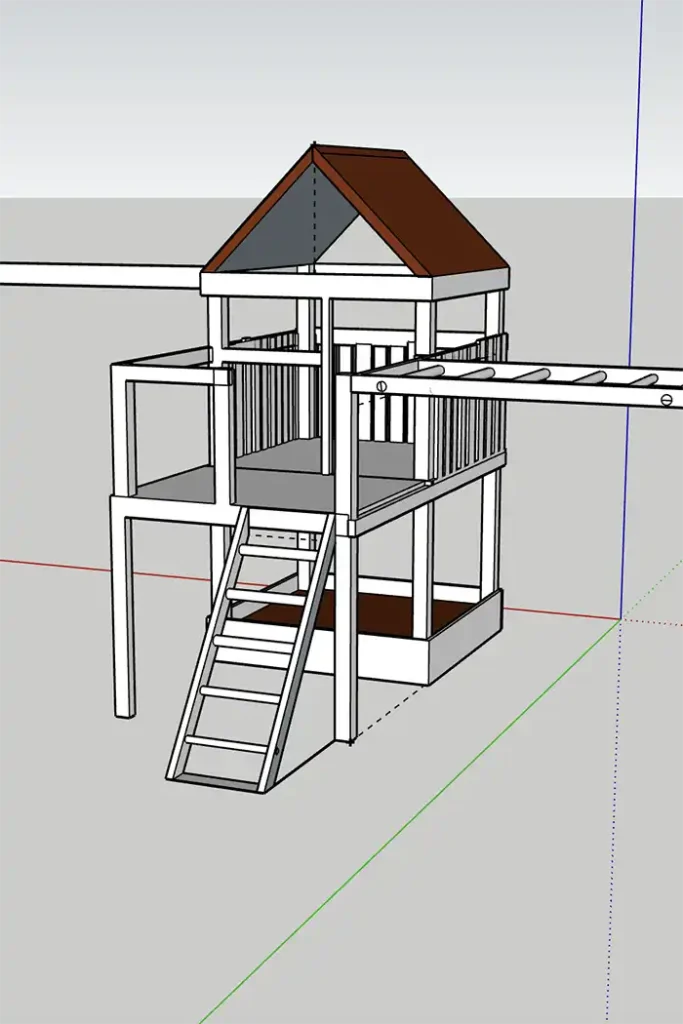
And more playground project updates to come! Spoiler alert…it’s currently in the painting process!