While I don’t have ALL the details worked out for our laundry room renovation. You know, minor details like where the light switch will go once we remove the wall (note the sarcasm). I DO have the direction for the design plan. I present to you, the laundry room design plan and mood board.

Sources: Paint Color (Caponata by Benjamin Moore), Light (Joss & Main), Window (Lowes), Art (Juniper Print Shop), Drying Rack (Schoolhouse), Peg Rail (Homesong Market), Laundry Basket Liner (Homesong Market), Cabinet (Etsy), Jar (Homesong Market), Metal Bowl (Homesong Market), Counter (Ikea), Washer (LG at Home Depot), Curtain (Anthropologie), Broom (Homesong Market), Rug (eBay)
So if I had to pick a theme for this design plan it would be a “vintage style laundry room with saturated, moody colors accessorized with everything from the Homesong Market store.”
Have you seen or shopped at Homesong Market before?! I love everything from that store and it’s the aesthetic I want all our utility products to have at our home. It’s the perfect marrying of form with function. But back to the laundry room and the general plan.
The Building Materials
The plan is to remove the old, peeling plaster over the plywood in this space. I have no idea why the old owners of our home did this but it’s in two rooms, is crumbling, and such an eyesore. You can see it falling apart in the corner behind the clawfoot. That’s the space the laundry room is going into.
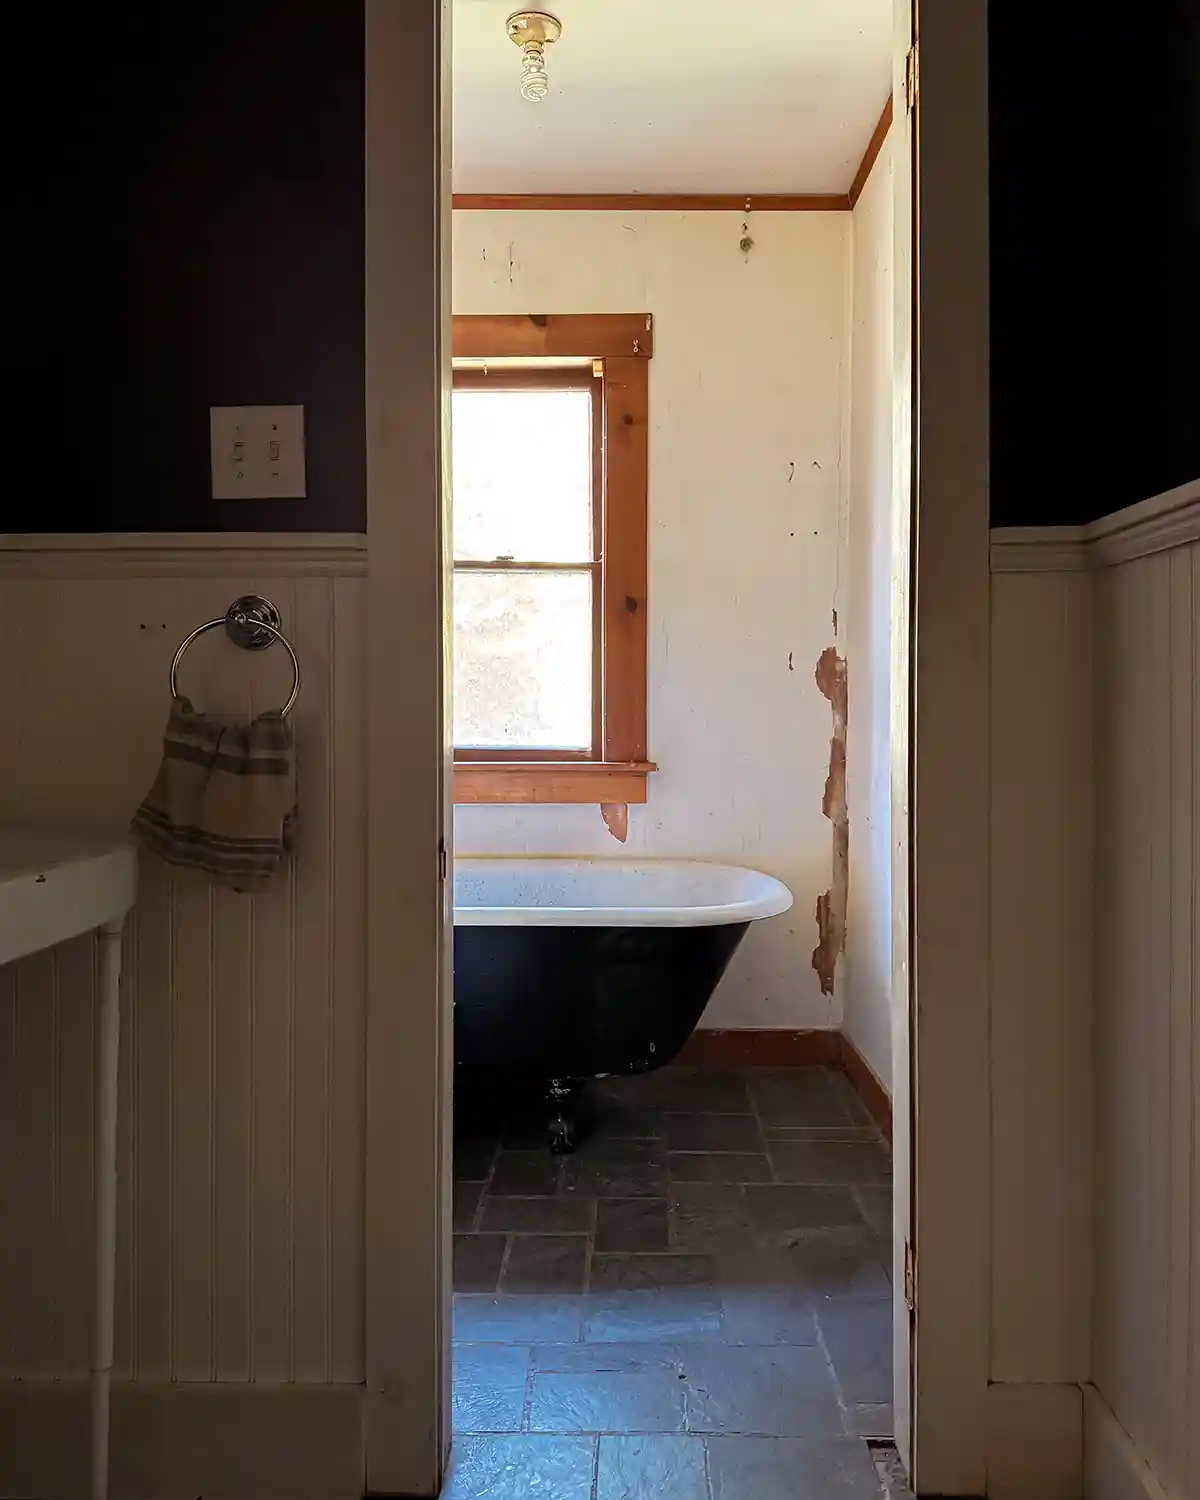
We’re also planning to remove the wall between the bathroom and the laundry room (I think). We haven’t moved the clawfoot tub out yet to tape out our machines in the room, but I feel like the space will be too tight with the wall there.
Patching The Existing Floor
With the wall coming out, we need to patch the slate floor. We’ve done this once before and had a terrible time finding a match.
Our slate is Vermont slate, which is more greenish than most slates. We had visited all the local tile shops to try and find something that matches but you can still tell which tiles were patched in. Maybe we’ll have better luck this time (she asks with trepidation in her voice)?!
Replacing And Raising The Window
Next up is replacing the window. It’s too low and not even remotely energy efficient. Honestly, snow drifts in underneath it in the winter. It’s been on the chopping block for a while but we were hesitant to replace not knowing what would be in this space.

Thankfully, we have a brand new window sash in our workshop that’s been waiting for a home. For those new around here, my husband is a window and door salesman so he often comes home with freebies from work. We have quite a stash of old display doors and windows in our shed most of which are earmarked for future projects. Some just for kicks which has come in handy often!
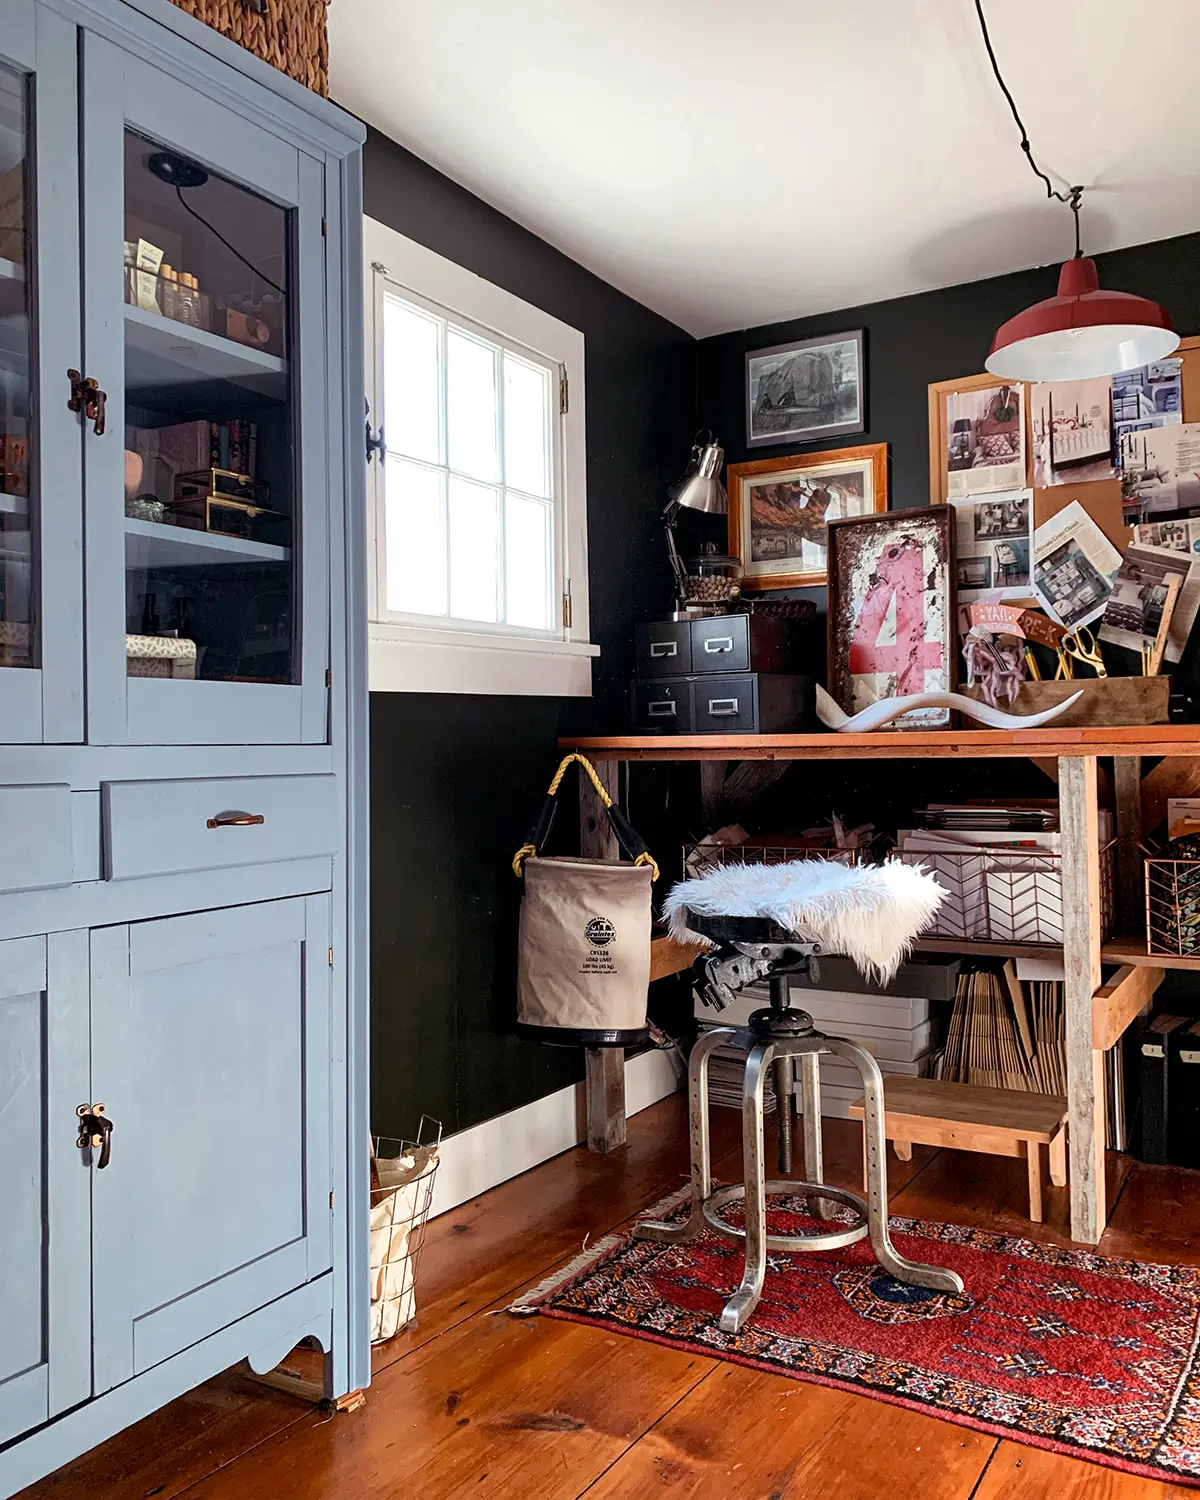
We’re attempting to turn a sash into a casement window. It was Colby’s idea and I LOVE it. It’s kind of a nod to the old, inswing casement windows that are on the second floor of our home. Photo evidence here in my craft room:
Planking The Walls And Ceiling
While the bathroom already has a planked ceiling, we’ll continue it through the laundry side of the space. As for the walls, we intend to plank those too with v-groove pine boards. It will be the same planking installation of as our kids’ bathroom here.
Painting With A Moody Color
The big difference, and by big I mean REALLY BIG especially for me, is that we are painting all of the planking a deep, dark moody color. I’ve never painted v-groove pine boards any other color than white so this is new territory for me.
Right now I’m leaning towards using Benjamin Moore’s Caponata. It’s a super rich brown with purple undertones to it.
Here’s the basic color scheme we’ll be working with.

We’ll use White Dove to paint the window grills and maybe the trim. I’m still undecided. Although I might choose to color drench the space and paint absolutely everything in the moody wall color of my choice.
I do want to test colors once we remove the window. It’s currently so dark in this space, I’m sure things will read differently once there’s a little more light. And I may change my mind entirely and go for gold or a dark pink. No white. I’m in my give me all the color era.
The only wood-stained piece in the laundry room will be the folding countertop over the washer and dryer which will be stained a dark color, which I’m leaning towards Dark Walnut by Minwax. Speaking of the counter…
Adding A Laundry Folding Counter
The plan is to add a laundry folding counter over the washer and dryer. It’s the thing I miss the most from our old laundry room and we plan to build a similar counter. Here’s a pic of the counter:
Laundry Room Accessories Plan
Because what room feels finished without accessories?! I always like to include a plan for the accessories and finishing details before I start a project. The accessories plan helps me feel like I’m moving towards a finished space but also ensures I prioritize how the space functions.
So many of these accessories are functional accessories. I believe everything in our home, at least everything visible, should be beautiful and functional. It’s the minimalist in me. I don’t want a lot of fluff accessories, or more things to dust, so give me a pretty duster hanging on the wall over tchotchkes any day.
Without further ado…the accessories.

Sources: Curtain (Anthropologie), Drying Rack (Schoolhouse), Metal Bowl (Homesong Market), Peg Rail (Homesong Market), Unpaper Towels (Homesong Market), Broom (Homesong Market), Dust Pan (Homesong Market), Art (Juniper Print Shop), Rolling Laundry Basket (Pottery Barn), Cleaning Caddy (Homesong Market), Laundry Basket Liner (Homesong Market), Rug (eBay)
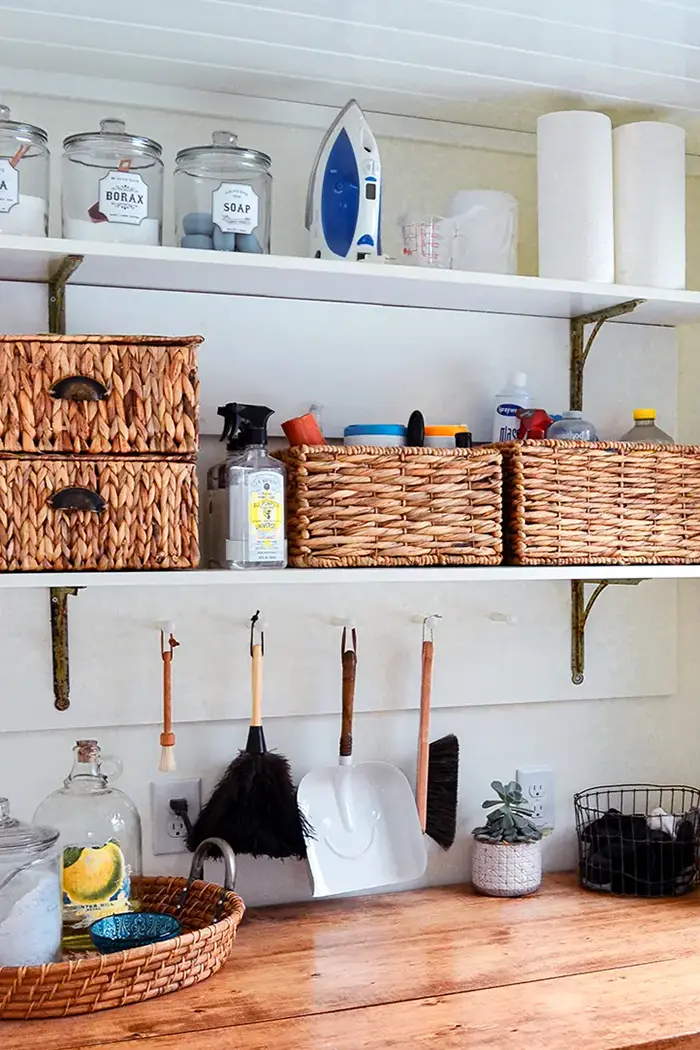
Utility Items As Accessories
Before selecting accessories for the laundry room, I ensured it served a function. While some laundry rooms have an exorbitant amount of space, ours is minuscule. It’s barely even laundry closet-sized.
And since a laundry room is a heavy worker in the home, similar to a kitchen or bathroom, I wanted to optimize every inch. The idea is to keep utility items beautiful and easily within reach. Especially since we want this space to double as storage for cleaning supplies and tools.
So think, beautiful shaker pegs with hanging baskets for things we use like dryer balls or clothes pins, or a dustpan hanging. Or a cleaning caddy filled with everything I need to quickly grab and clean a room from scrub brushes, cleaning clothes, and multipurpose cleaners.
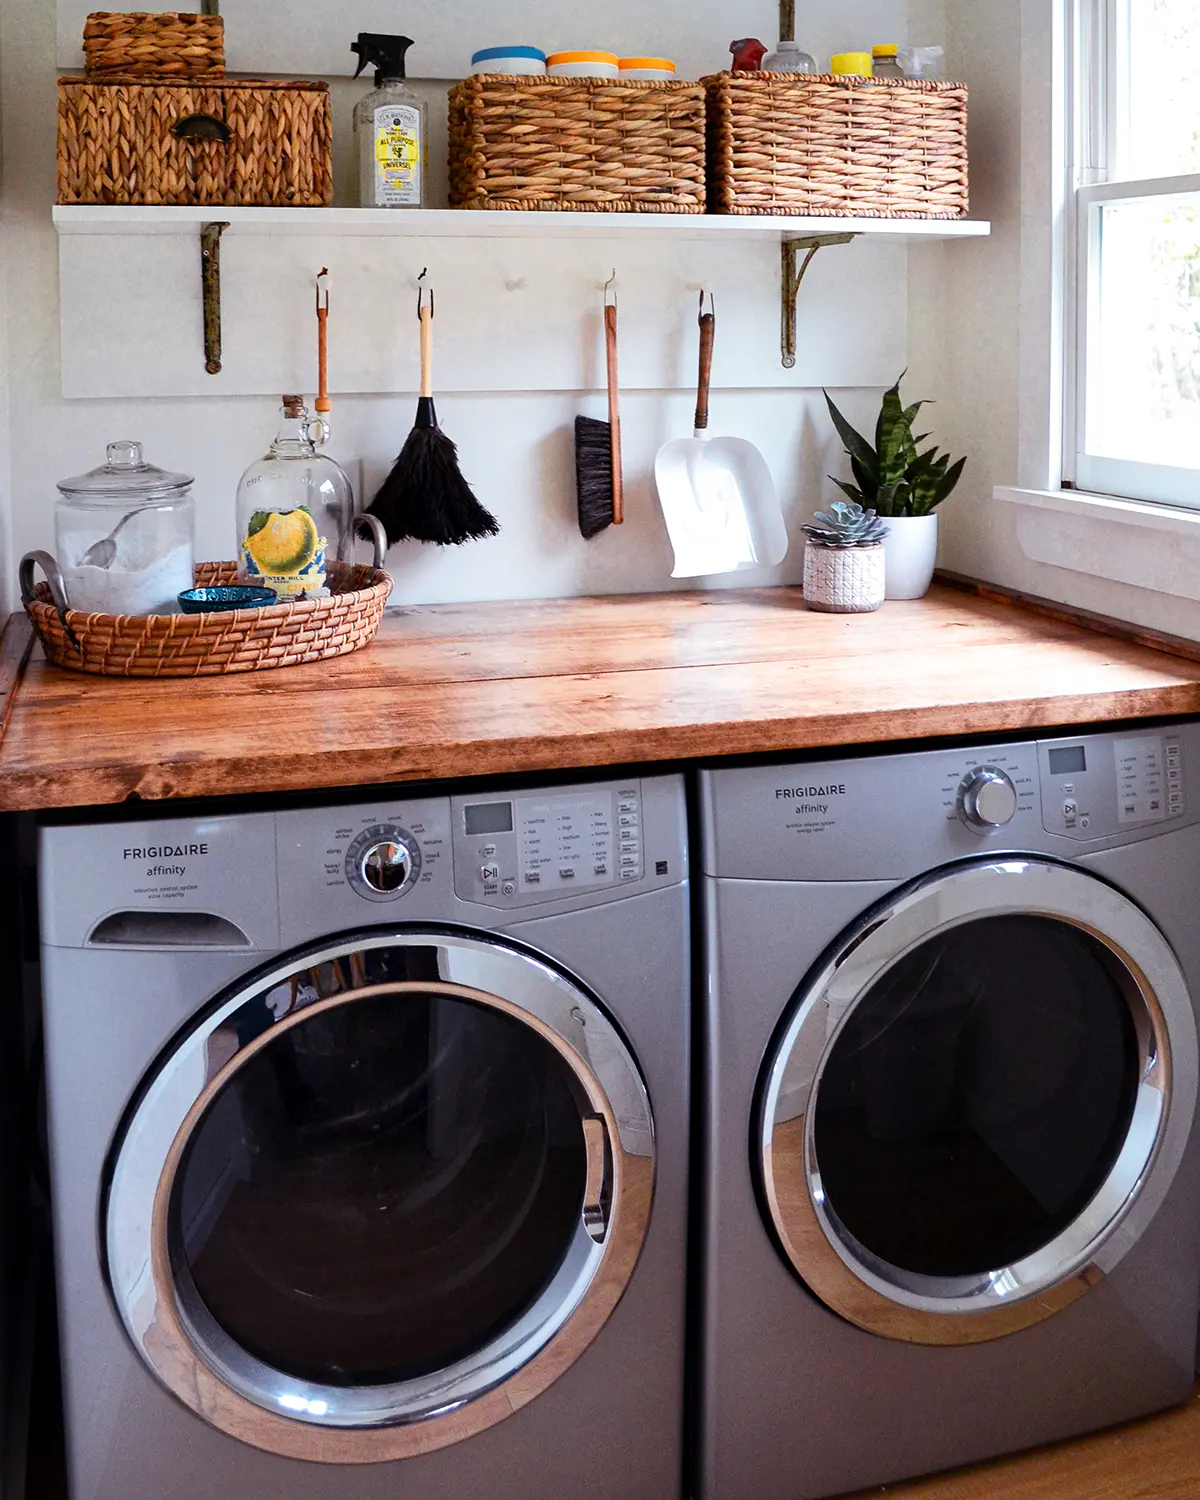
Or a beautiful vignette of decanted laundry detergent, lint canister, and stain remover corralled on a tray on top of the folding counter. Kind of like in the laundry room of our first home:

Boy, do I miss that space. But soon enough we’ll have laundry room two point oh.
And for things that we use regularly that aren’t terribly pleasing to the eye…
Vintage Cabinet
I’m hoping to find a small, vintage cabinet that we can use to store the things that aren’t eye-catching. Like our bright purple Dyson stick vacuum that I will never part with because I love it so much. Bonus points if we build-in a charging station for it.
I would also like space to store the things I don’t use every day. While the peg rails will hold items I grab constantly like a dustpan and broom, the cabinet will hold back stock and home-keeping items we look for sporadically. Things like batteries, extra toilet paper, and light bulbs. Although I suppose we do reach for toilet paper quite often.
We have very tight space constraints for fitting in a cabinet so if I can’t find one that will work, we’ll build one. I have a few paint finishing and distressing techniques I’m dying to test out, so maybe I’ll go this route regardless.
Considering How I Do Laundry
When creating this design plan and rough project plan for our new laundry space, I was very cognizant of how I like to do laundry. I’ve done enough laundry in this lifetime to know how I like to do it. AND it’s a chore I genuinely enjoy.
So if I optimize a space suited just for my laundry habits, suddenly laundry is even MORE enjoyable for me. It happened in our old home and it can happen again! I kid you not, after redoing our laundry space suddenly I looked forward to the chore.
Old laundry room in the kitchen of our first home:

Some habits have changed over the years. For example, our electricity costs are so high and we’re always looking for ways to cut costs. One way we save is by hanging our laundry to dry before giving it a quick fluff in the dryer.
In the summer, I can hang clothes outside but in the winter I set up drying racks throughout our kitchen. I’m aiming to add as much laundry hanging functionality to this room as I can so the clothes don’t take over our kitchen.
I also like bringing all the laundry to the laundry room, sorting it in there, and then washing it. Because of this habit, a big laundry bin or sorter in the space is a necessity.
Folding laundry is also done in the laundry room on top of the washer and dryer. I have always done it and it’s the easiest habit for me. Take the clothes out of the dryer and fold them right on top. So a folding counter is imperative so I don’t lose rogue socks behind the machines.
Random sidenote…I can’t wait to retrieve all our solo socks when we move our machines from their current home in the playroom.
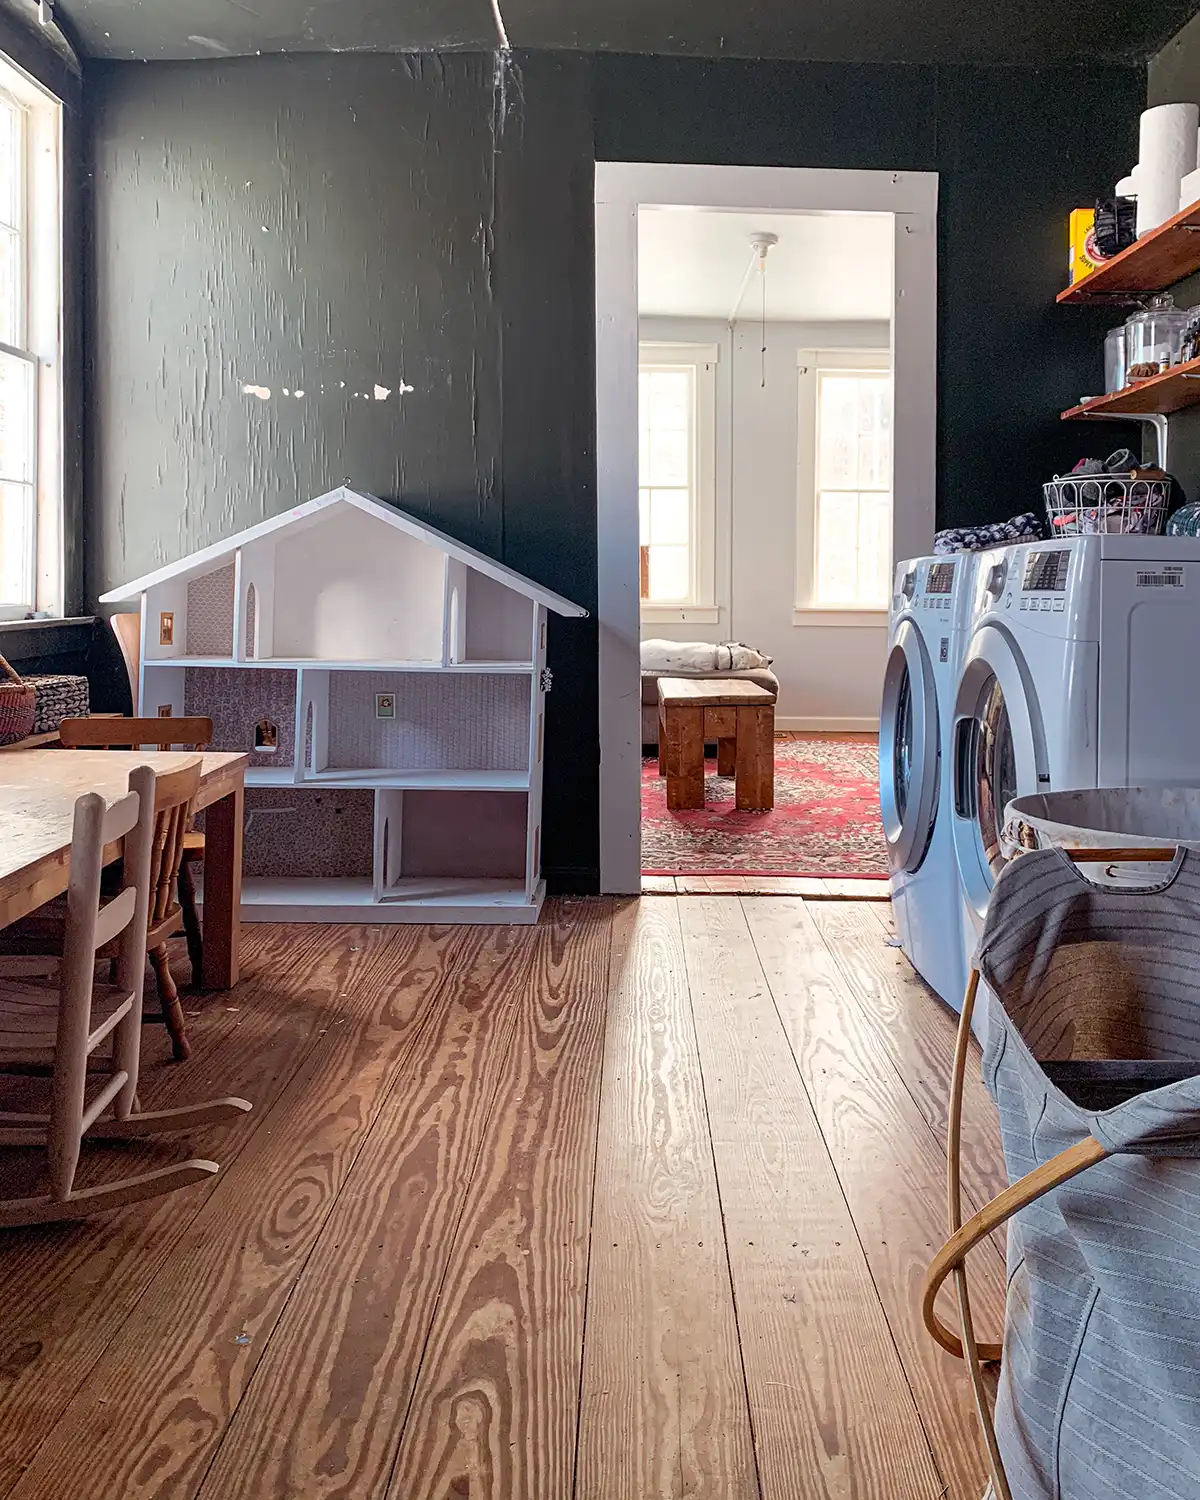
Also, note the peeling plaster that we thought would look better painted. It was a good thought, and it does look better, but still not great. This is the aforementioned room number two with crumbling walls.
The Next Steps:
With the design plan figured out, here’s what I’m thinking as our next steps.
- Remove the old, built-in cast iron tub and slide the clawfoot in temporarily. The clawfoot needs a storage spot until we can get to refinishing and installing it.
- Tape out the layout to see if the wall needs to go.
- May or may not remove the wall between the bathroom and the laundry room.
- Replace the window.
- Rough-in plumbing, dryer vent, and move electrical.
- Plank the walls and ceiling.
- Paint all the things!
- Install the washer and dryer in their new home.
- Add a folding countertop over the machines.
- And more to follow but that’s a good list for now.
So stay tuned as we remove an old cast iron tub from our bathroom. This gives flashbacks to when Colby and his cousin removed a pink cast iron tub from our first home by taking it out the second-floor window, onto the porch roof, and throwing it off the roof into our front lawn. Hashtag boys!
I thought the whole crew, two boys and tub, were going through that roof! Thankfully this tub is on the first floor.
Pssst…This post is part of the 2024 Fall One Room Challenge (ORC) for week three. Be sure to check out all the other projects and the progress others are making on the ORC site. True to form, thanks to my third sickness of the school year (le sigh) I’m already behind the 8-Ball on this project. Please send all your positive DIY vibes for a swift and efficient project with no surprises behind the walls. That’s possible right?! No surprises?! Bleh…who am I kidding…we’ll probably find a mummy and a petrified mouse.


Oooh! I’m excited to see where this project goes.
PS: Thank you for writing from your own true voice. So many bloggers are using AI to write their posts, which makes blog posts like yours so much more valuable.
Yay, thank you for coming back and leaving such a sweet comment. I’m so excited to dive into it too and make this space functional. We’ve had a rough start with household sickness to kick off the challenge so here’s hoping we can catch up. Thanks!!!