When we started working on our small laundry room makeover at our first home in Maine, one of the things we so desperately wanted was to have a countertop for folding clothes above our washing machine. I dreamt of making this DIY laundry table top for years!
For all my laundry warriors out there who have lost one too many socks behind your washing machine, you know why. It is next to impossible to retrieve lost clothing from behind your laundry machines. Let me set the scene for you.
A Laundry Day Tale
It’s a gorgeous summer day, birds are chirping, and the sun is streaming into your laundry room. You plop the pile of clean clothes from the dryer on top of the machines and get to work folding. Before you know it, one sock has fallen behind followed by the good shirt you planned to wear for date night. Oh boy.
You haul your too-old-for-this body up onto the top of the washer and wedge your arm between the wall and the machines, careful to avoid knocking the dryer vent out of place. Hmmm…can’t reach.
You miraculously manage to get down and find a ruler to extend your arm, wedge yourself back on top, and without grace attempt to scoop your now dirty date night shirt out from the labyrinth. Throw in the towel. Quite literally, it’s time for the towels to go into the wash.
Set aside your pride and ask your lanky-armed husband to retrieve the lost laundry for you. Lather, rinse, repeat every single laundry day.
Why Build A Laundry Room Countertop
What was the biggest reason we wanted to create a folding table above our washer and dryer? To have a great work surface primarily for folding and not losing clothes behind the machines. I envisioned using it for other things too like stain treating, making laundry detergent, ironing (we have one of those small, tabletop ironing boards), and more. It would also be a great place for laundry baskets as we transport clothes to and fro the laundry area.
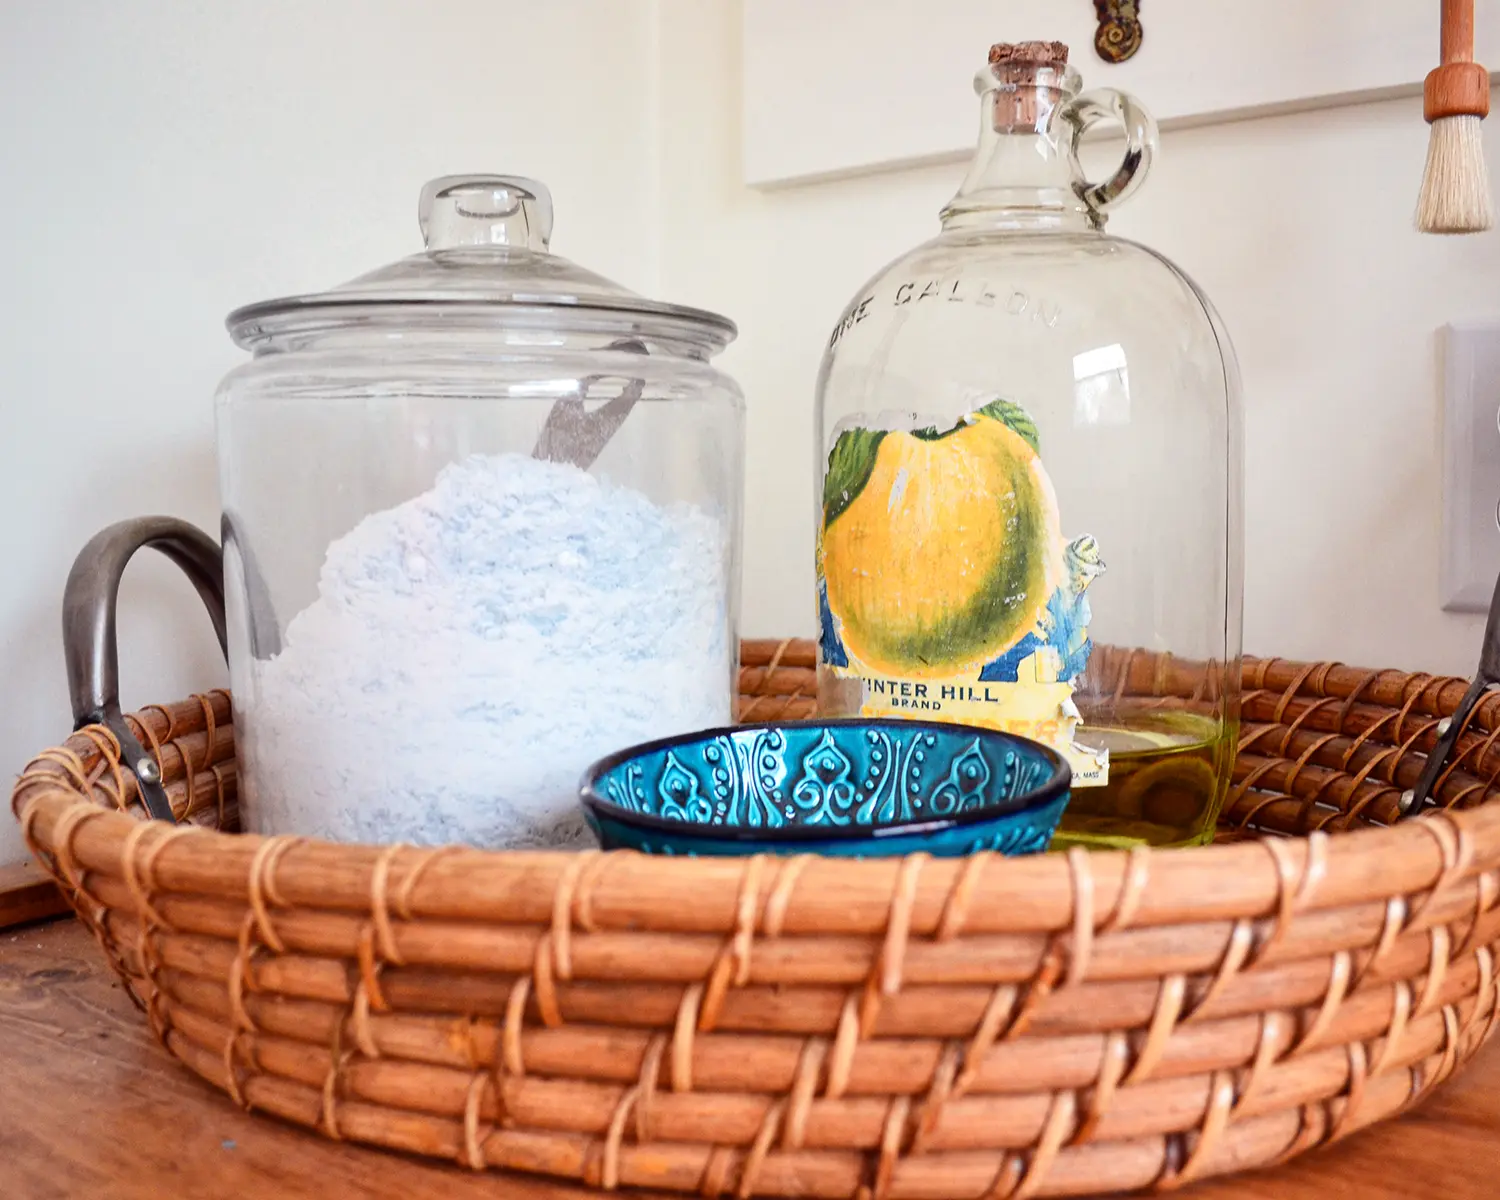
Another goal for building the DIY laundry room countertop was to create some storage space on the tabletop. I love keeping our most used items at arms length. I wanted things like detergent, bleach, and even a little bowl or jar to collect pocket things to have a home on the new table.
DIY Laundry Table Top Design Plan
Let’s get into the laundry table design plan a little bit, shall we?! There were a few design elements that I wanted to make sure were incorporated without sacrificing functionality. I should also preface that we have front loaders. The design ideas I’m walking through don’t really work with a top-load washer.
The most important was that I wanted the DIY countertop to look like a butcher block countertop. It didn’t have to necessarily BE butcher block but gives off that thick, chunky wood vibe. My go-to wood these days for anything rustic is framing lumber. It’s cheap, looks great stained, and adds charm to just about any space.
The other important element for this DIY project was to make a removable laundry countertop for easy access to the machines if we needed to. This took some mulling over and we ended up making some concessions here.
Knowing that we wanted a solid, hefty laundry room countertop meant that it wasn’t going to be the easiest to remove. This wouldn’t be something we would be removing regularly. Only when needed to get a machine out to repair water lines, access the back wall, or fix one of the front loaders.
Supplies List
The supplies list for this small laundry room makeover project is pretty basic. All of the supplies you can find at your local Home Depot or hardware store.
Many of the supplies we already had leftover from other projects. The only thing we actually purchased was the framing lumber. We bought one sixteen foot 2″ x 12″ framing lumber board from Home Depot. Our laundry area is only five feet wide so cutting the board down to three 2″ x 12″ x 5′ pieces was enough lumber to build our DIY countertop.
Here are all the supplies we used (links all go to Home Depot):
- (1) 2″ x 12″ x 16′ Framing Lumber Board
- 3″ Wood Screws
- Scrap Wood (to build the ledger board)
- Medium Grit Sandpaper
- Fine Grit Sandpaper
- Wood Filler (Optional)
- Stain (we used Minwax Early American)
- Polyurethane (we like the water based in semi-gloss)
Handy Tools
The tools needed for this DIY laundry table are pretty minimal. Tools we used (links all go to Home Depot):
- Circular Saw or Table Saw
- Drill and Drill Bits
- Straight Edge with Level
- Chalk Line
- Stud Finder
- Laser Level (optional but helps)
- Orbital Sander or Belt Sander
- Brush (for stain/poly)
- Tape Measure
Word of Caution Before We Get Started
Being anxious, I like to think of absolutely everything and prepare for the worst-case scenario. I’m a real treat at parties! Thus, I’ll leave you with a few cautionary words before we get started.
First off, when working around the water lines and electrical for laundry machines, it’s not a bad idea to shut them off. It’s not necessary but it doesn’t hurt to unplug the machines and turn off the water lines. You never know when you might accidentally drill something or whack something. At a minimum, before you start, at least know where your shutoff is for the water lines.
We also have the pleasure of creating this tutorial at an old house. Nothing is square and nothing is level. Doing this project in a new construction home would be far easier. Sometimes when working in old homes, eyeballing for levelness works better than actually using a level. So many times we’ve installed something level but because the floors or ceiling aren’t level, it looks totally off so we nudge it to make it look level.
And finally, as with every project, always plan for the unexpected and factor in an extra cost. It’s so much easier to handle a surprise or an added expense if you plan for the unexpected. Who knows what you’ll find, especially in an old home? When we started, I half expected to find no studs in the wall meaning we would have to take down the old sheetrock to add extra support. Thankfully, that wasn’t the case.
How To Build A DIY Laundry Countertop
Building this removable laundry countertop was surprisingly easy. I’m willing to bet that even a beginner could pull off this home project.
Cutting Framing Lumber To Size
First step was to cut the framing lumber down to size. We had purchased one 2″ x 12″ x 16′ board with the intention of cutting it down with a circular saw to three 2″ x 12″ x 5′ boards for an overall folding table size of 5′ wide by 3′ deep. The 3′ depth of the table was just enough to cover our laundry machines plus the gap between the machines and the wall. We plopped the boards on top of the washing machine to dry-fit them.
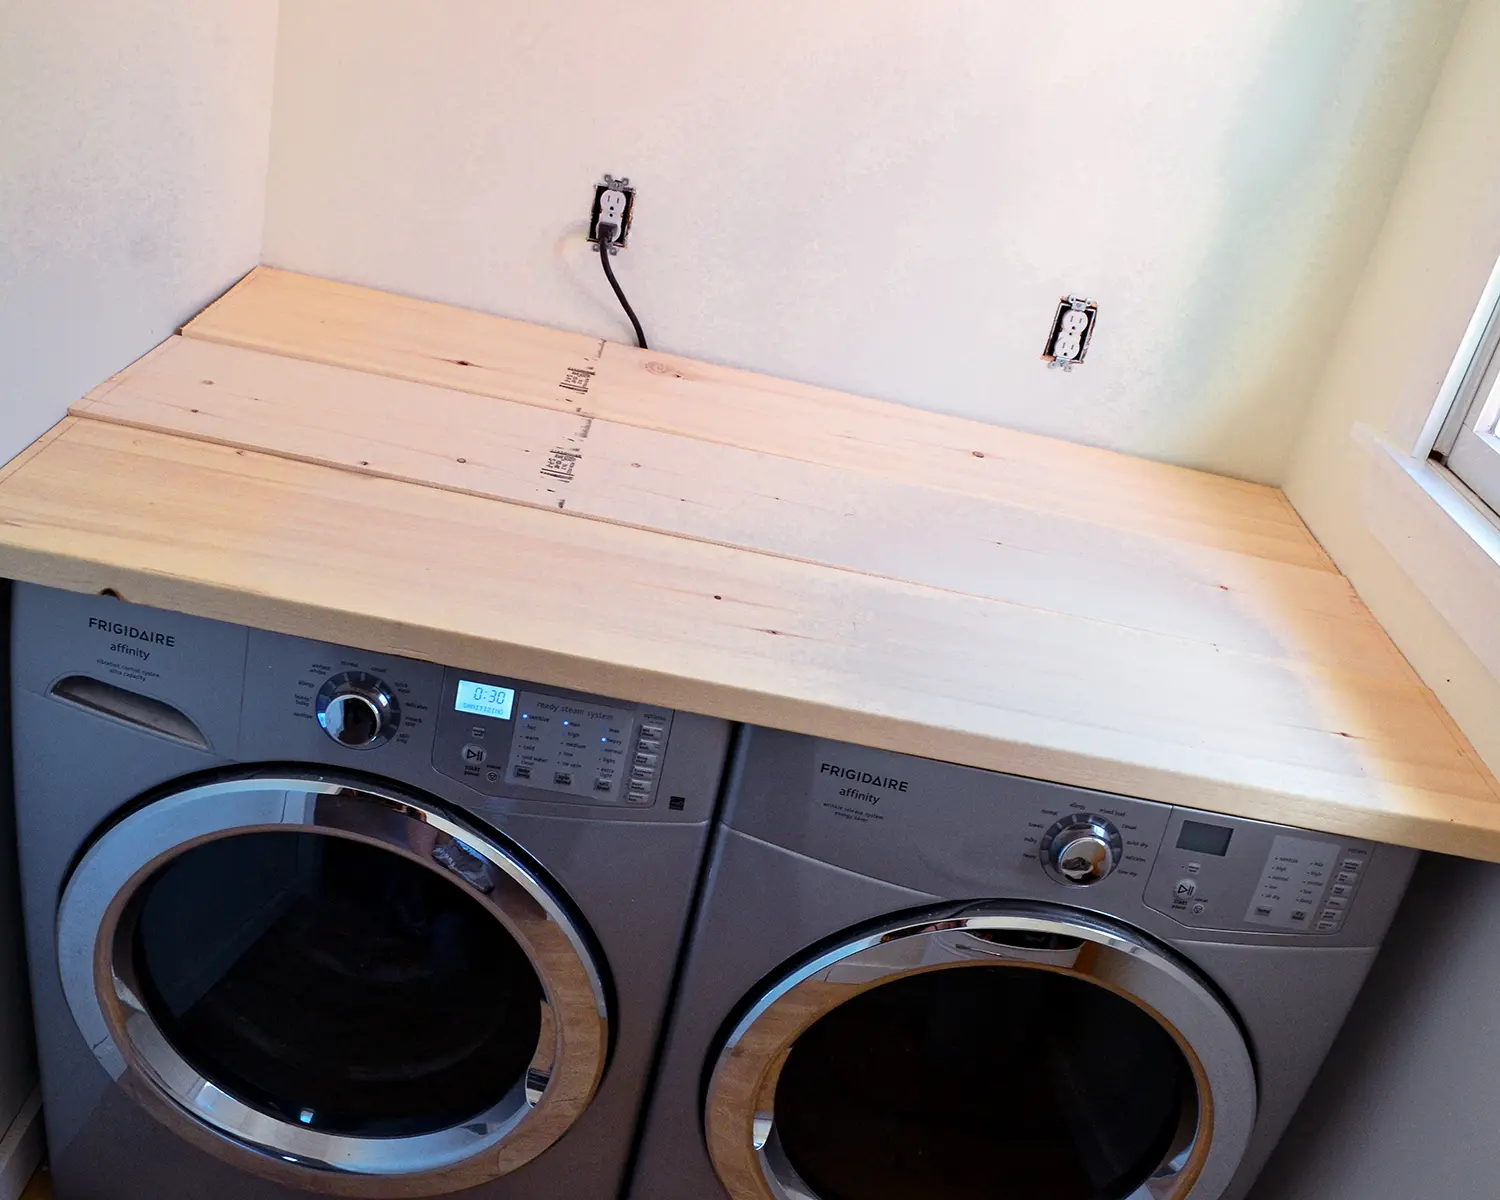
Once the boards were fitted into the room, it was apparent how unsquare our small laundry room really was. We decided to trim all the board ends, lining the ends up to give the illusion of squareness. This also meant we would have a gap between the end of the boards and the wall. We’ll address that later. So we chalked a line and then trimmed the boards with the circular saw.

Adding Ledger Board
The next step was to add a ledger board, two on each end, as a support structure. These side supports would hold up each end of our counter top to keep it from sitting on top of our laundry machines.
We used scrap wood to cut a couple of ledger boards about 2″ x 1″ x 3′. Colby being Colby added an angled cut at the end and sanded down the exposed edges using an orbital sander with a medium grit sandpaper. After giving the ledger boards a full sanding with fine grit sandpaper, staining the boards, and applying two coats of polyurethane, we screwed them directly into the studs of the wall using 3″ wood screws.
We didn’t add additional supports on the back wall or middle support since framing lumber is rugged enough for a five-foot span. A smaller, thinner board may need additional supports to keep the counter top from warping.
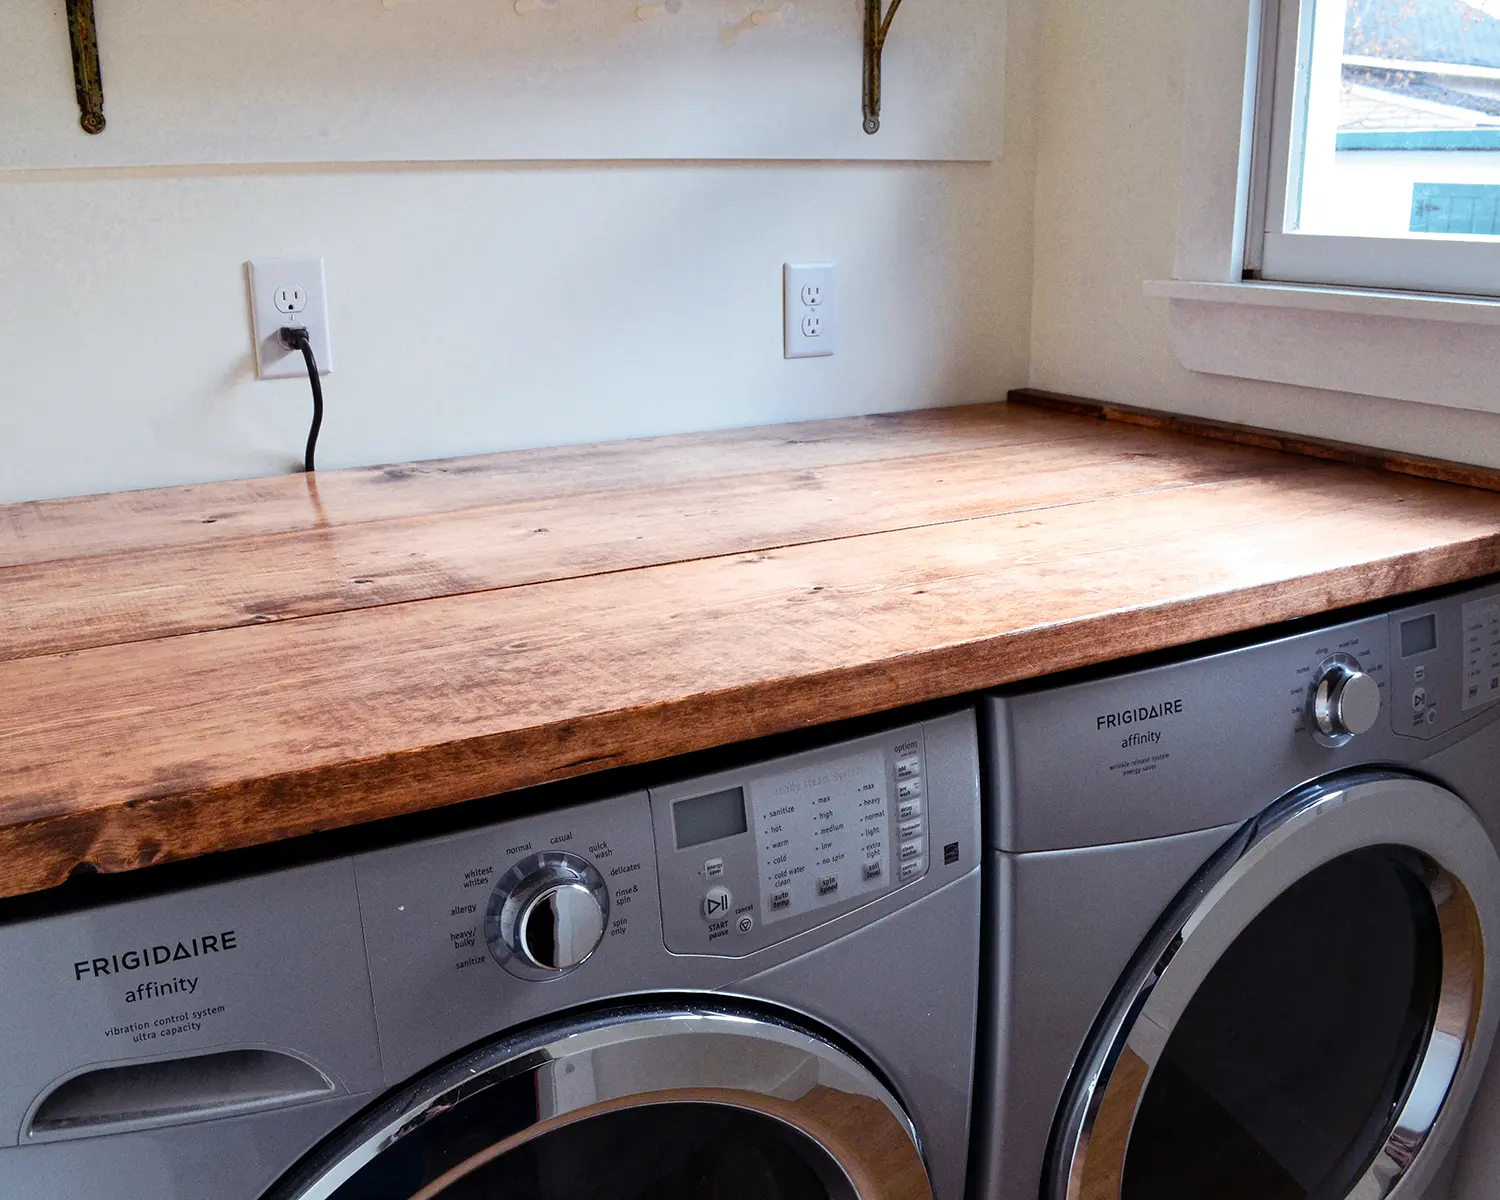
Sanding And Staining
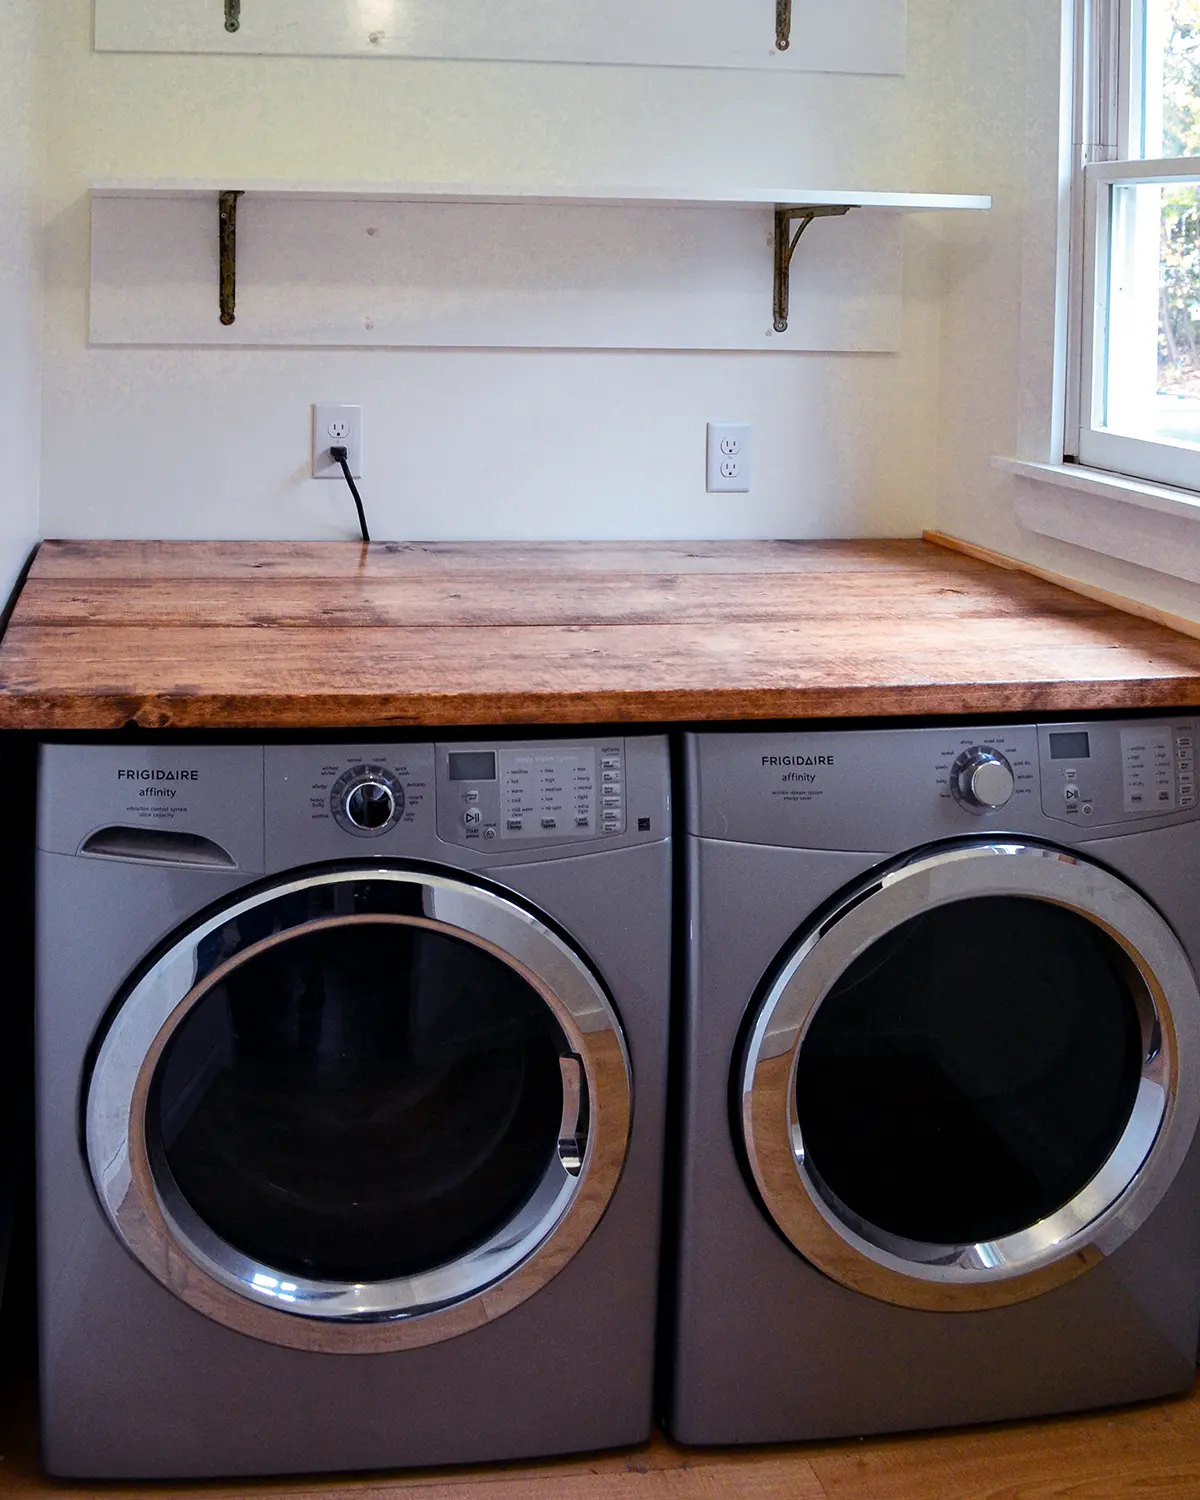
The counter top boards got a quick sand, stain, and poly job. Typically we let the stain dry for about 24 hours before applying the first coat of poly, and wait another 24 hours to apply the final coat. Afterward, the countertop was looking a bit more polished.
After letting the boards dry for an extra few days, letting the poly fully dry, we started to assemble our DIY laundry room countertop. But you see that gap? The one on the left? We needed to do something about that gap.
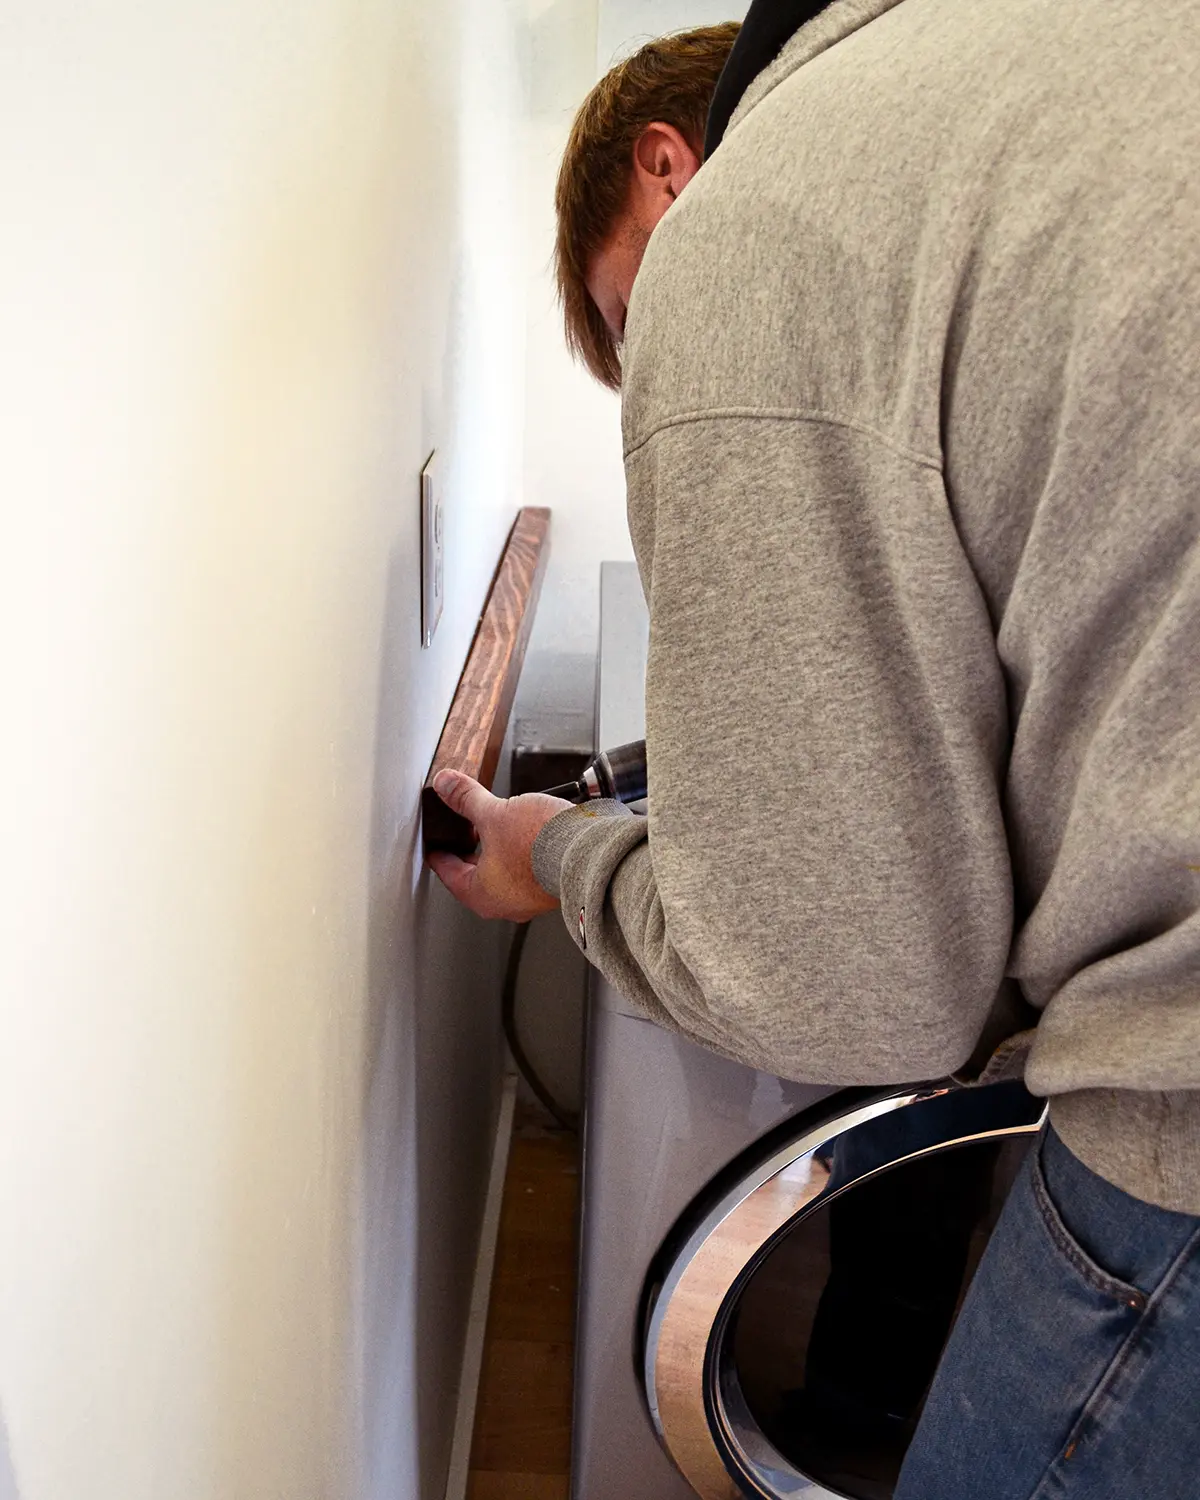
Building Final Trim Pieces
For the last step, we built a couple of trim pieces with some end caps to wedge down into the gap between the counter top and the wall. It’s essentially an “L” with an end cap. One trim piece wedged between the wall and the DIY countertop, one trim piece sitting on top of the counter top, and an end cap to hide the edges.
The wedges fit tight enough in there so the boards won’t slide around and also created a nice finished edge. We later decided to screw down the wedges to make certain the boards would remain in place. Just one 3″ wood screw on each side was enough. It’s slightly more permanent than a true removable laundry countertop but grabbing a drill to remove it for once-in-a-blue-moon requirements isn’t too difficult.
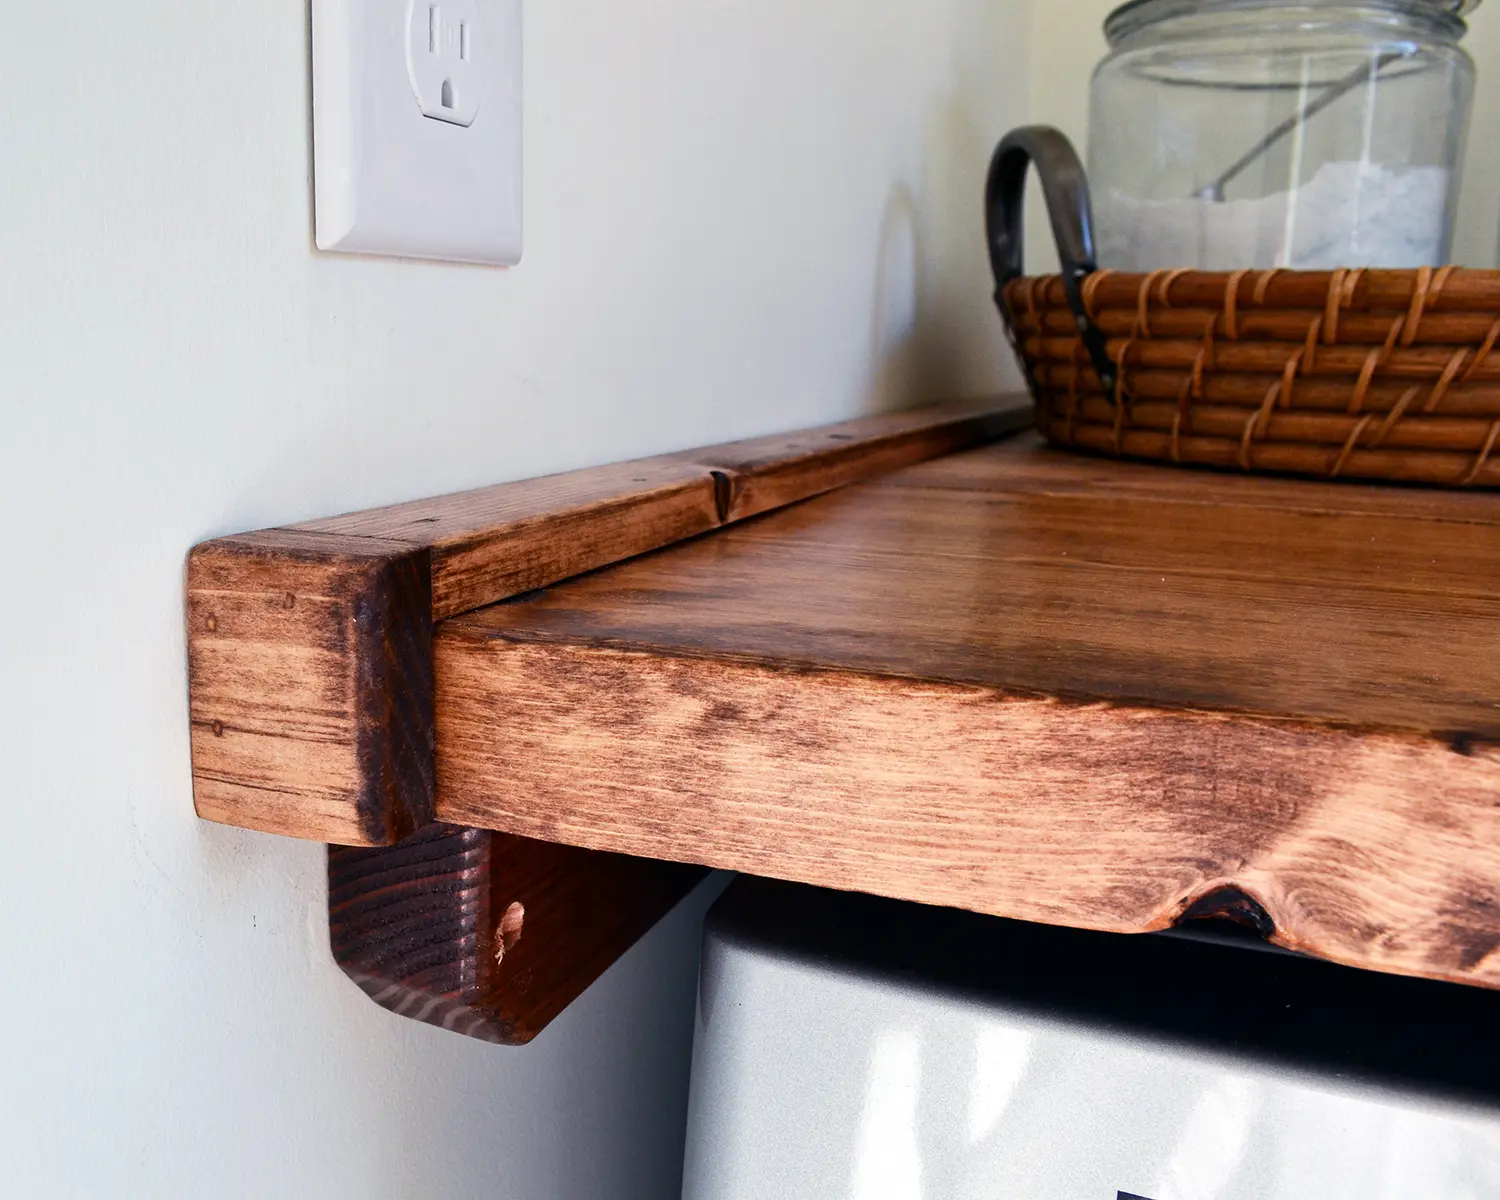
While adding the wedges wasn’t part of our initial plan it was certainly helpful to hide our unsquare laundry area in our old house. I was skeptical at first when Colby presented his plot twist plan. Turns out I love them more than if the laundry table top simply butted up flush with the wall. It also makes it easier to grab boards if we do need to pull them out since there’s a gap between the end of the board and the wall.
This is also where you could fill in any visible screw holes in your ledger board with wood filler. Because of how the studs lined up in this space, we only had one visible hole to fill. The others we left alone because they weren’t visible with the countertop in place.
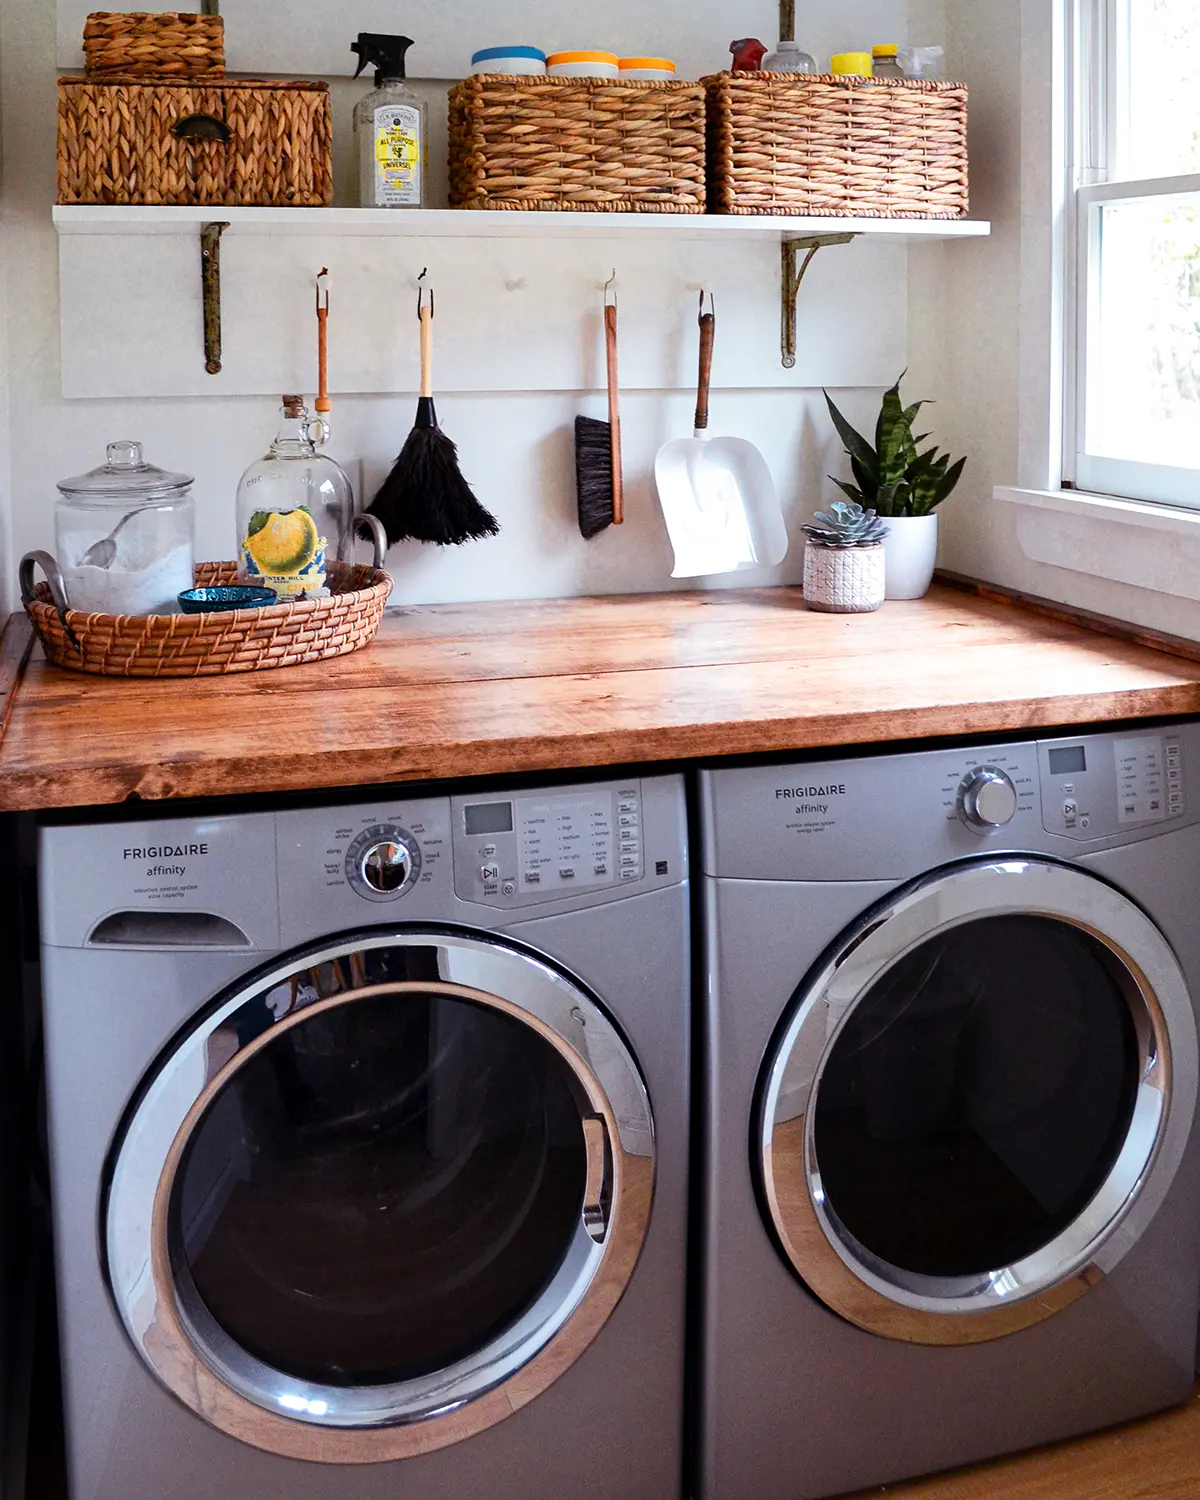
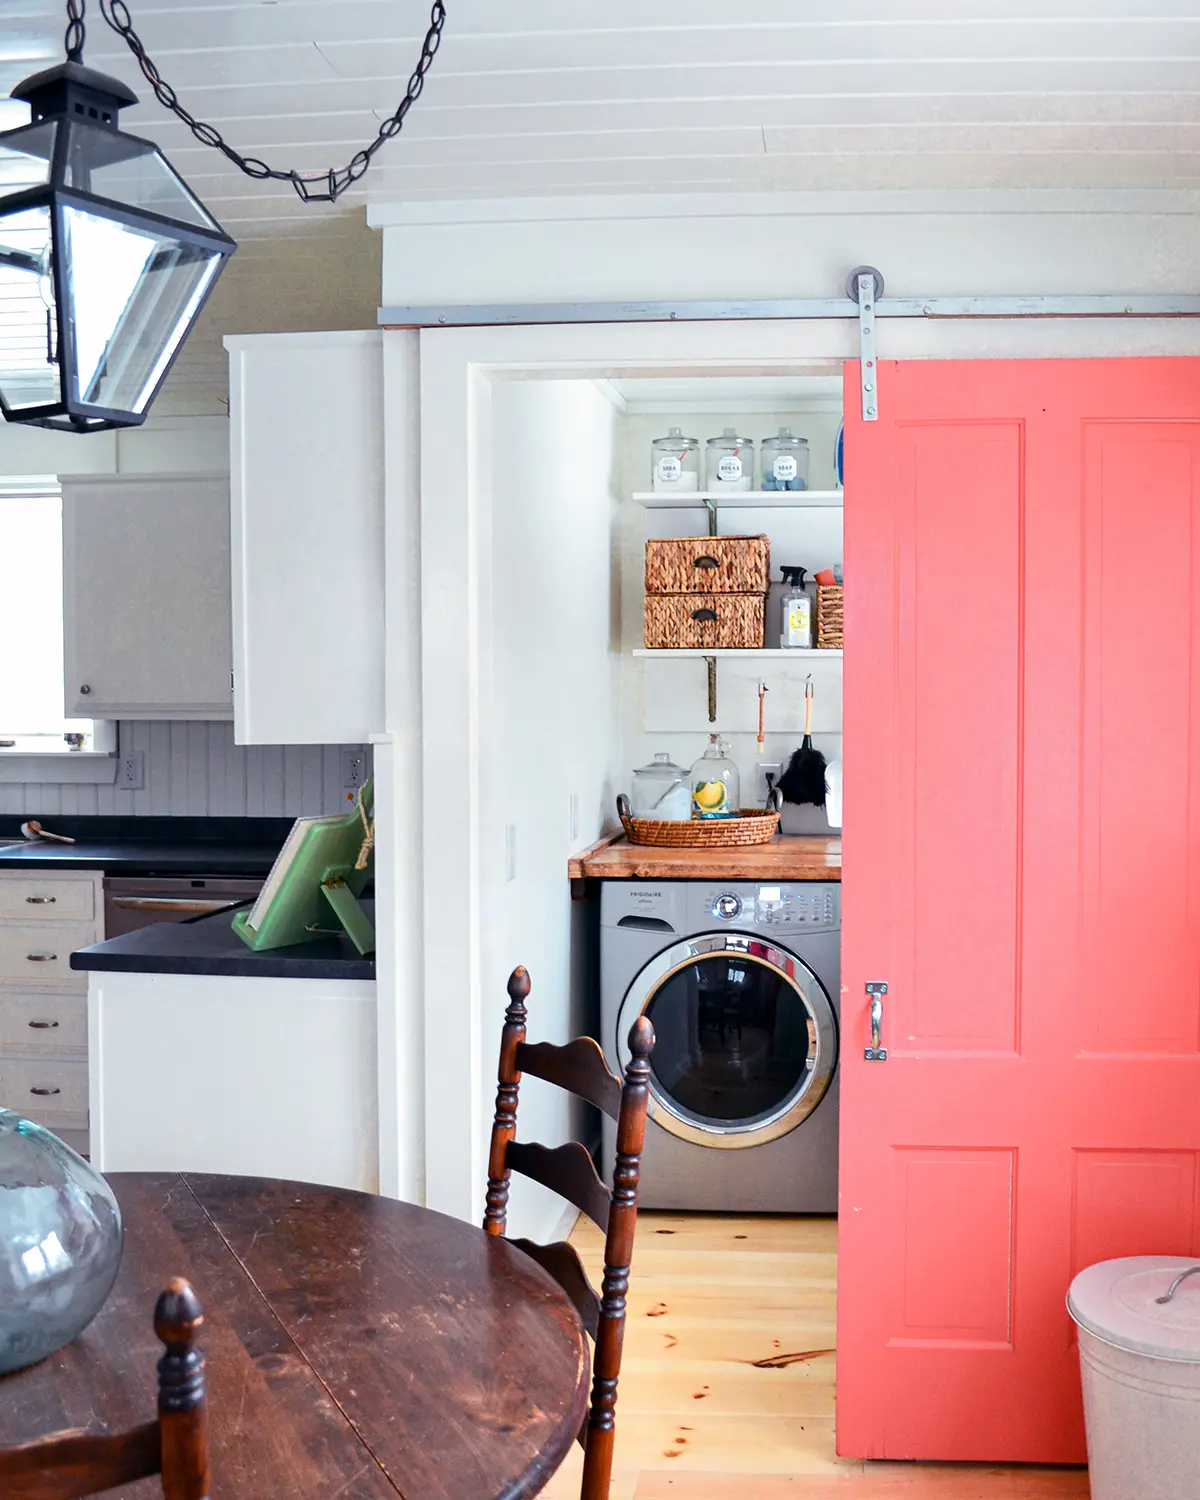
Small Laundry Room Makeover
Creating this folding table in our small laundry room was such a game-changer and helped elevate our space. The table top has just enough room for folding and keeping laundry things handy. It’s making laundry day just a little bit easier and a whole lot prettier. Do you remember what this space used to look like?!
Catch up on some of the other laundry room posts including purchasing our front loaders, demoing the laundry room, making a sliding door for the laundry area, planking the ceiling, and adding storage with wall shelves and a DIY laundry room countertop.
PS…This is a project from our old house in Maine. I’m working on updating some of my old content to create a Maine house tour page…coming soon. There will be a few more old house posts cropping up in the coming months but I’ll be sure to mix in some Vermont home improvement projects as well to keep it fresh.

Hi! Did you glue or screw the table boards together?
Hi Tess! We didn’t glue or screw the boards together. The boards are bumped up tight together and each individual board is screwed into the ledger boards attached to the wall. Two screws per board, one at each end. Then the wedge/end piece we added keeps everything snug.
Did you screw the countertop boards into the ledger board through the top (and cover the screw holes ) or from underneath?
We screwed the countertop boards into the ledger board through the top. Then covered the screw holes with a “cover” that we wedged into the gap.
Perfect – thank you!
You’re welcome!
What did you use for the trim pieces? What dimension of wood, and did you round the corners of it?
The trim pieces are just scrap framing lumber. I don’t have the dimensions to what we cut them down to and we don’t live there anymore. And we did round the corners with a sander.
Hi! I’m not sure if you will check this, but I was wondering what species of wood the 2×12 was? I want to make this countertop, but did some research and saw there is Spruce-pine-fir which is light and easy to work with and douglas fir which is sturdier. Do you by chance know what you used? Thanks
We used douglas fir for the countertop. It’s super sturdy, easy to work with, doesn’t warp, and stood the test of time. Hope it helps with your project!!