There is nothing I love more than marrying form with function. I’m a true believer that the things in our home should be both beautiful and functional. This holds true, especially for a laundry room, which needs to be one of, if not the most functional space in the home. This tutorial for how to build laundry room shelves is sure to help add organization and beauty to your small laundry room.
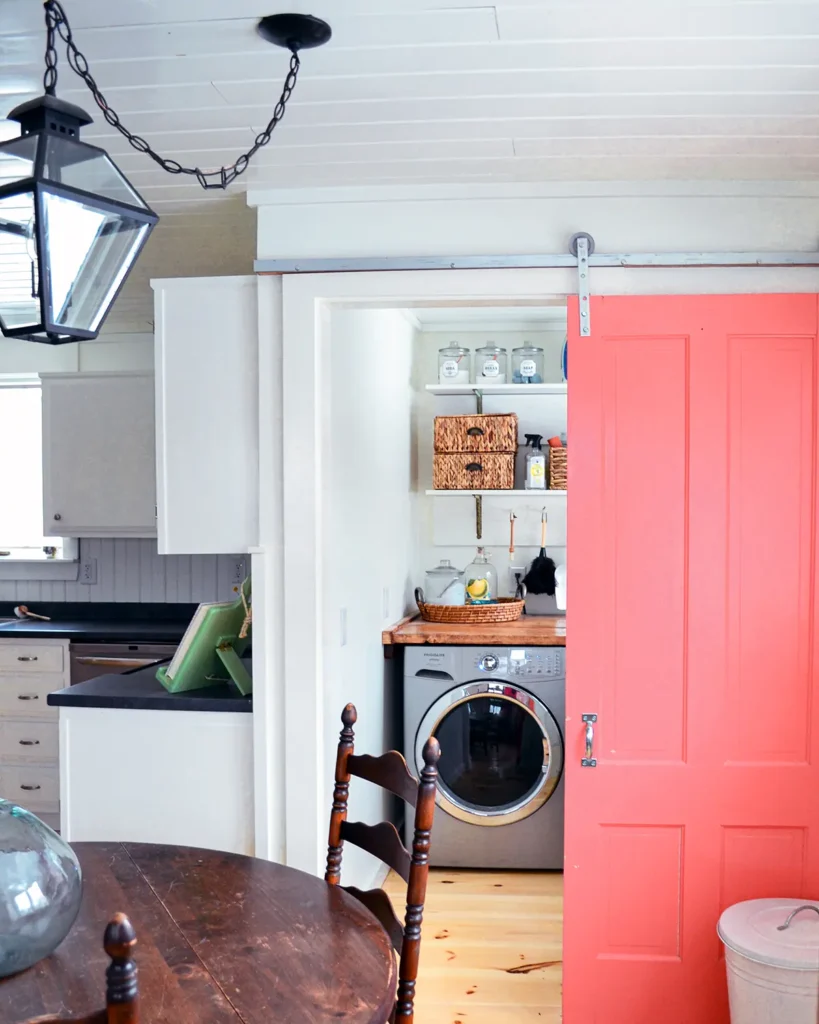
Have you seen what our laundry room used to look like? Ugh. It was like Sloth from The Goonies. It looked tragic and needed some serious love to make it more functional. Give it some love we did when we finally tackled our laundry room makeover.
Laundry Room Organization Plan
When we first started this project, I wanted a beautiful, well-organized, and functional laundry room.
Our old laundry area had these old metal upper cabinets that were a cave for things to go missing. I could never find our dryer sheets, laundry detergent, light bulbs, or whatever miscellaneous item was stored there. I didn’t love the laundry room cabinets and decided to use open shelves instead. Part of me felt that if I could see all of our laundry supplies, then I would keep the space neat as a pin.
I also wanted the space to function as both a laundry room and a cleaning closet. It’s a small laundry room but I felt we could optimize the space to keep things like brooms, a dustpan, a duster, paper towels, and cleaning supplies in there.
We didn’t need that much space for laundry things. Extra detergent, dryer sheets, and other laundry day necessities don’t take up that much space. So creating extra storage and dedicating a shelf to cleaning products was totally doable for this space.
I also thought about how I truly like to do laundry and what I didn’t need. While I love the look of a laundry room with a drying rack or hanging rod, it wasn’t for me. Those add so much functionality for anyone who hangs laundry or likes to let their clothes air dry.
I only have about three pieces of clothing that can’t go into the dryer so it didn’t make much sense for such a small laundry room to take up potential storage space for things I wouldn’t use. This is always my number one tip for renovating a small, old home. Be attentive to how you use your home and ruthlessly make design decisions based on how you live.
Laundry Room Shelf Ideas And A Plan
Naturally, I relied on my favorite source for all things DIY and decor to come up with laundry room shelf ideas, Pinterest. In fact, I have a whole Pinterest board dedicated to laundry room inspiration.
Given that I had an entire back wall to work with and a vague plan for open shelves, I sourced some Pinterest inspiration. I also had a set of vintage shelf brackets that I was really hoping to use for this project. They have the greatest patina to them. But I also didn’t want to force them on the project if they didn’t truly work.
Have you ever had one of those moments where your heart skips a beat, you fall head over heels, and you know you found the one?
I wish I could say that happened when I met my husband Colby (although I did think he was pretty neat and had excellent Red Sox baseball knowledge). But it did happen when I came across a laundry room image from Martha Stewart.
It sparked all the design inspo! There were open shelves with peg rails, organized cleaning supplies, and so much storage on the wall above the washing machine. It all clicked. I wanted a simple shelf style, two shelves actually, the shelves like an “L” with a shelf board and wallboard, the bottom shelf with a peg rail, and use my vintage shelf brackets.
Can you see it? Shall we build it together?! Let’s get started on this how to build laundry room shelves DIY tutorial.
Supplies List
The supplies list for these DIY shelves is pretty minimal. You can purchase these things from Home Depot, another home improvement store, or a local hardware store. Most of the supplies we already had on hand. We did end up purchasing the pine boards from a local lumber yard, the brackets from a flea market, and the wooden pegs from Hobby Lobby. Here are the supplies we used (links all go to Home Depot):
- (4) 1″ x 12″ x 5′ Pine Boards
- (4) Shelf Brackets
- Fine grit sandpaper
- Primer
- Semi-Gloss Paint
- Wood Glue
- 3/4″ Wood Screws (for attaching brackets to shelves)
- 3″ Wood Screws (for attaching shelves to the wall)
- Wooden Shaker Pegs
- Paintable Wood Filler
Handy Tools
The tools for how to build laundry room shelves are pretty minimal and require few power tools. Tools we used for building these wall shelves (links all go to Home Depot):
- Circular Saw or Table Saw
- Orbital Sander
- Drill
- Screwdriver Bits
- Forstner Bits or Spade Bits
- Laser Level
- Stud Finder
- Paint Brush
- Tape Measure
- Rubber Mallett (optional)
How To Build Laundry Room Shelves Tutorial
Cut List
The first step to building these new shelves is to cut the pine board down to size. We bought two 1″ x 12″ x 10′ boards and needed to cut them to fit. Using a circular saw (a table saw works great too), each board got trimmed down to a five-foot length. In the end, you need four 1″ x 12″ x 5′ pine boards. If the five-foot length doesn’t work for you, adjust the length of your boards to fit your space.
Painting the Boards
We gave each board a quick sanding with the orbital sander and fine grit sandpaper to prep for painting. Sanding boards before painting is a great way to clean up the edges and any rough spots.
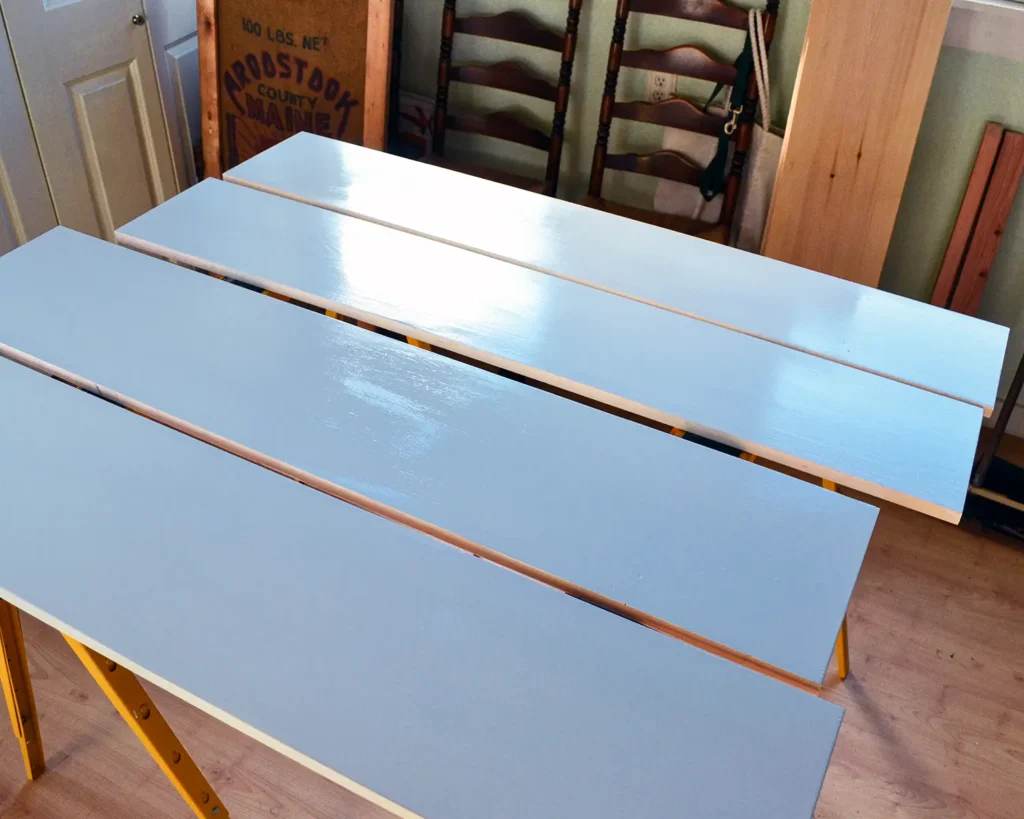
Then each board received one coat of primer. If your pine boards have knots, you may want to use a primer meant for covering knots. Then brush on two coats of paint. We used Benjamin Moore’s Regal Select paint in semi-gloss color matched to Valspar’s Betsy’s Linen paint color. Knowing that two of these boards would be flush against the wall, I opted not to paint the backside of those boards.
Add Brackets
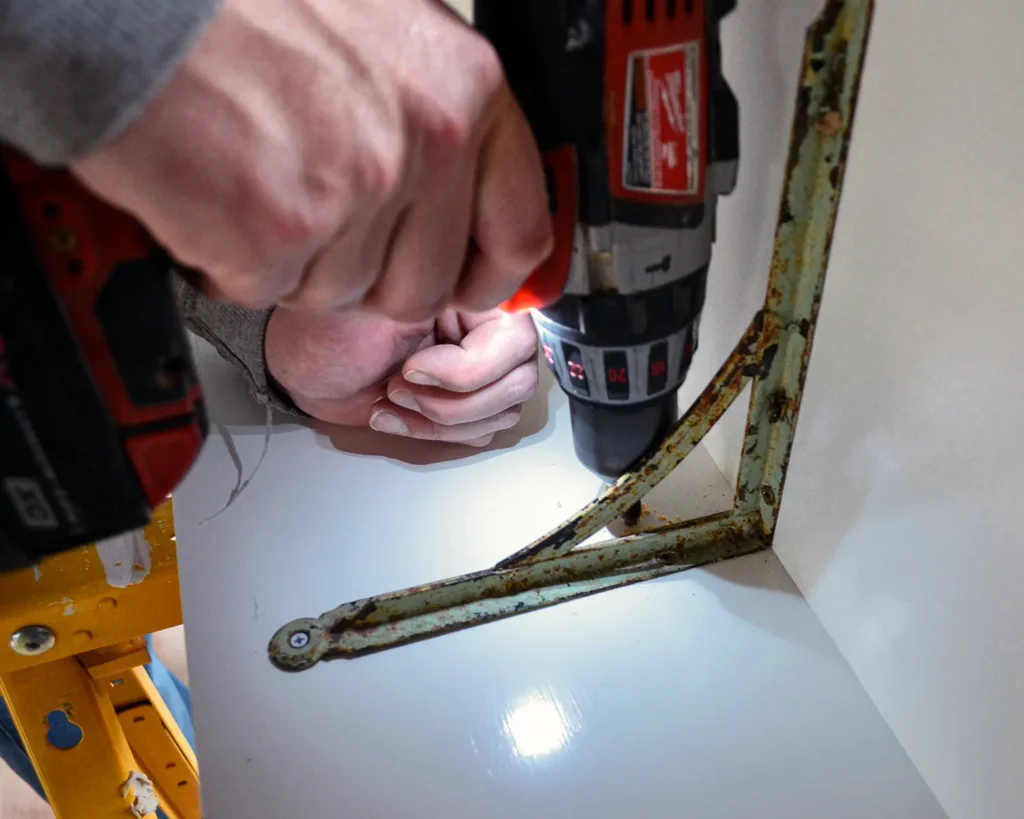
Then we simply screwed the shelf brackets on the boards to create a pair of really simple DIY laundry room shelves. These brackets are part of a vintage set I picked up at a local flea market. I love the patina of them and the character it adds to our laundry closet. When screwing these brackets onto the shelves, make sure to use short screws that won’t go all the way through the wood. Simple 3/4″ wood screws should do the trick.
Hanging The DIY Shelves
We always like to hang shelves by screwing them directly into wall studs. It makes for a more secure and stable shelf that won’t come crashing down. To help us decide where to attach the shelves, out came the stud finder and laser level. Both tools helped us find the studs, mark them on the walls, and decide where to screw the shelves into the wall.
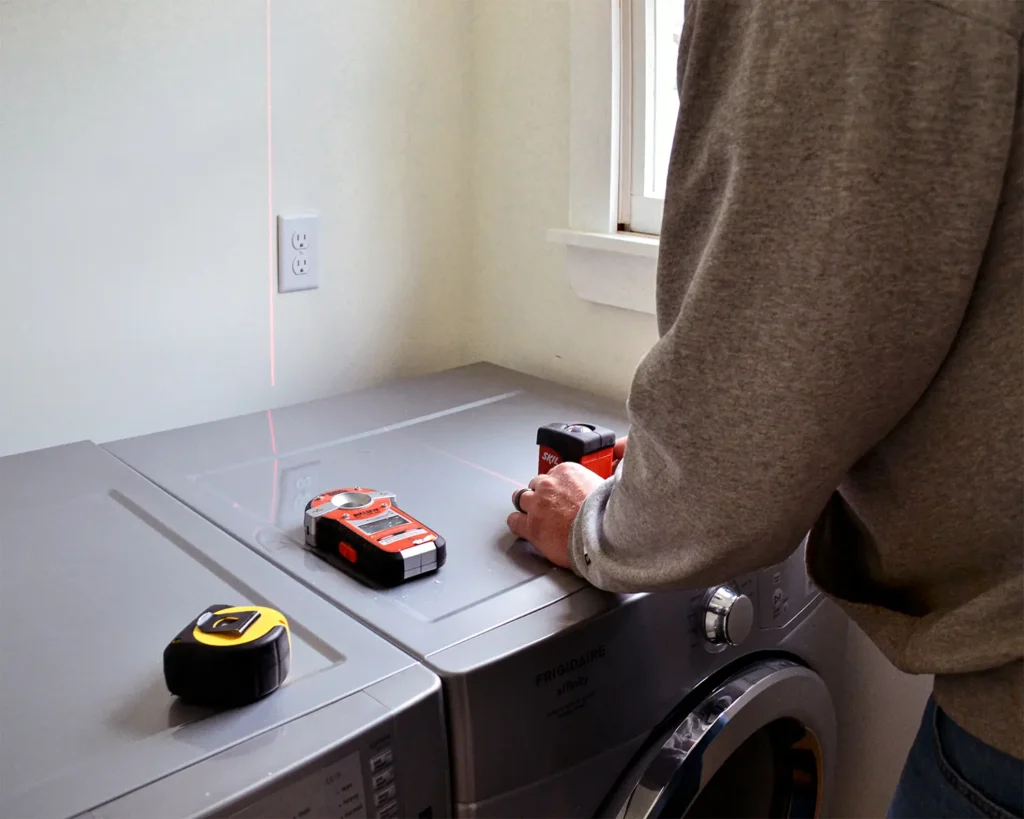
Then the shelves were screwed directly into the wall using some 3″ wood screws. You can use a regular level or laser level to make sure each shelf is leveled both vertically and horizontally.
We installed the top shelf first followed by the bottom shelf since it’s easier to hang the top shelf without another in the way. Although each shelf location was marked on the wall first to make sure we had enough space above each shelf to store the things we wanted to store. For example, I knew the tallest item on my top shelf would be paper towels so we hung the top shelf at a height that allowed for those to be stored there with some space remaining between the towels and the ceiling.
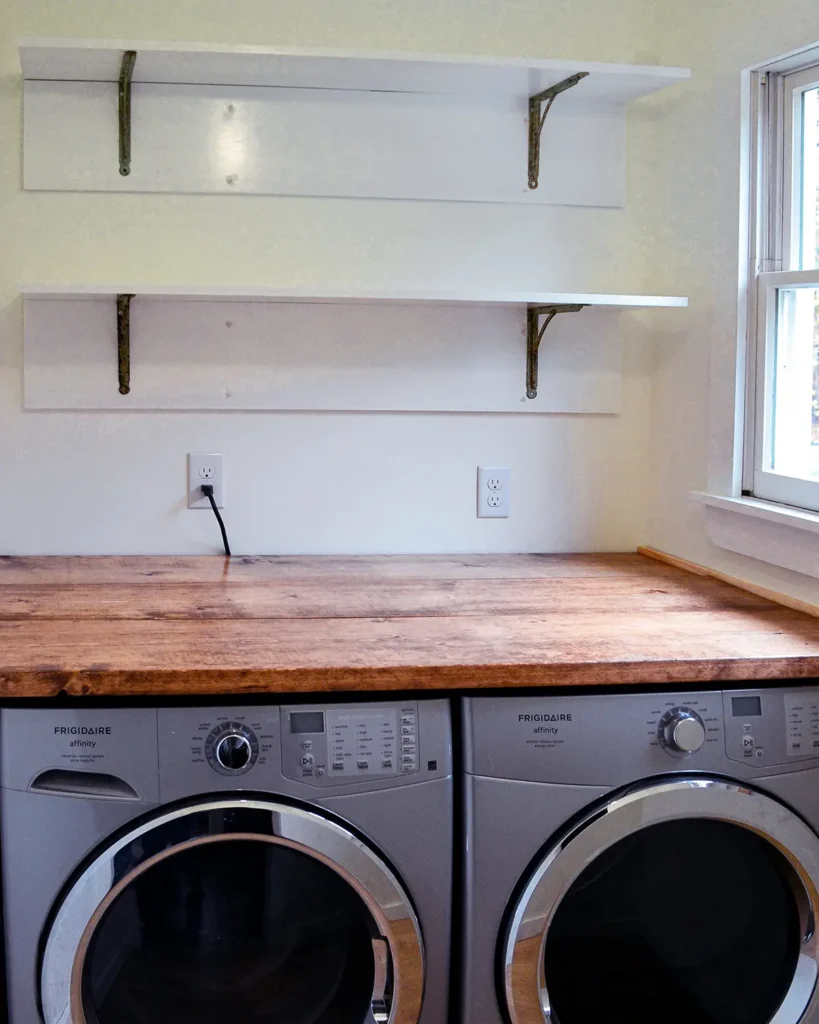
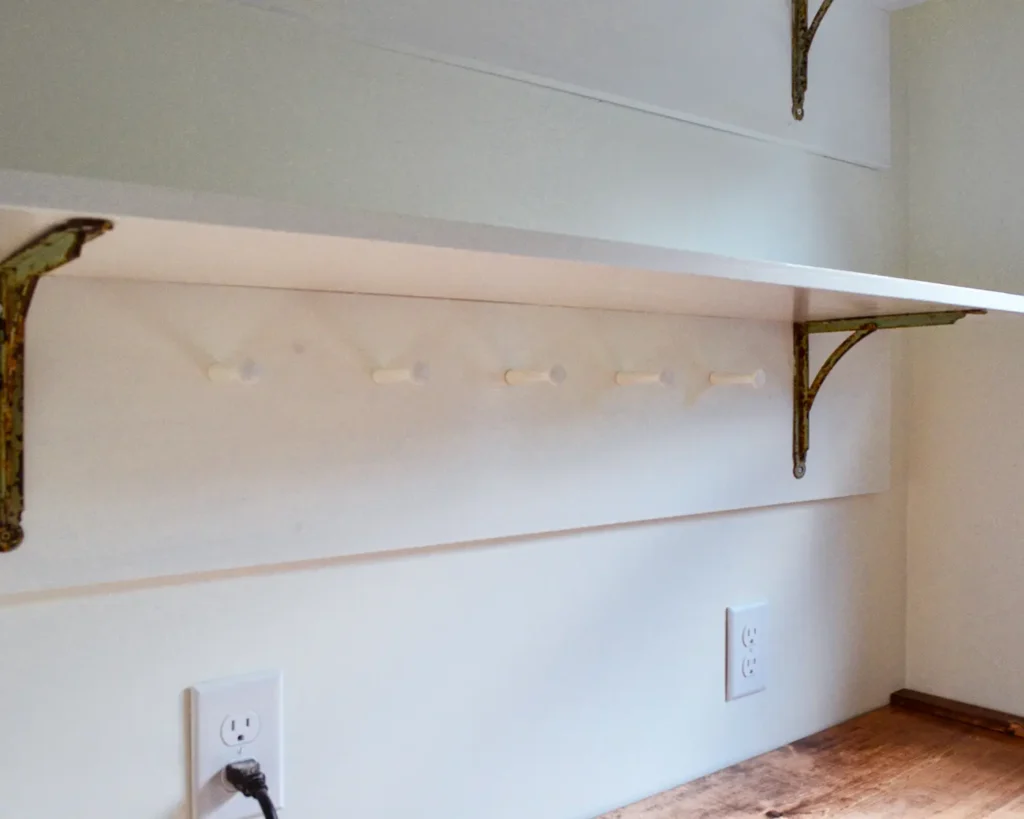
Each of the screw heads then got covered with some wood putty, lightly sanded, and some touch-up paint applied. Below is a pic just after we applied the putty so you can see where we attached the shelves.
Adding Peg Rail
Most shaker pegs are unfinished wood so the first step to adding the peg rail to the bottom shelf was to pre-paint the pegs. I painted the pegs the same white that we used to paint the shelves.
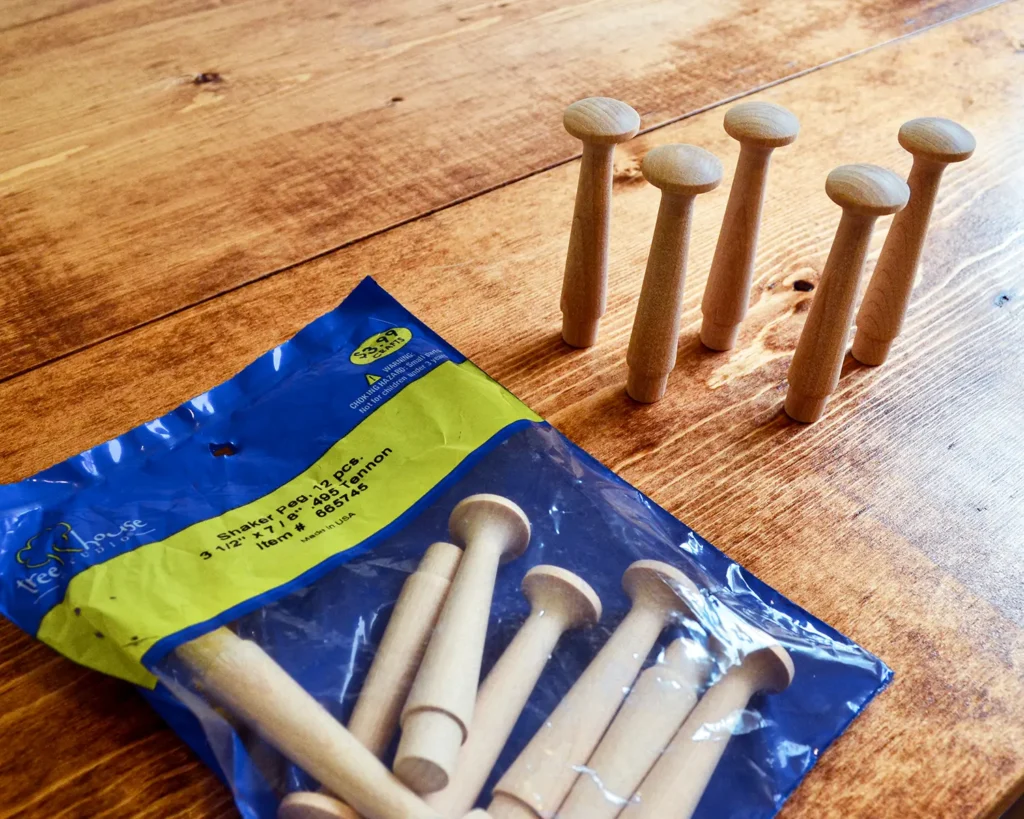
I wanted five pegs on the shelf so we figured out the best spacing. We chose to space the pegs about 5″ apart. Then we marked the peg locations on the back of the shelf, using a laser level to make sure the peg locations would be level.
To drill the holes we used a spade bit since we had one the right size. A Forstner bit would also work well for this project. To choose the right size bit, we used the super fancy system of holding the bottom of the peg up to the drill bit and eyeballing the best match. Then drill a hole deep enough to insert the bottom of the peg.
Place a dab of wood glue into the hole and push the peg into the hole. Using a rubber mallet (a regular hammer can work also if you place a hand towel or washcloth over the peg to protect its finish), gently hammer the peg down into the hole. Wipe any glue that may come out.
Finished DIY Laundry Room Shelves
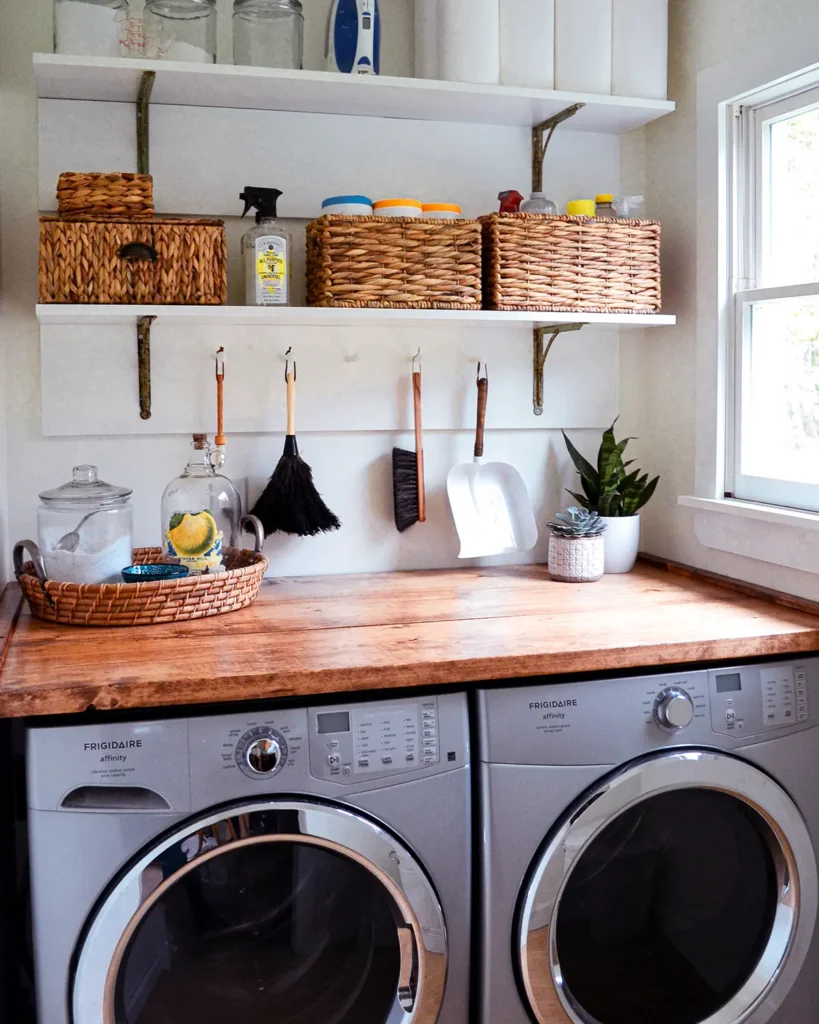
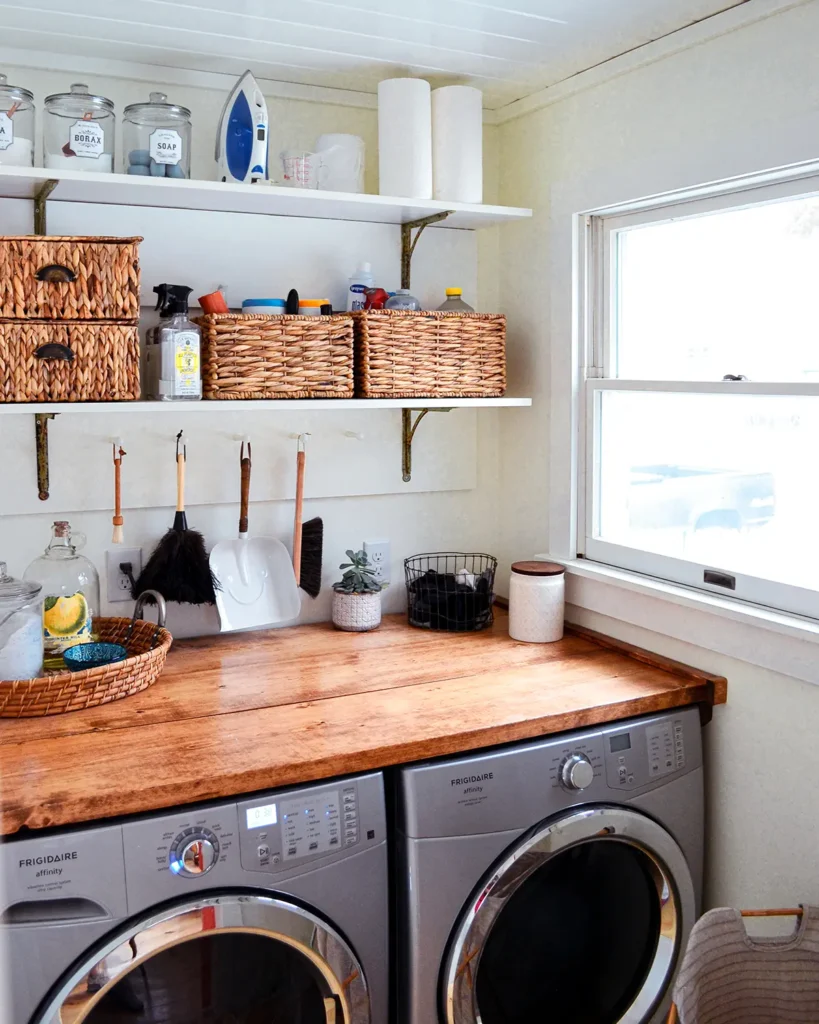
I love how the addition of these shelves increases the storage space of our small laundry room and makes it a much more functional space. Minutes after the shelves were installed I was already pulling out all of our laundry and cleaning supplies and organizing them. Here’s the low down on how I organized things on the shelves:
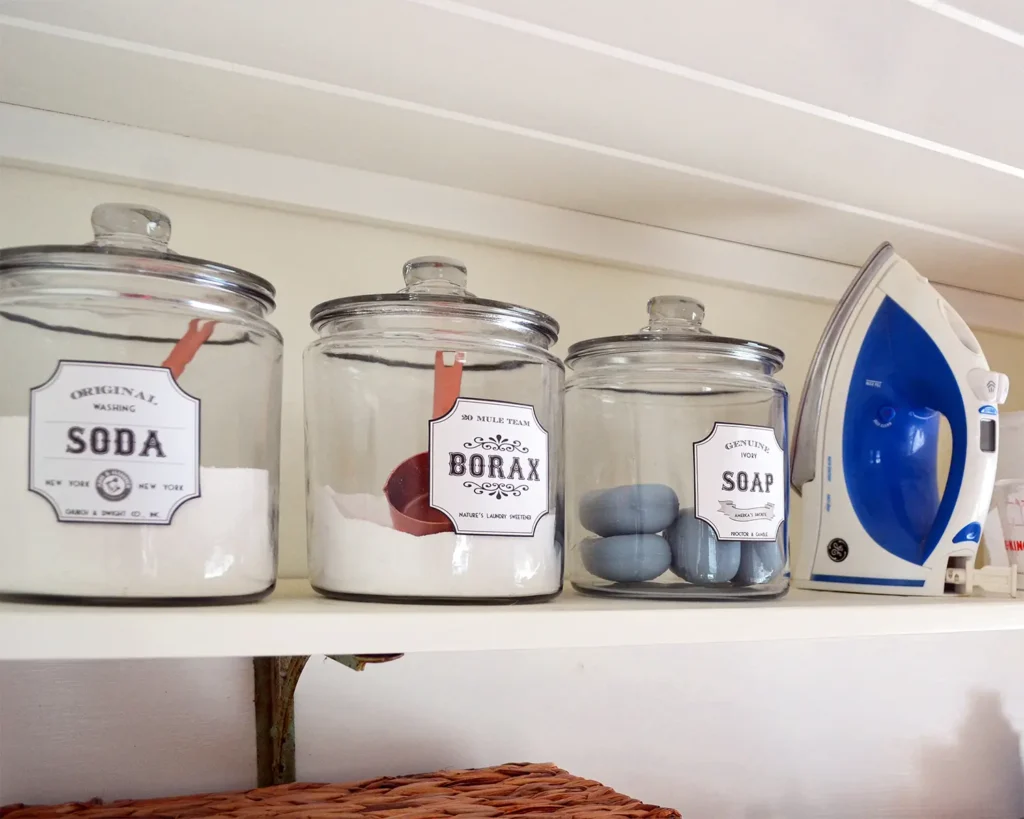
Top shelf: glass jars for storing DIY laundry detergent supplies (Borax, washing soda, bar soap), the iron, and paper towels. I need a stool to reach up to this shelf and wanted to keep things here that we don’t need very often.
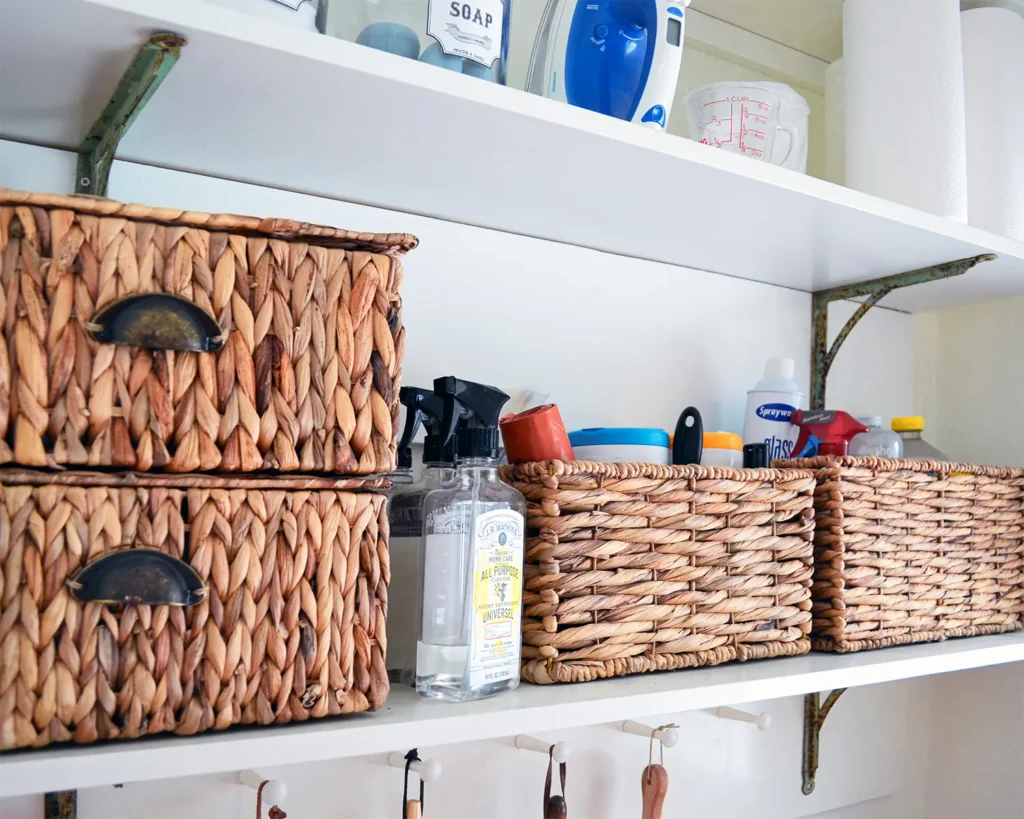
Bottom shelf: a lidded basket filled with kitchen towels, a basket of batteries and light bulbs, all-purpose cleaners, a basket of wipes and trash bags, and a basket for all other cleaners.
Peg rail: small dusting/cleaning brush, feather duster, hand broom, dust pan.
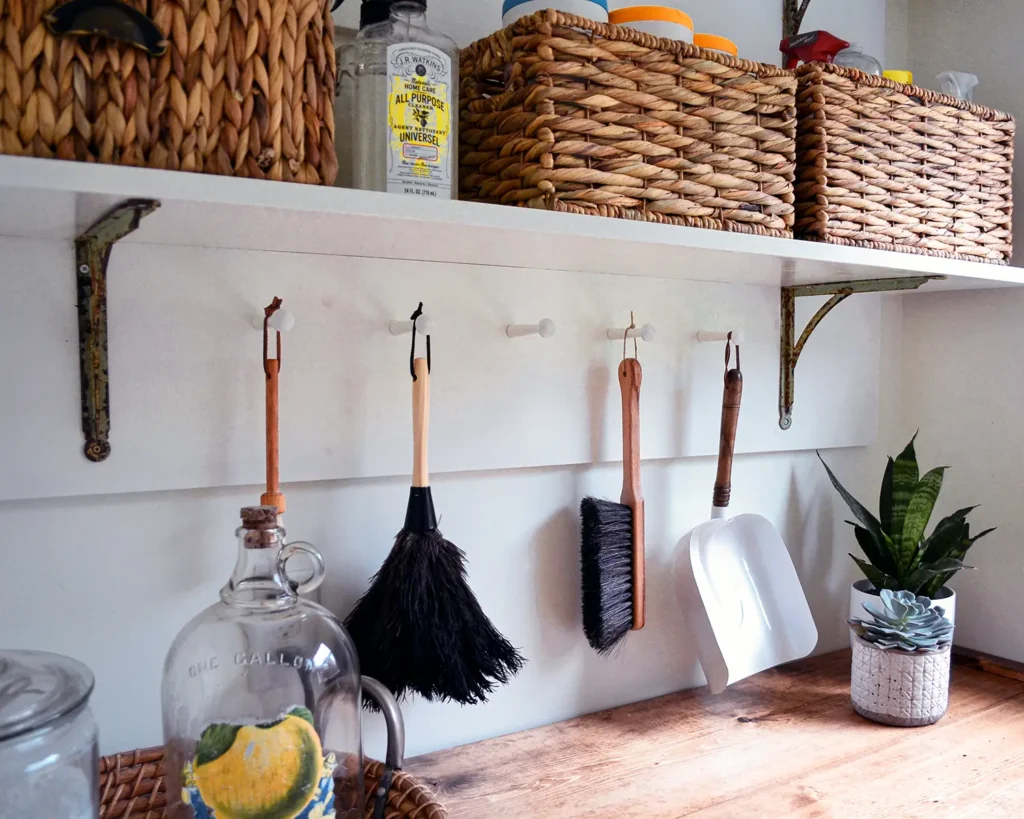
Laundry countertop: a basket with a glass jar of homemade laundry detergent, bleach decanted into a vintage glass jug, dryer balls (I just upgraded from dryer sheets and LOVE it), and a bowl for collecting tips for the laundry fairy…I mean…found pocket change.
To the right of the window and just out of the photo is where we keep our broom, mop, ironing board, and laundry hamper to help us sort clothes.
More From The Laundry Room
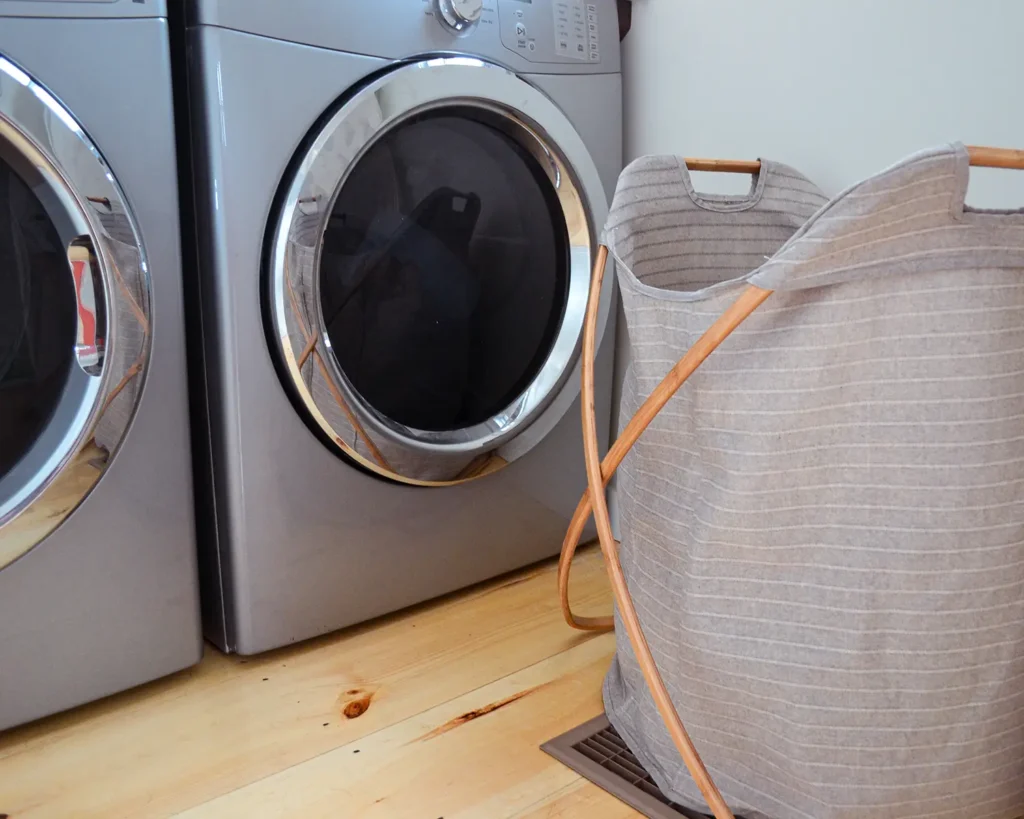
Be sure to check out some of our other laundry room posts including a DIY laundry room countertop for folding, demoing the space and repairing the walls, adding a v-groove pine planked ceiling, converting an old bedroom door to a sliding barn door, and purchasing high-efficiency laundry machines.
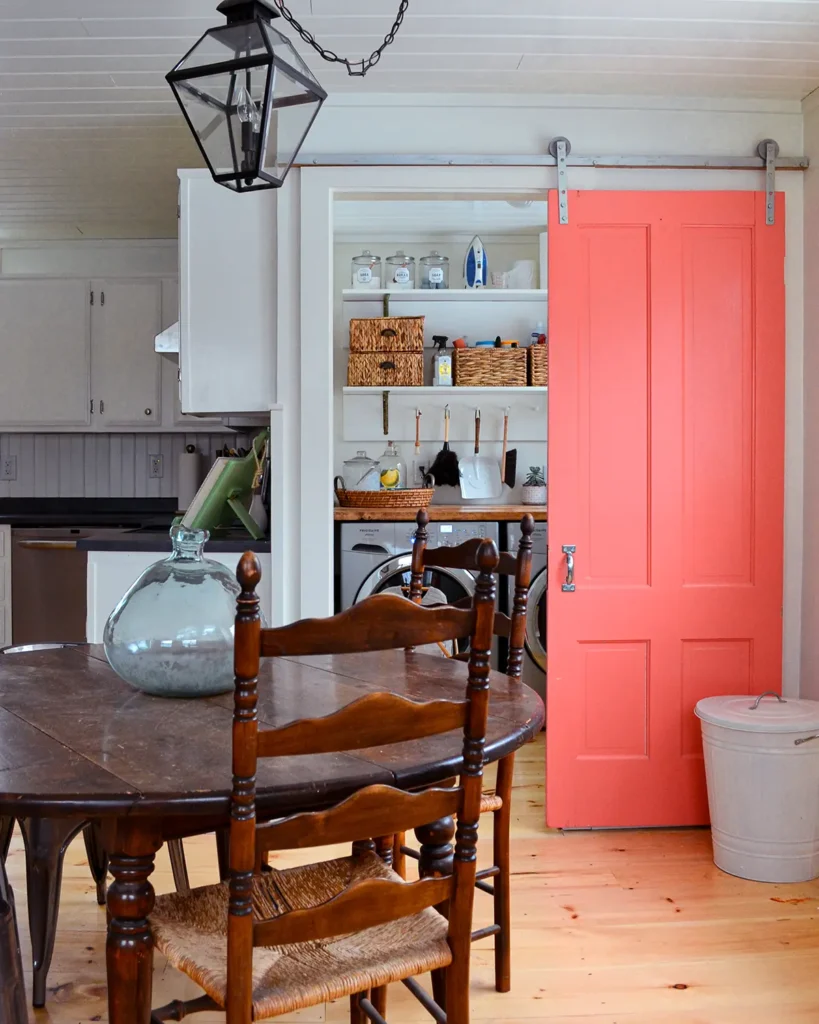
PS…This “how to build laundry room shelves” post is a project at our old house in Maine. I’m currently working on a house tour page all about this home and am creating and updating some content for that page. There will be a few more old home posts in the coming months but I’ll be sure to keep you updated with all things DIY about our current home in Vermont as well.


I am a big fan of DIY projects, and I have been looking for a way to add storage space to my small laundry room. Your tutorial has given me the inspiration and confidence to tackle this project myself. I am confident that I will be able to follow your instructions and create a set of shelves that are just as beautiful and functional as yours.
Thank you for such a sweet comment! When you do work on a laundry room project, you’ll have to let me know how it goes!!