In my earlier years of DIY (and let’s face it, life in general), I often found myself rushing, trying to fit too much into life, and cutting corners where I could to cram more in. These days, I like peace, slow and steady work, going one step at a time, and choosing the high-quality route. It’s why it takes me so damn long to finish projects and write about them. One place I used to cut corners was how I painted. I may have known that sanding between coats of paint is helpful, but I never did it. Now I do, and I see such a difference in the quality of my paint projects.
Today’s post is all about why it’s a good idea to sand between coats of paint. While not necessary, it makes for a super smooth, durable, professional-looking finish. I’ll also share how to do it, along with tips, as I’m working on repainting the girls’ bookshelves since we had to take them down for their new beds. But more on that another day.
Why You Should Sand Between Coats Of Paint
Better Adhesion
The primary reason for sanding between coats of paint is for better adhesion. It’s typical when painting to do two coats of paint, sanding after the second coat. The first coat of paint is often applied over primer, which is engineered to accept paint with optimal adhesion. But the final coat of paint is applied over the first coat, which is typically smooth and shiny. Latex paint, in general, does not adhere well to a smooth surface, especially high-gloss finishes.
If you give the surface a light sanding before applying the last coat of paint, you’ll get much better adhesion. This is good news for surfaces that take alot of wear and tear, like bookshelves or cabinets. Every time I’ve painted a wooden cabinet without properly sanding, it’s chipped within the first few months.
Smoother And More Flawless Finish
Another primary reason for sanding between paint coats is for a smoother finish. Often, after the first coat of paint or a couple of coats of primer, you’ll see brush strokes, dust nibs, and occasional air bubbles. Or even a rogue fly or two when you’re working on an old farmhouse like ours.
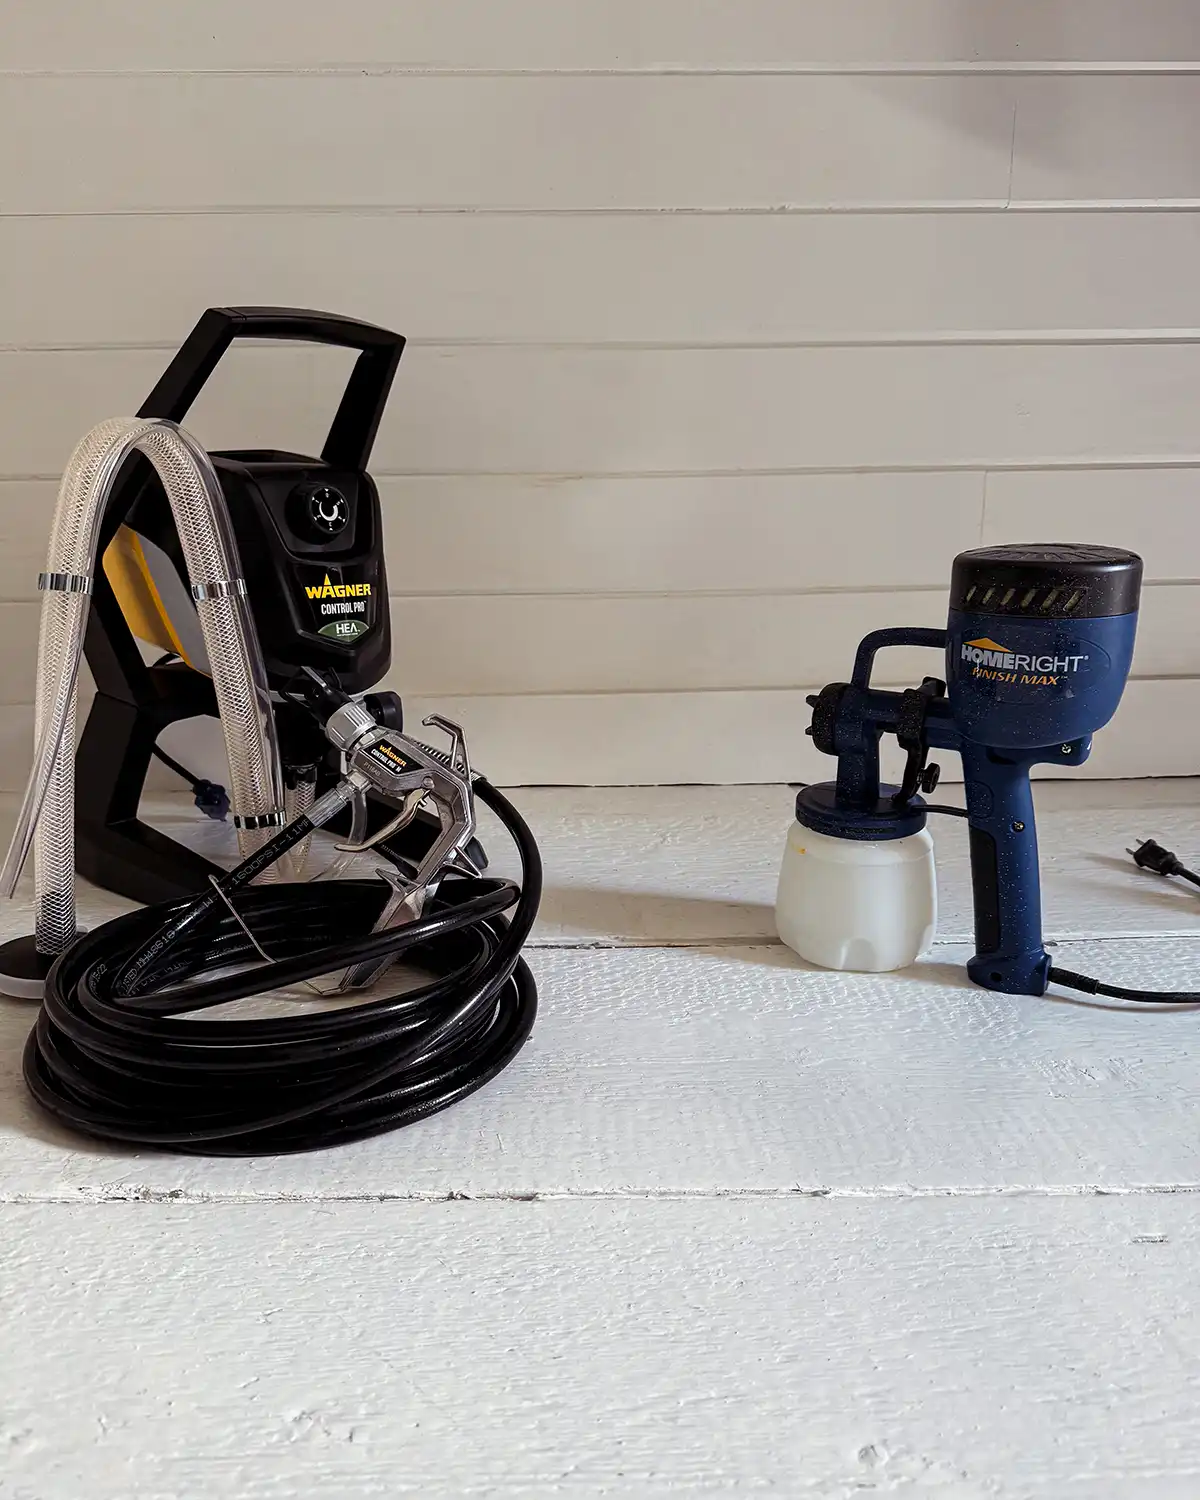
Sometimes a paint roller can help, particularly a foam roller. But many roller naps will still leave imperfections in the paint finish. A general rule of thumb is to sand between coats, no matter the method of application.
These imperfections will show even more after subsequent coats of paint. So take the time and give those cabinet doors or window trim a light sand before applying the next coat of paint. Your painting project will thank you for it by showing off better results.
When To Sand Between Paint Coats
Not every project requires sanding between coats of paint. Here are a few examples of when I would sand.
Using High Gloss Paint
When I use a gloss or high gloss paint, I sand in between coats. I want strong adhesion and would rather not repaint since painting often takes a significant amount of time. Time I would rather not spend redoing projects or working on imperfections because I rushed through steps.
As a side note, not all paint brands and products are created equal. Always read the product description since it will tell you its recommendations for application and sanding.
High Wear And Tear Surfaces
When I’m painting a surface that takes a beating, I’ll sand before priming and painting, between primer coats, and between new paint coats. I’ll take the extra time needed to ensure solid adhesion for the entire surface.
These are things like furniture pieces, shelves, cabinets, doors, trim, and occasionally painted floors. It does take alot of time to sand and clean a floor in between coats, and you don’t always have to do it, but if you do, the adhesion is superb! But to be honest, I find it unnecessary work since most of the floors I’ve painted have been temporary solutions.
When You Don’t Need To Sand Between Paint Coats
There are also times when you don’t need to sand between paint coats.
Using Flat Paint
When using flat or eggshell paint, you’ll have much better paint adhesion between coats because the finish is matte. Flat paint is also less likely to show brushstrokes. If you do notice any imperfections, spot sand between the coats, but otherwise it’s not needed.
Walls And Ceilings
You also don’t need to sand walls and ceilings. Many drywall interior paint finishes are hard to see imperfections, especially when a flat or eggshell paint finish is used. Sanding can help if there are larger imperfections or patches needed in the wall.
The one exception is painting with a gloss paint in an area that is well-lit or very visible. In that case, you may want to sand before applying the top coat.
How To Sand Between Paint Coats
Prep Work
Your first step is the normal prep work for the project. Depending on what type of painting you’re doing, it could be sanding and cleaning a piece of wooden furniture, laying down drop cloths, or taping trim.
Priming
If it’s a project requiring primer, apply a couple of coats of primer, allowing for the recommended amount of dry time for the product you’re using.
It’s important to let primer and paint dry for the full 24 hours after applying, even if it feels dry to the touch. Sanding too early, when the paint may be soft or gummy, can create an uneven surface and more imperfections than what you started with. It can also clog the sandpaper and prevent the primer or paint from properly curing to the hardened finish you’re looking for. The name of the game here is patience.
Sand The Primer
To smooth things out from the get-go, it’s a great idea to lightly sand the primer before applying the first coat of paint. This will smooth out any brushstrokes or roller marks.
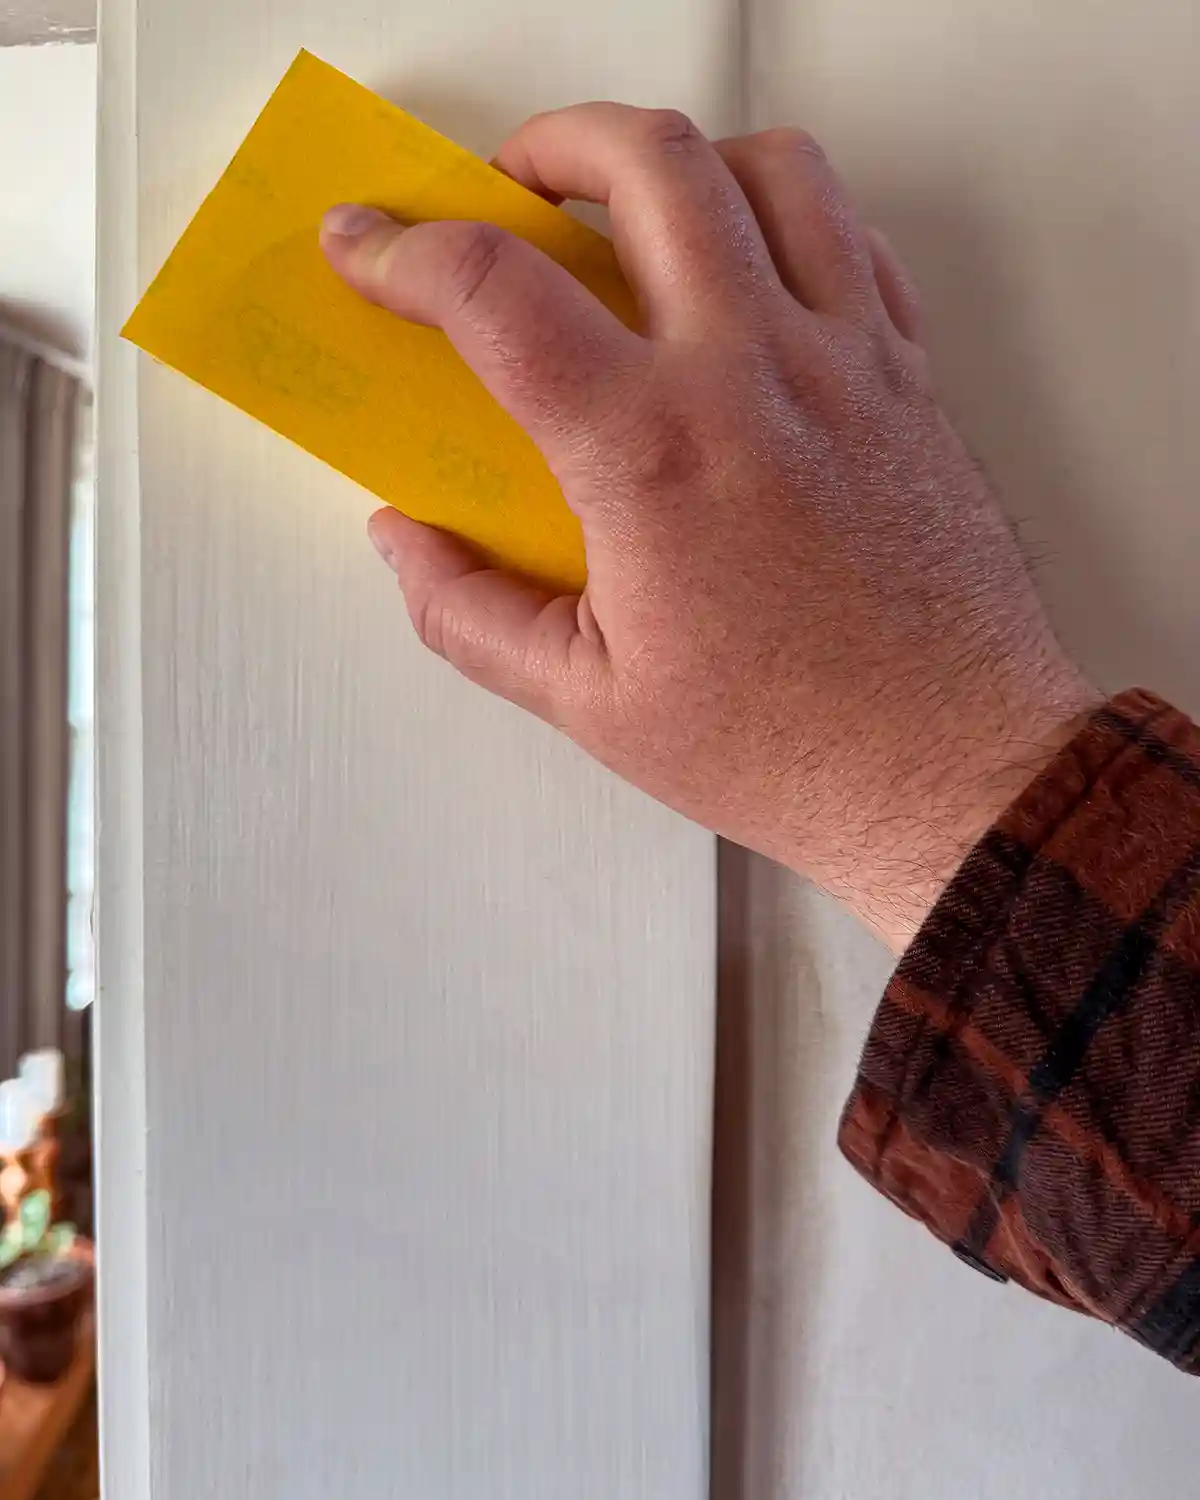
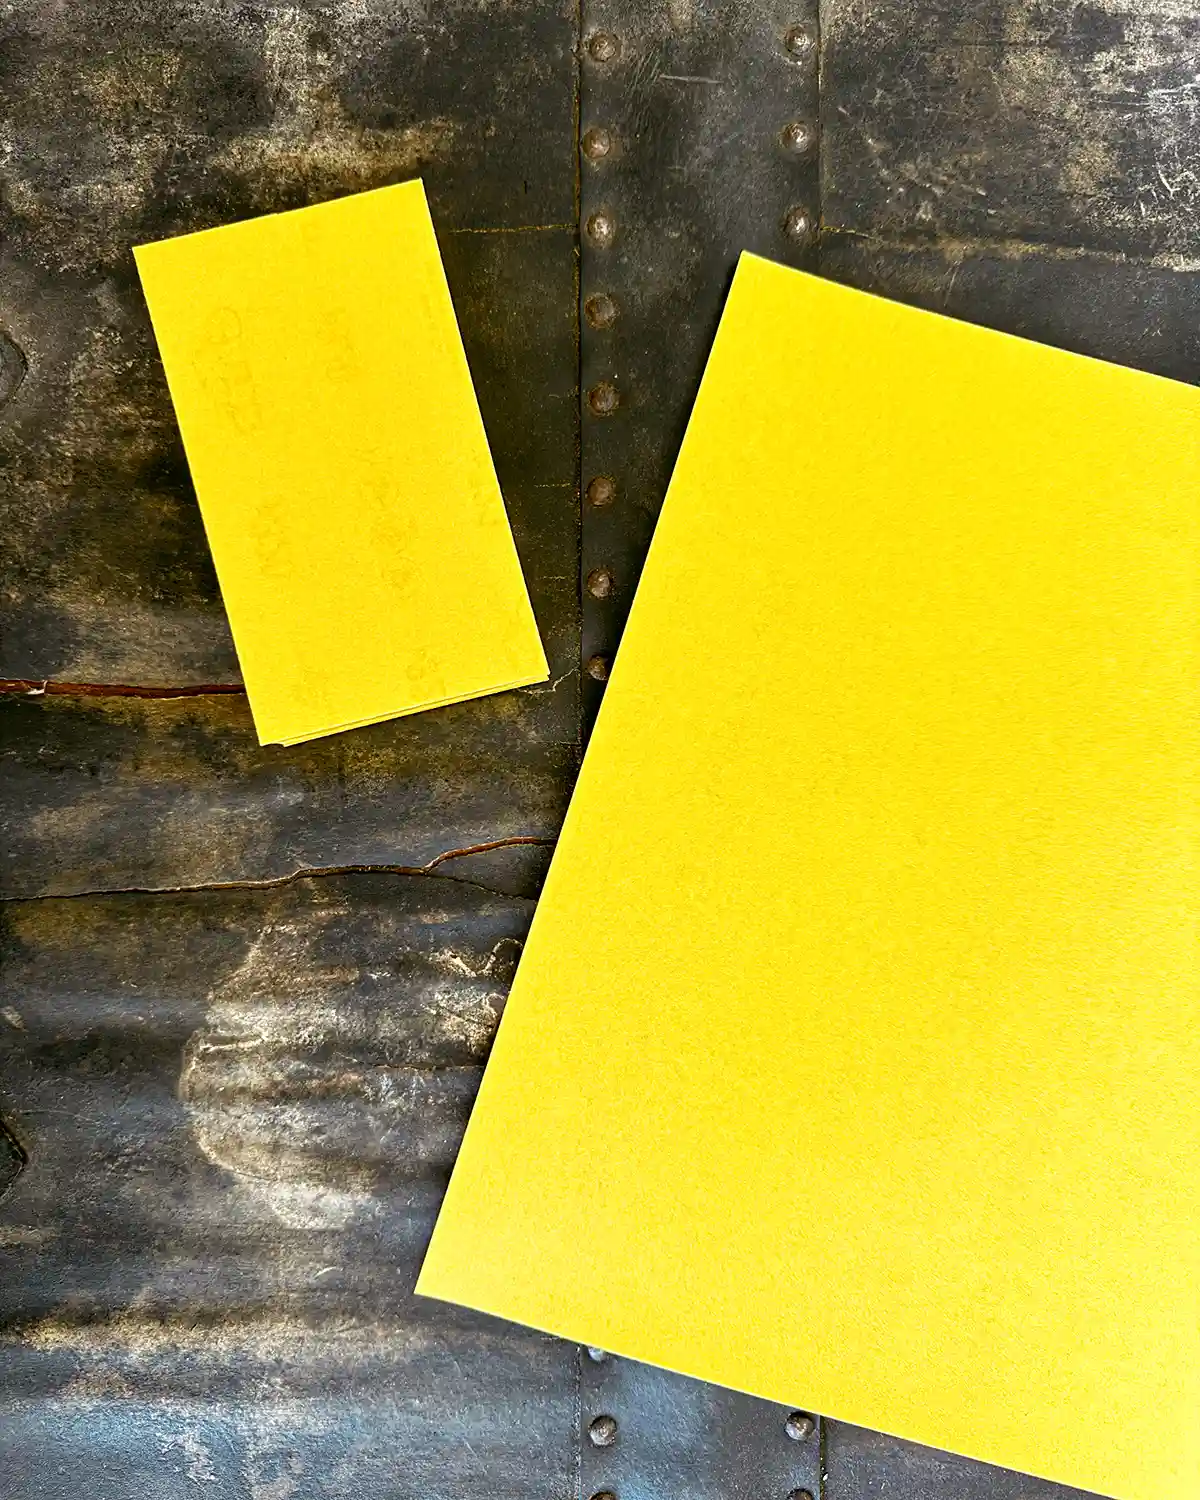
Use a higher grit sanding block or piece of sandpaper. I typically use 320-grit, but different brands have different grit sizes available. Just make sure it’s marked as a fine grit. Finer grits will remove small imperfections without removing the paint or primer product entirely. If you use a rougher grit, it will leave scratches and marks on the surface that will be visible even after the final coat of paint has been applied.
Sand the entirety of the project in the direction of the wood grain or the direction you painted. Pay special attention, as some areas may require more than a light sanding.
Next, remove all the fine dust from the surface of the sanded project with a tack cloth. The key is you want the cloth to be damp, not wet, to help clear off all the tiny dust particles. The fewer dust particles left, the finer the finish will be.
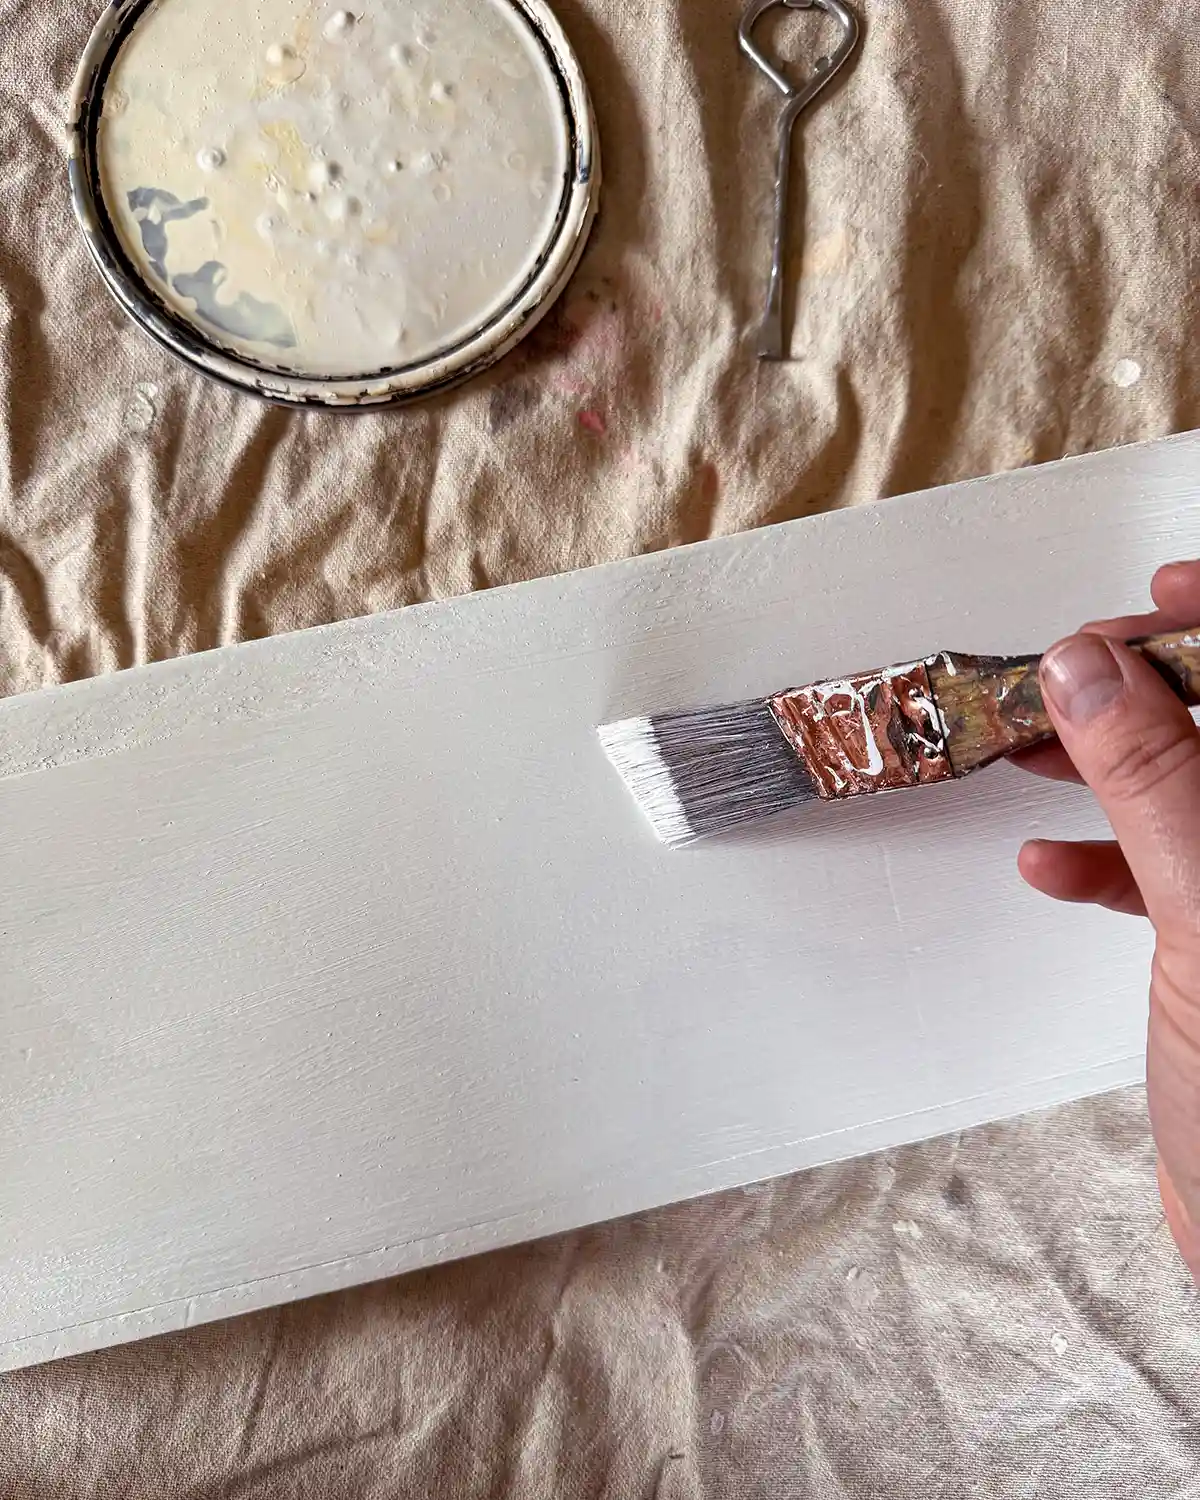
Apply Paint Coat Number One
Using your paint product and application method of choice, paint the first coat onto the surface. For best results, let the paint dry for at least 24 hours or longer if recommended by the paint manufacturer for the product you’re using.
Sand Between Paint Coats
Similar to sanding the primer, sand the first of the two paint layers. Use fine-grit sandpaper like 320-grit, and lightly sand in the direction of the wood grain or in the direction of paint strokes.
You want to make sure you apply even, gentle pressure while sanding. This is when a sanding block can be helpful, as it remains even when working on a flat surface. Another trick is to wrap a sheet of sandpaper around a wooden block to make your own sanding block. A tip I learned from my DIY momma.

Again, clean the surface well with a tack cloth. This simple step makes a world of difference in how smooth the topcoat will end up.
Apply The Final Coat
Layer a second coat of paint over the sanded previous coat.
Touch Ups
After allowing the paint to dry, you may notice an area here or there that you’re not happy with. Feel free to sand and apply another coat of paint, even if it’s just a little touch-up.
May Your Coffee Be Strong And Your Paint Finish Be Smooth
Now, excuse me while I go finish painting my daughter’s bookshelves and try to hold back my impatience. Those itchy painting fingers just want to power through the project in a day. In the words of Master Po from the circa 1970s show Kung Fu, “Patience, young grasshopper.”
For the sake of the longevity of your paint job, I hope you take the time and patience to sand between your paint coats and take your time. Easier said than done, but I’m learning the RIGHT WAY to paint.
Pssst…Okay, so tell me, how did your painting project turn out? This is the way (she says in her best Mandalorian voice).