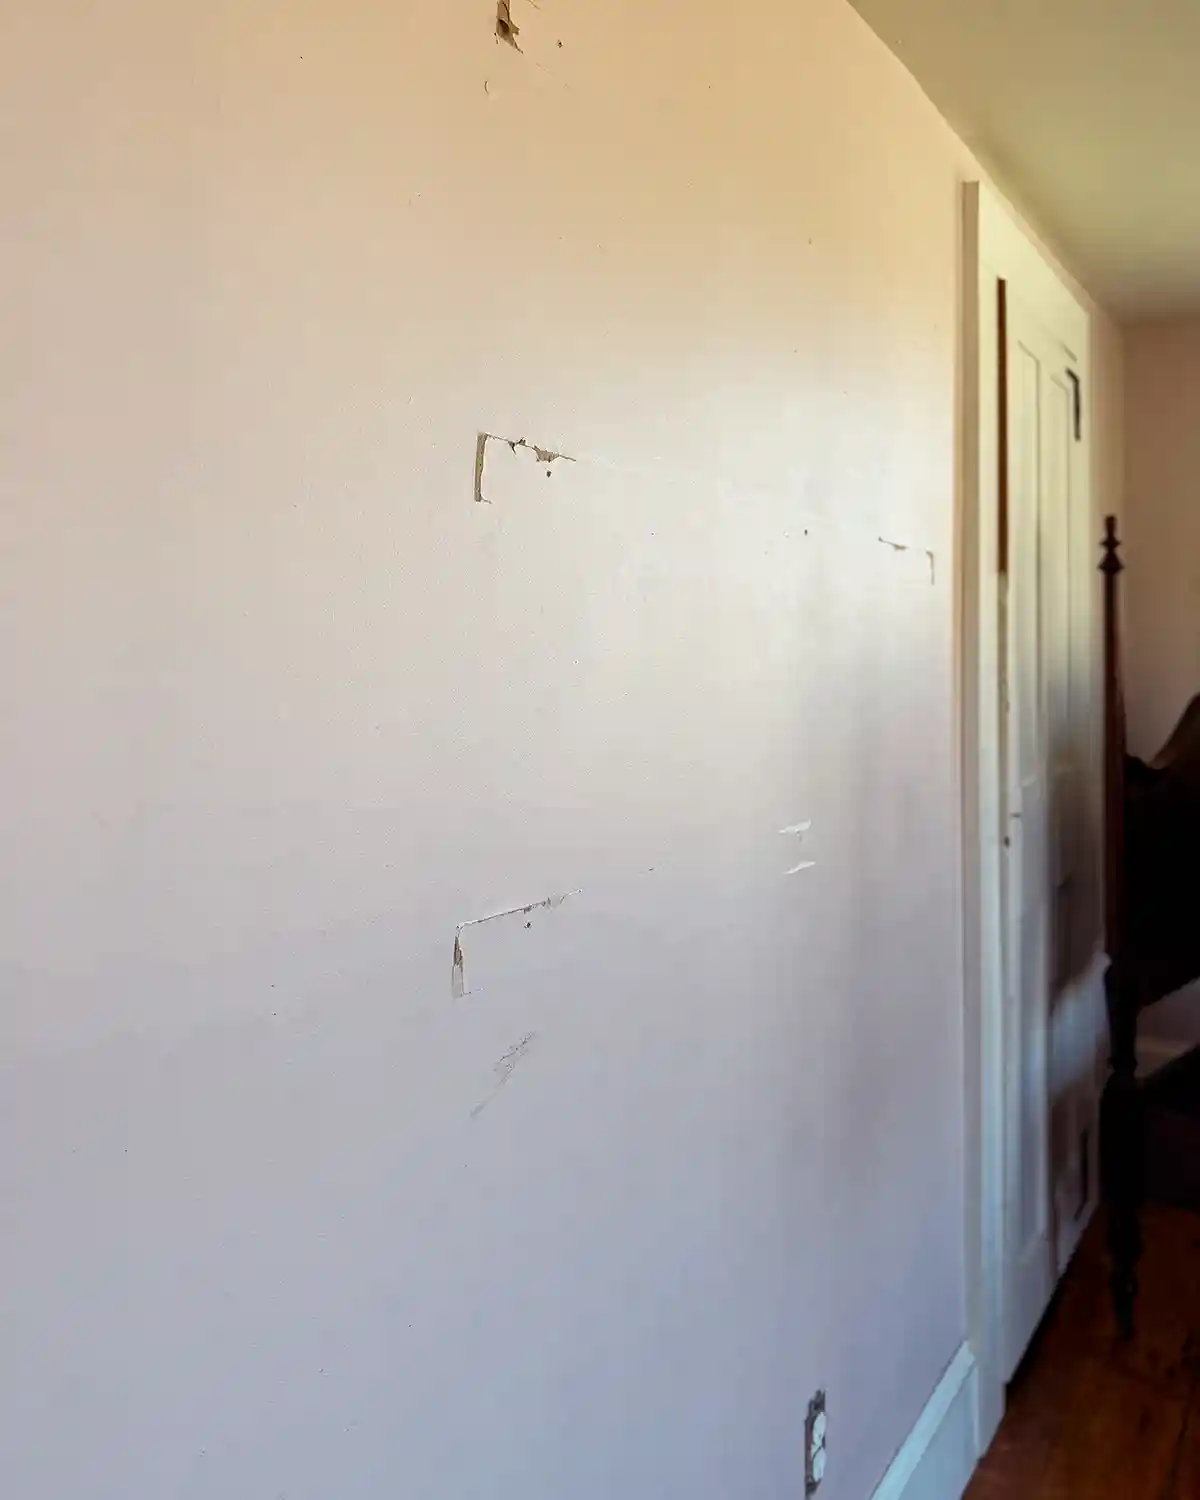
There was a time in my life, aka those early apartment-dwelling days, when the idea of repairing drywall was 100% intimidating. Mind you, this was also the period of my life when my tools of choice were a blow dryer and a curling iron. These days, my favorite tool might be the router (such magic!). Anyway, how do you patch a small hole in drywall? And is it so easy that a caveman can do it? Today’s post is all about how to repair small holes and blemishes in walls. Think small nail holes and peeling drywall. Like these.
The size of the hole you’re dealing with determines the scope of the repair. While today, we’re talking about small repairs, I’ll add an article later about repairing medium holes (deeper and about fist-sized) and larger holes (like head-sized and up), both of which involve completely different methods and are a little more difficult to master. We must walk with nail holes before we can run with scissors large ones.
Before You Begin
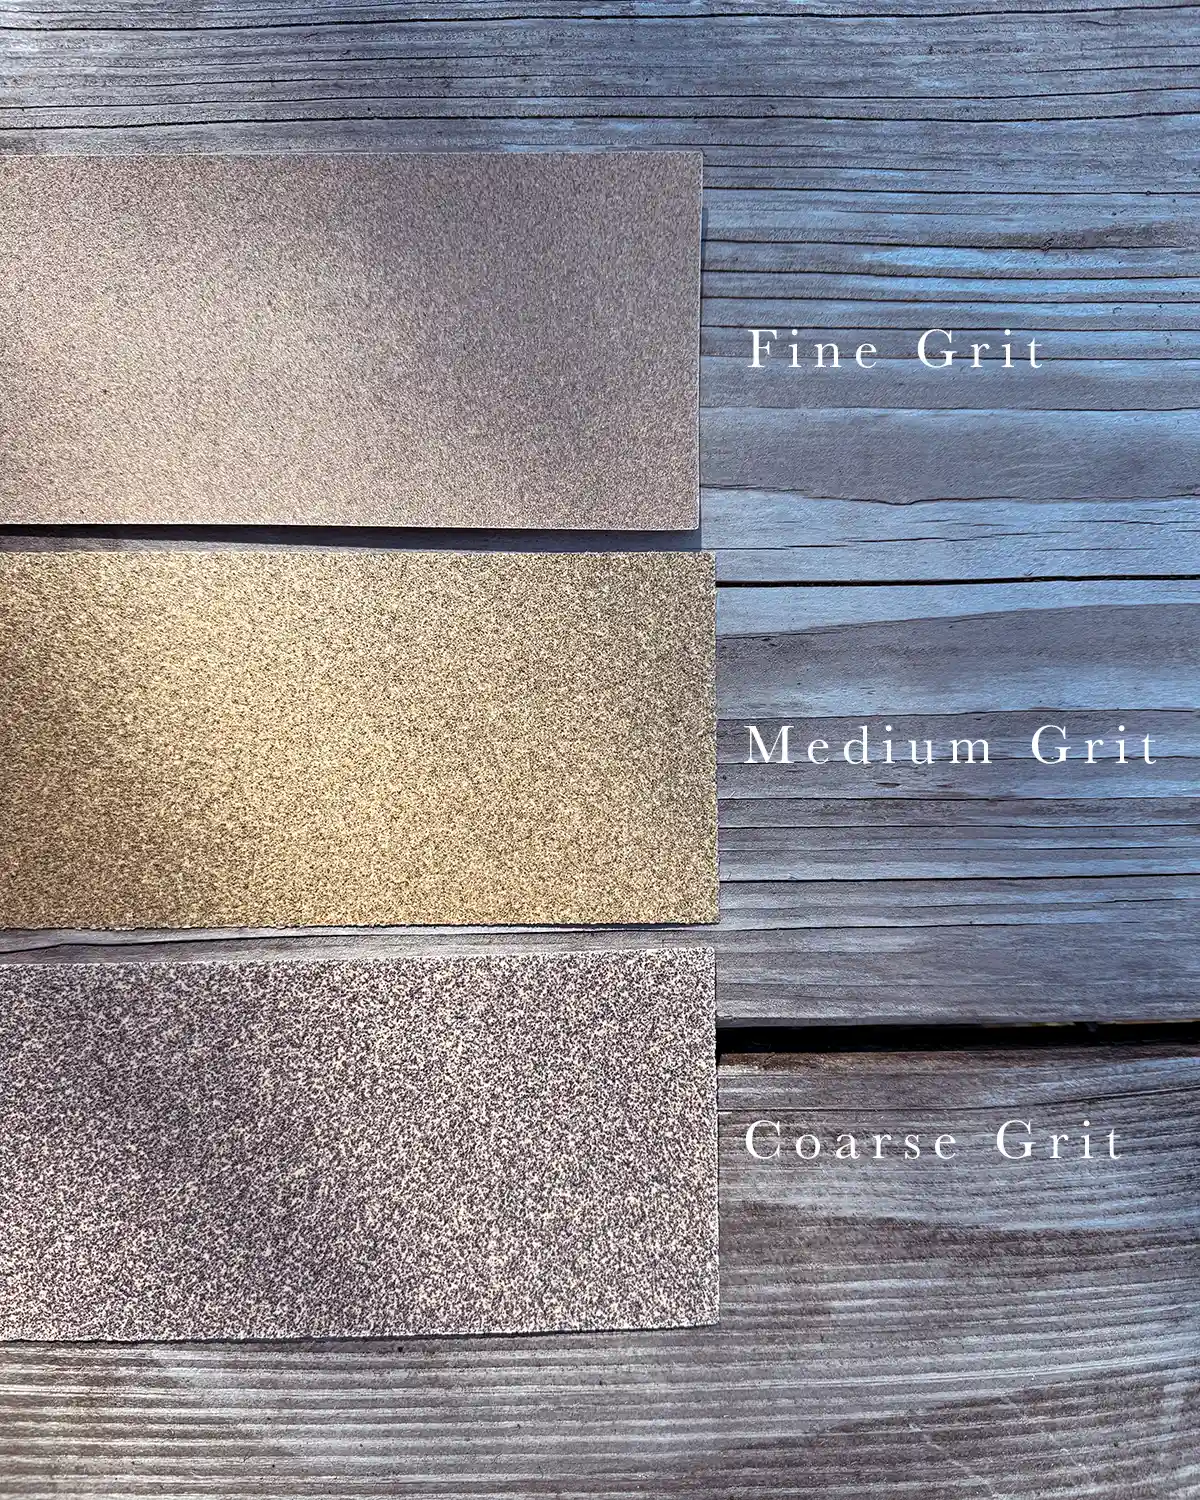
Before we start, let’s gather a few supplies. As always, the right tools for the job make it so much easier. The tools required for this project are very basic ones you likely already have, and the supplies are incredibly inexpensive. Here’s some extra help about sandpaper grit if you need it.
Supplies:
- Fine-Grit Sandpaper Block (Home Depot)
- Joint Compound (Home Depot)
- Dust Mask (Home Depot)
- Primer (Home Depot)
- Wall Paint (Benjamin Moore)
Tools:
- Utility Knife (Home Depot)
- Putty Knife (Home Depot)
- Small Paint Roller and Tray (Home Depot)
- Paint Brush (Aubuchon)
- Drop Cloths (Home Depot)
Repairing A Small Hole In Drywall
For this project, we’re working on patching the walls in our daughters’ shared bedroom. We’re working on a bedroom makeover for them, and one of the first steps was to patch the walls. There were quite a few nail holes along with some damaged drywall where we removed some shelves.
Step 1: Prepare The Surface
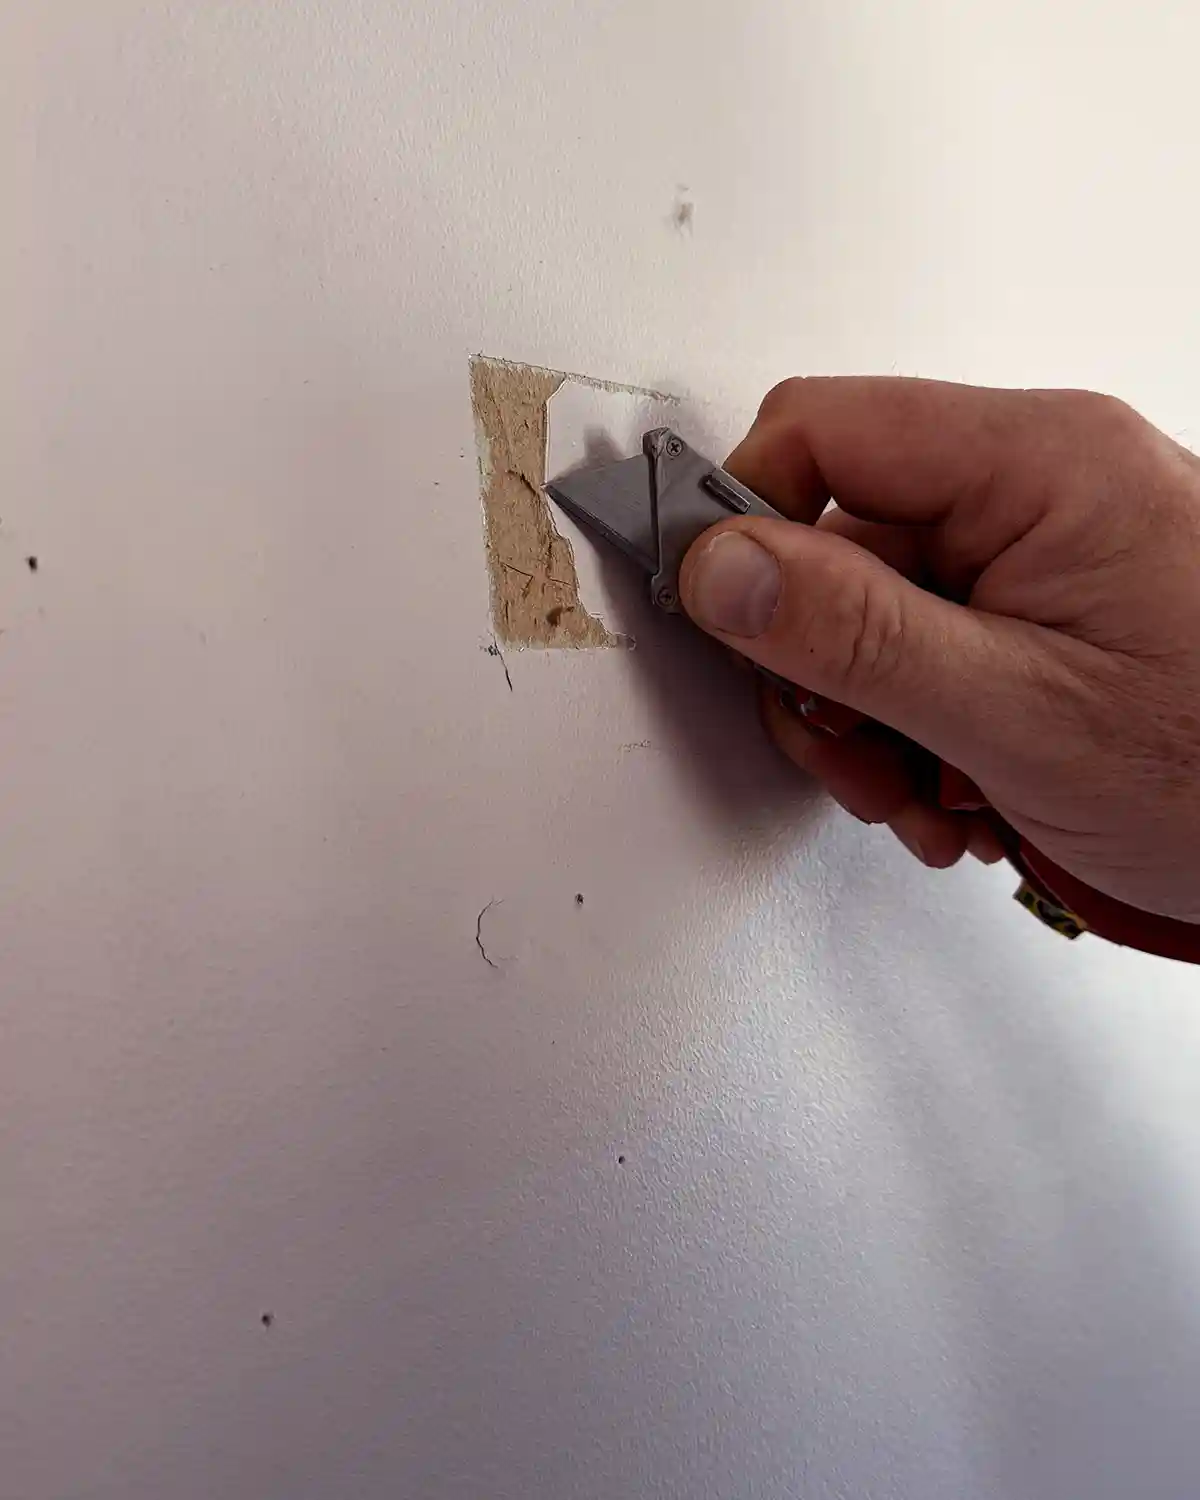
The first thing you want to do is remove any flaking or peeling drywall. These are areas where the paint is peeling up, bringing the top layer of the sheetrock below with it. This often happens after removing something, like a shelf (these bookshelves were the main victims), that was attached directly to the wall for an extended period of time. It can also happen when moving temporary adhesives that have been adhered for too long.
To do this, use a utility knife, score, and slightly cut off the peeling and damaged area. You want clean edges, so cut into the surrounding wall to get all of the peeling section. If you don’t get all the peeling parts off, it will come back up later, ruining your patch.
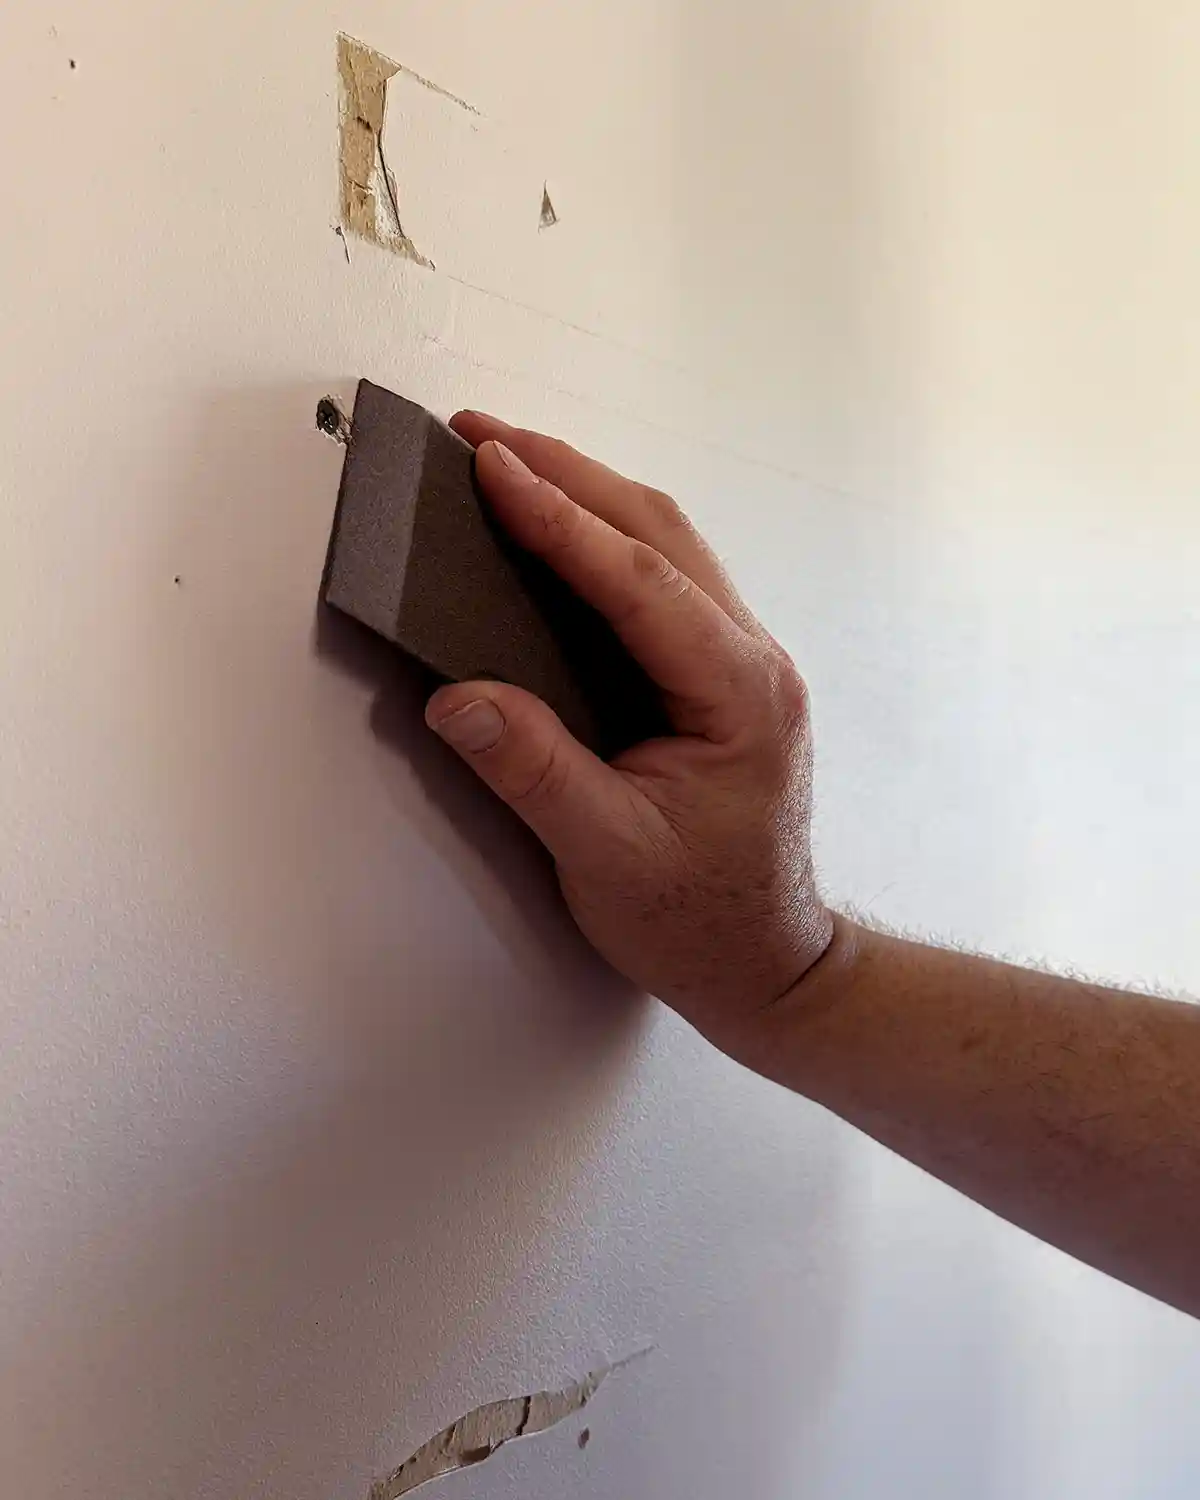
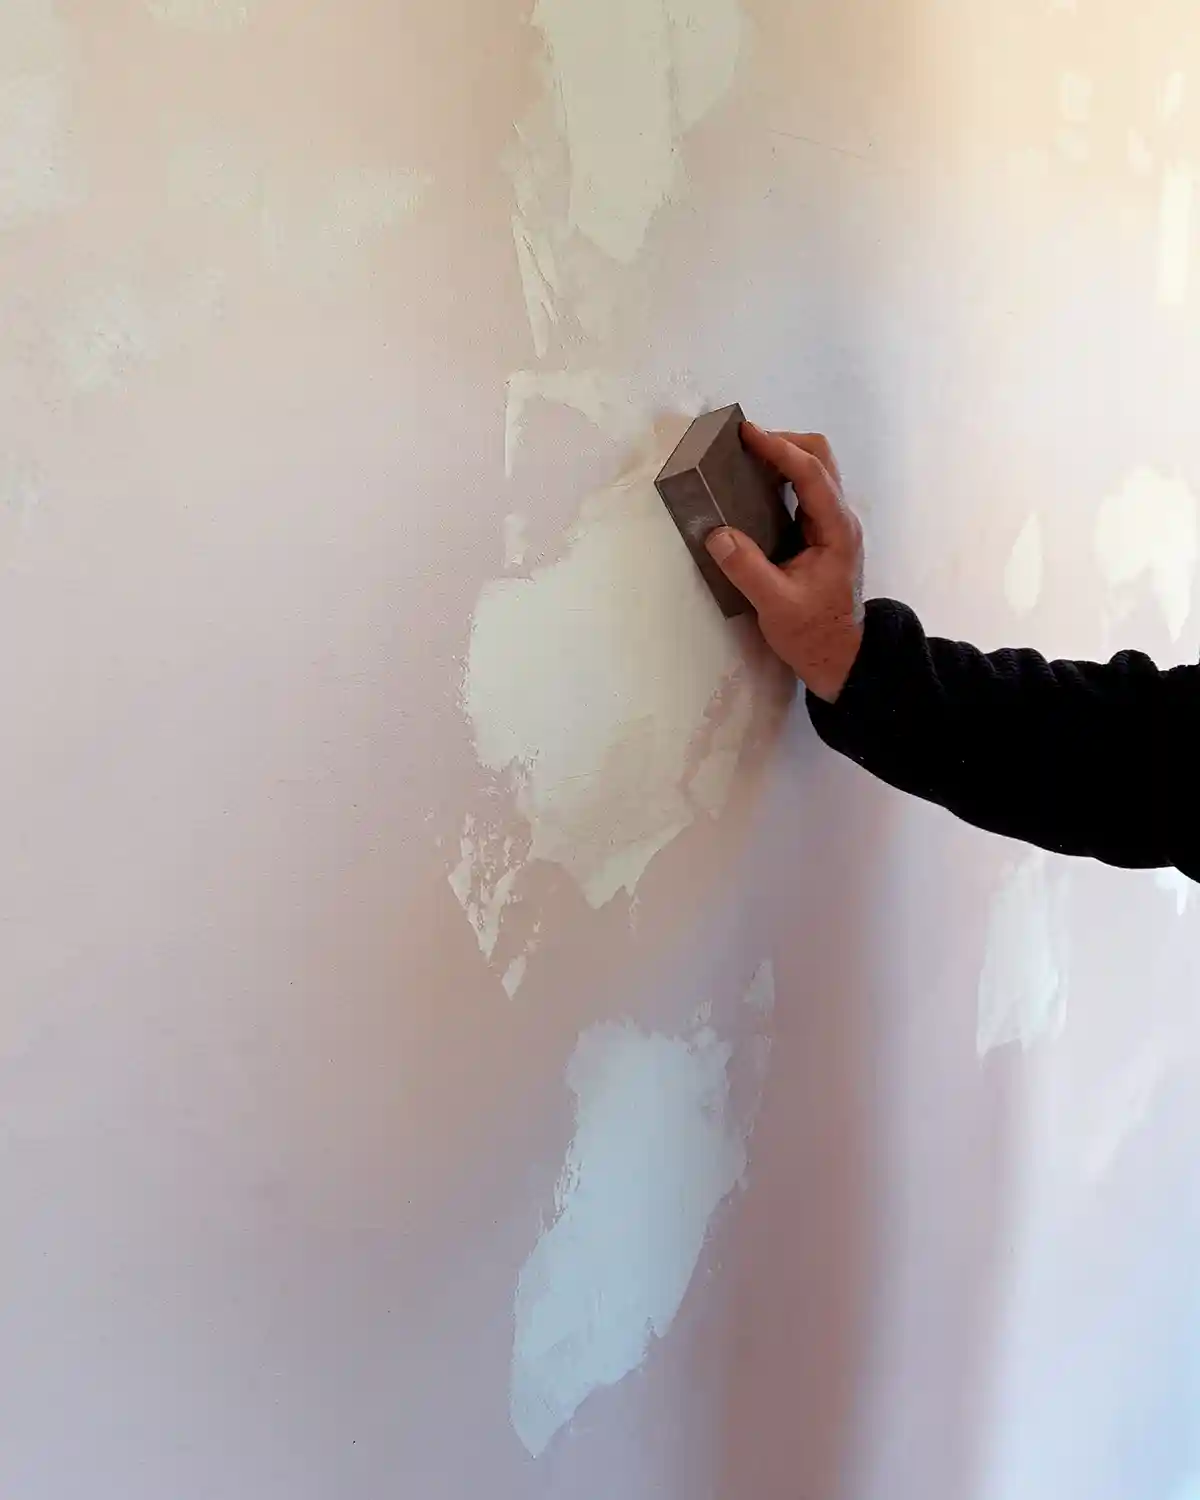
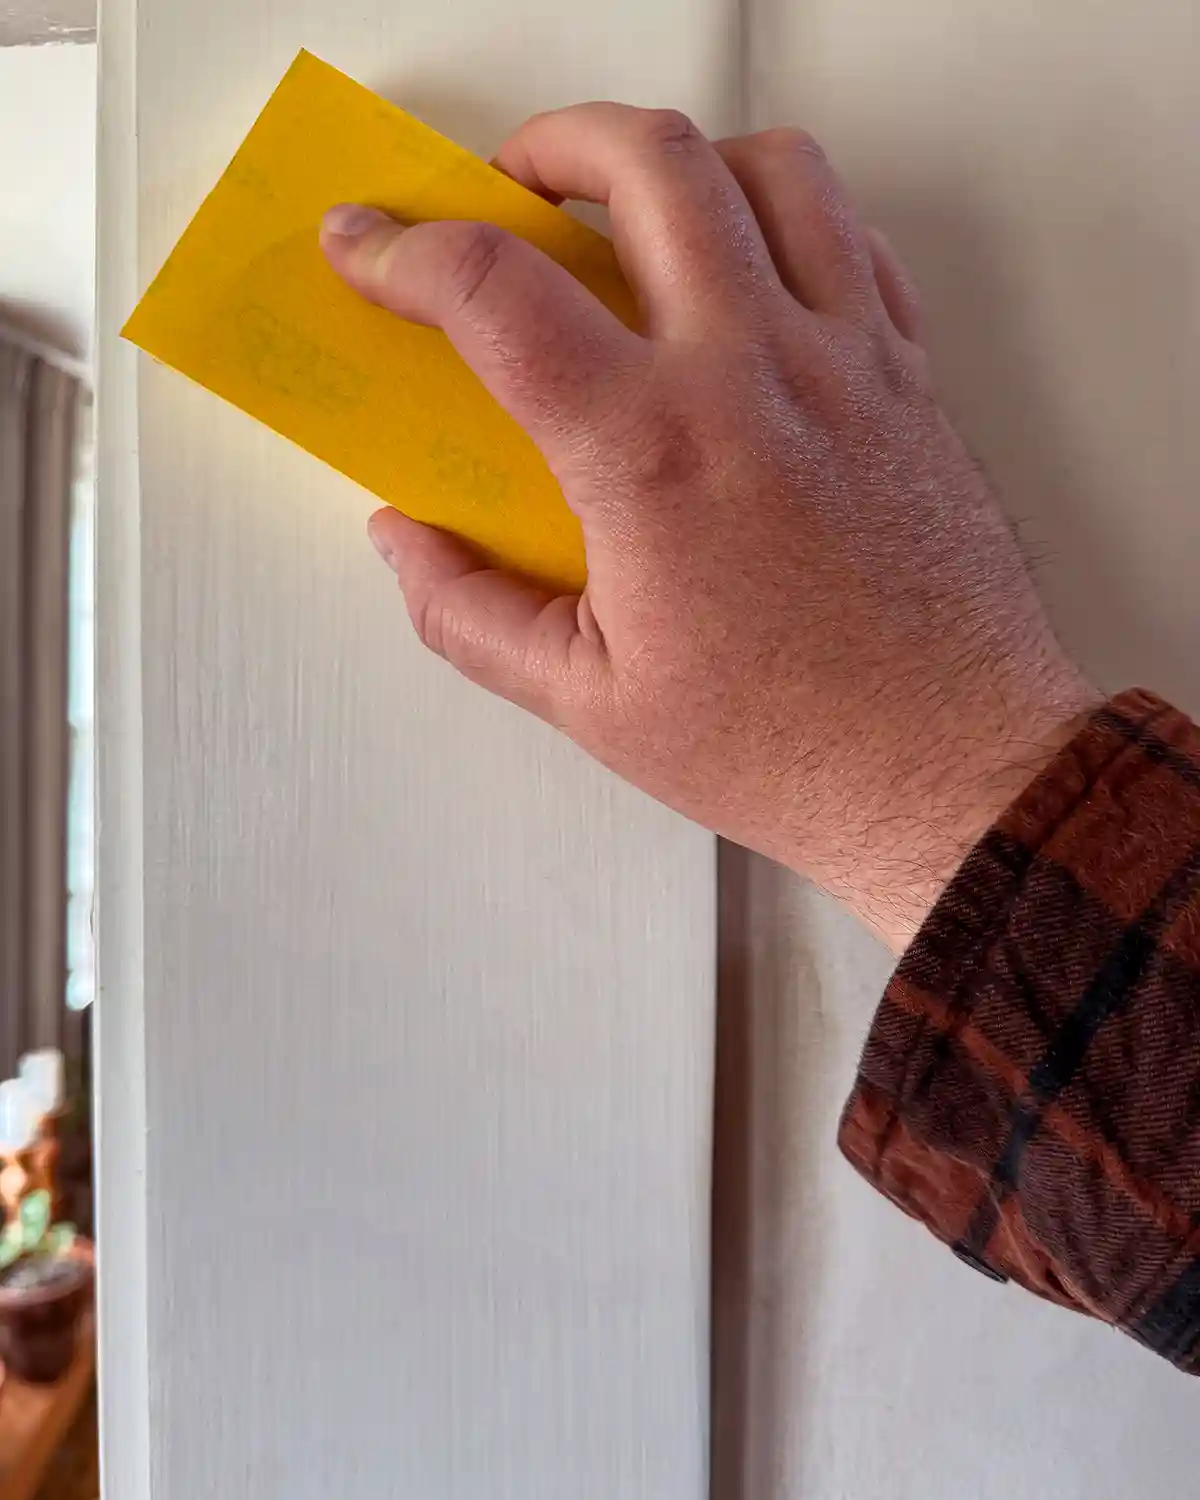
If you don’t have any peeling sheetrock, you still want clean edges around the holes and for the surface of the drywall to be smooth. Using your fine-grit sanding block, sand over the hole and surrounding wall until the area is flat and smooth. You don’t want any bumps or jagged edges. Like so.
Step 2: Apply Joint Compound
The next step is to apply joint compound to the holes. There are a variety of materials you can use to patch a hole in drywall, including quick-drying options, but joint compound, also referred to as mud, tends to be the most inexpensive to use.
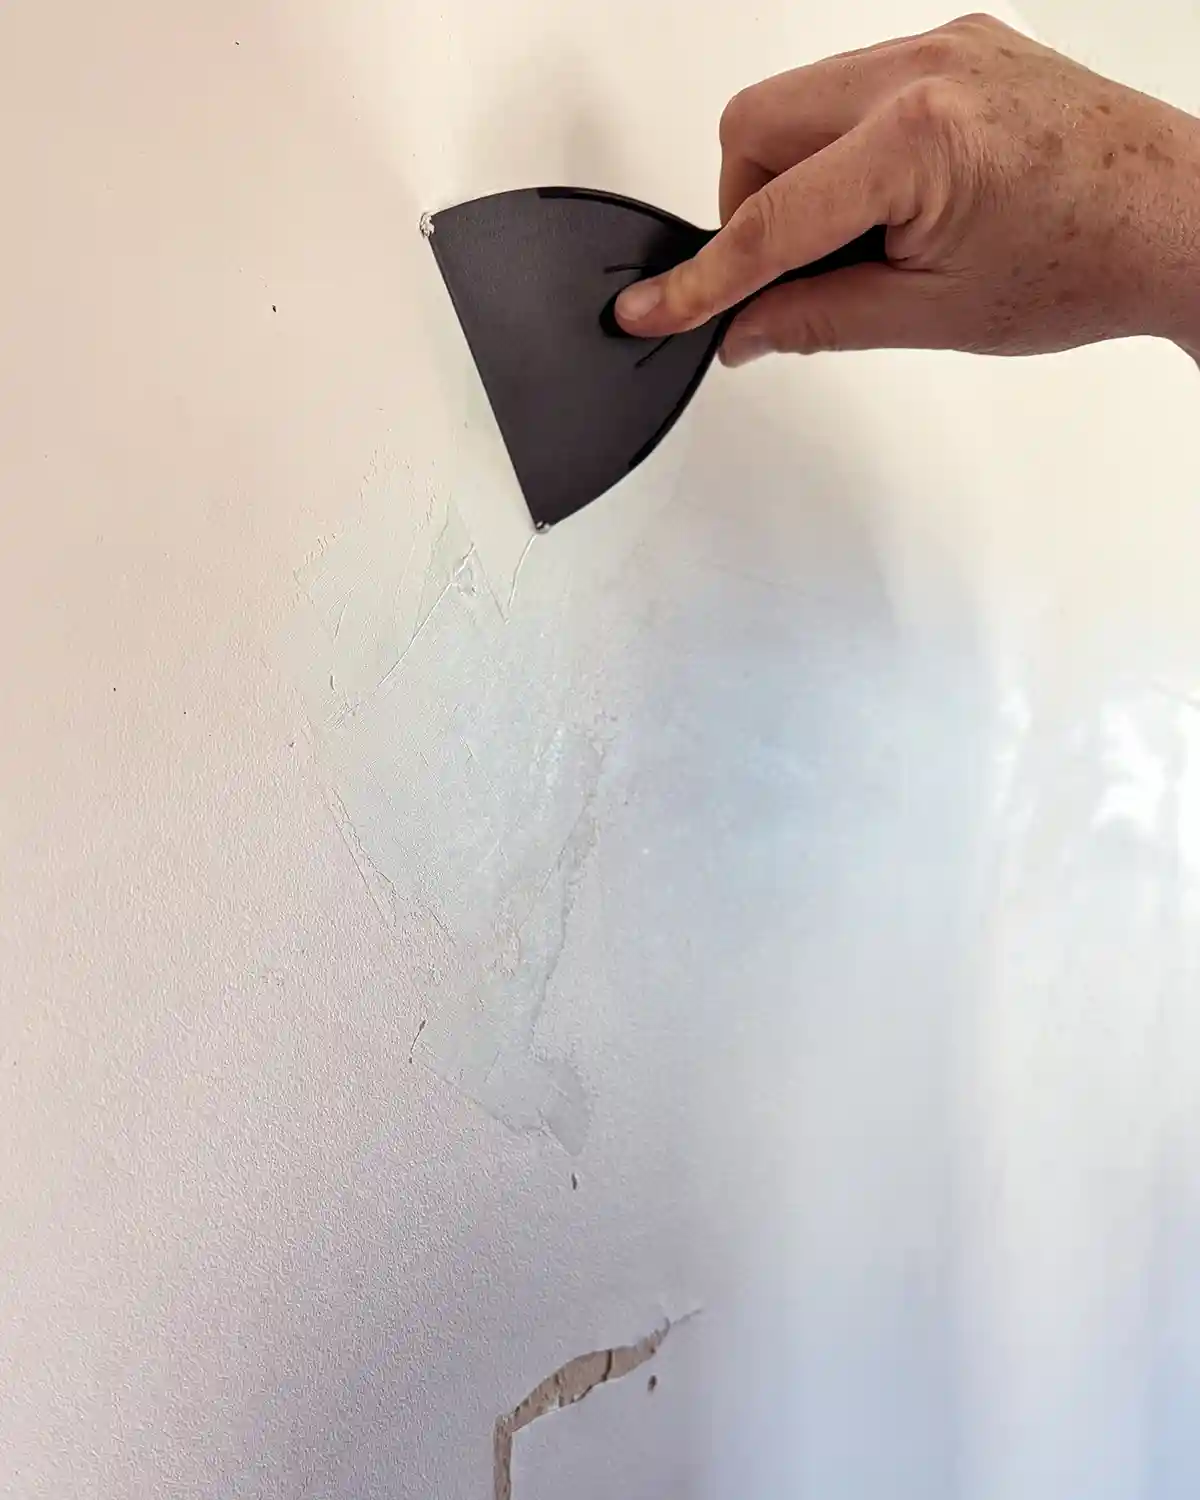
When it comes to applying the joint compound, it’s important to practice a little patience. Thin layers are the name of the game.
To apply the first coat, use a small putty knife (the smallest one you have that’s also wider than the hole), scrape across the surface of the mud to get a small roll of material on the knife. Then, swipe it across the hole at an angle, followed by another angled swipe in the other direction to form an X-shape. Keep applying until the hole’s center is filled and there’s a thick coat of mud not only covering the hole but also overlapping the surrounding wall area.
Be sure to scrape off any excess before you finish, which means less sanding. You want to apply firm pressure to avoid any air holes, but not so firm that you’re scraping all of the mud off the wall.
Continue to fill another drywall hole. Repeat the process until they’ve all been filled with a first coat.
Often, with small nail holes, just one coat will suffice, but sometimes you’ll need more than one. But for now, we wait and let the joint compound dry.
It’s usually best to allow joint compound to dry for 24-hours before sanding. Often, you can sand and recoat after five or six hours if you applied super-thin coats, the kind of thin coats that nail hole repairs need. There are also ways of expediting dry time.
Step 3: Sand
Once the joint compound is dry, it’s time to sand it down. Put on your dust mask (the version in the supplies list above is indicated for use with drywall sanding), grab your fine-grit sanding block, and sand down any raised edges or imperfections in the mud. When sanding, be sure to keep the block pressed evenly against the wall, but don’t push down hard. Too much pressure can sometimes cause uneven sanding or ridges in the dried joint compound.
The goal with sanding is a smooth finish. No rough edges, no lips, and an almost feathered edge to the patch. Once I feel like I’m done sanding, I like to go around the edges of the patch and lightly feather the dried patch with the sanding block. Like making the mud taper from the center of the patch to the painted drywall.
Inspect your sanding job and swipe your hand across the surface. You shouldn’t see or feel any bumps or ridges. If you do, sand a little more. Also, you may notice that you need a second coat. Most often, one coat will suffice, but if you’re working with a larger repair, two coats may be necessary. If that’s the case, just repeat the mudding and sanding steps until you’re happy with the fix.
When the wall is smooth, wipe off any errant drywall dust with a rag or lint-free cloth before moving on to the painting portion of the program.
Step 4: Apply Primer
Next, you’ll want to apply primer to the patched area. Don’t skip this step and go straight to painting. Believe me from experience. Every time I’ve skipped priming on a patch job, it’s been noticeable, and I regretted the shortcut.
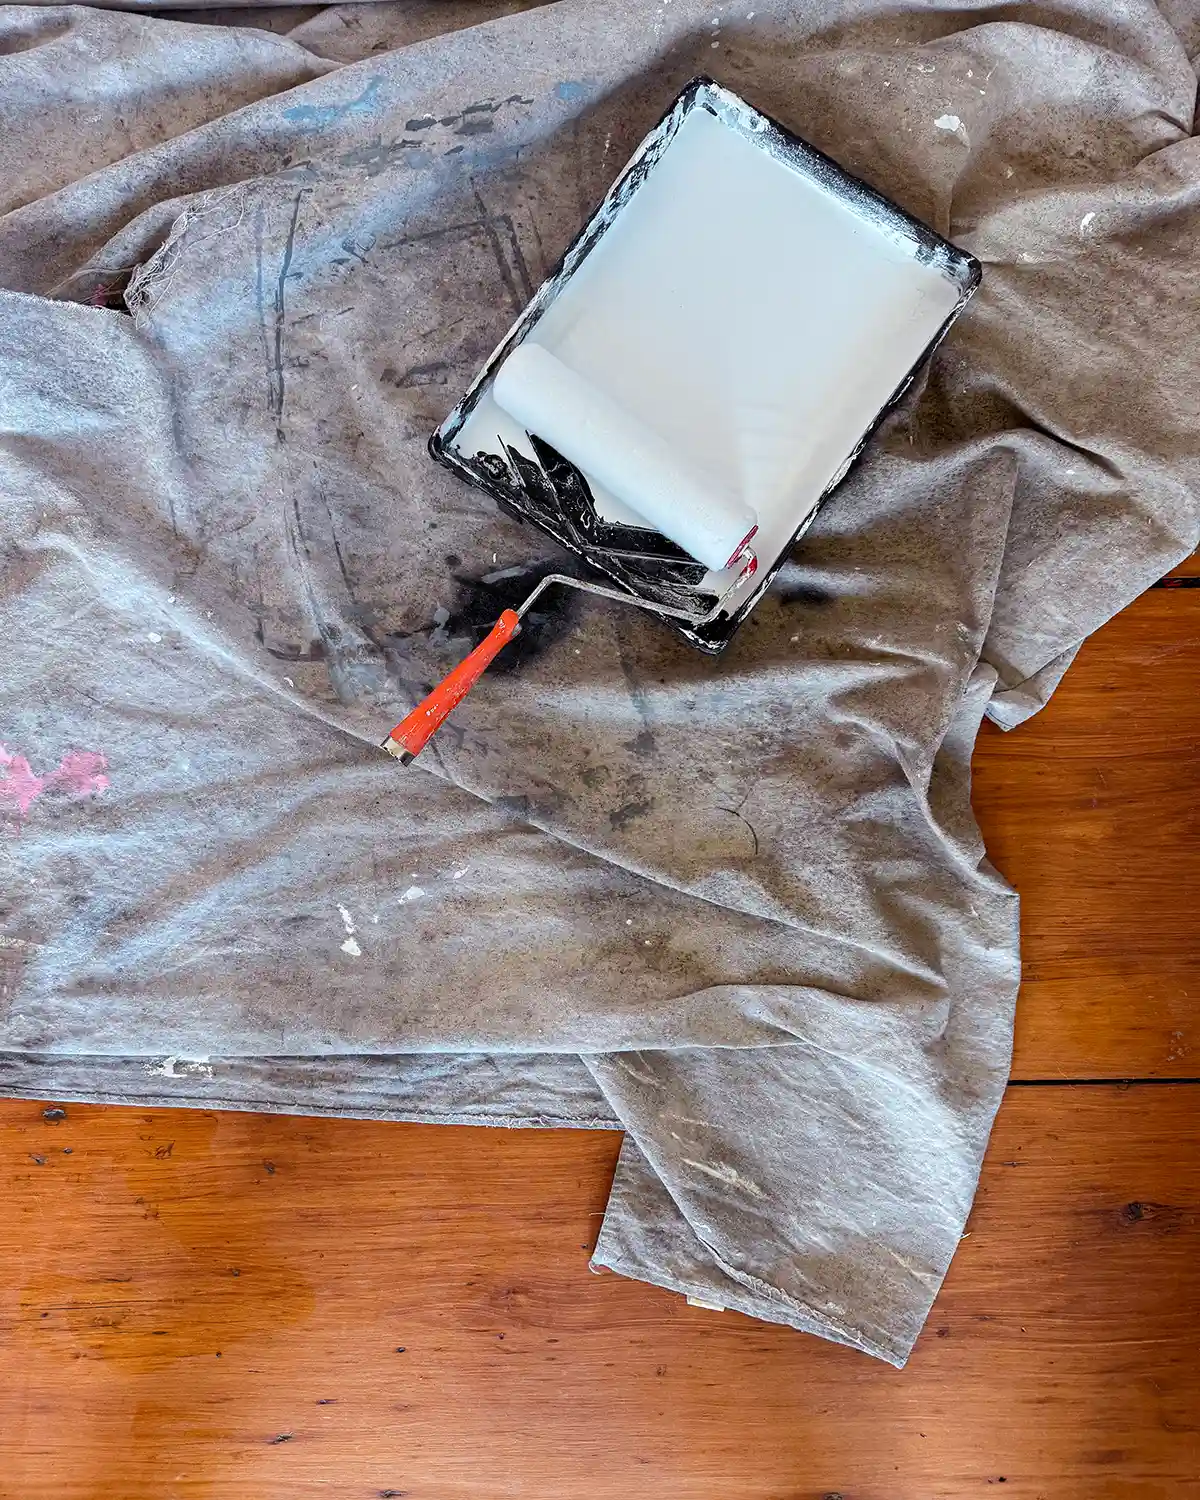
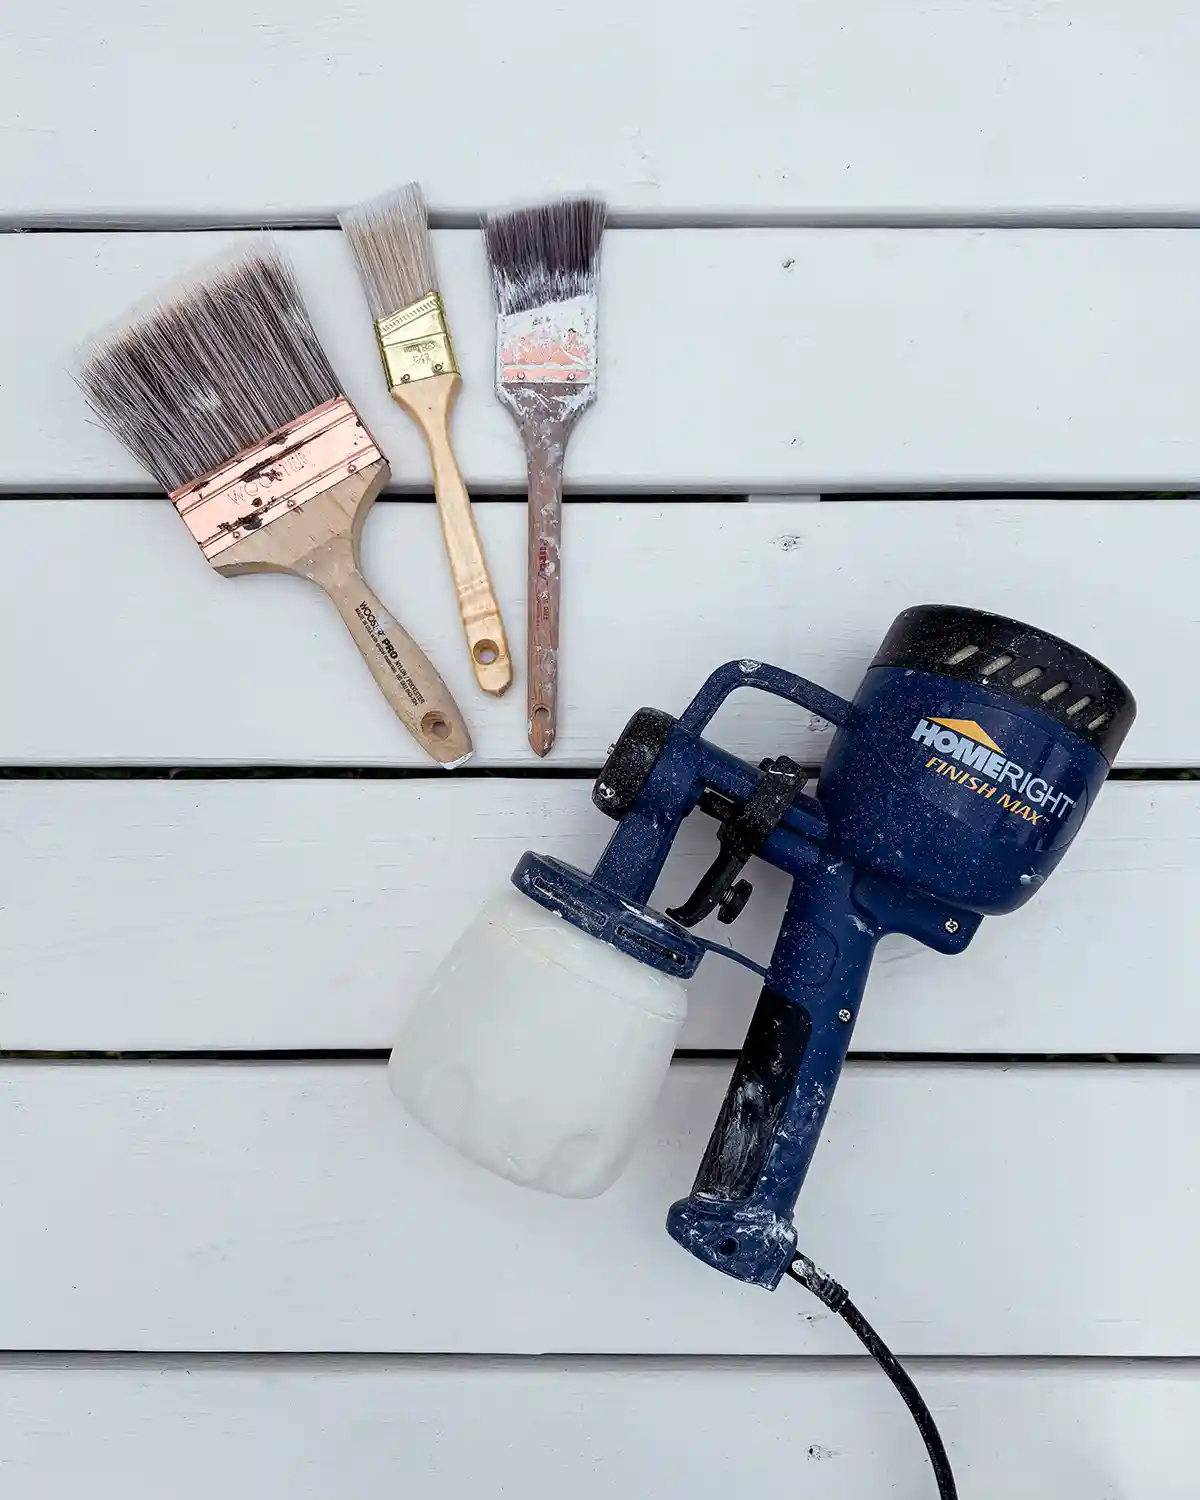
My favorite way to apply primer is using a small roller, cover, and paint tray. It’s small, it’s quick, and it leaves little mess after painting. For our project, we had so many repairs and patches (and kid drawings) that I ended up priming most of the walls we repaired with the big roller.
If you need a primer recommendation, I’ve long used Zinsser Bulls Eye 1-2-3 Primer. It’s never let me down with drywall repairs or with priming new drywall.
Step 5: Coat With Paint
After letting the primer dry, ideally 24 hours, but if you’re using the Zinsser product, it’s often dry to the touch within an hour, it’s time to paint. I usually wait at least a couple of hours before applying the finish coat of paint.
Using your small roller, layer a couple of coats of paint over the repaired area. If it’s a super small patch, you can even apply just a little bit of paint using a paintbrush. One of my favorite DIY tips is that if you lightly apply the paint and feather it away from the hole, the paint strokes blend with the texture of the wall without relying on a roller for the same feel.
One thing to keep in mind is that your paint patch may not match the existing wall paint, and if that happens, you’ll likely want to repaint the whole wall (or even the entire room). Sometimes, especially with darker colors, the paint will fade or discolor over time. If it’s been a long time since the room was painted, the patched area color likely won’t match.
This was one of the reasons we opted to repaint most of the girls’ room (along with the ceiling) after repairing the drywall. It’s been seven years since the room was painted, and I noticed on another wall that the paint, which we bought a new gallon of, didn’t match the existing paint well.
There were also a few unfortunate incidents involving crayons, a Sharpie, and some nail polish on the walls that necessitated priming and painting more of their room. Children…le sigh.
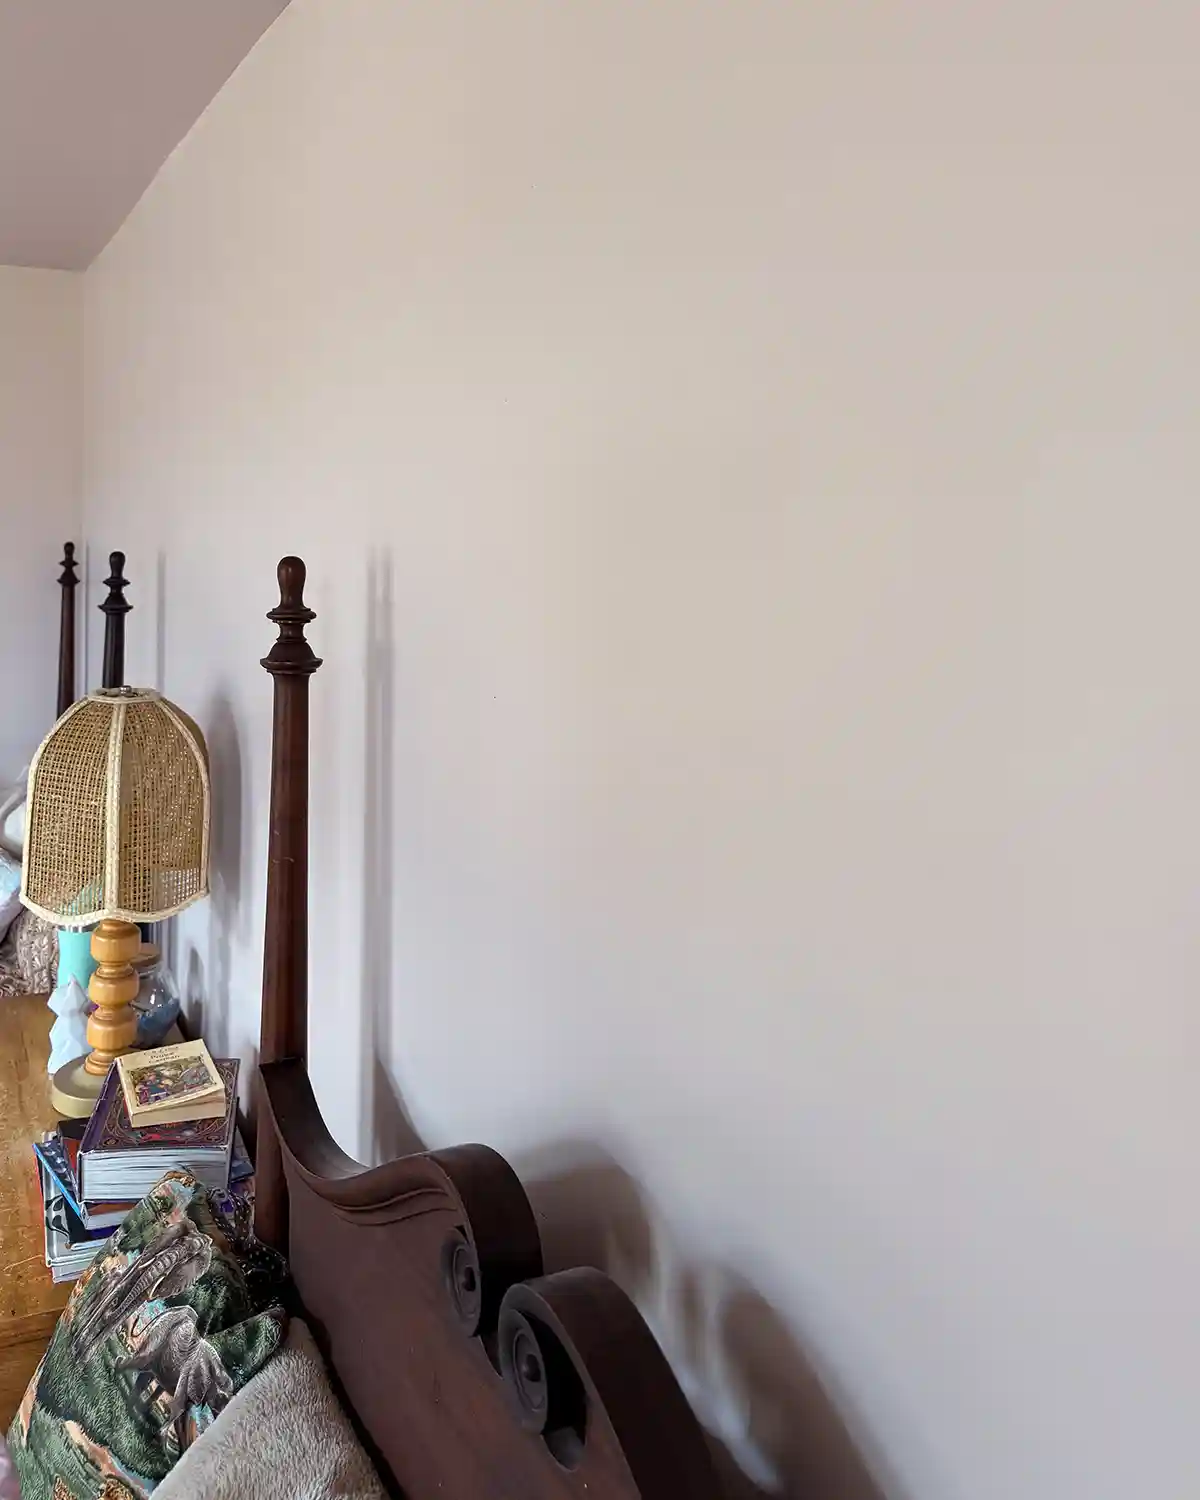
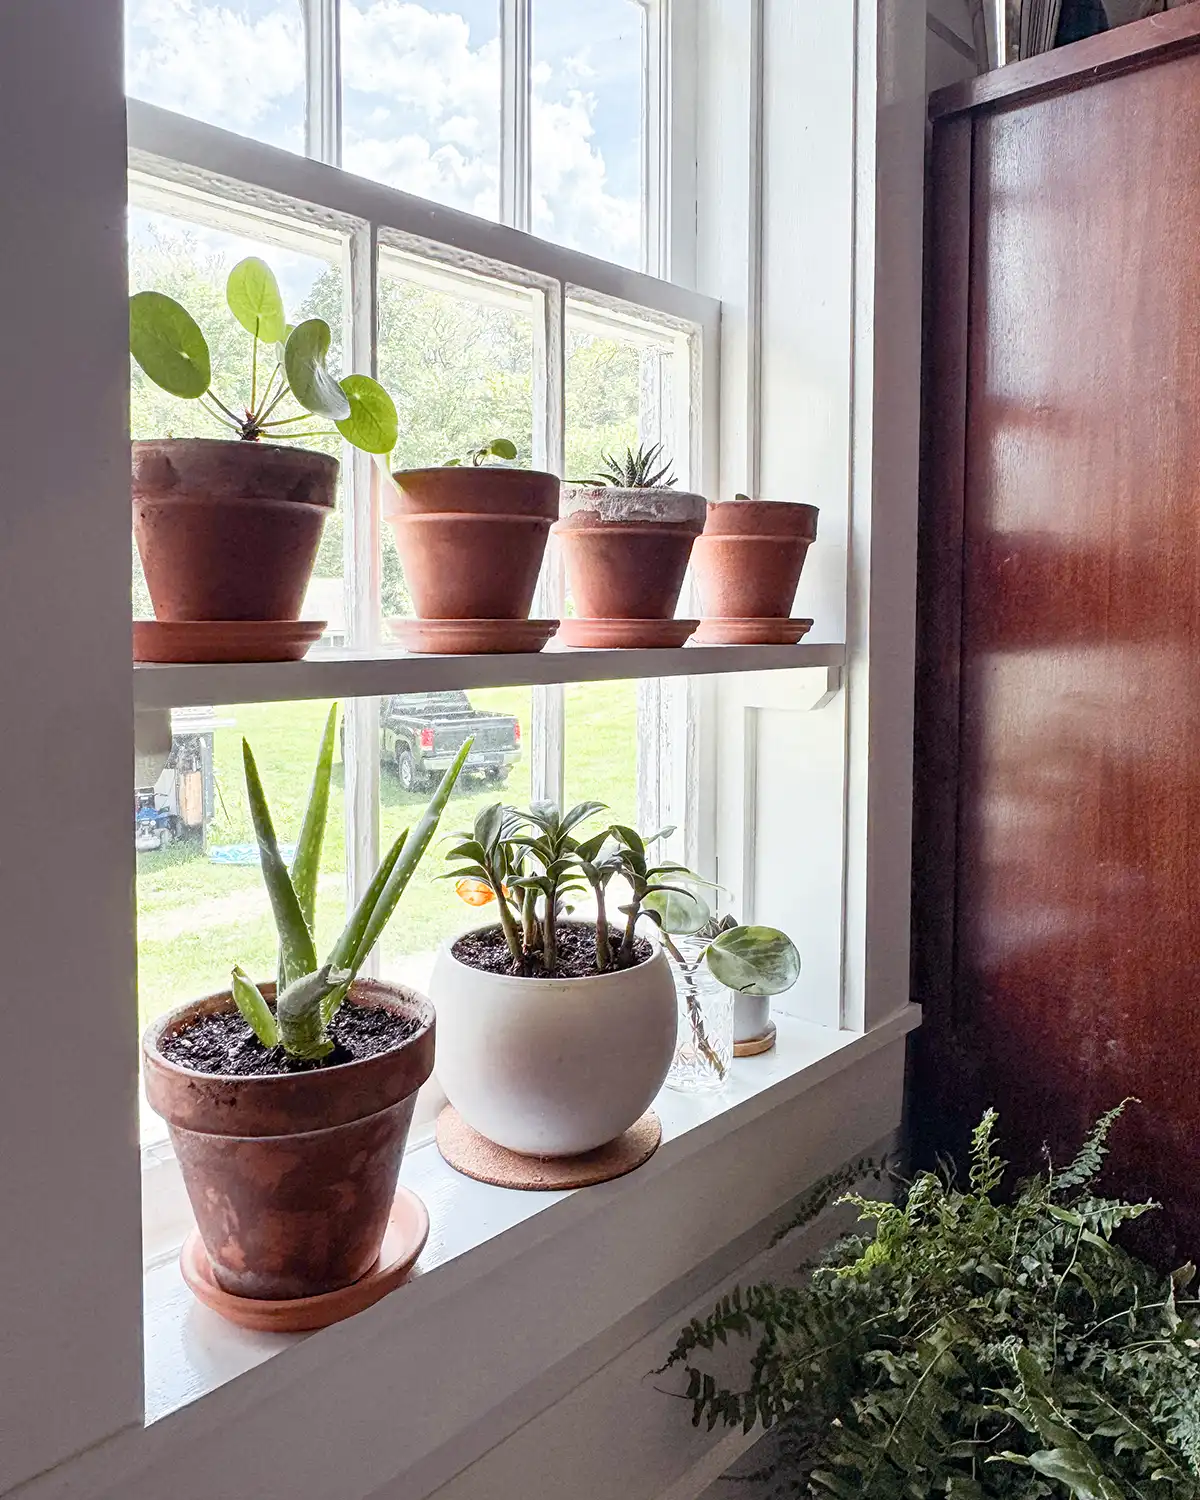
But check out the results?! Gorgeous! We also painted the ceiling while we were at it for a color-drenched look. It’s like a little jewel box in here. AND no more holes in the wall! This is the same wall we patched with most of the patches over the headboard on the right.
Happy Wall Repairing
Now that you’re armed with a little more info on how you can patch a small hole in drywall, I hope you’ll add the task to your to-do list, bite the bullet, and tackle it. How does the saying go? Eat the frog, carpe diem, seize the drywall repair day, and make it happen!
Now that we’ve repaired the girls’ bedroom and repainted the entire room, along with the ceiling, I’m feeling a little amped up and may need to tackle a few more drywall repairs. Watch out, dining room, I’m coming for you next. Although slippery slope. The dining room is currently white, and I may need to paint it a color. Hmmmm.
Pssst…If you have any questions at all, please feel free to drop them in the comments, and I’ll respond as soon as I can.
Psssssst…This was one step closer to making the girls’ bedroom design plan a reality! Next steps: antique bed repairs, DIY gilded stars for their ceiling, figuring out how to make scallop chair rail, and wallpaper!


Well explained — good reference for basic drywall repair work.
Thank you!