You know that room in your house? The one you don’t really use because it doesn’t have a good purpose, you don’t love it, it’s not cozy, the layout is weird, or (insert your excuse here). Those are the types of rooms that could really use a redesign and a quick makeover. Repurposing and making over a room does not have to be an extensive process or cost a lot of money. In fact, you can easily and quickly make over a room in one day. Let me show you how.
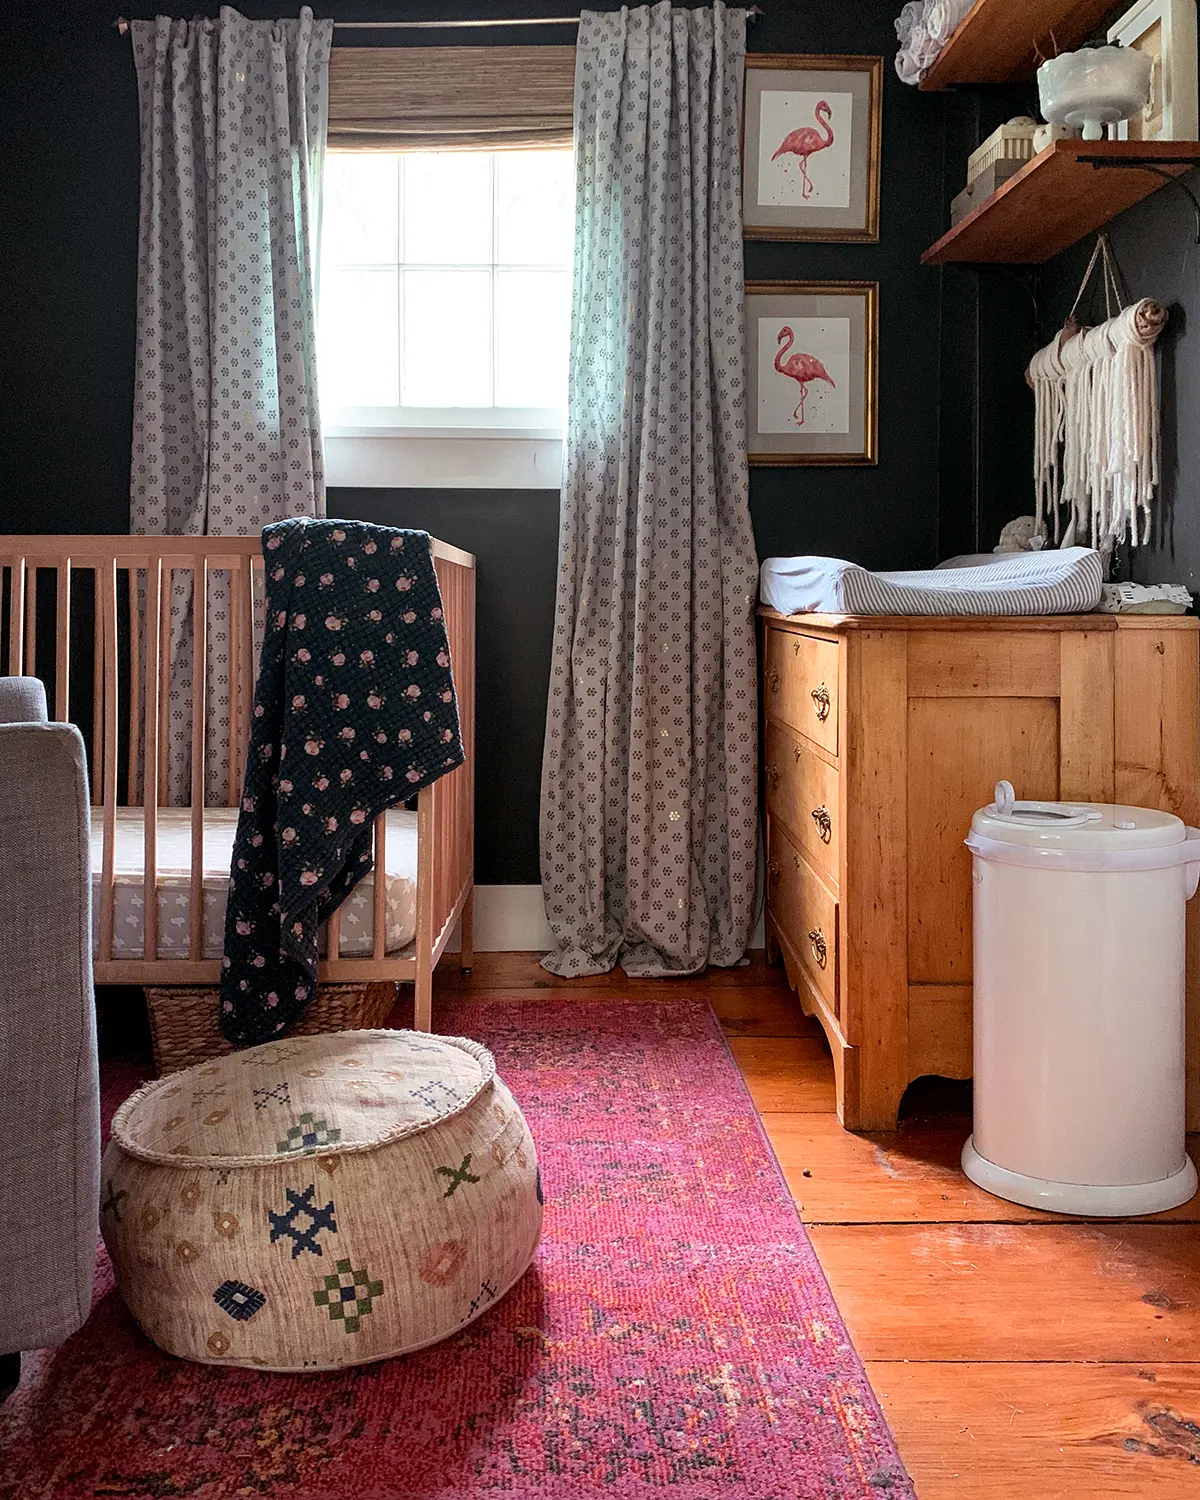
I have a couple of rooms that could really benefit from this process, but today, as I share all the useful tips and steps for how to tackle a one-day room makeover, we’re going to turn our old nursery into an office space. We haven’t used the nursery in the last two years, and it’s been a glorified blanket fort room lately. Time for a glow-up, before-and-after!
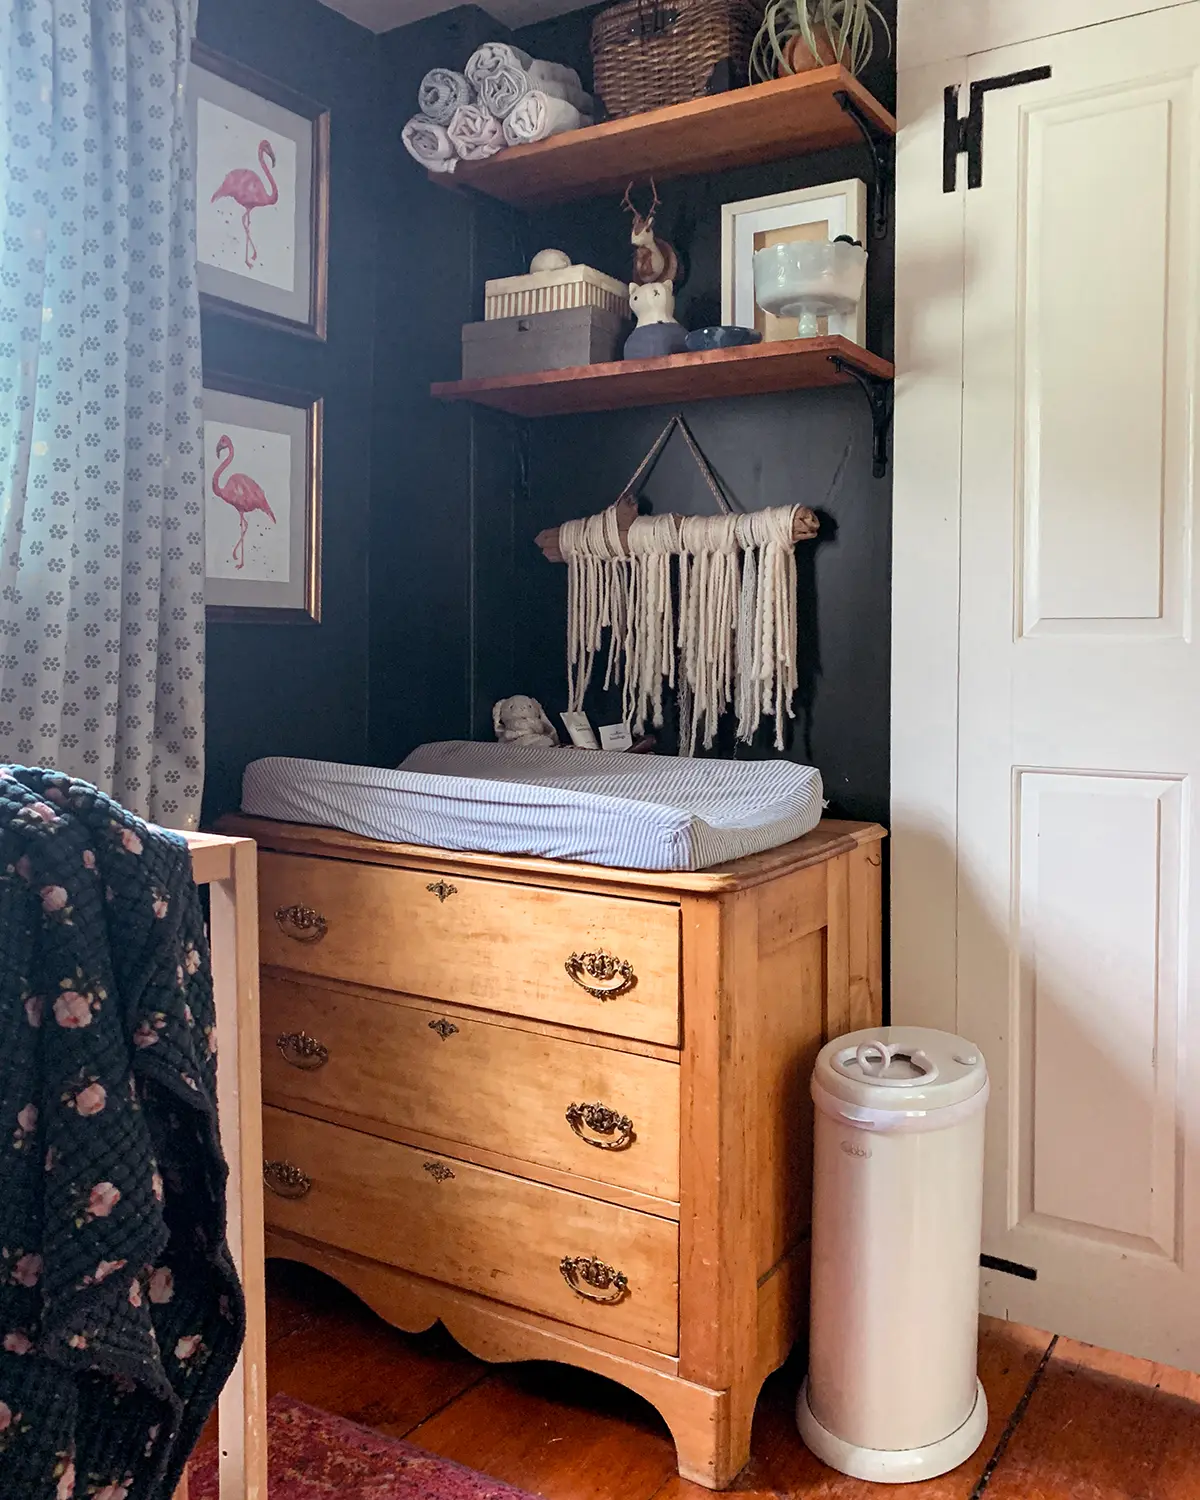
It’s a really small room in our home and is oddly positioned with a door to our bedroom and another to the hallway at the top of the stairs. Here’s a before pic of the nursery. Except remove the crib and replace it with a massive blanket fort with no less than 178 stuffies peeking out of it. This is a view from our bedroom with the hallway door to the right.
Step One: Decide On The Room’s Intended Purpose
Before we even touch the room, it’s time to decide what purpose the room is going to serve. Start by thinking about what need your family has for space or the house problems you’re currently encountering. No space to store toys? Maybe the room becomes a playroom. You love hosting, but your house and family room feel cramped? Maybe it becomes a lounge or a second living room. Do you have hobbies you don’t do anymore because your supplies are always packed away and it feels too hard to get them out? Maybe you create a hobby room.
For my example, the problem was work. I work from home but am also the primary parent and often found myself working all over the house while simultaneously caring for children. Basically, my “office” was wherever I could balance a laptop and a cup of coffee. One day, I was curious about how much work I actually got done at the dining room table and used a stopwatch. Over the course of four hours, I had logged 27 minutes of work. Ooof. I promptly staked my claim over the old nursery and started carving out a space that wasn’t part of the family’s daily thoroughfare of distractions.
Step Two: Clear The Clutter AND The Entire Room (If You Can)
I lovingly refer to this step as calming the room. It’s so hard to visualize how to make over a room or repurpose a room when it’s filled with clutter, decor, and things in general. The more you can clear, the easier it will be to come up with a new plan and fresh start for the room. At a minimum, take out all the clutter, decor, and smaller items for a minimalist feel. It’s helpful to remove all the furniture, including the area rug and window treatments, if you can. You want a blank slate at the end of this step.
After clearing the room, deep clean the space. It will never get any easier than this. So take a moment and wipe down the walls, wash the baseboards, vacuum all those hard-to-reach nooks, and give the space a so fresh so clean start.
What we are not doing in this step: repairing damaged walls, painting the ceiling, installing wallpaper, switching light fixtures, building a new headboard, creating an accent wall, upholstering a chair, refinishing a fireplace, upgrading the pendant light to a ceiling fan, buying new furniture, adding French doors, or more major DIY projects.
I know it would be soooooo easy to do a project or two while the room is clear, but this is a slippery slope. The goal is to have a refreshed space in one day using simple makeover ideas. Projects and more major tasks will prolong the process. We’re working with what we have to get to a state of a usable room by the end of the day. Bonus points if we make the space feel cozy and inviting as well.
For our nursery turned office project, I had already sold the crib, and most of the baby things had been given away or donated, so this step was super easy. Out came the kids’ blanket fort, much to their disappointment, and all the things except for the rug, curtain panels, and a few things that are attached directly to the walls (shelves, peg rail, mobile). The plan was to work with them. Although the mobile is 50 shades of broken so maybe I should have taken that down.
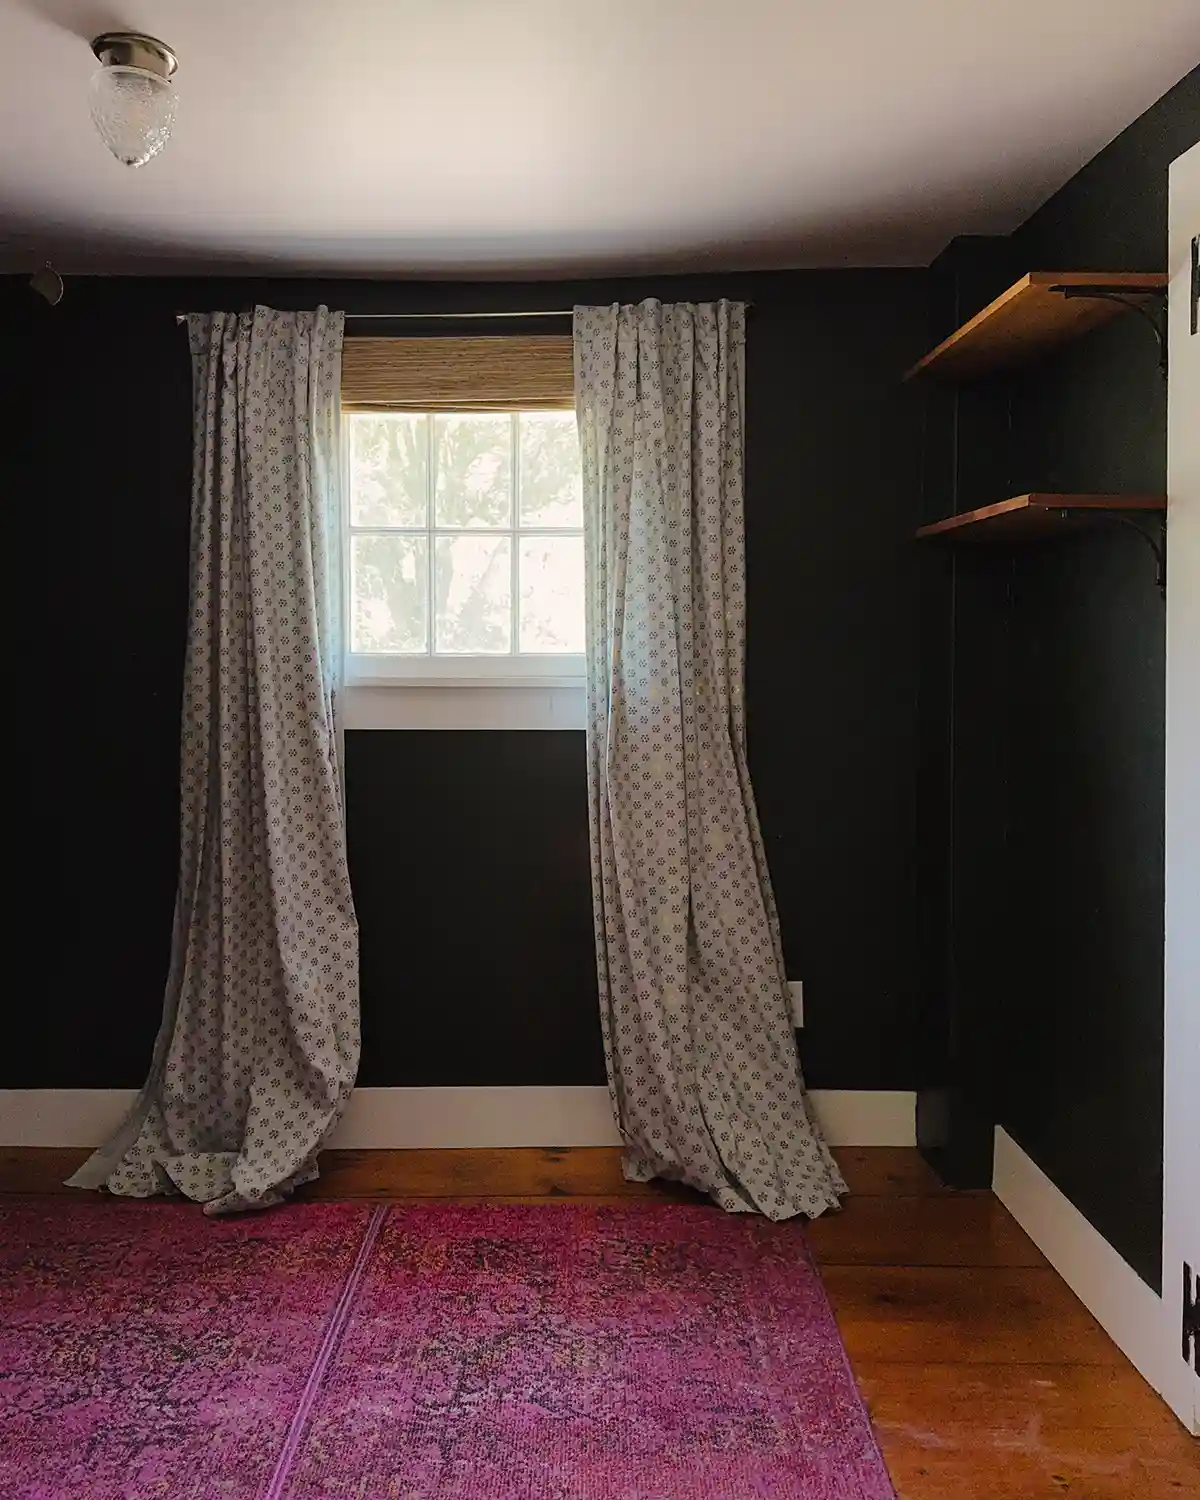
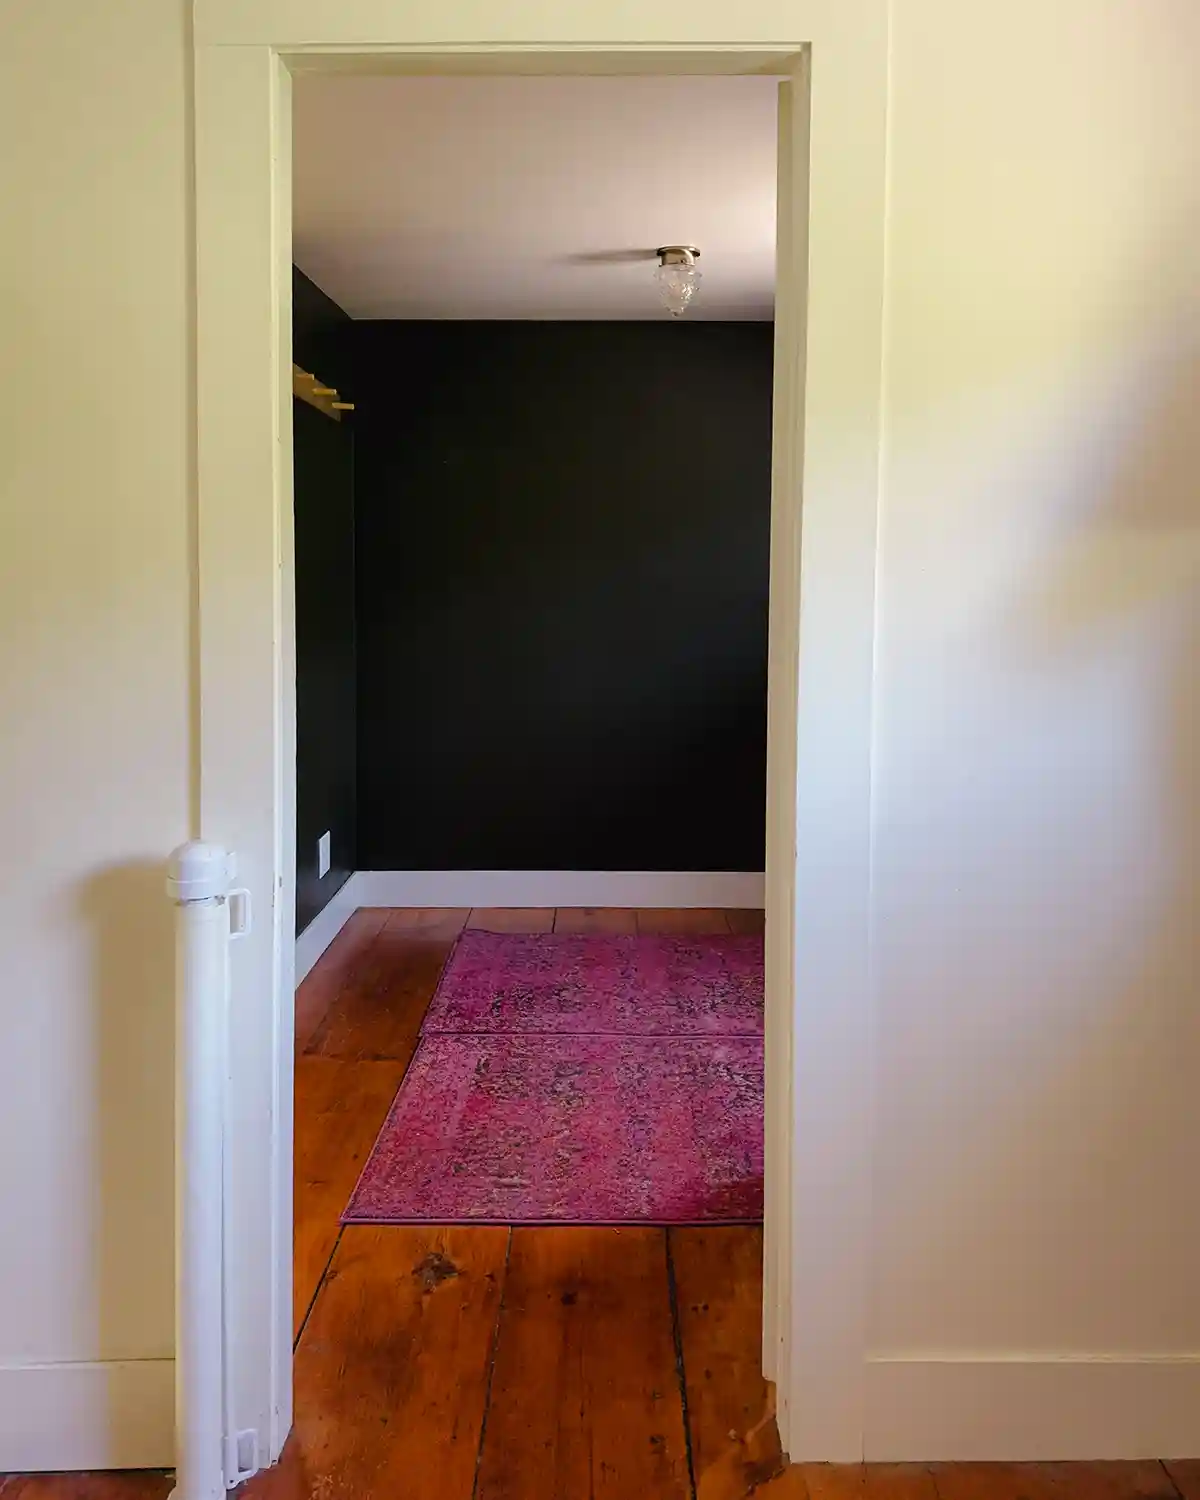
And here’s a view from the hallway looking into my new office space. The doorway to the bedroom is on the left in this shot. Hmmm…this picture reminds me that it’s probably time for that baby gate to go, considering the baby is now five.
Step Three: Bring Back The Furniture For A New Look
Next, keeping your room’s intended purpose in mind, start furnishing the room. If the room is staying the same purpose and you’re just giving it a refresh, look at the room now with fresh eyes since it’s empty. Does it make more sense to bring the pieces back in a different configuration?
During this step, shop the house. Maybe there’s a furniture item in another room that’s not living up to its potential and would be better utilized in this space. Or, if you happen to be like me and picking up free stuff off the side of the road is your Olympic sport of choice, raid the stash. Don’t worry too much about your color palette or being trendy at this point. That’s a phase two room makeover task.
As you bring the larger pieces into the room, think of the room in zones and make the space work well for each purpose. Be sure there is a zone for the space’s primary purpose. If the room is serving secondary purposes, make sure there is furniture and zones to serve those as well. Swap furniture around until you like the flow and sight lines. You can also try to create a focal point with your furnishings.
To set up my office, I had three purposes in mind for the room. She may be small, but she is mighty! The three purposes: a workspace with some storage for my planners, a reading and editing space that’s a little more comfy than a desk, and a storage zone for all our family’s memorabilia. I’ve been storing the sentimental items in my craft room, and the space is starting to burst at the seams.
First, I brought in the desk. It’s my daughter’s desk that we’ve been moving all over the house. She rarely uses it and permitted me to as long as I don’t paint it. The girl loves the brown. However, I did convince her to let me color-match the paint and touch it all up. Anyway, we tried the desk in a few different spots and found it was a great fit in this corner. I also stole the desk chair from my old rolltop desk in the hallway. The hallway is a terrible place to work, plus the desk was too small to fit anything other than my laptop.
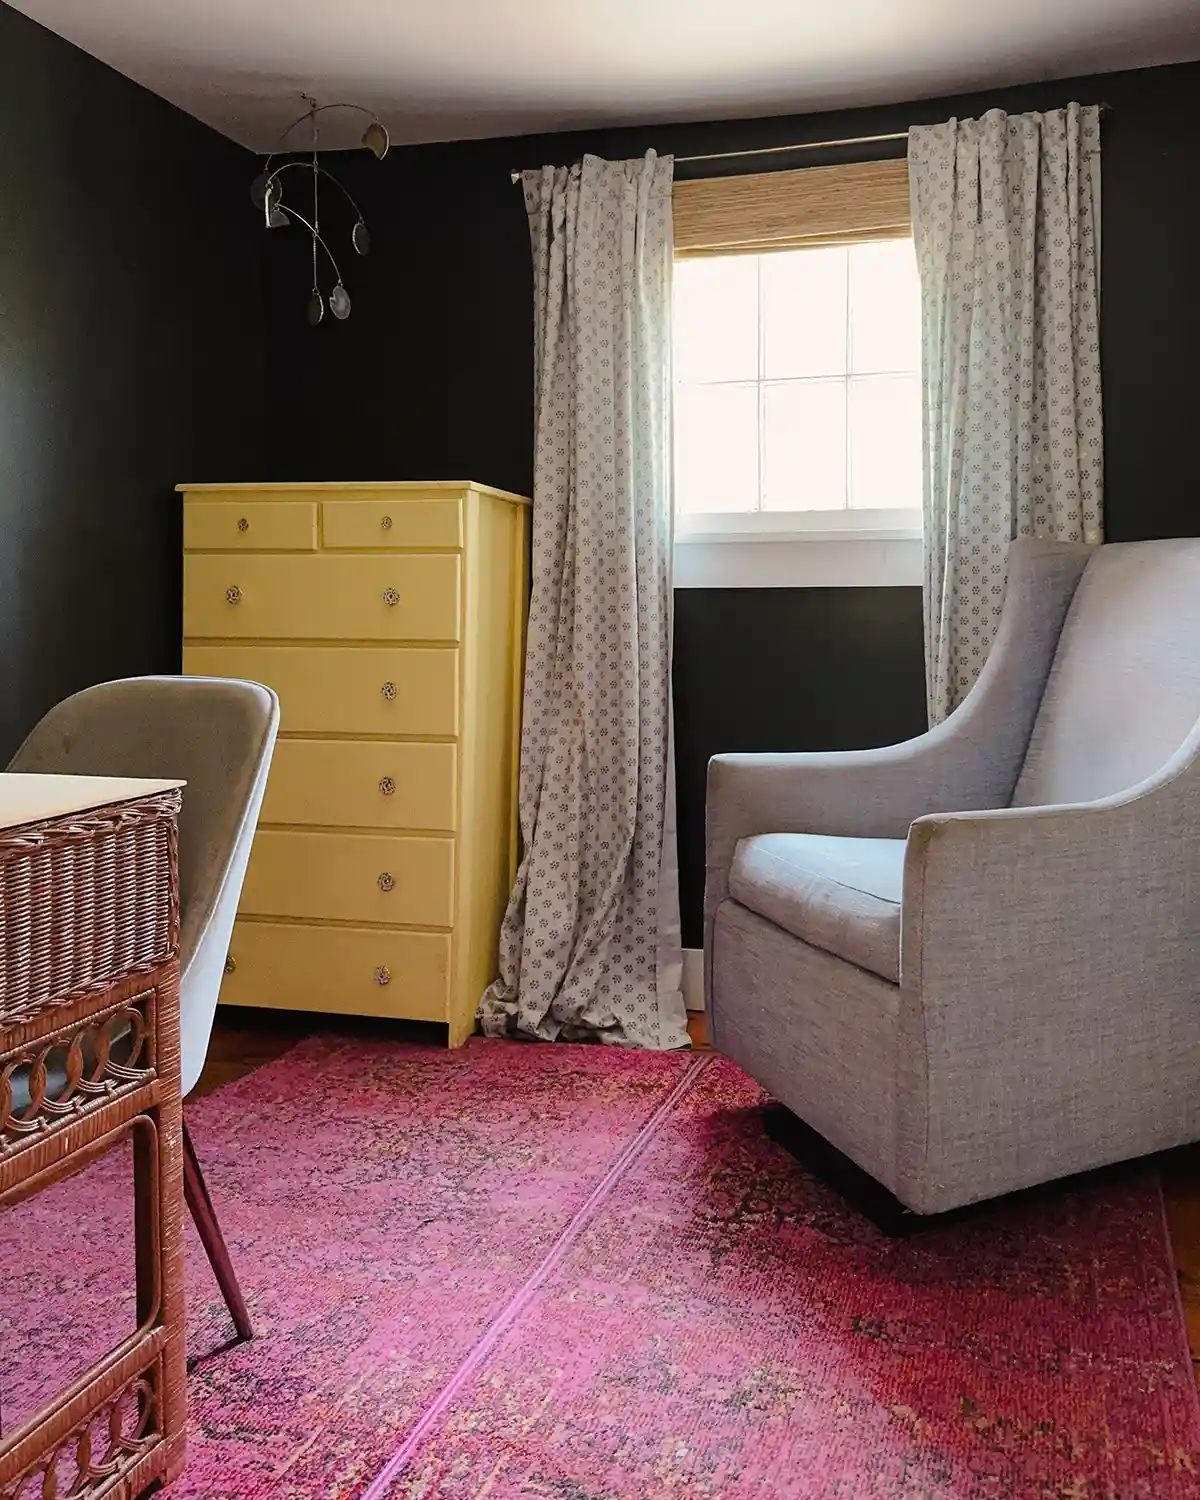
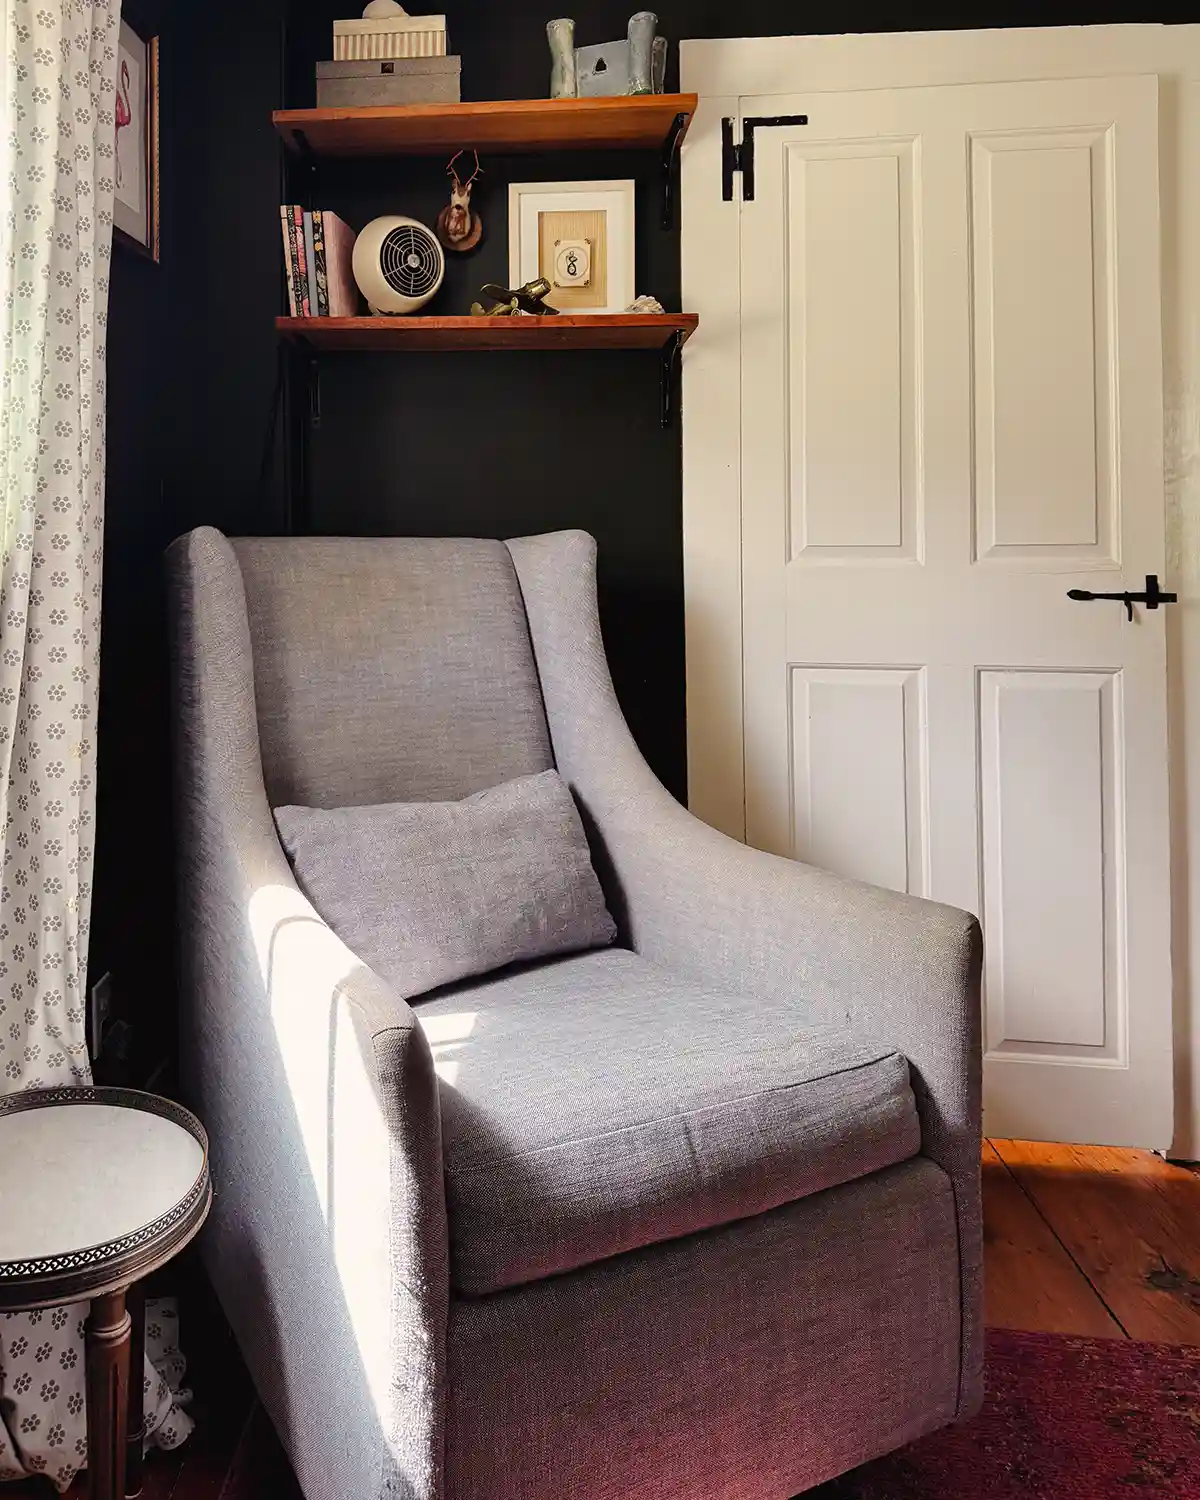
Second, I brought the old nursery glider back in. We splurged on this West Elm glider, and we love it to this day. With a good footstool, it would make the perfect spot to sit back, relax, and edit blog work or get lost in a book. I also brought up a small, round marble-topped table from the living room to use as a side table in here. It fits perfectly between the chair and wall, just underneath the window. The girls keep knocking it over down in the living room, and I was afraid it would break, so moving it here makes me feel like it will live to see another day.
And third, I brought in a vintage dresser to store all the memorabilia. My will-brake-for-free-side-of-the-road-treasure habits have yielded three dressers this summer. This shabby, yellow set of drawers was the last to find a new home, and it fits like a glove. The plan is to store all the things in it. From baby books to letters from Santa, birthday invitations to art books, garden journals, morning routine notebooks, and more. I even kinda dig the butter yellow.
Step Four: Add Items For The Room’s Intended Purpose
With the furniture layout determined and the big pieces brought back into the room, the next layer of things we’re bringing in are the items for the room’s intended purpose. Whatever you need to bring in to make the room work the way you want it to is what we’re doing in this step.
If it’s a craft room, start bringing in your craft supplies and organizing them. If it’s a guest bedroom, bring in the linens and pillows, lamps, and all the things the guest room needs. For an office, this step might look like adding task lighting, stocking the desk with office supplies, setting up a computer, etc.
For my project, I started by setting up the desk. I don’t have many things since my job mostly consists of computer work, photography, and internet things. But I set up an extension cord, brought in a lamp, and made the desk usable. I found all my highlighters and pens that the kids have commandeered as their own and set them on the desk. On the open shelves, I propped old journals I refer to and brought in the kids’ clay creations that are keepers.
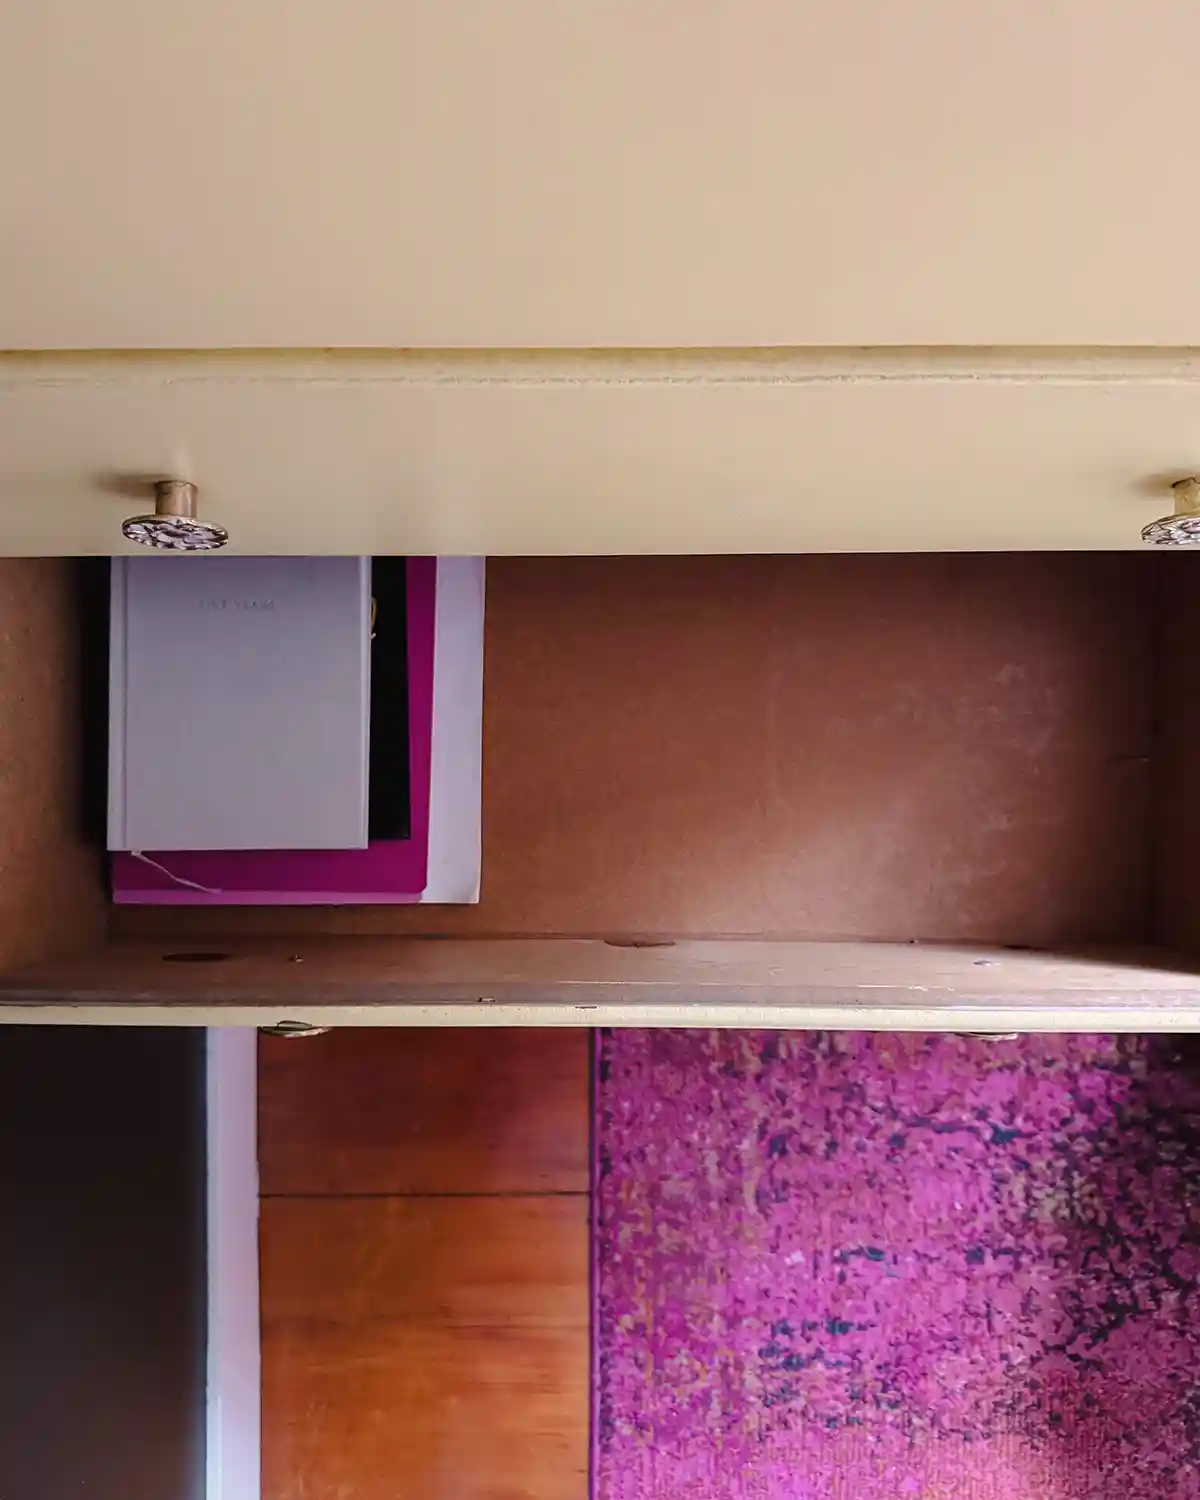
The biggest step was adding all the kids’ (and my) keepsakes in the dresser. In total, it takes up about one drawer, but I decided to spread things out, give each family member a drawer, and leave plenty of room for expansion. Here’s my drawer so far with my travel journals and five-year journal.
Step Five: Shop The House For Interior Decor To Add Style
And finally, my favorite step: shop the house to finish decorating the room. Raid that stash of frames you’ve been hoarding collecting in the attic and use them for wall decor. Don’t underestimate the power of a good gallery wall to mask beige or white walls, bringing in lots of color. Style the shelves or built-ins with a knick-knack or two from a recent vacation for flair. Layer on some pillows or drape a blanket over the chair for added texture. Add a few favorite things to the nightstands, channeling your favorite interior designers.
Keep layering decorative items, bit by bit, until the room feels like you and a space you want to hang out in. Don’t be too worried about getting it right; there will be plenty of time for editing as you use the room later on. The goal is a solid first pass of decor.
Here’s a view of the one-day room makeover of our home office from out in the hallway.
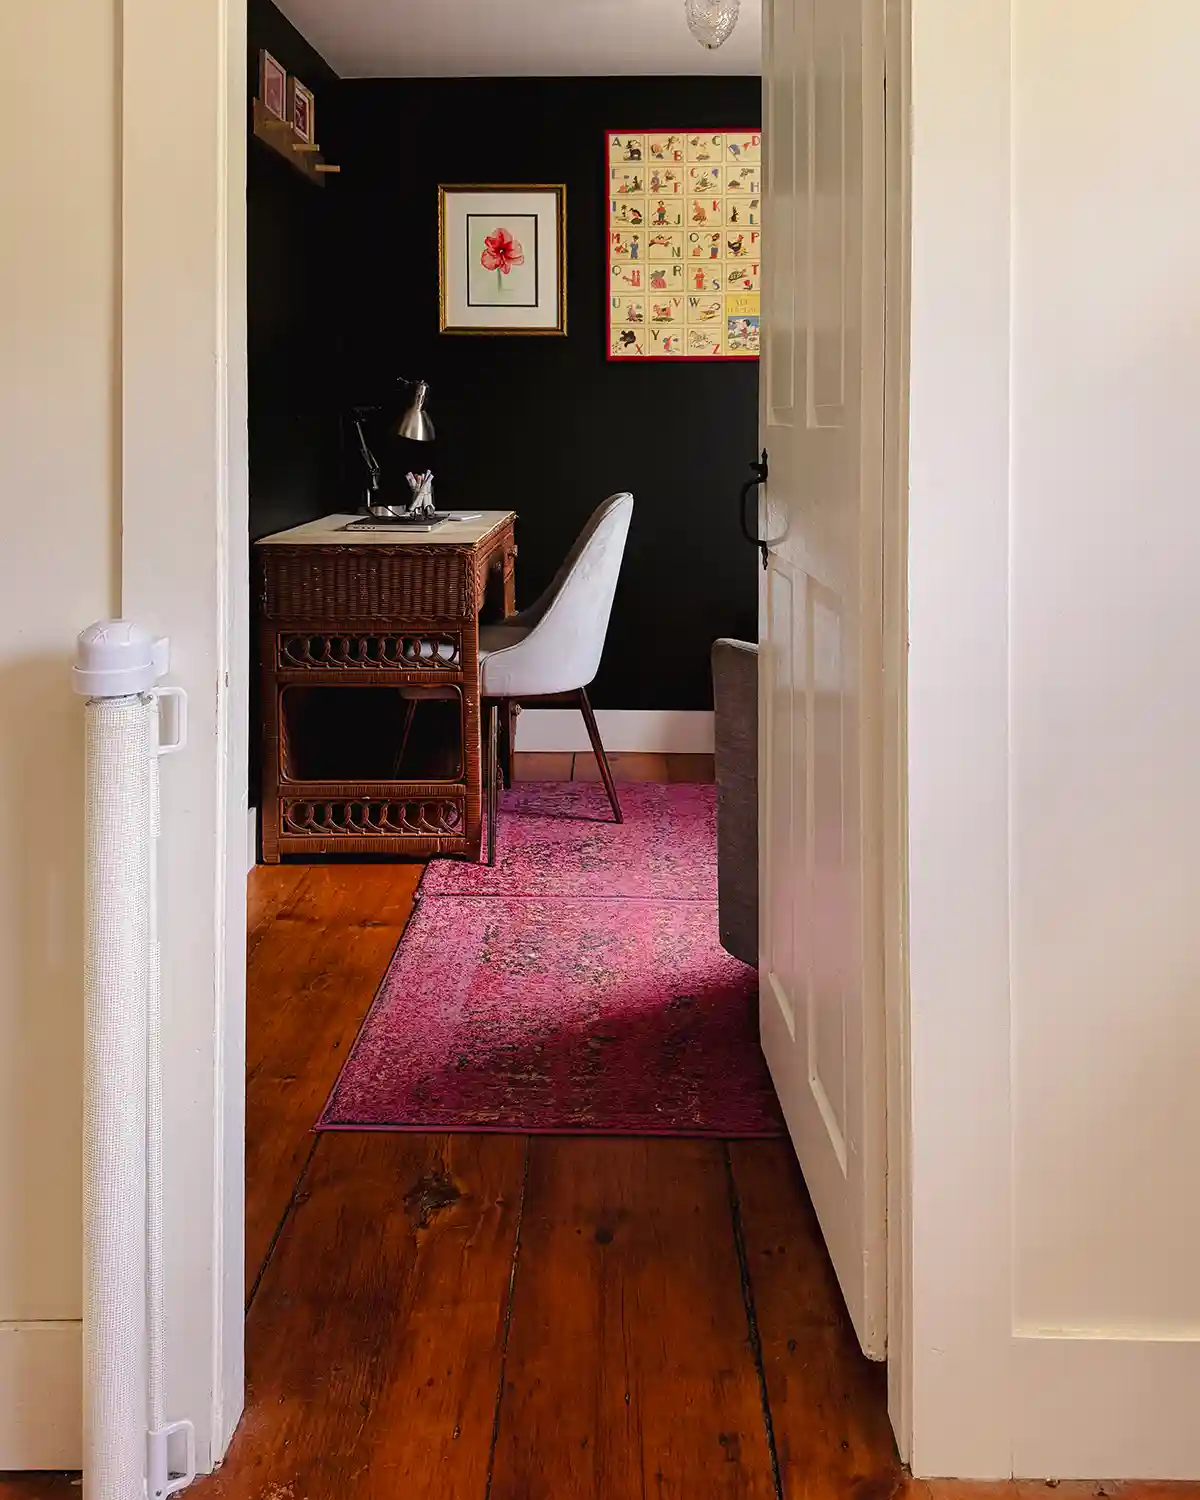
And another view from the primary bedroom.
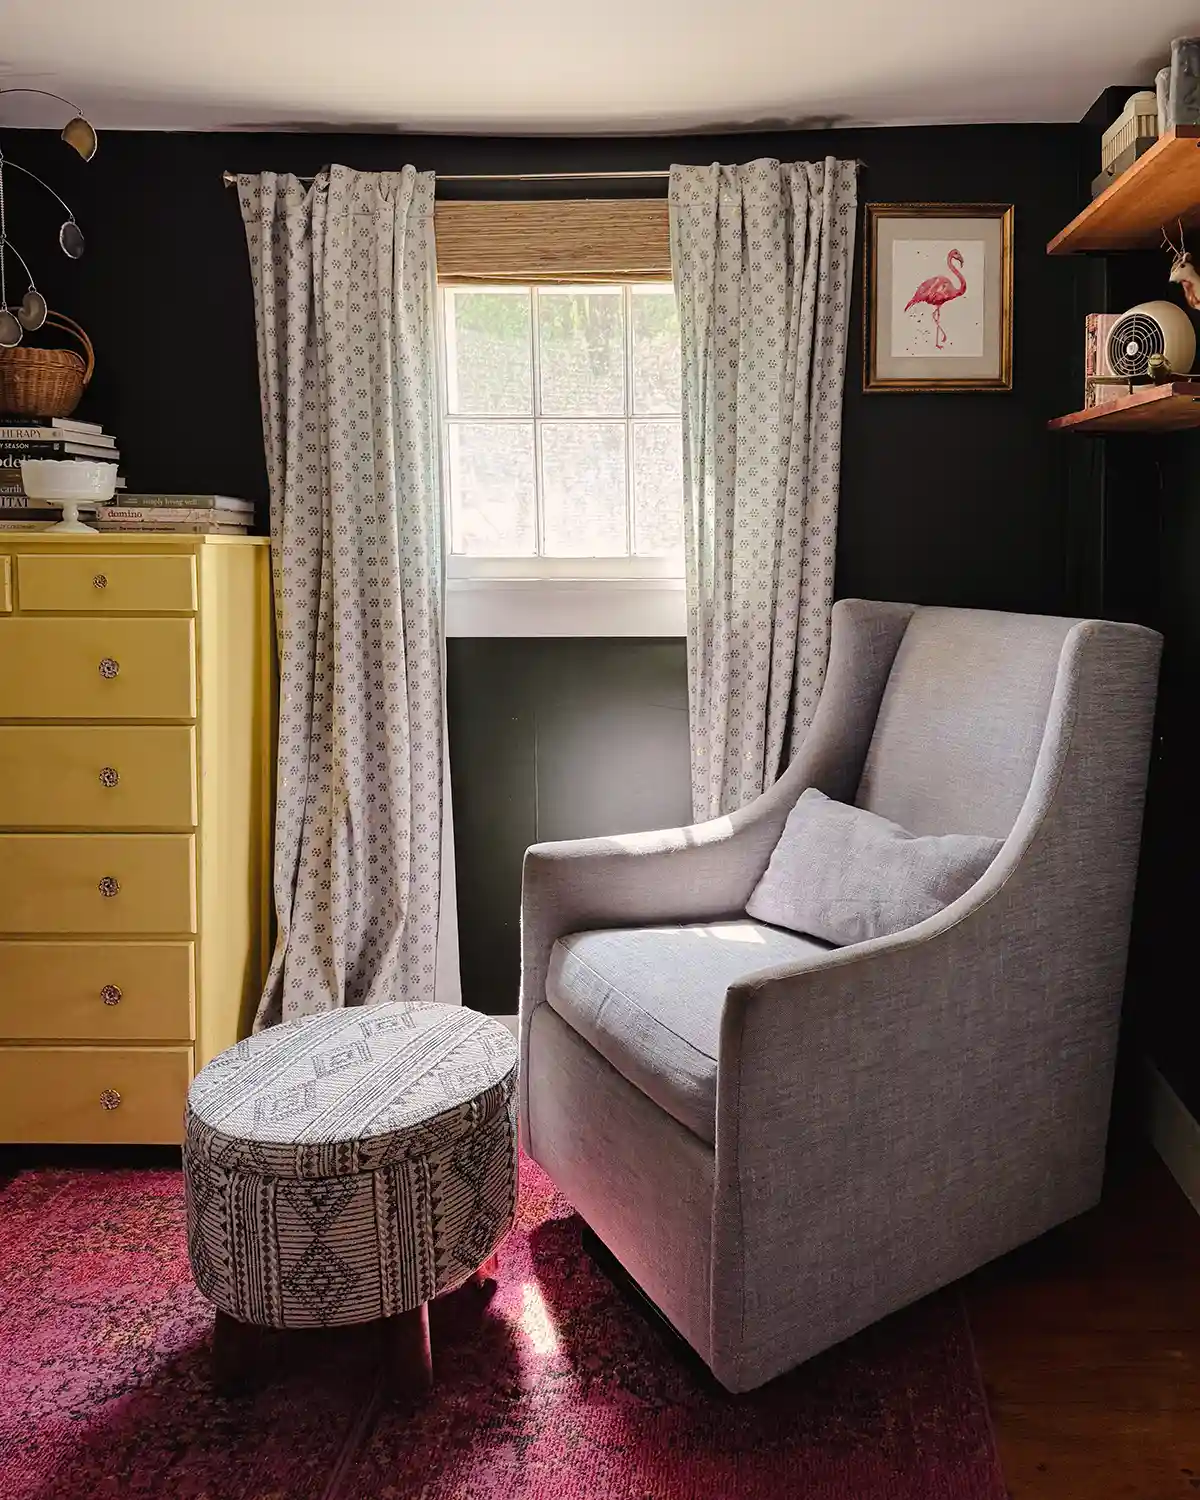
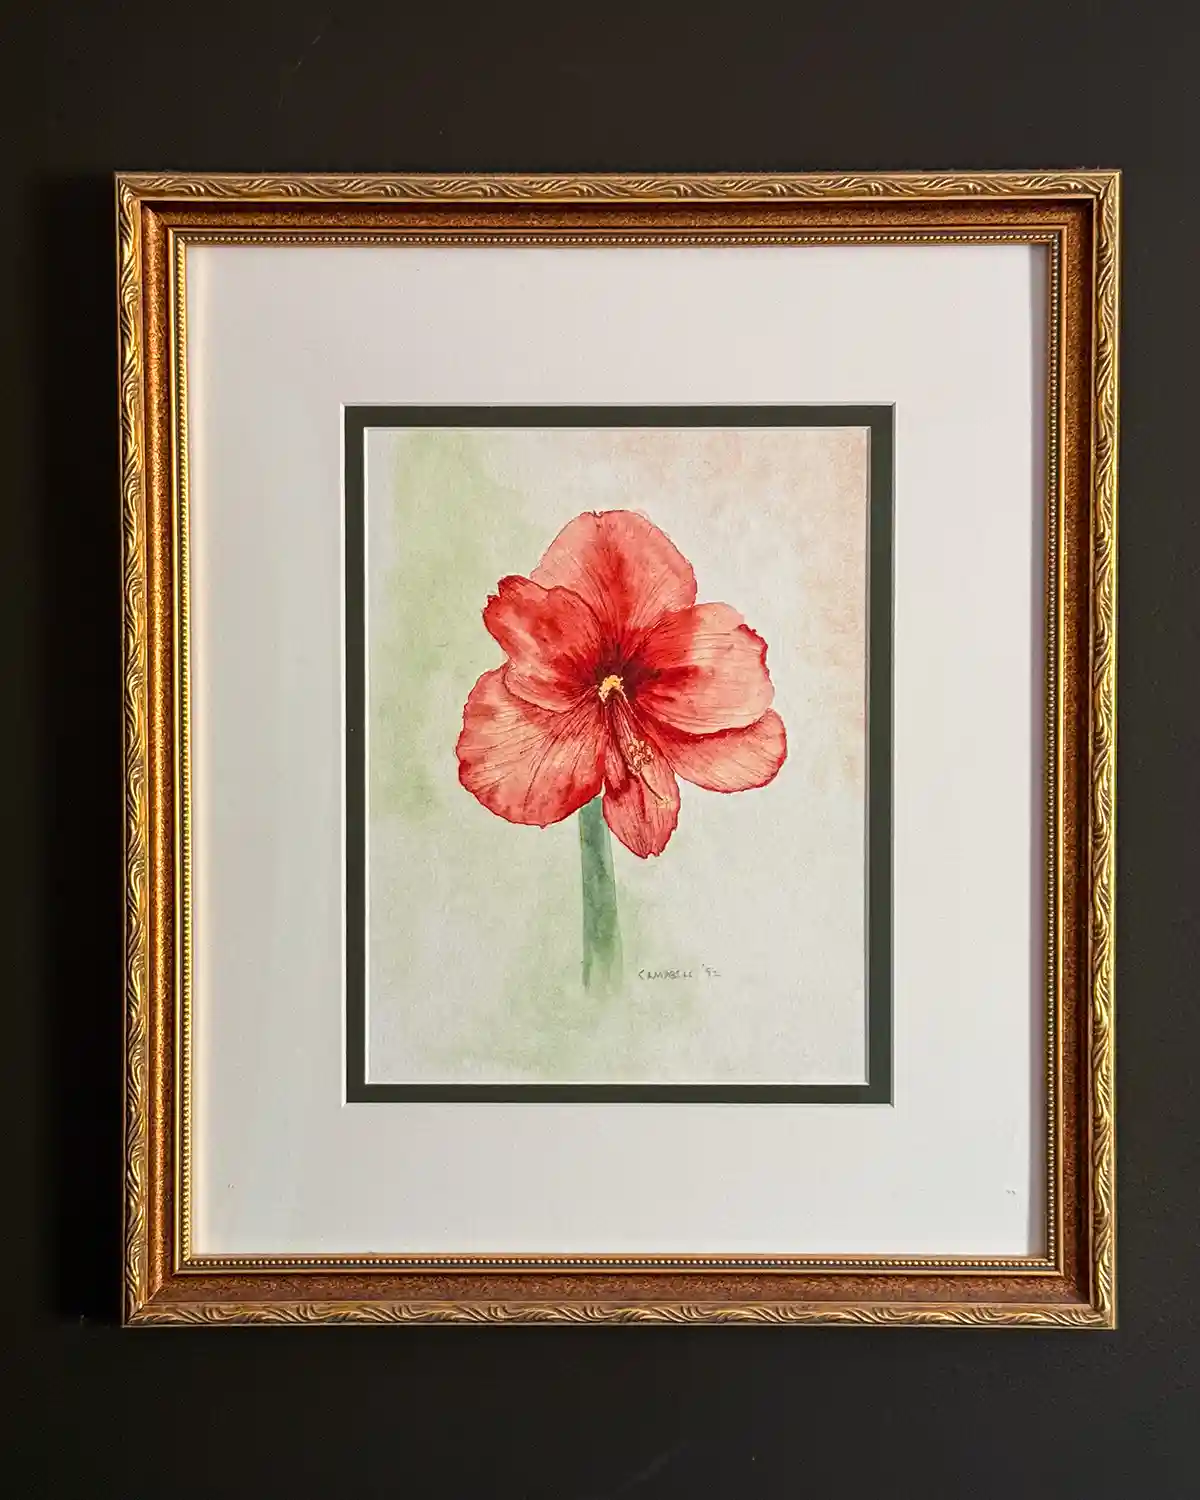
I loved the nursery accessories that I took out of the space, and alot of it was sentimental, which fit the theme of the room in general. So back in came alot of the artwork (like Grandma Barb’s gorgeous watercolor, another grandmother’s mouse quilling, and the vintage ABC poster from Aunt Marcus). Even the nursery storage boxes made their way back onto the shelves, although I cleaned out the snot suckers before putting the boxes back.
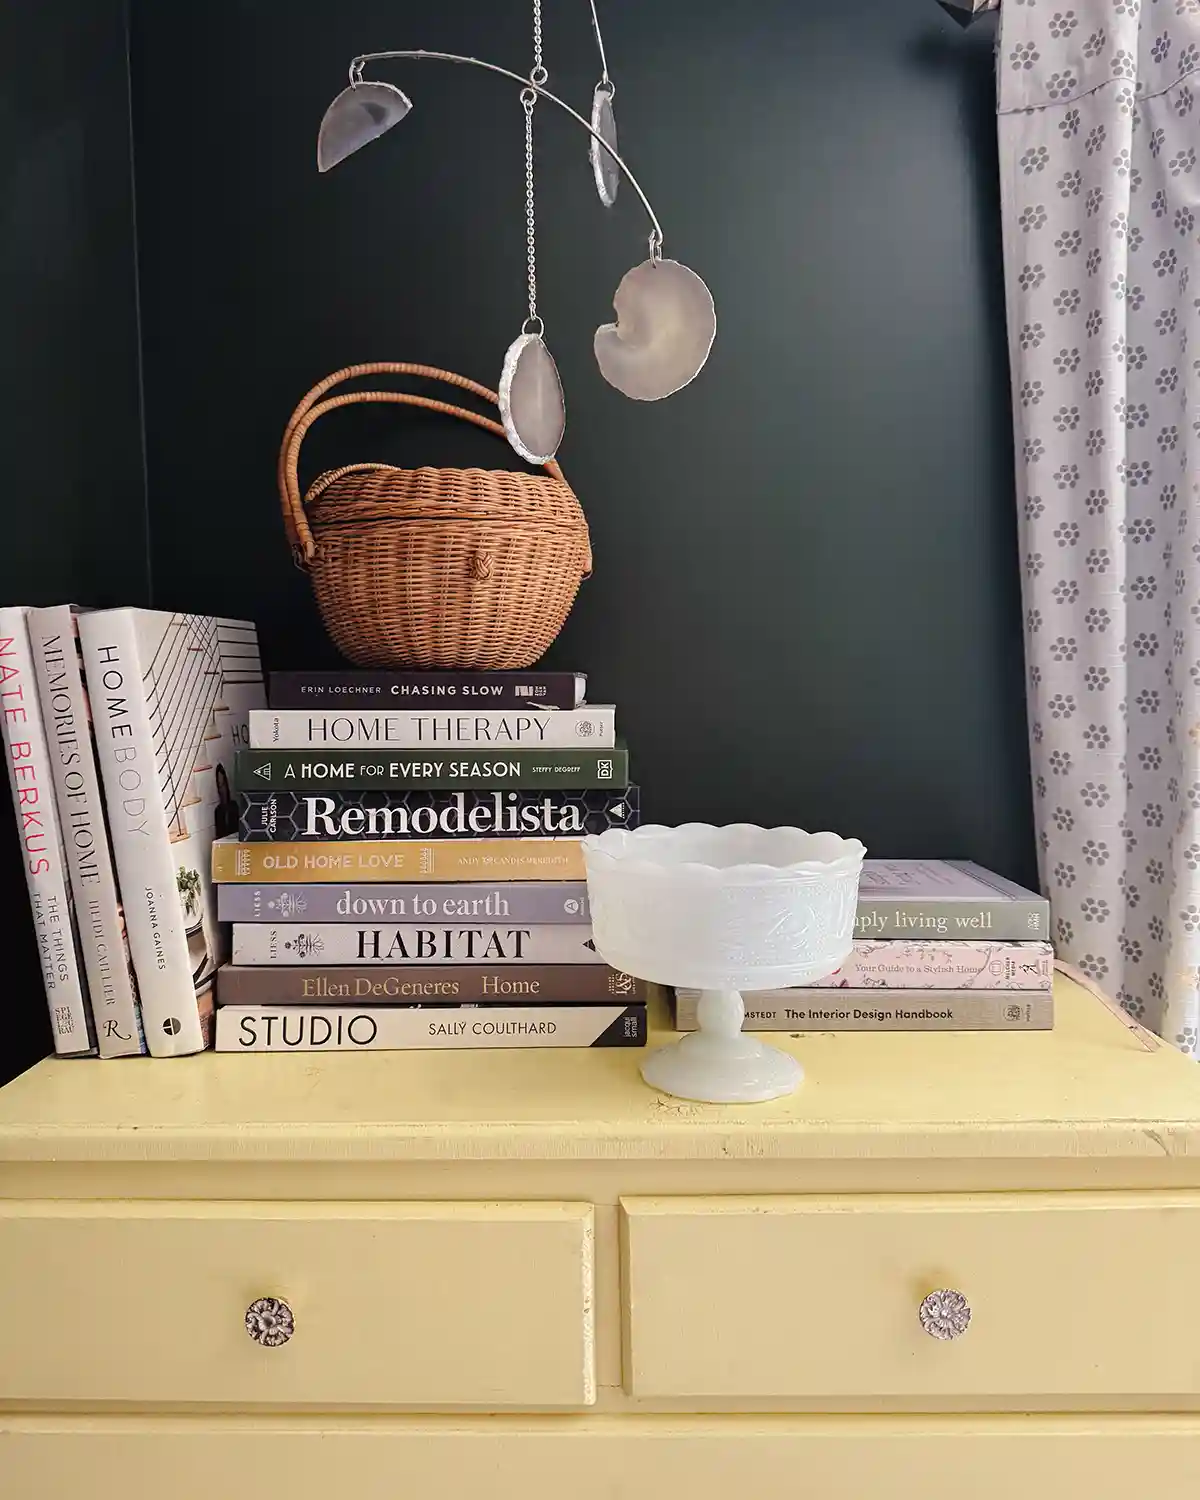
One idea I had was to store all my interior design books in this room. It made sense since I reference them quite a bit while working, especially Nate Berkus’s book The Things That Matter. I will never shut up about this book; it changed how I viewed home design. The books were stored all over the house, so I started by gathering them all. I thought there would be 15 or 20 books in total. More like upwards of 50. I tried to declutter, but I could only handle getting rid of two, and even that made me queasy. I’m thinking of building a bookshelf to replace the rolltop desk in the hall, and if I do that, all the home design and interior styling books shall find a new home there. Here are just a few of my favorites.
Enjoy Your One-Day Room Makeover Space
And finally, enjoy your new space! In one day, you managed to create an amazing room that functions well, looks great, and feels just like you. We traded in the clutter and purposelessness for a room that works for us. That wasn’t that hard, was it?! But I am pretty sweaty, so I’m just gonna hop in the shower now.
All in, it took 3.5 hours to makeover the nursery into an office space. But this room is teeny tiny, so expect it to take a bit longer for a larger room. Also be prepared for the messy middle part of the one-day room makeover. Sometimes, you have to wreck the house to organize/clean/decorate the house. But it’s all worth it in the end.
Now that you know the way, go out there and attack that bedroom makeover, transform an underutilized corner of your home, or other one-day makeover you’ve been thinking about. Channel your inner designer, work with what you have, and get creative with updating a whole room with a fresh start. It’s amazing what rearranging furniture and grouping accessories in a different way can do for a room.
For the beginner home decorator or new homeowner, this is how many of us learn to arrange and style rooms in a budget-friendly way. We work with what we have, envision possibilities, stay within our limitations, and learn what we love.
Pssst…The office has only been in use for a couple of weeks, and I’ve already switched out the pillow for one with a pattern, shuffled the shelf accessories twice, and reorganized the sentimental items stored in the drawers. All this to say, home is never done, and a forever work in progress. So, onwards to working on a few more office projects! Like maybe a fresh coat of paint on the walls, installing sconces where I need more light, upgrading the white paint on the ceiling to a color, assembling a really eye-catching gallery wall, or maybe even something to add a bit more architectural interest. Who knows! But whatever I do, it will be full of charm and character. The room already has great bones. Stay tuned!