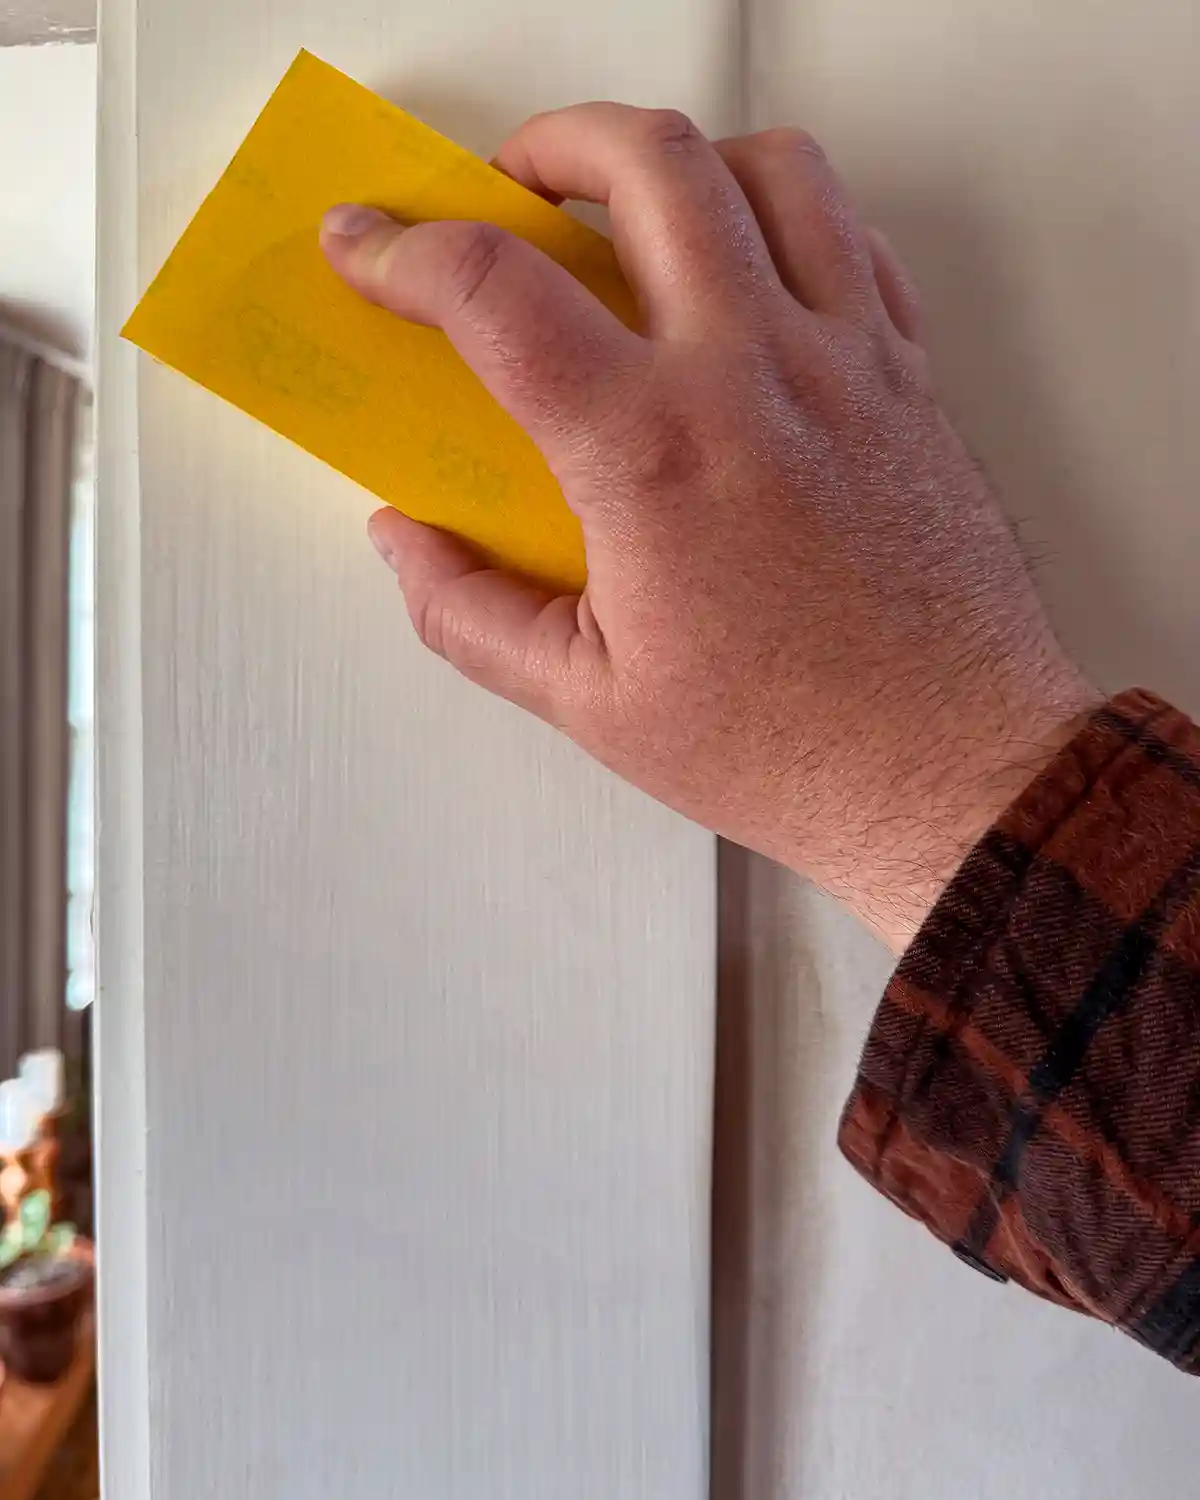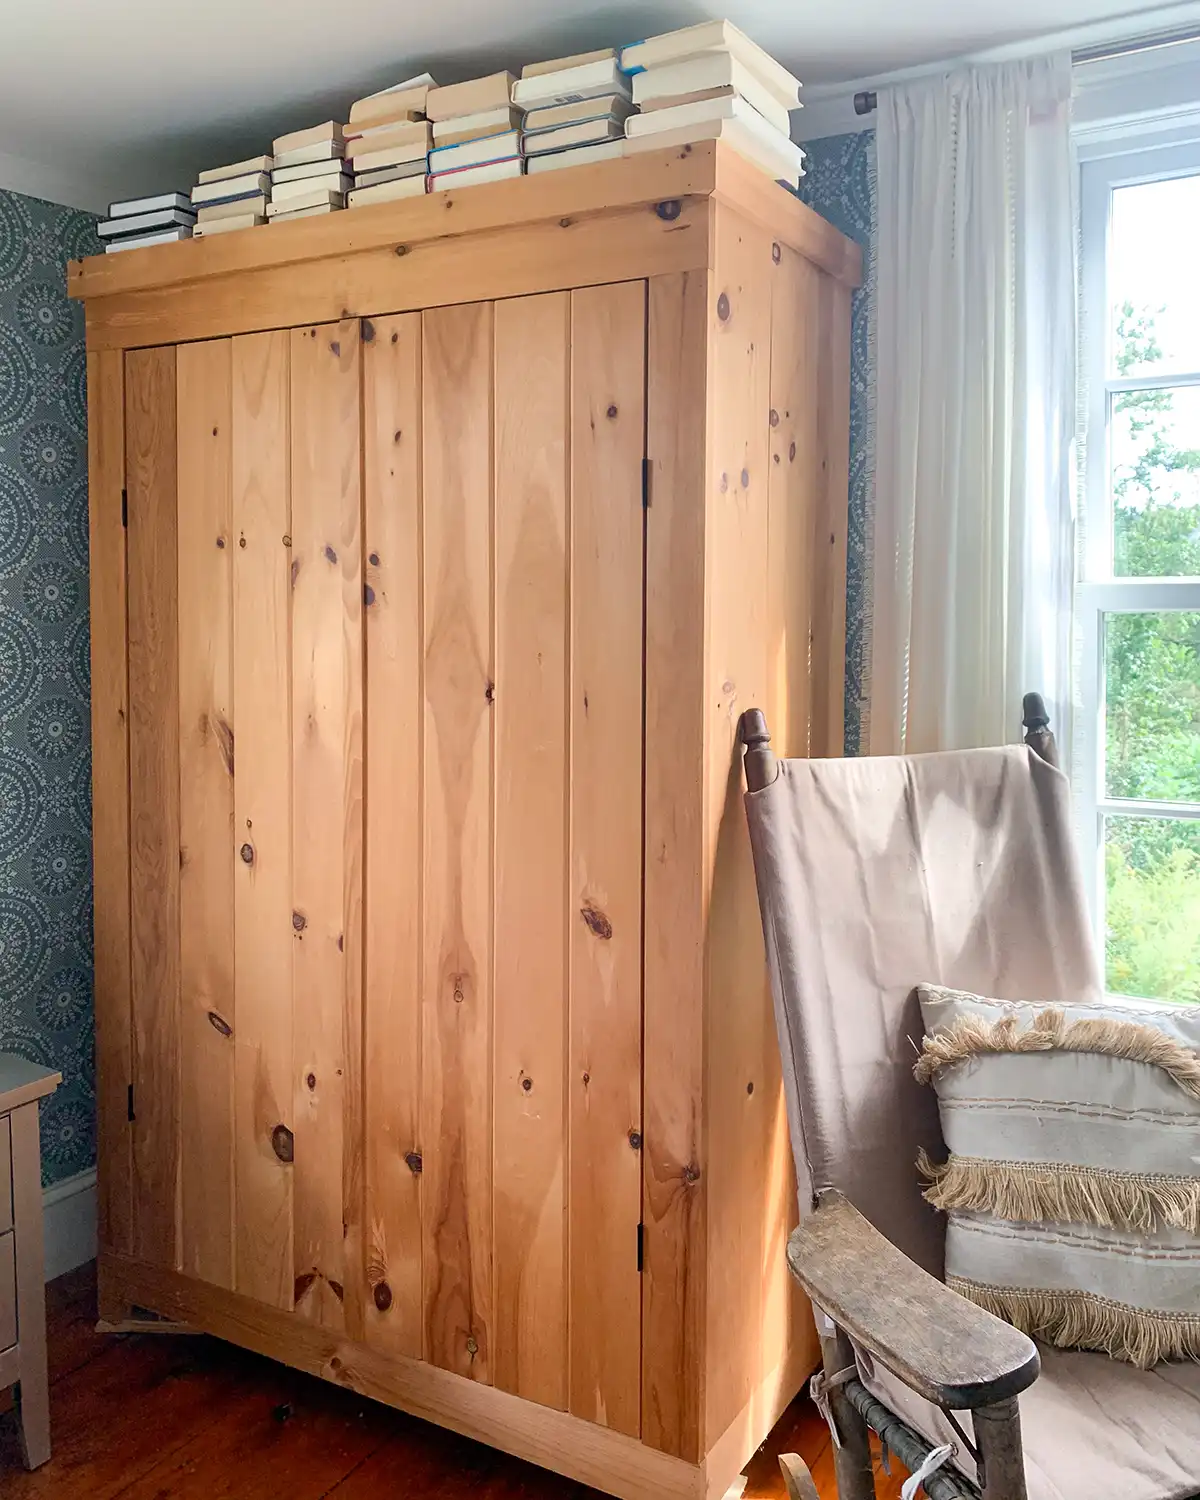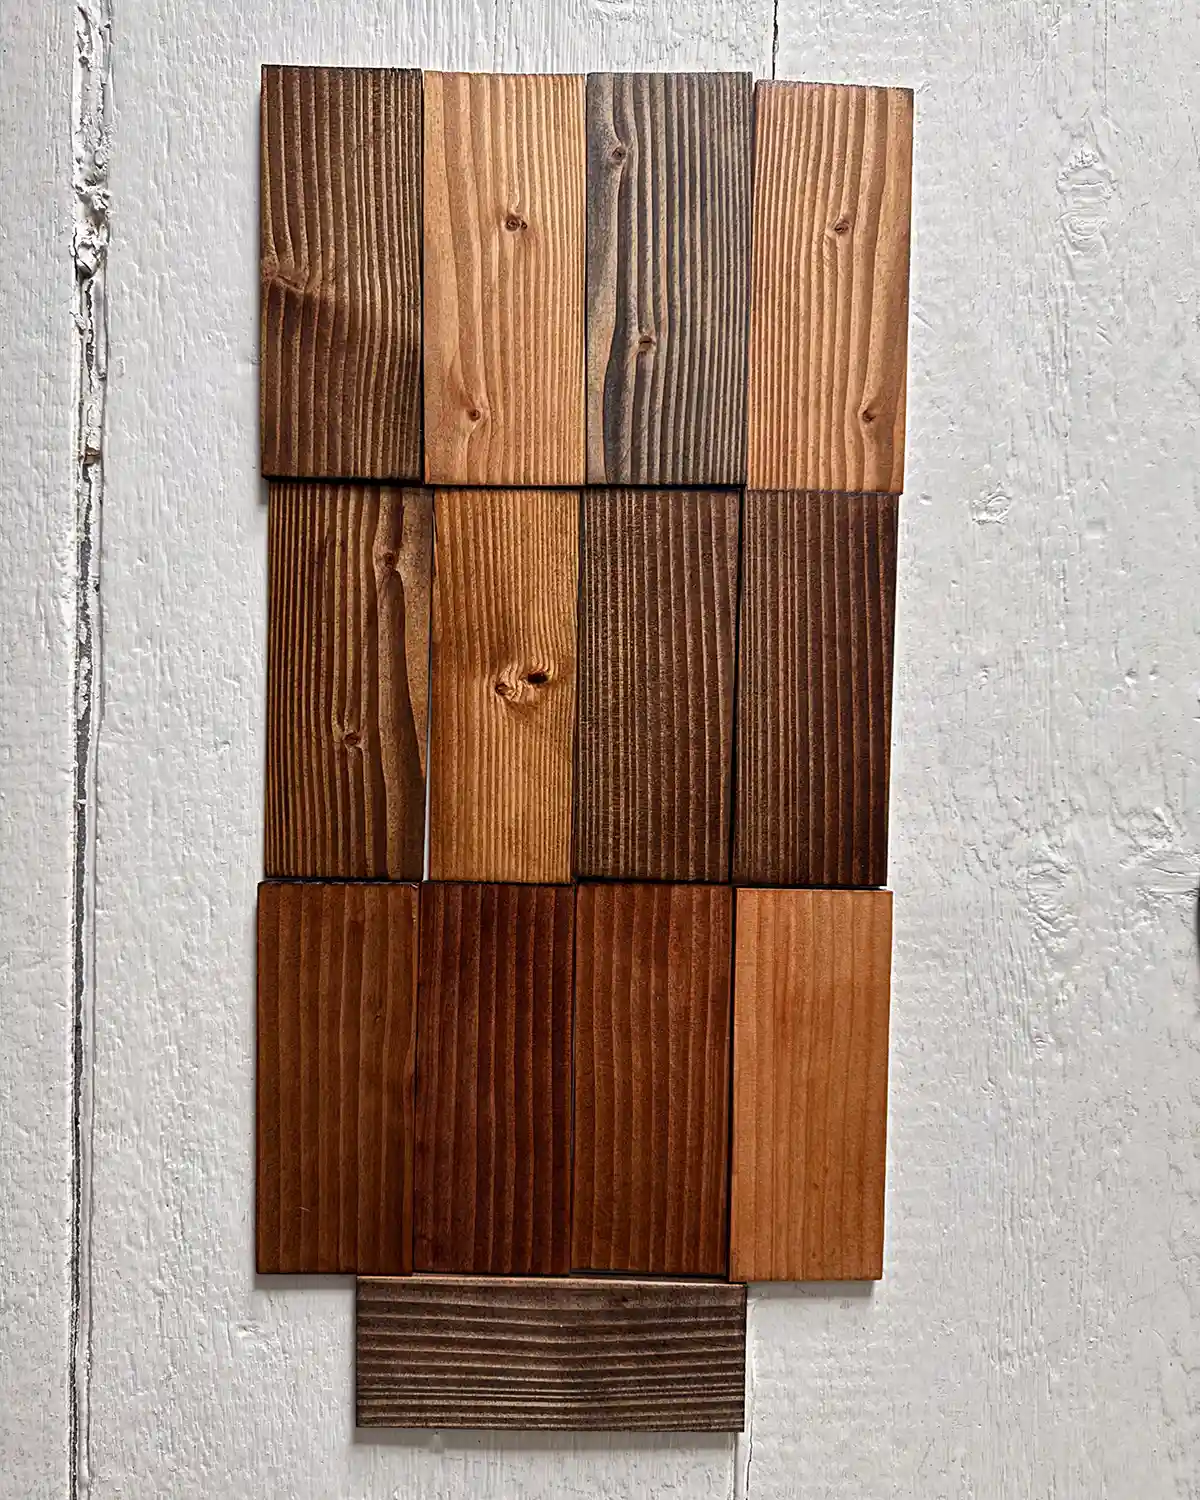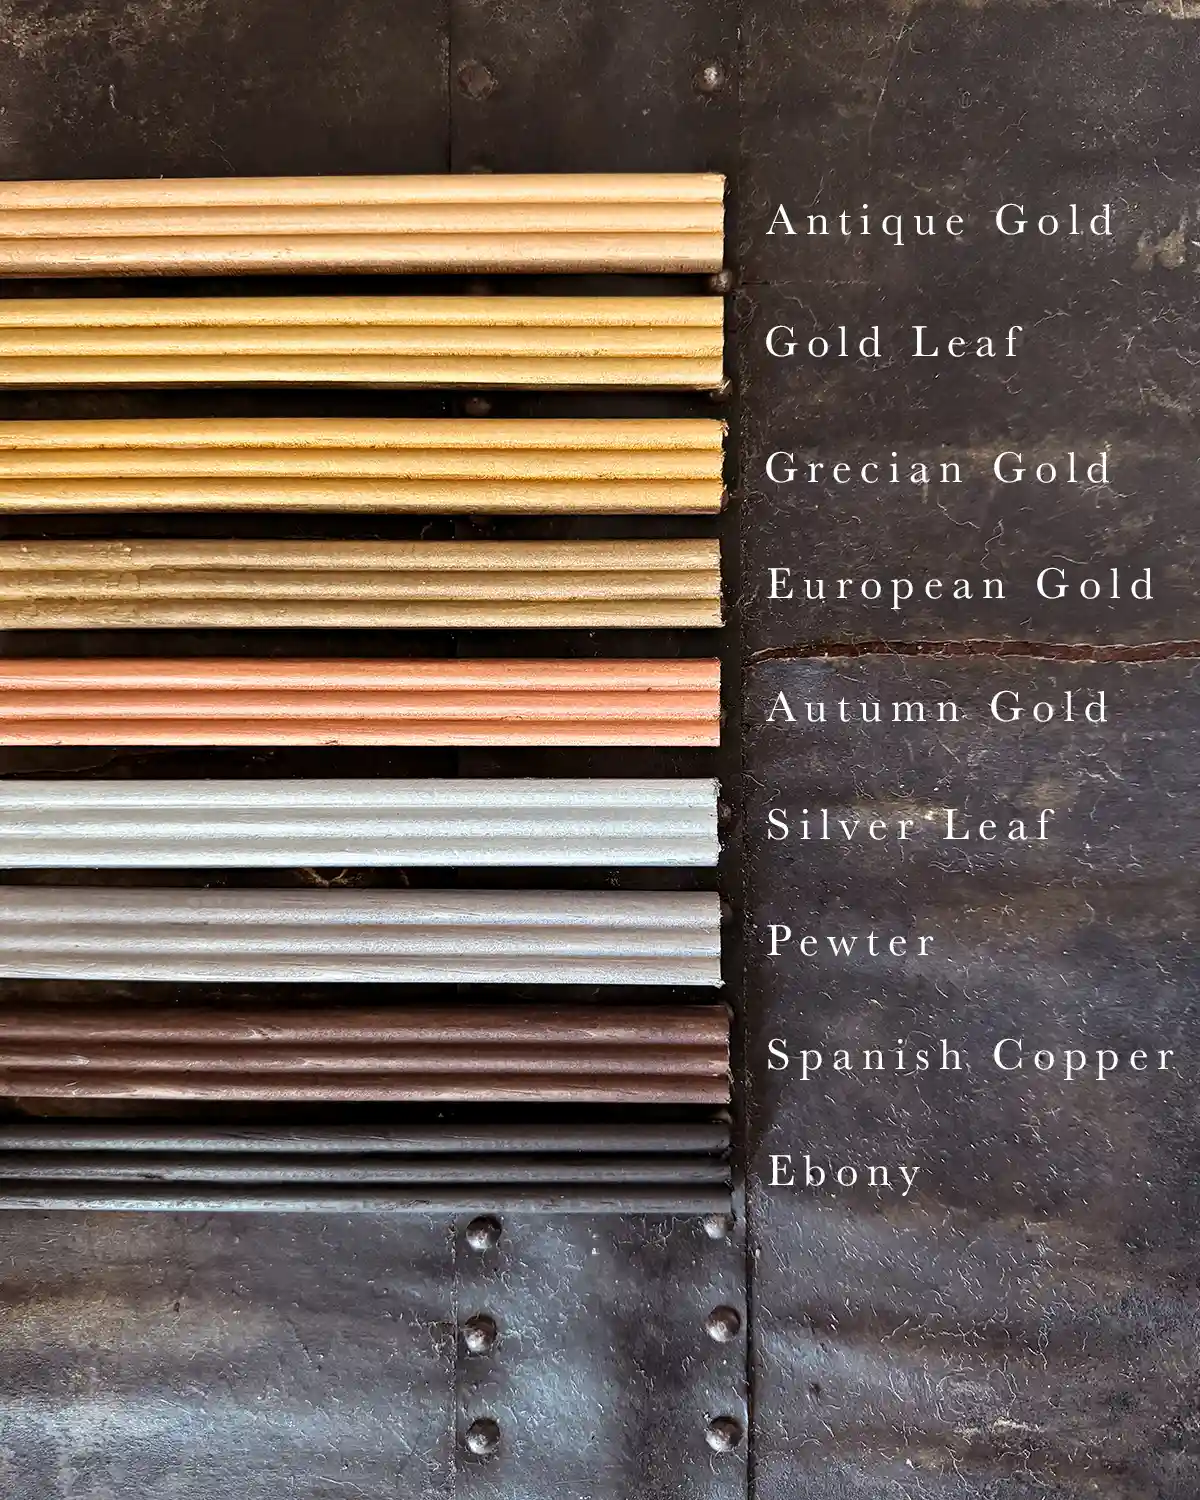
If you’re renovating, woodworking, refinishing furniture, or tackling any other DIY home improvement project that involves wood, chances are you’ll be doing some sanding. Whether you’re sanding by hand with a piece of coarse sandpaper or using an orbital power sander, you’ll need to choose a grit. But which one? And do I really need different grits for the same job? How do I know I’m choosing correctly? Let’s walk through a basic guide to what grit sandpaper for wood projects you’ll need.
In a previous life, I worked as a marketer for an industrial distributor. When I first started, I did not understand the sandpaper grit number on the packages we sold. And we sold ALOT. But after sitting through multiple product training sessions, learning more about the tools and accessories we sold, and becoming a first-time homeowner of a fixer-upper, I quickly mastered sanding wood to a smooth finish using progressively finer grits. I even amassed a stockpile of sandpaper (most of them free samples….shhhh…don’t tell) and started to develop a preference.
Choosing the right sandpaper is not hard once you know a few basics. The general rule is to start with a coarse grit for rough sanding (lower numbers) and work your way to a fine grit (higher numbers). But here are some more details to get you started.
Just What Is Sandpaper Grit?
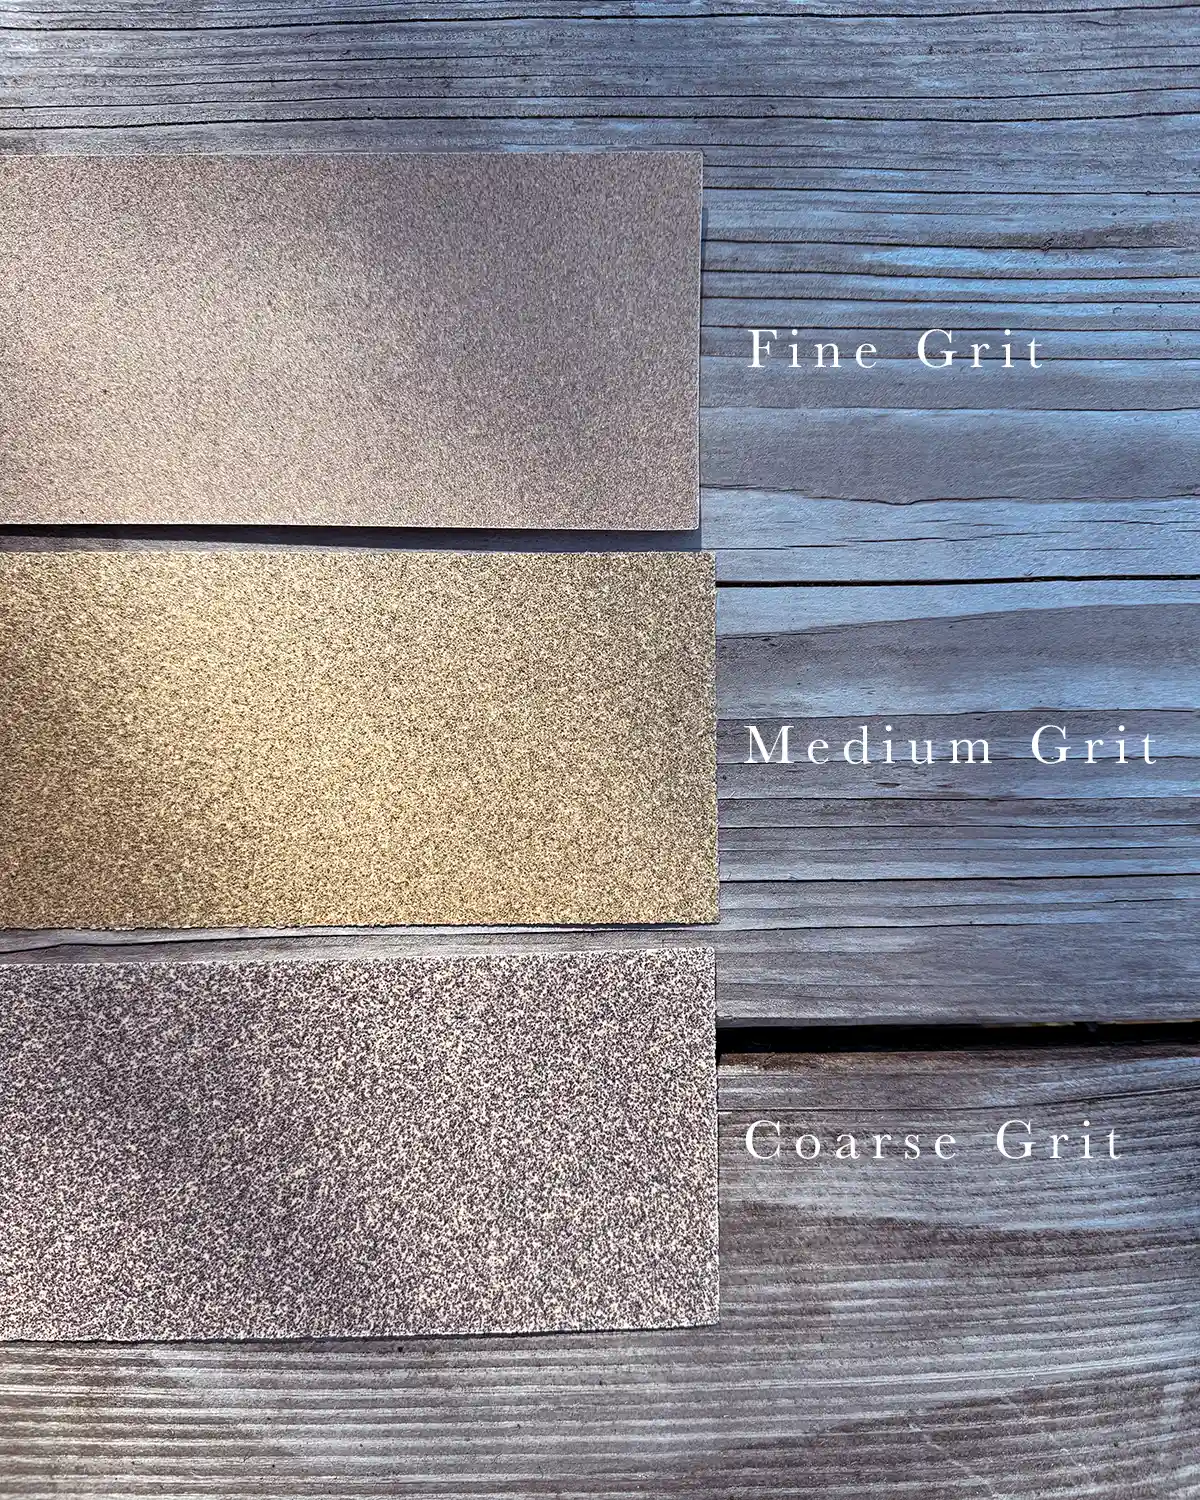
Sandpaper grit is a measure of the coarseness of the product, determined by the size and number of its abrasive materials. Finer sandpaper has smaller abrasive grains, while coarser grits of sandpaper have larger ones. Finer grades also have a greater number of abrasive particles per square inch, while higher ones have fewer.
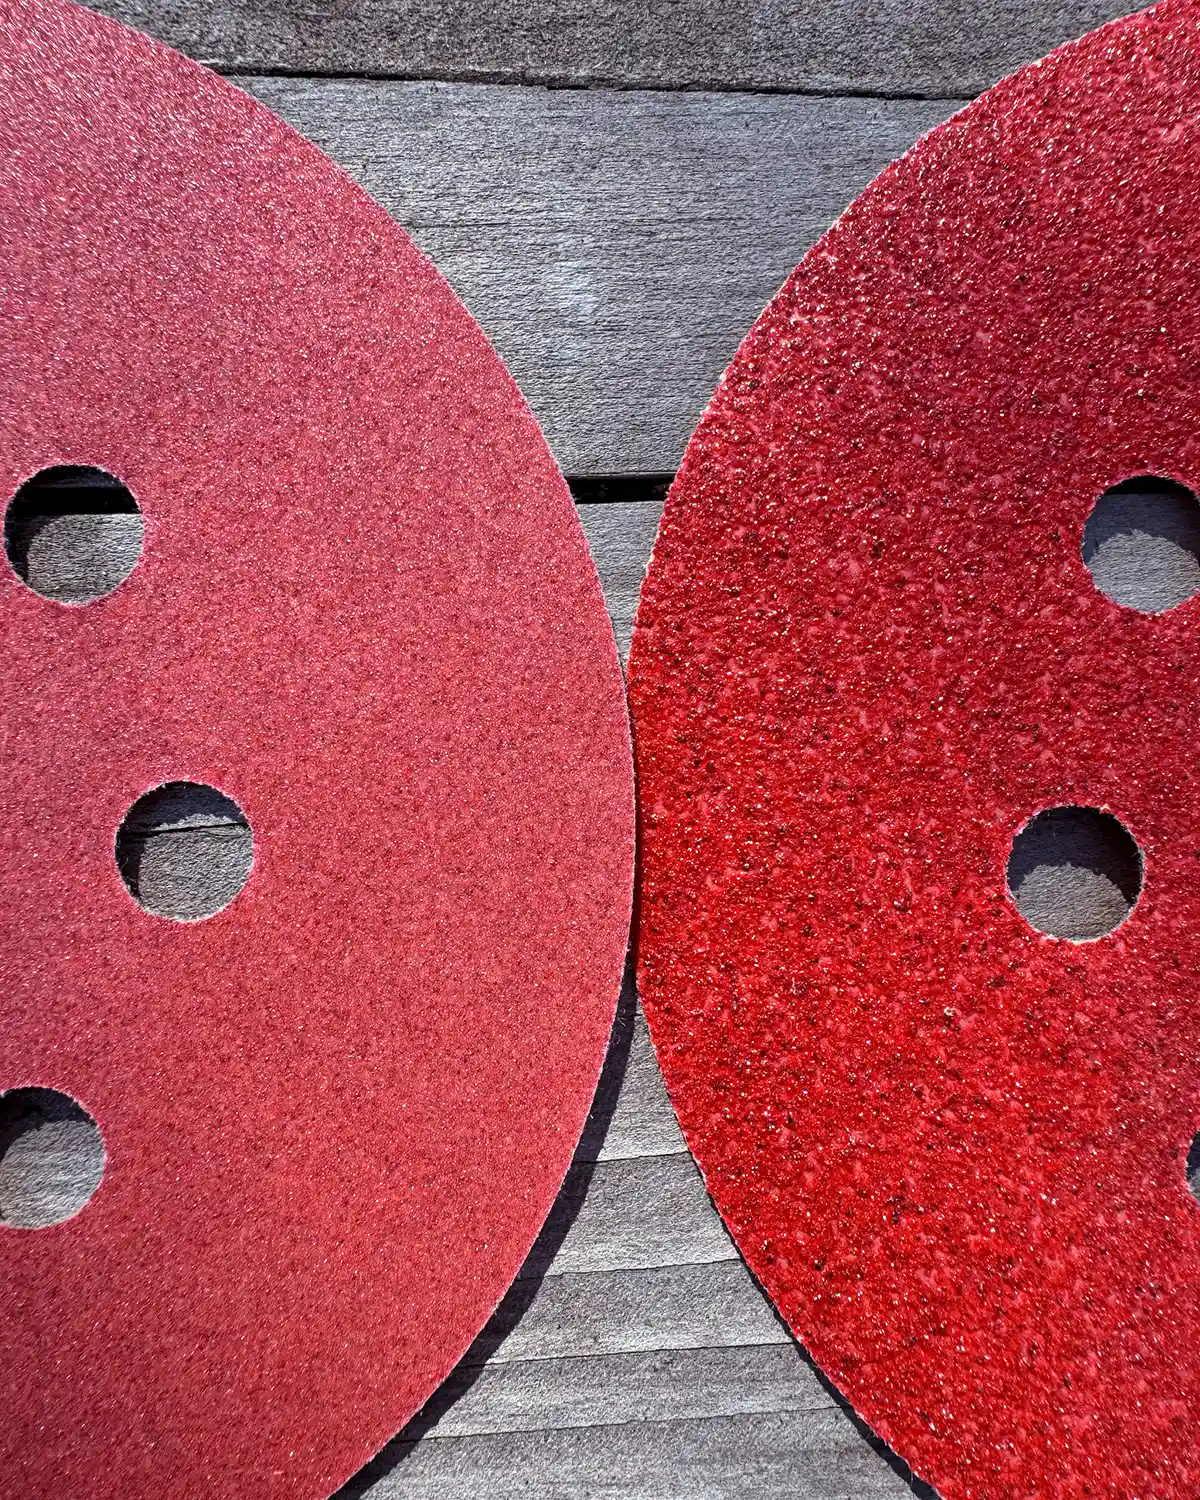
Here’s a photo of coarse-grit paper on the left vs fine-grit paper on the right.
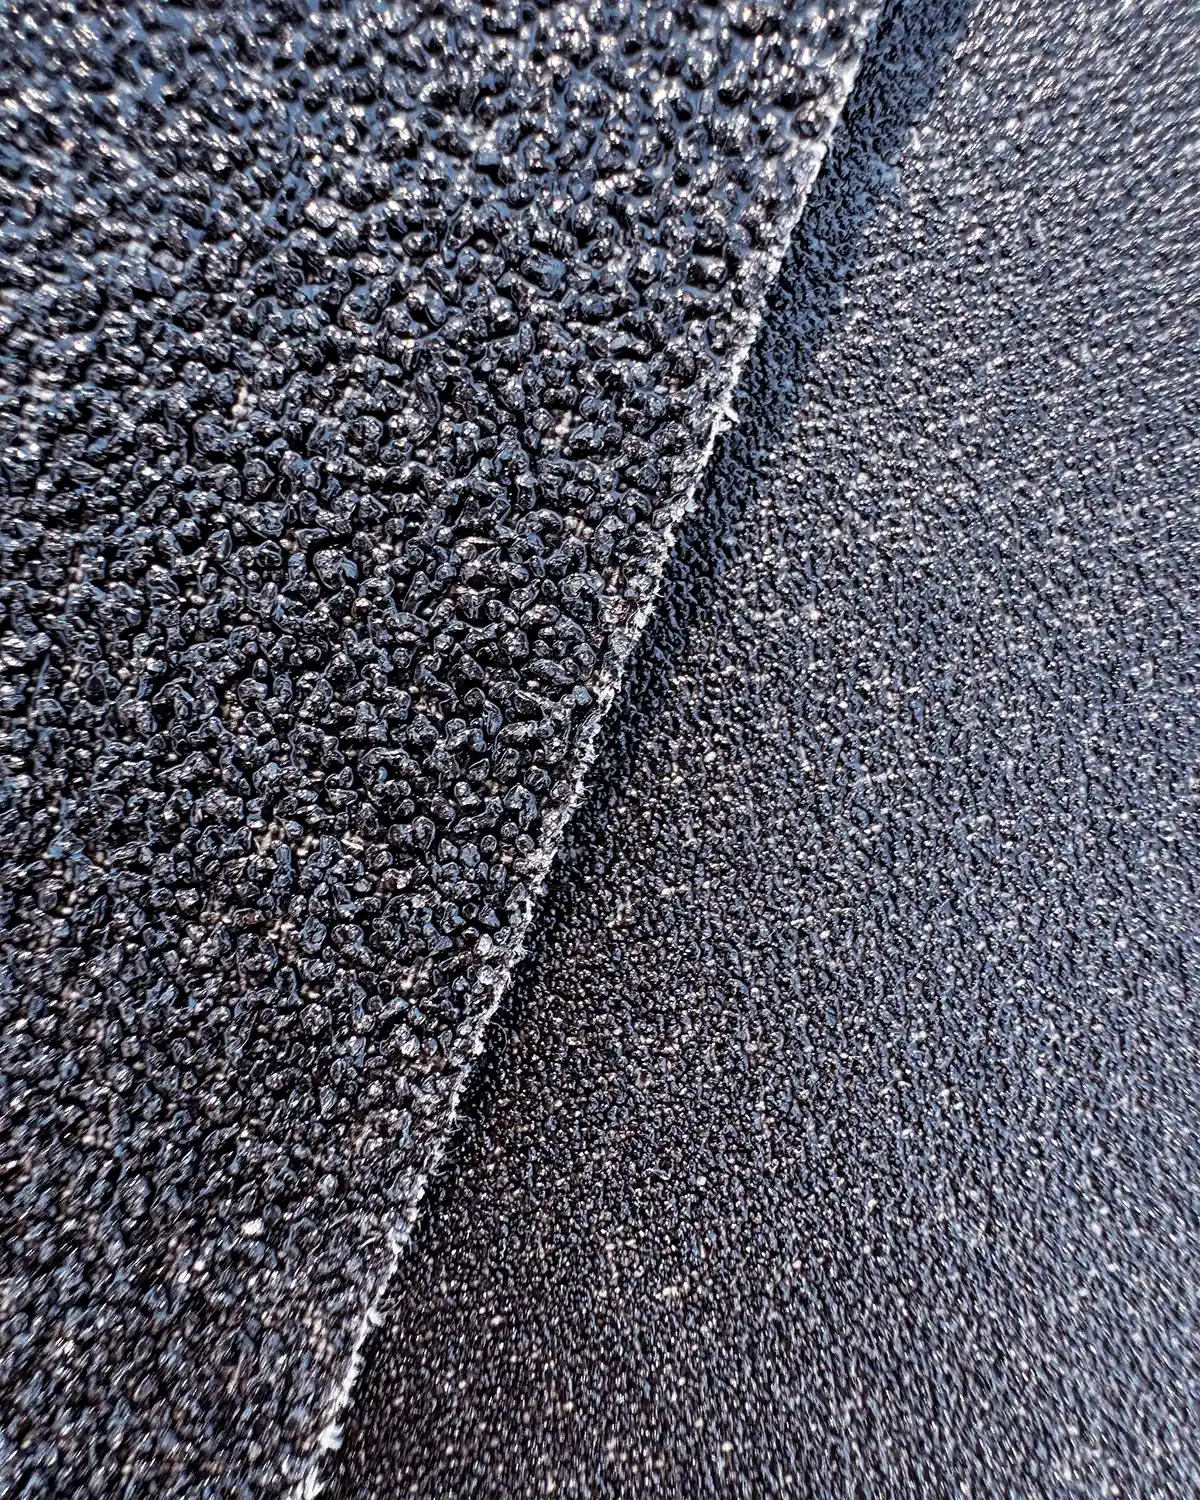
Coarse grits will wear down the surface of the material you’re sanding very quickly because of the size of the abrasive materials. Because of this, it can also leave large scratches on the surface. Often in woodworking or refinishing projects, these grits are used to remove finishes since they are more effective and quicker than finer grits. Then, more sanding is done with increasing fineness of grit to smooth out the scratches before a finish is applied.
Why Is Choosing The Right Grit Size Important?
The most critical part of sanding and finishing a project is choosing the right grit to get the best results. Your overall goals for the project, whether it’s smoothing out old wooden floors before staining or achieving a professional finish on a refinished furniture piece, will dictate the right grit sequence for your work. Different projects call for different sandpaper needs. The best sandpaper grit for one project may not be the best for another.
If you choose a grit that is too coarse (lower numbers), you could damage the surface of your project. Lower grits are best for smoothing rough wood surfaces, removing coats of paint, or taking out deep scratches or gouges.
If you choose a grit that is too fine (higher numbers), it may not remove an old finish properly. Higher grits are a good choice for achieving a final smooth surface, light sanding between finish coats, and final pass sanding.
What Are Sandpaper Grit Numbers?
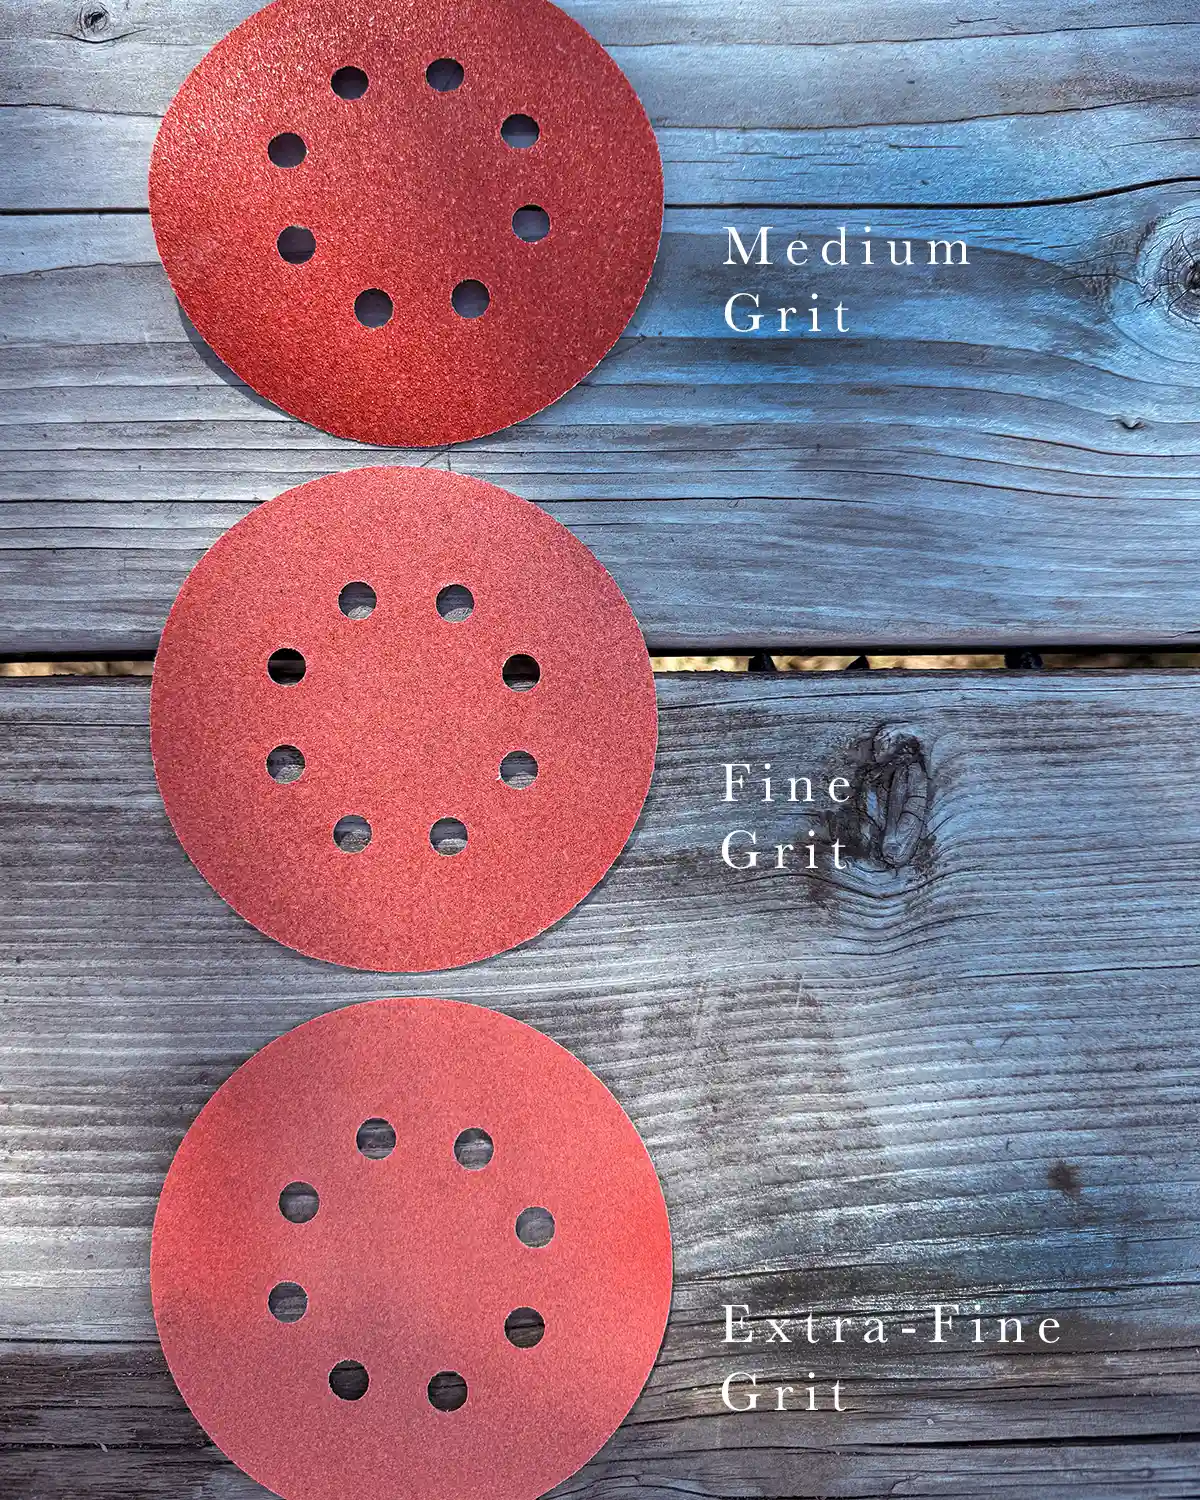
Sandpaper grit numbers range from 24-grit to 1,000-grit (and higher). Most DIYers use different levels of grit ranging from 60-grit to 320-grit. The correct grit sequence starts with coarser/lower grits and works up to finer/higher grits.
Keep in mind that different manufacturers categorize grits differently. What is medium grit to Diablo is not what 3M considers medium grit. Use the grit number, not the coarseness label, when selecting sandpaper, since it is more consistent.
Extra Coarse (24 to 36)
Extra coarse grits are the first grit level and are used for heavy material removal and wood shaping. It is extremely coarse and can wear down surfaces quickly. This would be the best choice for removing stubborn paint finishes or sanding down super rough surfaces with a belt sander.
I’ve personally used 36-grit twice before. Once, when we were refinishing the stair treads in our first home. We struggled to remove the old finishes from the wood, and 36-grit on our belt sander was the only thing that worked. Second, when we purchased some rough-cut lumber from a local saw mill. It was extremely rough, and we wanted it to be smooth for a shelving build. This was before we had a bench planer.
Coarse (40 to 50)
Coarse-grit sandpaper is the more common starting grit in the sanding process. It’s used for rough shaping of wood, removal of paint, and stripping wood finishes. I prefer this starting point since the sandpaper is more readily available, and it doesn’t damage the surface of the wood like extra coarse grits can if you’re not careful.
Back when I was building hundreds of wooden iPad stands and cookbook stands each week for my Etsy shop, this was my choice of grit for shaping the edges of the stand after cutting them out with a jigsaw. It worked very well and quickly.
Medium (60 to 80)
Medium grit is a popular choice for smoothing wood surfaces before painting. It can also do moderate finish removal, but is more commonly used as a transitional grit, after a coarser grit and before a finer one.
This is the grit I often reach for when I need to blend slight imperfections without adding deep scratches to the wood surface.
Fine (100 to 120)
Fine grades are used for light finish removal, sanding preparation before applying paint or stain, and light sanding in between finish coats. It takes a little extra time to sand between a first and top coat when painting, but it is worth it.
120-grit is the highest grit I most commonly use. It works great for most of my sanding needs before and between coats of paint and to prep my wood surfaces for staining.
Very Fine (150 to 220)
Very fine grits can also be used for smoothing surfaces before applying the final finish. Sometimes, fine grits can leave slight imperfections or scratches in the wood. In that case, one final grit and round of sanding can help. It’s also helpful in sanding out any imperfections between coats of varnish or polyurethane.
When refinishing furniture where I want the smoothest, most perfect finish I can get, this is the grit paper I reach for. 220-grit and 320-grit are what I usually use to sand between coats of paint.
Ultra Fine (240 and up)
This finest-grade sandpaper is for achieving ultra-smooth finishes. This is used most commonly with fine furniture pieces, polishing and finishing surfaces. It’s great for a final surface finish for high-gloss surfaces.
What Grit Will I Use Most Often As A DIY-er?
As a DIYer, you’ll most likely choose a medium grit first to prepare wood for finishing. It’s a great place to start. If it’s not removing enough of an old finish, you can always size grit down.
Next, reach for the Swiss Army Knife of sandpaper with 120-grit. It will smooth out any imperfections in the wood surface left behind by the 80-grit. While it smoothes out the finish, it also leaves a rough enough surface to accept paint.
If you’re staining and applying polyurethane (or other similar finish products), 220-grit is often used for scuff-sanding in between coats. It removes fine imperfections and lightly scuffs before applying the top coat.
Thus, the grits I keep in stock for our home workshop are (a few) 40-grit, 80-grit, 120-grit, and (a few) 220-grit. I burn through the 80 and 120 much more frequently than the other two.
For brand recommendations, I absolutely love Diablo’s sanding products, especially their line of Sand Demon Reusable Sanding Discs. They are super expensive compared to more budget-friendly options, but they are worth it. I once bought a giant 50-pack of Amazon-branded sanding discs for my orbital sander. The cost was dirt cheap, but I was using 1 or 2 discs per small sanding task compared to using one Diablo Sand Demon for 15+ before switching discs.