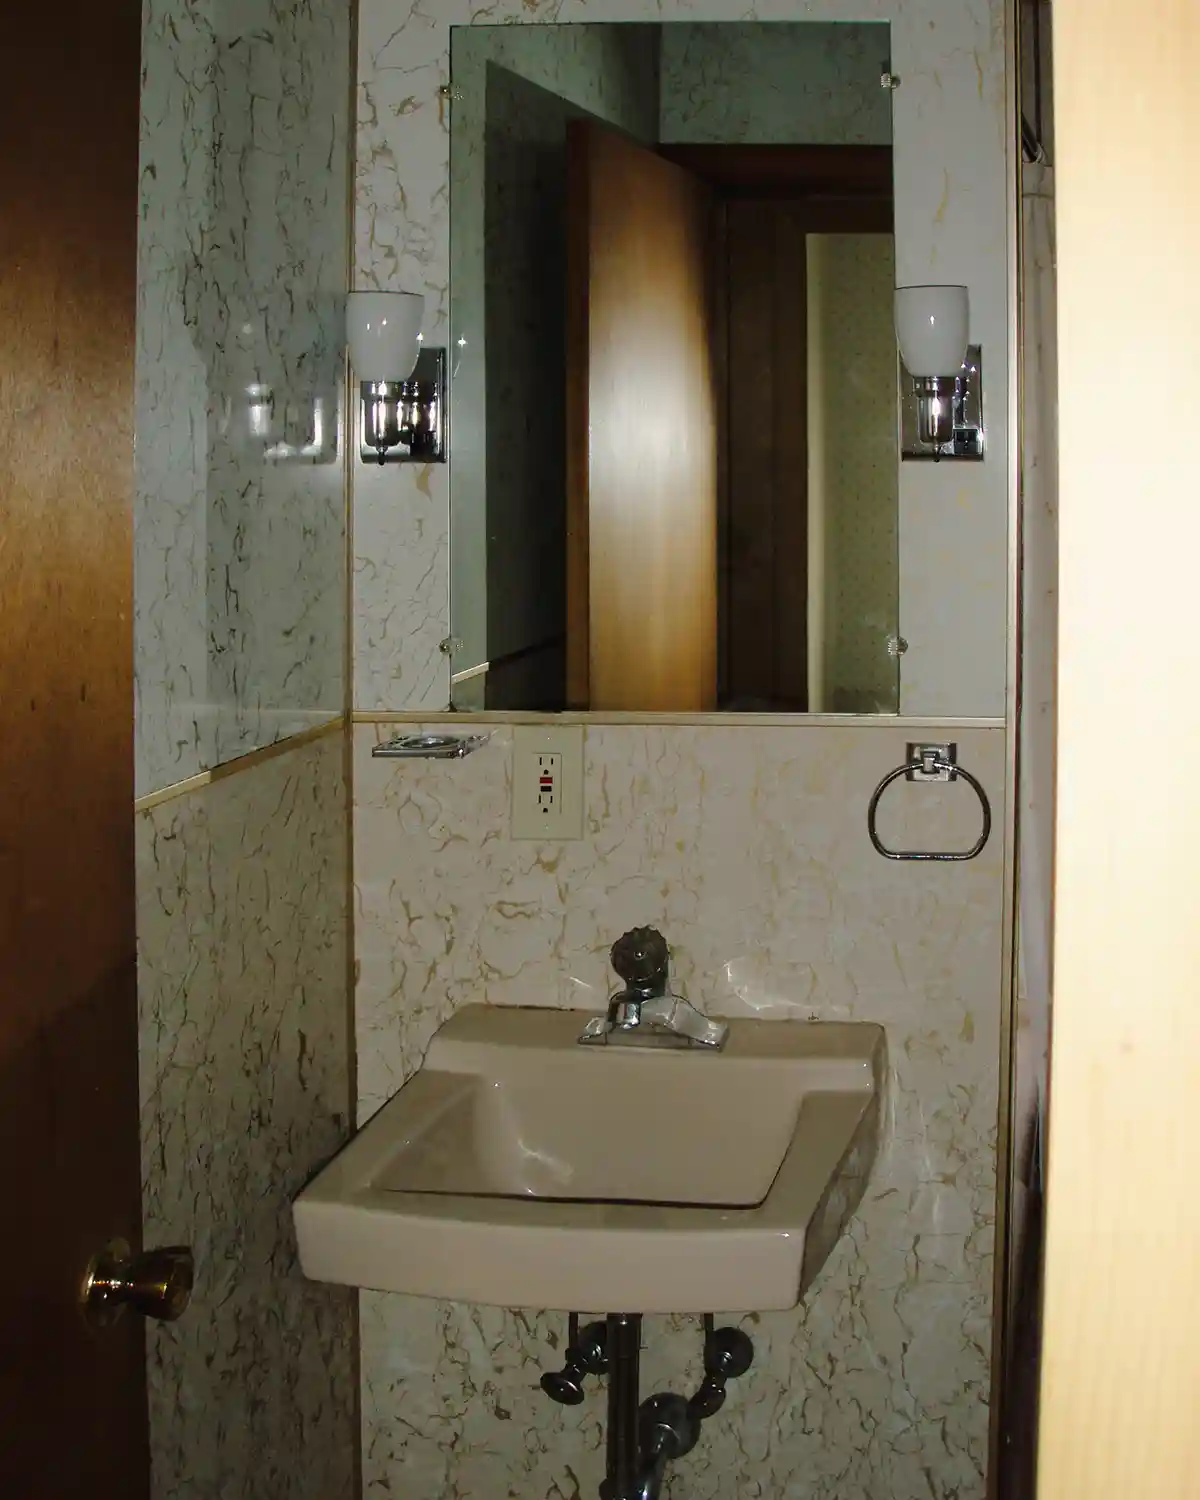
This cottage-style bathroom remodel was an absolute labor of love. We took this small bathroom from a dated, damaged, and cramped 1970s mess to a functional, bright and airy space. It’s still a small bathroom, but with a few tweaks, like stealing part of the neighboring closet that jutted into the bath, we were able to change how this room functioned.
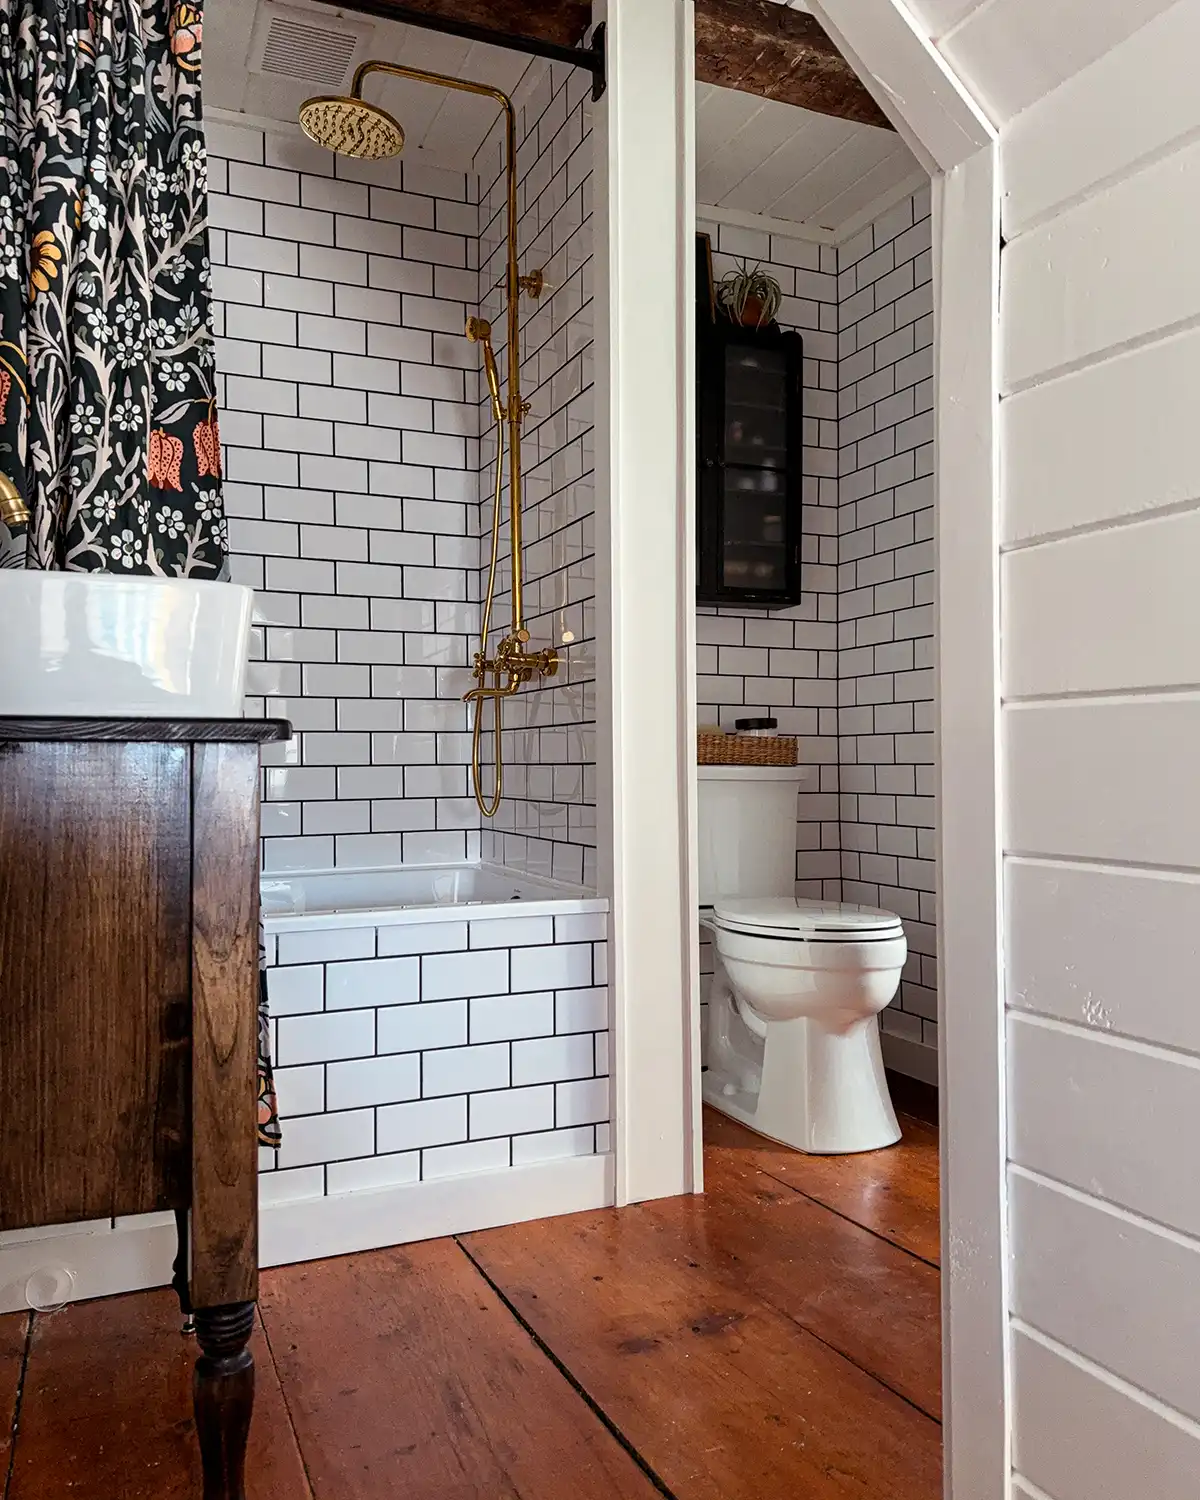
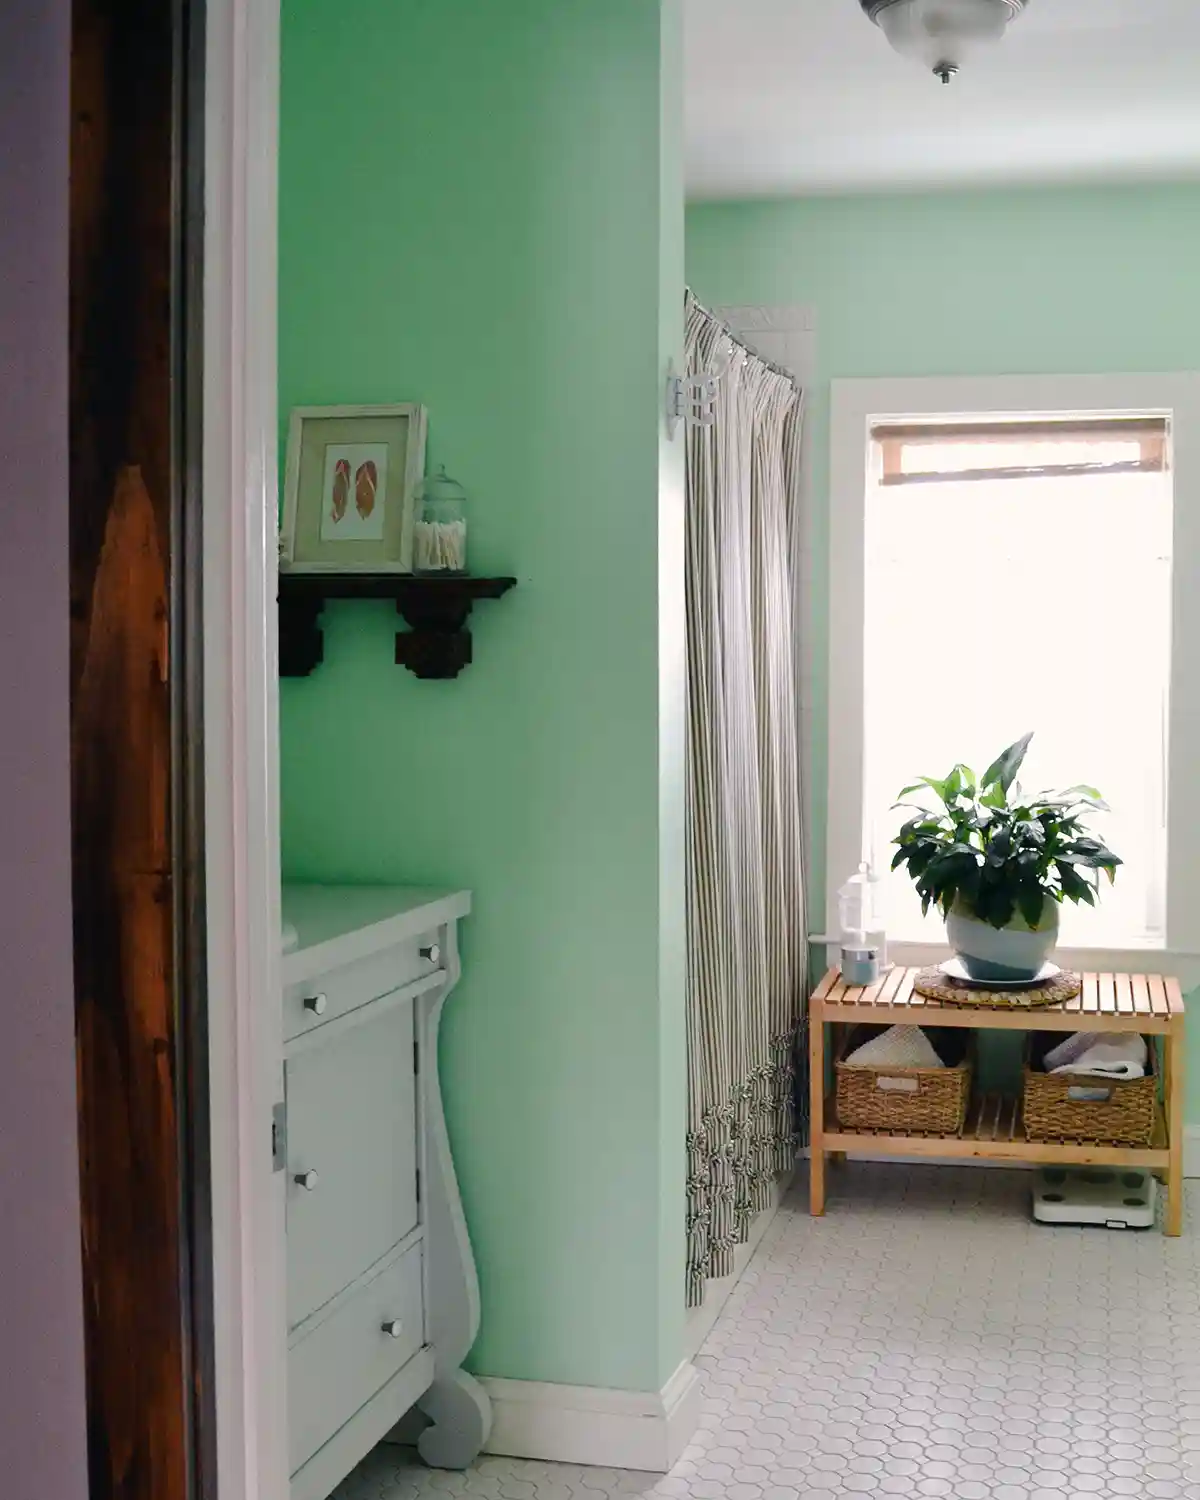
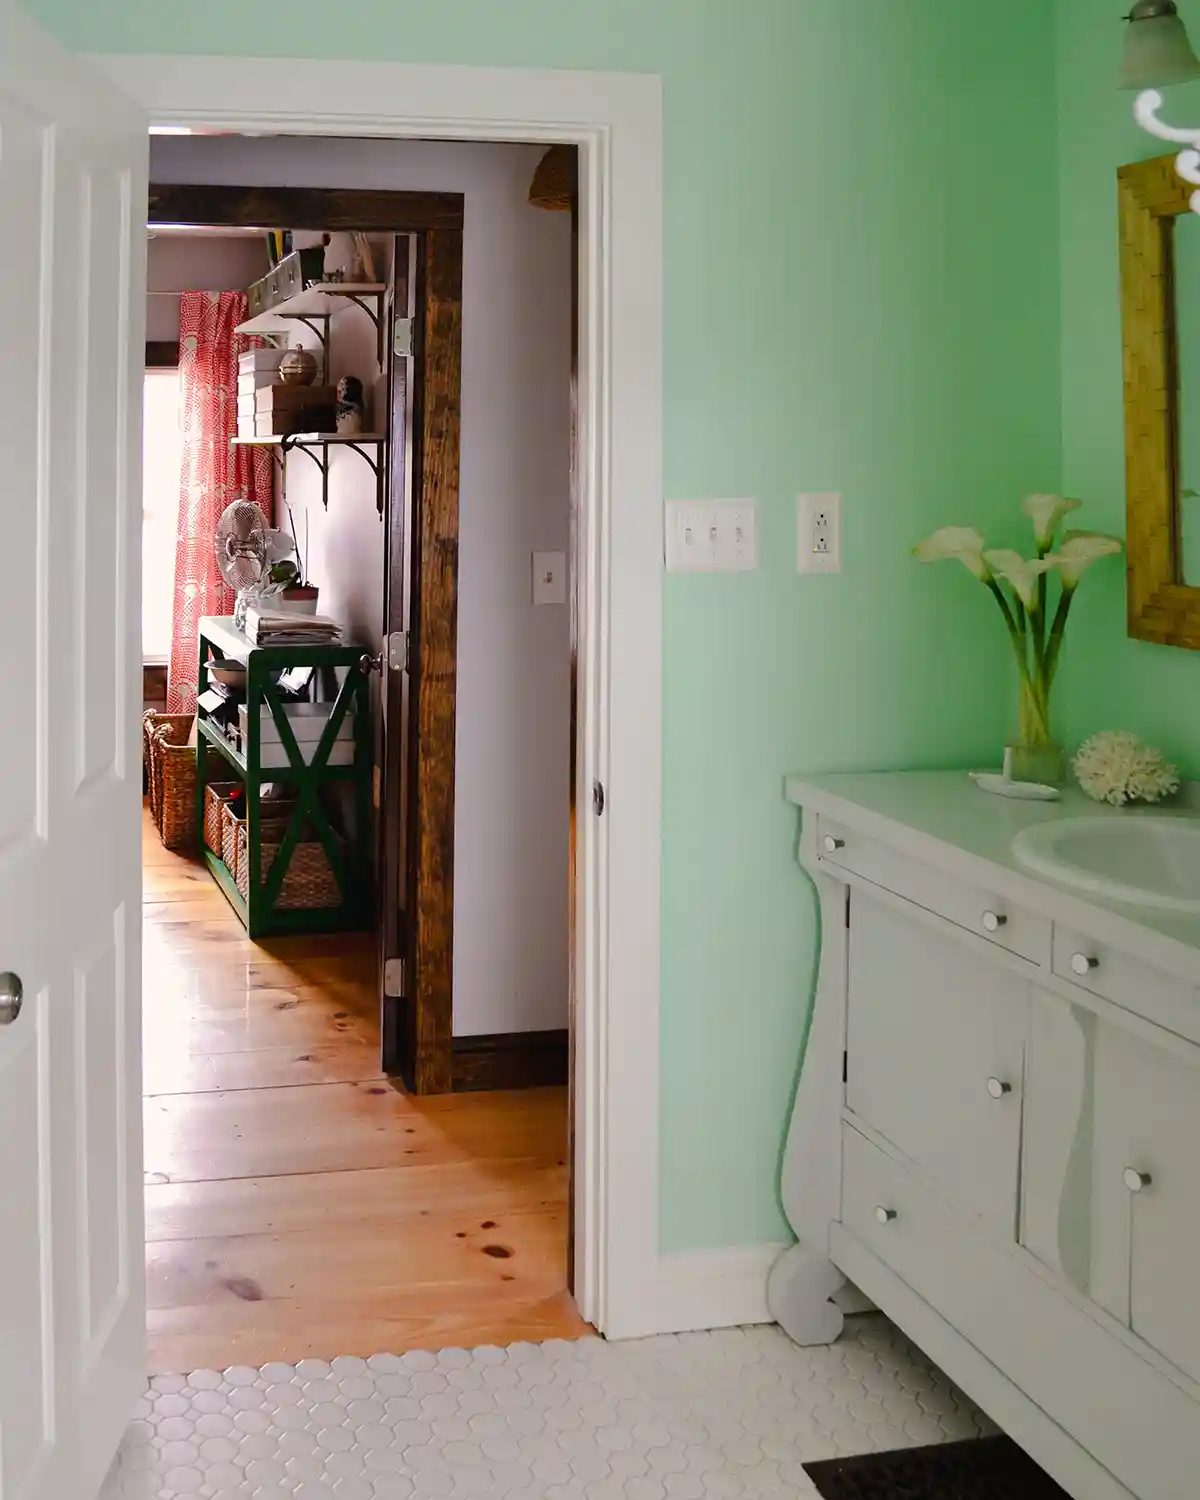
Here’s a look into the bathroom from the hallway. From this view, you can see the vanity to the left next to the tub and shower with the subway tiled wall peeking through. To the right, outside of the photo frame, is the toilet nook.
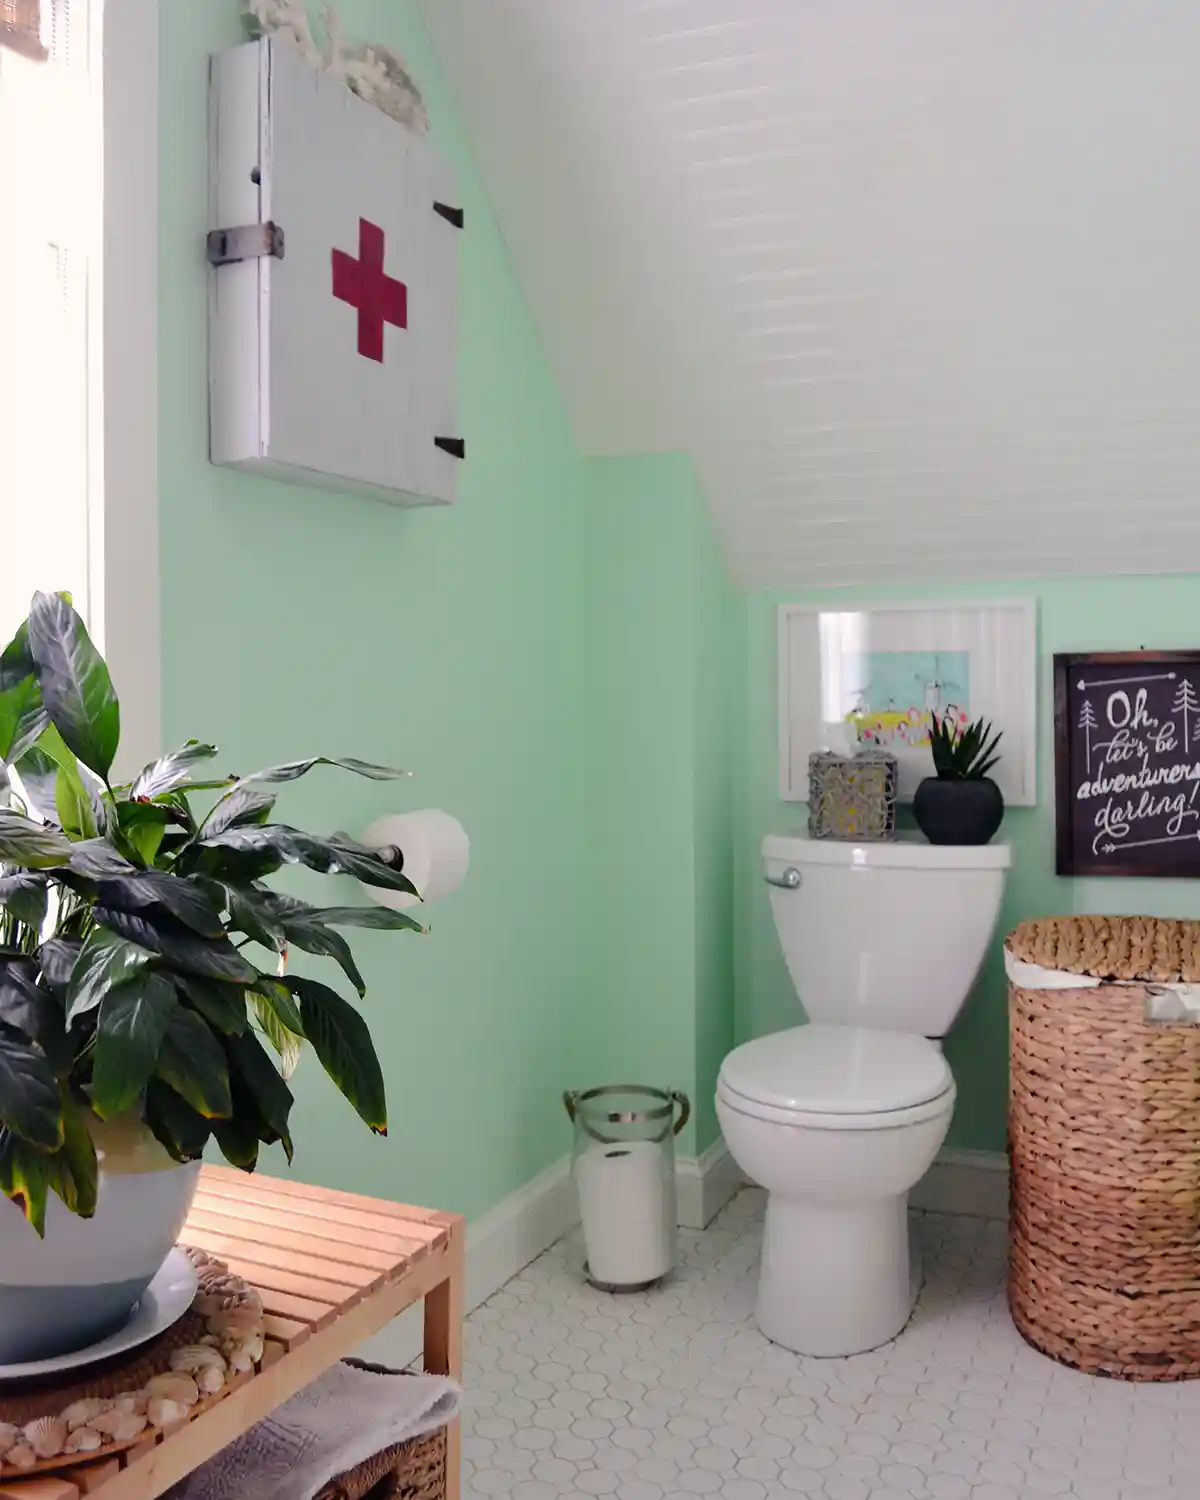
Here’s a view of the toilet nook that is outside the frame of the photo above. One of my all-time favorite projects (and most budget-friendly project) was refinishing an old box and turning it into a medicine cabinet to hang on the bathroom wall. It was one of the things I was most sad to leave behind at our home, but alas, there was no way to remove it without completely damaging the wall. Besides, in the words of my mother-in-law when she unloads a box full of thrifted finds upon us, it goes with the house.
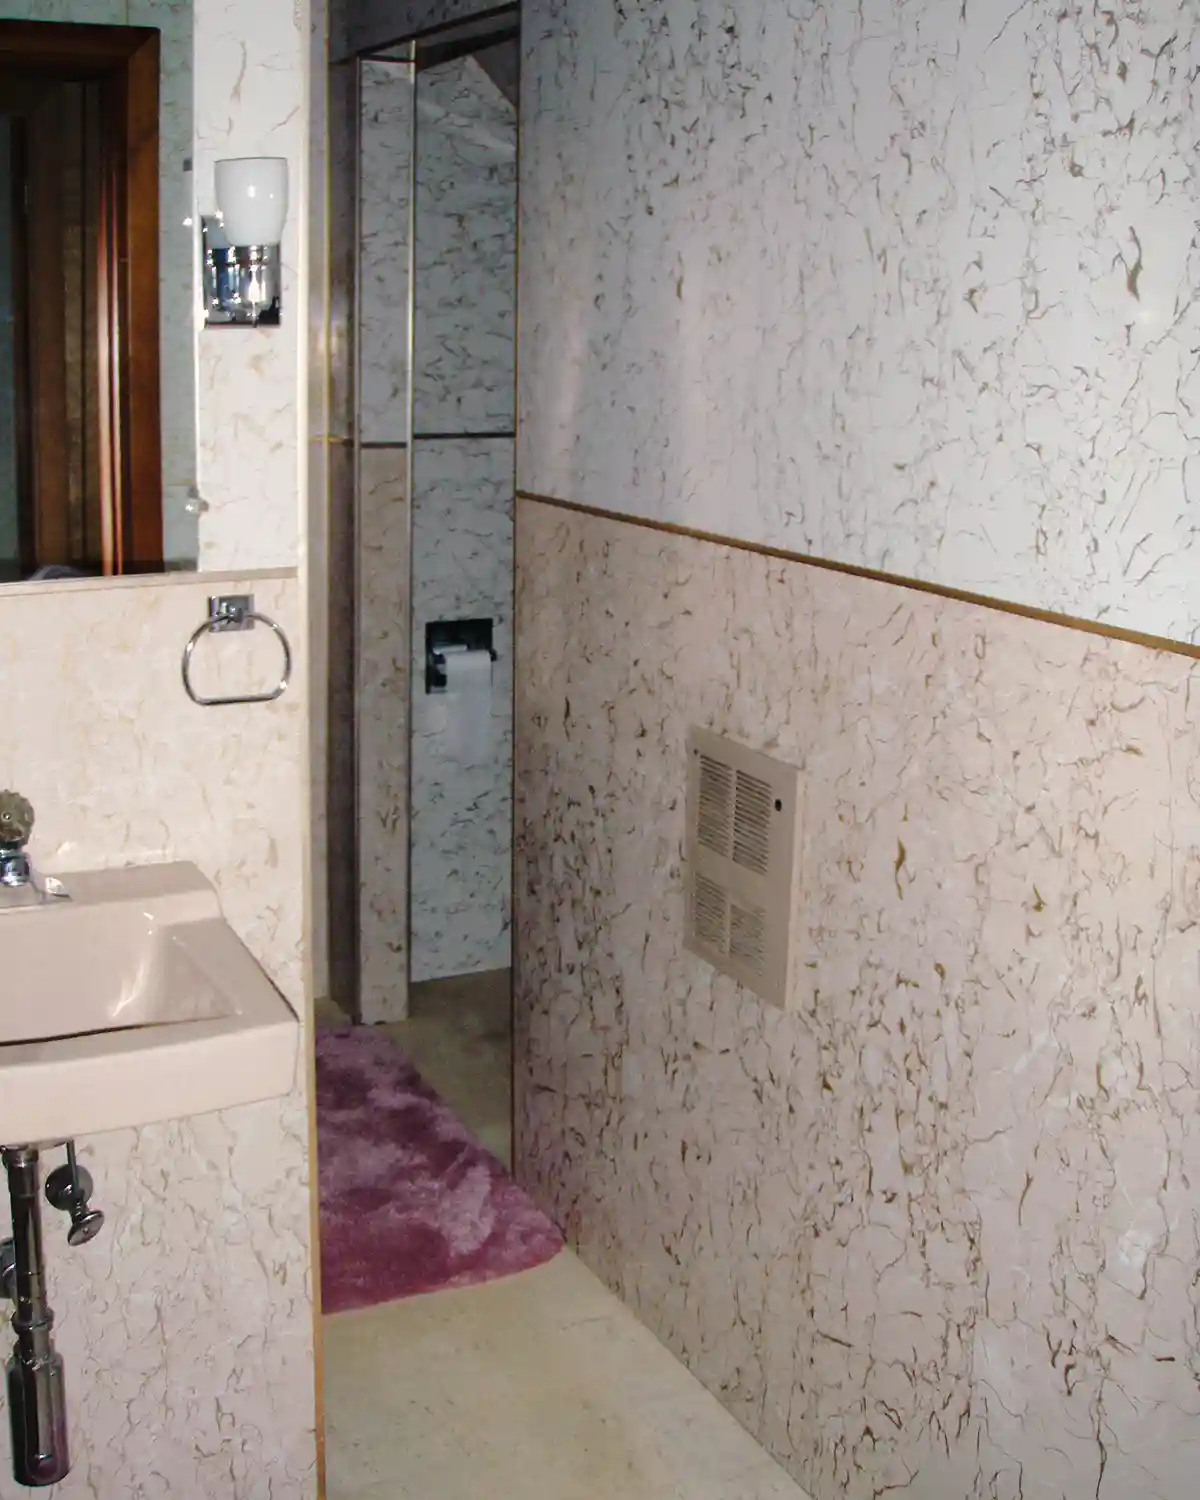
Before we go too far into this bathroom remodel tour, let’s not forget how it looked on closing day. More photos and details of the bathroom before, along with an initial tour of the entire house.
Overall Cottage Bathroom Ideas And Design
At the time of this small bathroom renovation, I was really interested in the design of cottage baths and chose that look for the overall design aesthetic. However, many of the choices we made were driven by budget and availability of materials locally. We were on a minuscule budget to renovate this bathroom as there was practically no extra money for it at the time. Quite often, what we could do was dictated by sales and what we found on clearance. So we learned how to create the cottage look without expensive materials like stone, wallpaper, or a refinished freestanding clawfoot tub. Instead, it was a little more shabby chic.
For the bigger, basic things like the walls and ceiling, we opted to keep it simple. Basic sheetrock and lots of paint. Speaking of paint, I originally wanted a yellow bathroom, but I quickly became tired of the color in the middle of renovating. I briefly debated painting the bathroom a neutral color, before deciding to create a serene, spa-like bath with a mint green instead.
For example, the basic hex tile flooring was chosen because it was the most inexpensive and timeless floor option at our local big box retailer. Same for the white subway tile we installed in the shower. While we loved these finishes to fit the design plans we were working towards, the deciding factor was a timeless style that could go with different looks and cheap compared to other alternatives.
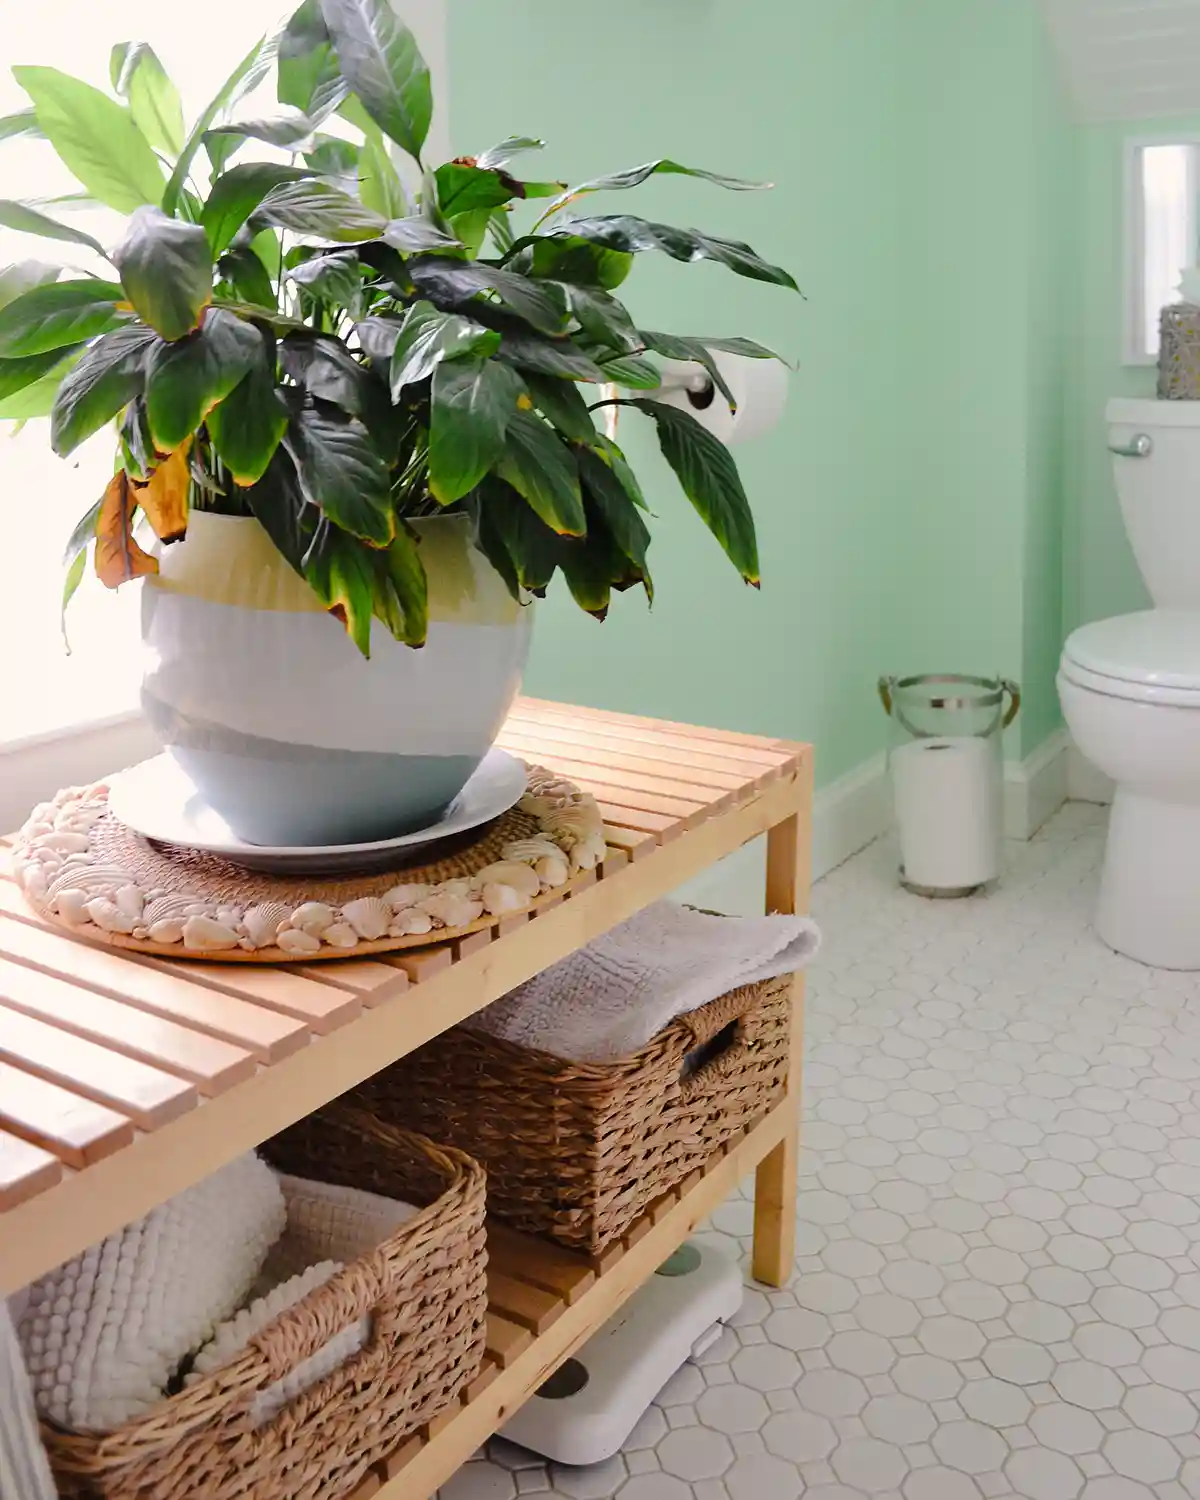
We also added a few coastal elements into the mix with the cottage style. Things like a few pieces of thrifted coral sprinkled throughout the bathroom and a shell plate charger sitting underneath the plant by the window. I liked the touch of a coastal vibe without going full on coastal. Considering we were near Maine’s rocky coast, it was easy to find vintage pieces at flea markets that lent a design nod to coastal style for bathroom decor.
Bathroom Vanity Area With Vintage Charm
As we continue on our tour, let me officially introduce you to our vanity nook, carved out between the bathtub and the door, and a pair of equally creative projects to the medicine cabinet. I’m a firm believer that the lovely limitations we have with home improvement and decorating projects (in this case, budget) lead to some of the best creativity. This belief holds for our bathroom remodel.
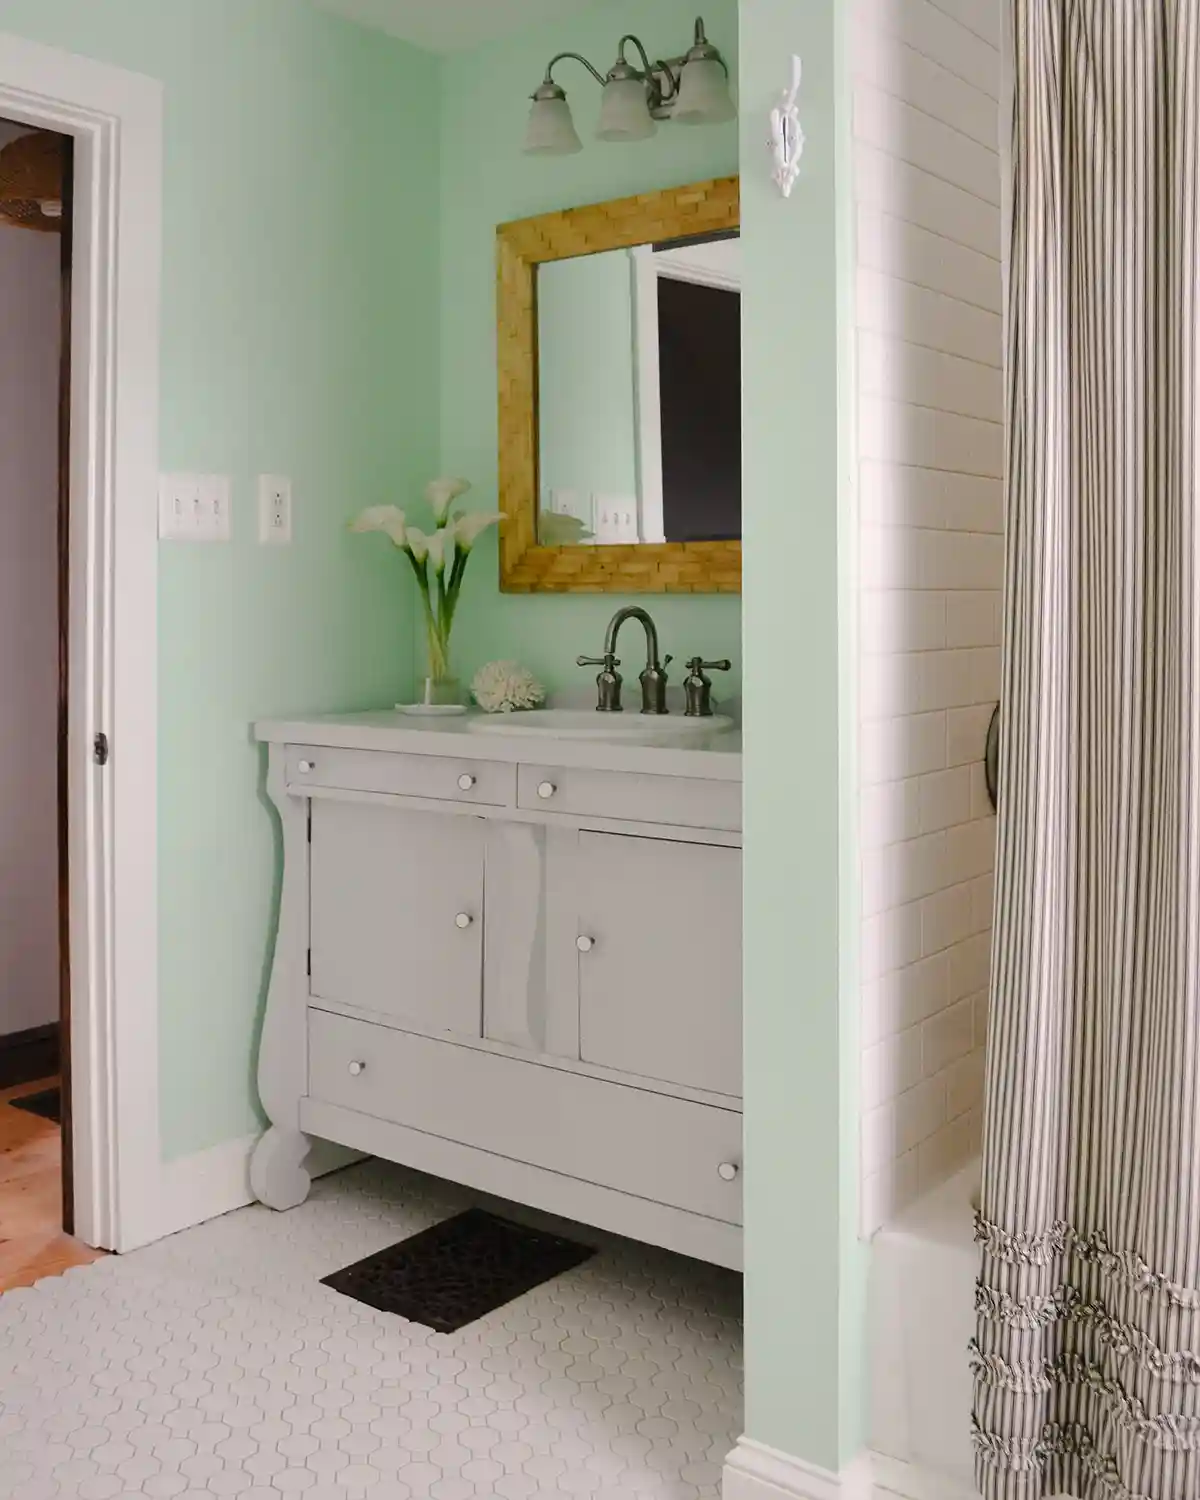
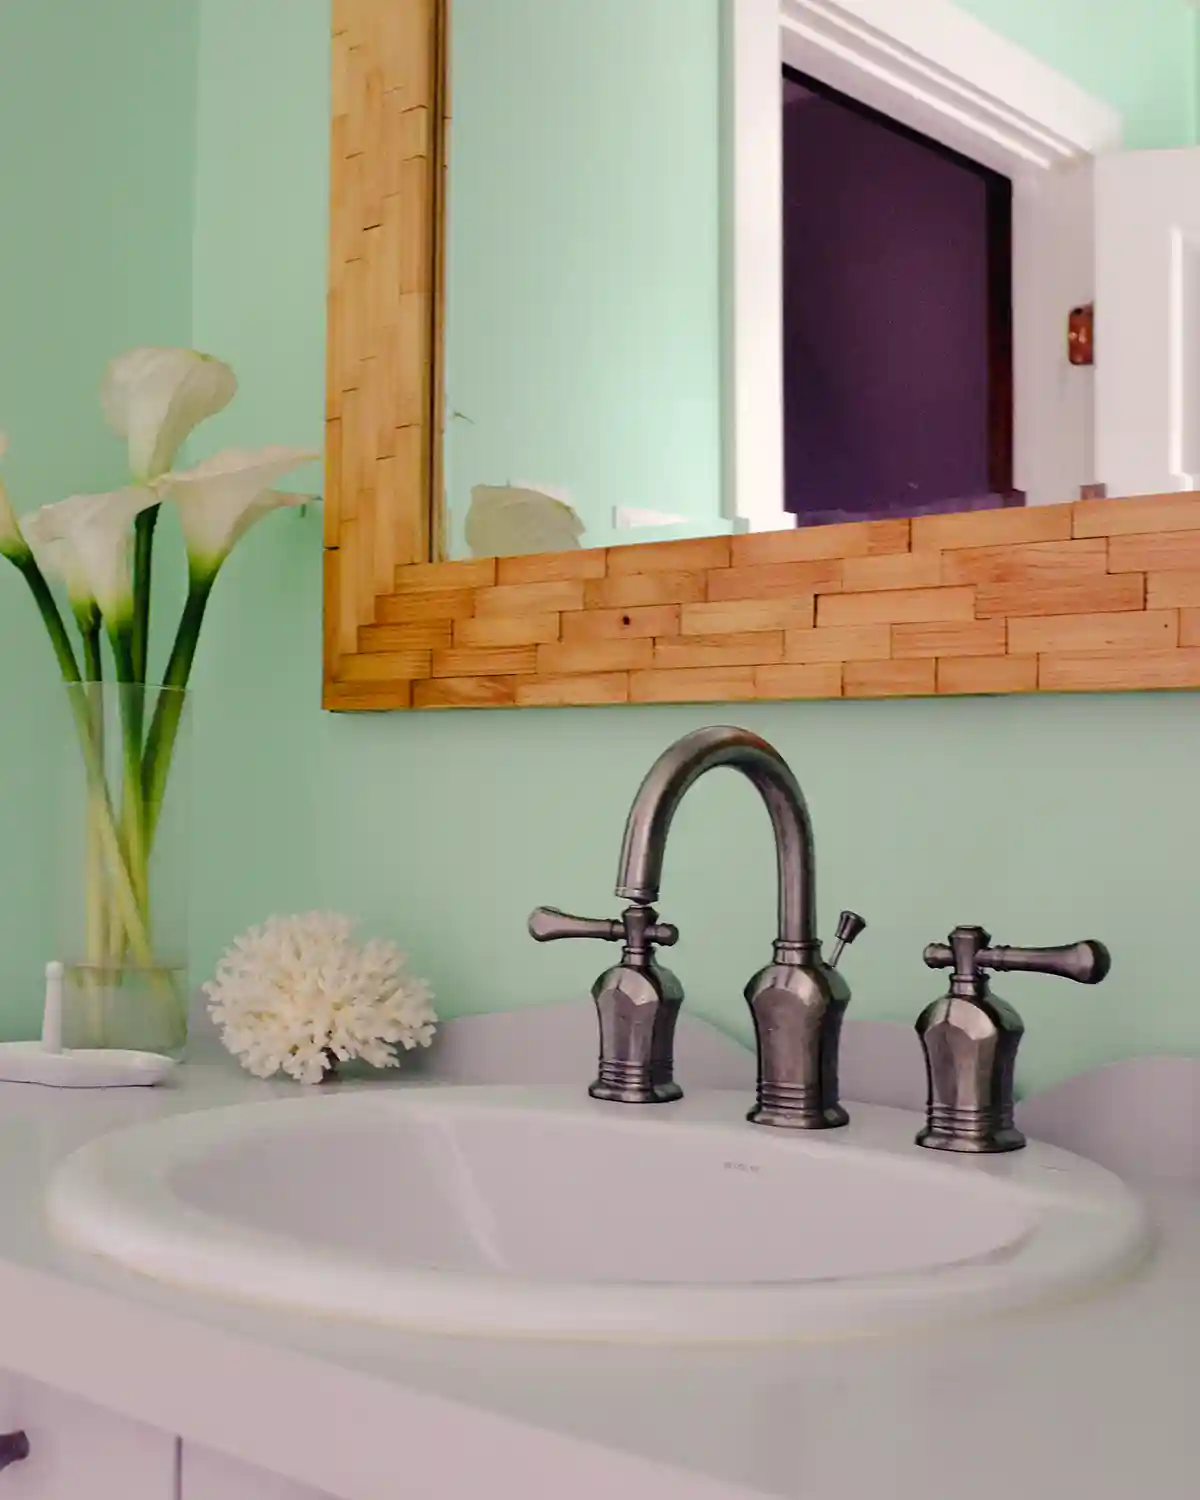
While we briefly explored the idea of using a pedestal sink in this tiny bathroom, we decided we preferred counter space and more storage. The original bathroom had storage issues that we wanted to rectify. The kicker: we couldn’t afford a true vanity from a home improvement retailer. Thus, the bathroom vanity isn’t an actual one but a repurposing project. It’s a vintage buffet we bought from Craigslist, back before the days of Facebook Marketplace, and converted into a vanity. It was a long process to repair the damaged parts, hack the drawers so the buffet could fit a sink and the brushed nickel faucet (which cost us pennies thanks to it being a clearance find), and paint the entire thing. The work was worth it. We love how this DIY vanity turned out.
I would have done just about anything to afford installing a stone countertop in this bathroom. And maybe someday, if we still lived there, I would. But it was just not in the cards for this remodeling project. I did briefly explore mosaic tiling the countertop, but in the end, I didn’t love it.
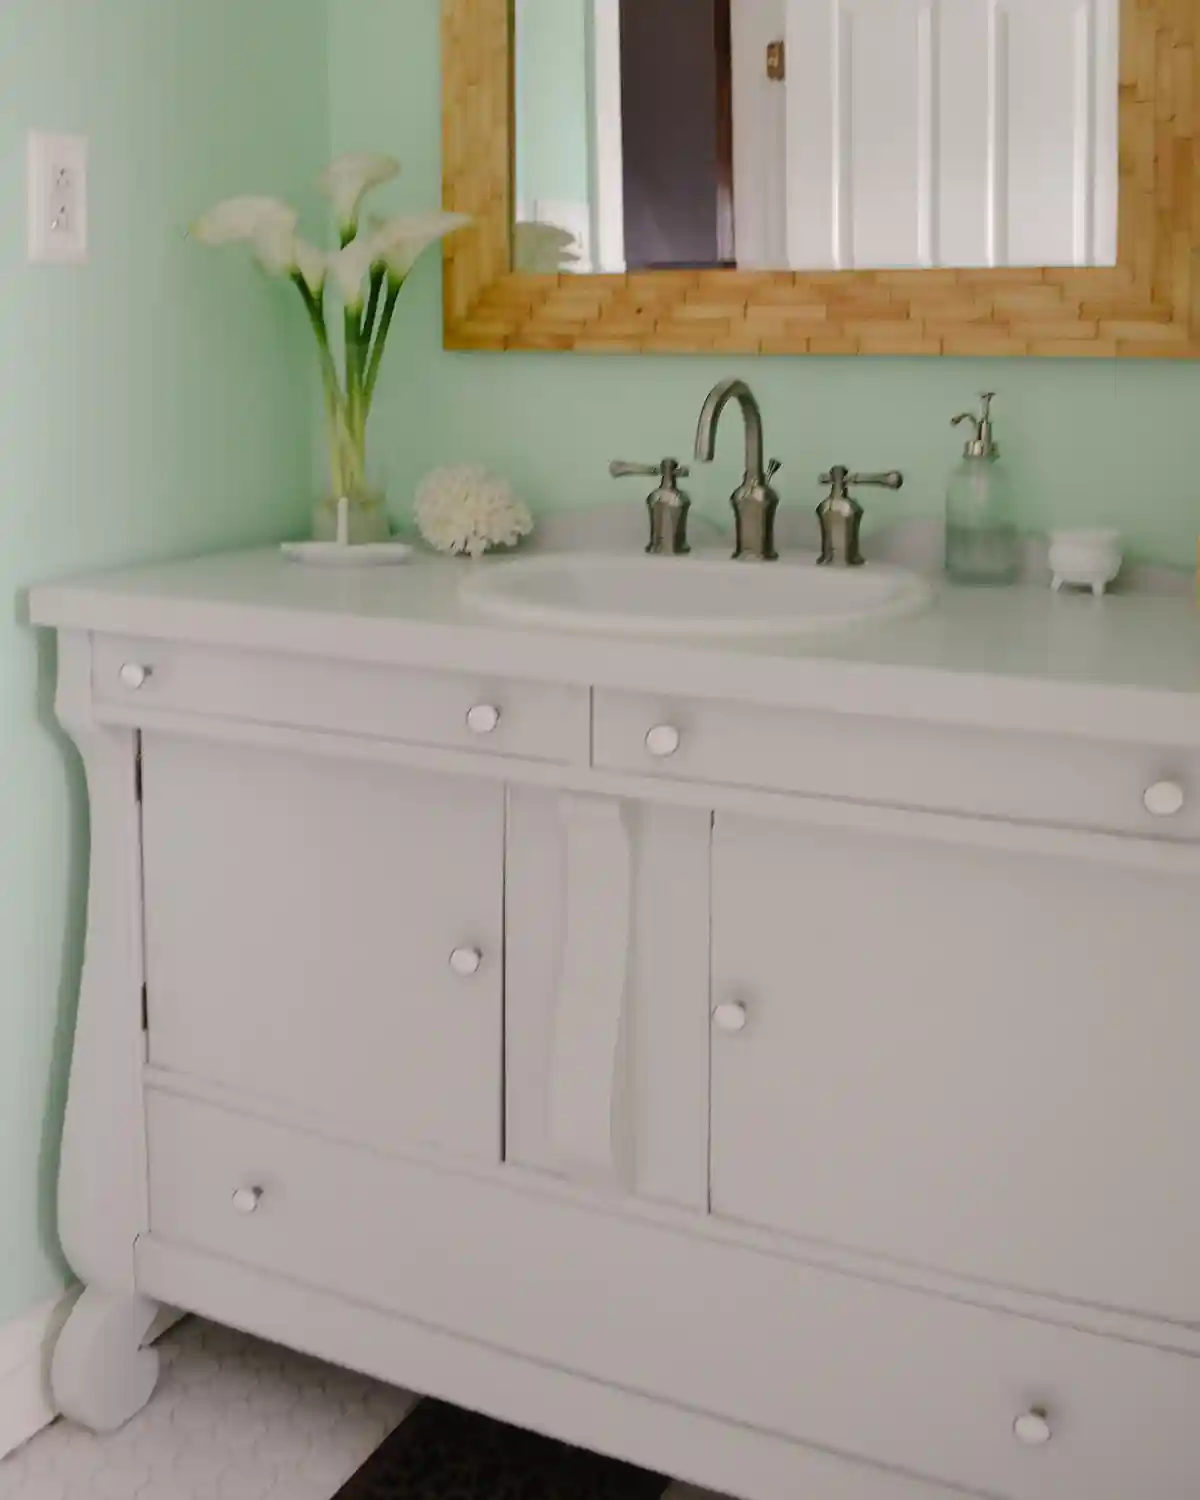
Another favorite DIY project in this bathroom design is the wood-framed mirror. We originally had a very basic, faux wood-framed mirror that I thrifted for just a few dollars. I hated the frame. I tried spray painting it white, but it still had that builder-grade basic look I’m perpetually trying to avoid to this day. While we didn’t have alot of money at the time, we did have a large supply of scrap wood. So we made a whole mess of scrap wood blocks and attached them to the mirror frame. It was one of those projects where we didn’t have to buy anything to tackle. We had the mirror, wood, glue, and stain to do the whole thing.
Here’s another view of the vanity, looking at it from the hallway towards the shower area. You can see in the mirror a glimpse of the open shelves we built into the wall to add some extra storage along with a boob light fixture. We bought the fixture for under $10 but always planned to replace it when budget allowed. It’s one of a handful of things I would change in this bathroom that we didn’t get to before we moved. Another project I had planned was making curtains or doors to conceal the storage shelves.
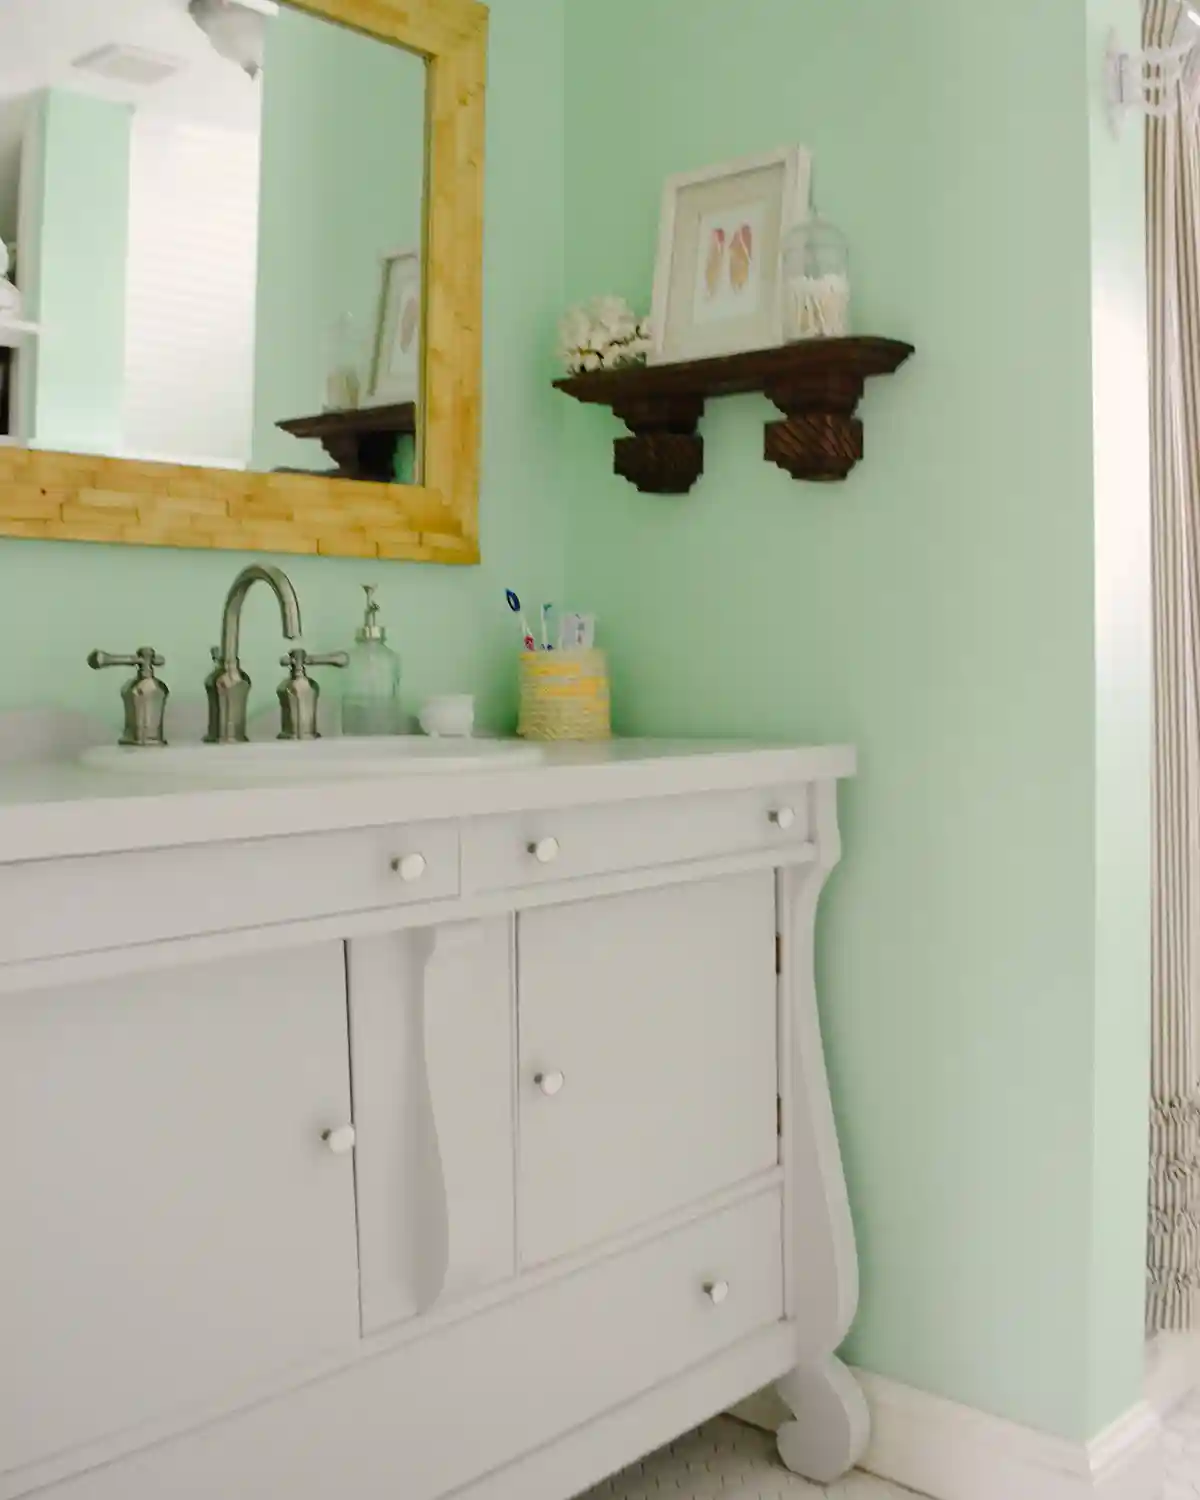
What we stored in the vanity was an ever-revolving cast of bathroom necessities. We did keep the bathroom trash can behind the door on the right along with a few bathroom cleaning supplies. Behind the door on the left were my hair tools, like a blow dryer, brush, and styling products. You know, back in the day before I became a mom and actually cared about my hair (although the kids are getting older and I miss doing my hair every morning). It was easy to grab these things from a container inside the door. The larger linen drawer was used to store a couple of beach towels, the extra sheets for our bedroom, and guest room sheets.
Subway Tile Shower And Bathtub Remodel
If there was one thing I was adamant about having in this bathroom, it was a white subway tiled shower with white grout, a cottage design staple in my book. When you know you want something with that type of conviction, you make it happen. While the material was affordable, it was out of our budget and time constraints before we needed to use this shower. Temporarily, we hung sheetrock, painted the snot out of it, and caulked everything like crazy to make it waterproof-ish. While not an ideal solution for long-term use, the fix got us through the four months we needed until we had the money and time to tile it.
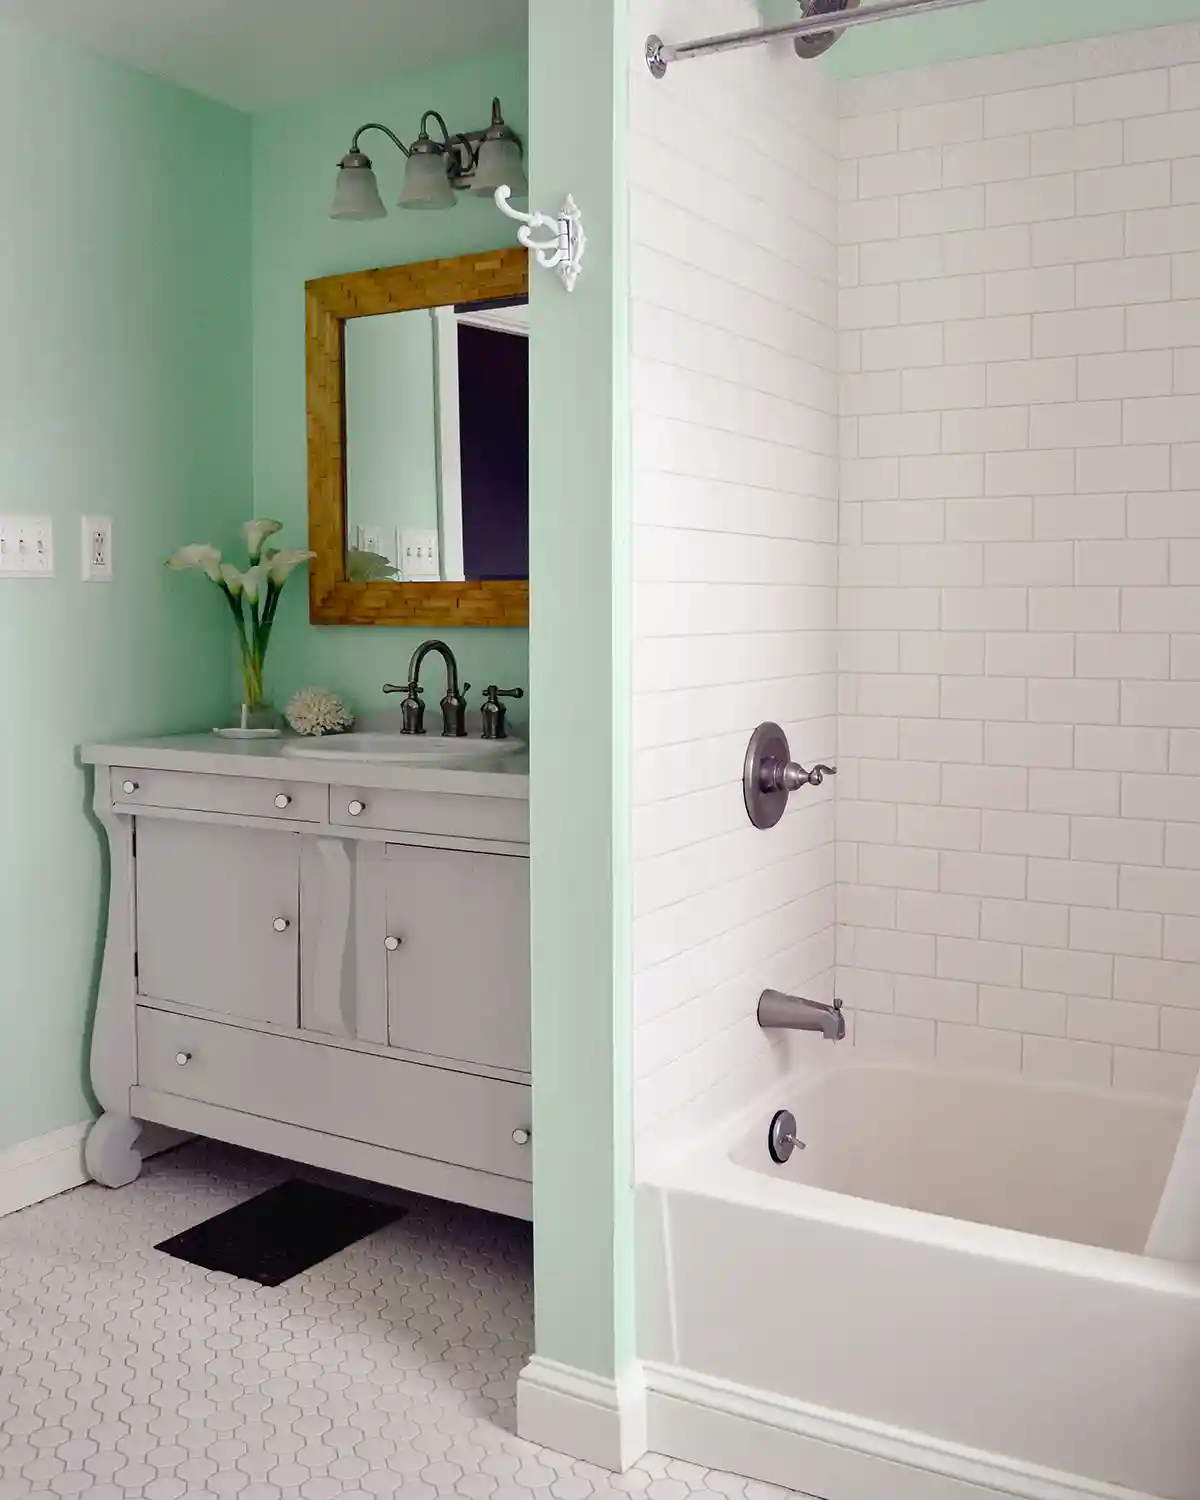
To this day, white subway tile is my forever favorite in a bathroom. So much so that I recently renovated our primary bathroom in our current house, a 1781 farmhouse in Vermont, and covered the entire bathroom with white subway wall tile and black grout. It’s stunning. And I never would have done it if I hadn’t built tiling confidence with this bathroom.
Here’s another shot of the other side of the shower, complete with a classic tension-rod shower caddy from a big box store. As a beginner DIY-er and first-time homeowner, I was not about to figure out how to do a shower niche. If I’m honest, I’m still intimidated by them. Also, please note in this pic how the window is no longer in the bathtub. Success!!
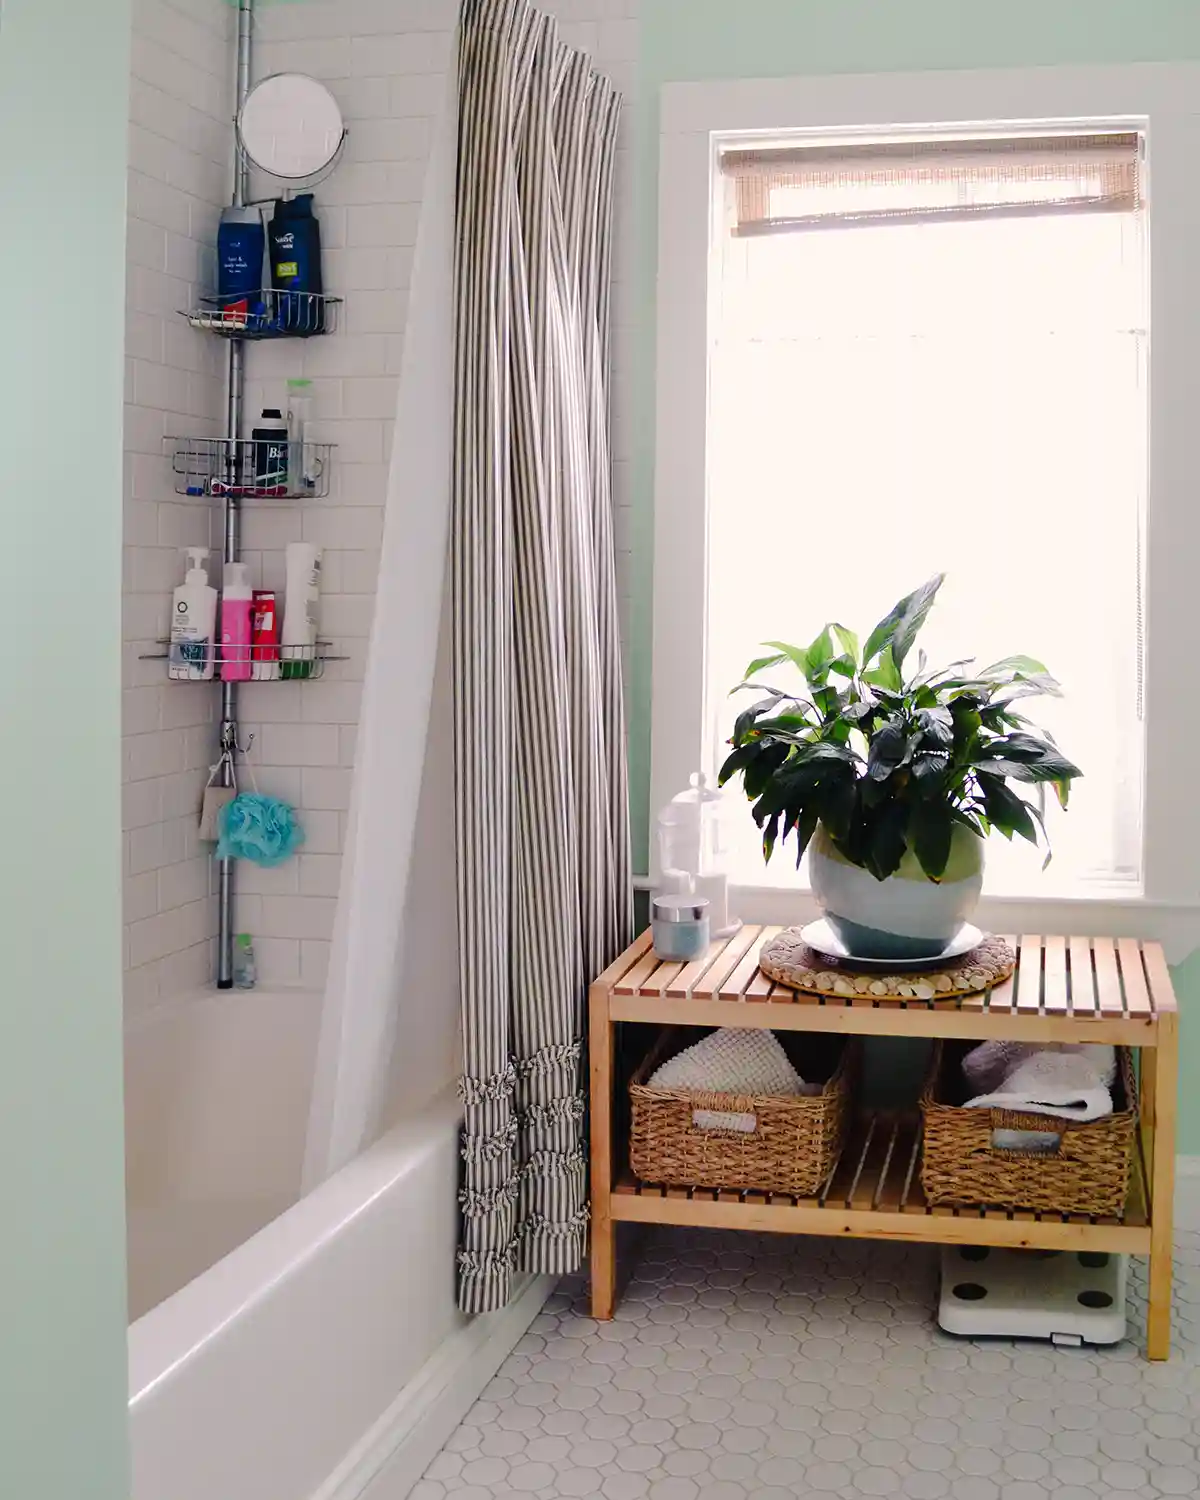
The ticking striped shower curtain was one of my favorite things in the bath. It was a wedding gift, from Pottery Barn, and not something I would ever buy myself. It’s what started my love of beautiful shower curtains made with heavy fabric. Today, I refuse to renovate a bathroom without one. They bring in so much color and pattern to a bathroom and become a real focal point. I was sad when we had to say goodbye to the curtain. I tried to buy a replacement, but they were no longer available.
One of the things we did to make the bathroom function just a little bit better and eke out just a smidge more storage space was to utilize a wooden storage bench underneath the window. It’s in the space between the shower and the toilet. One basket usually held a couple extra towels, just in case someone forgot to hang their towel on the towel hook beside the shower, and the other stored the bathmat. Most often, we picked the bathmat off the floor and flopped it over the side of the tub. But when guests came, I took the extra step of folding it up and storing it.
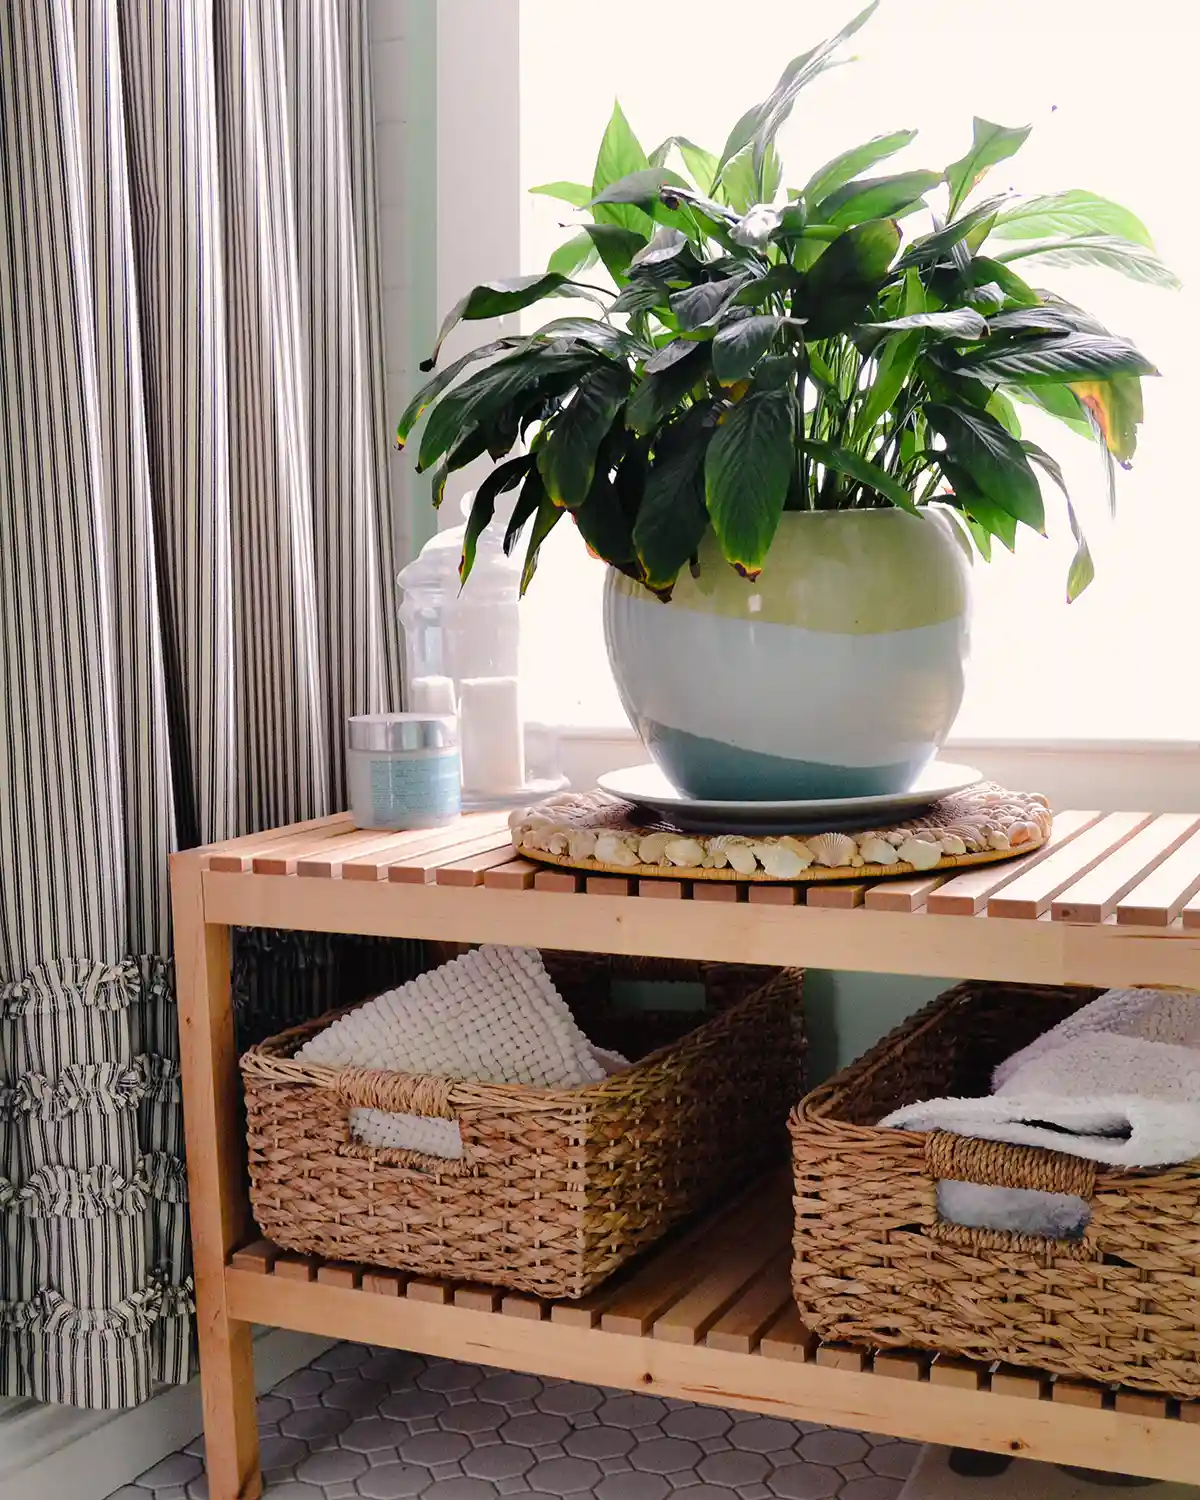
The bench was also a handy spot to store extra things or items we didn’t use daily in the shower but occasionally reached for. On this day, it was a glass canister of extra bar soap and a tub of body scrub. Sometimes it was scented Epsom salts for a bath or a collection of bath bombs; other days it was the extra shampoo because mine was running low.
Small Space Toilet Nook Area Of Bathroom Makeover
Opposite the tub and shower area, just on the other side of the bench, is the toilet nook. If you remember in the bathroom before tour, this nook was cased in and overly cramped with a storage cabinet. It was amazing how much space we gained just by ripping both of those out. I know there was a time period when casing in a toilet nook was the way to do it, but personally, I prefer things to feel a little more open and spacious. Just removing the framing in front of the toilet made the entire bathroom feel larger.
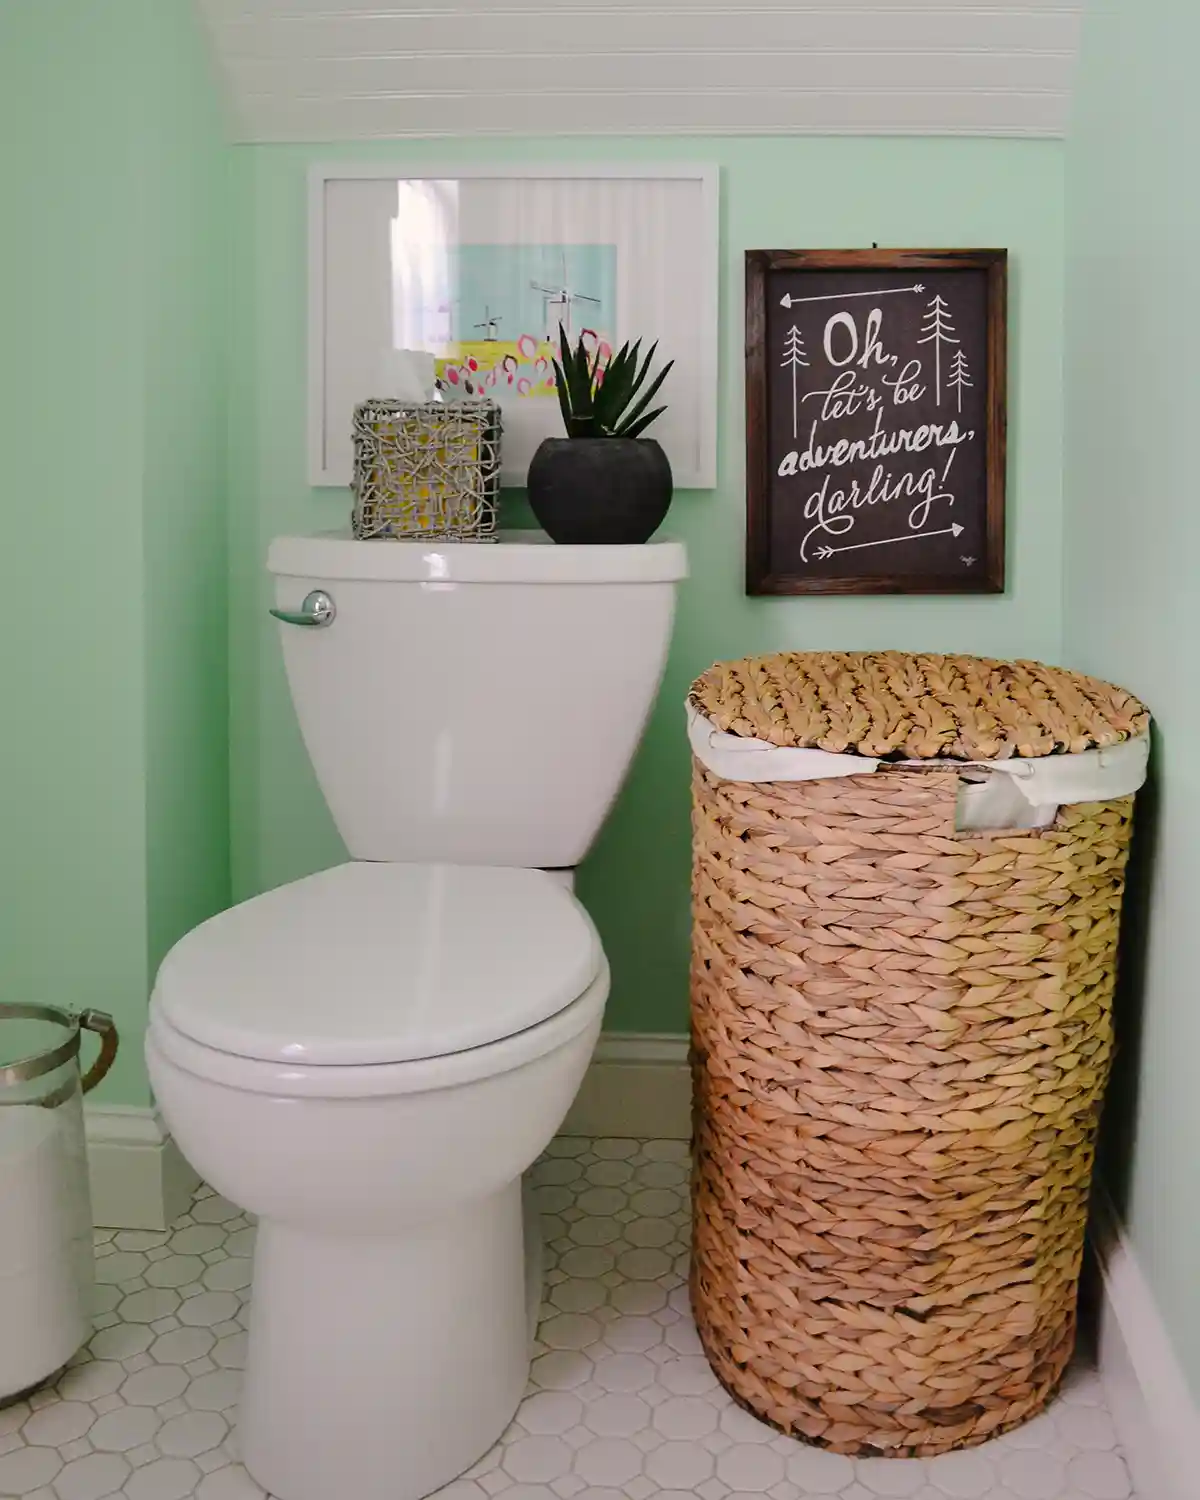
This was the first room in our second-floor renovation that received beadboard paneling on the slanted ceiling. It eventually became a trend in our home and a treatment we repeated in all but one room. But, given more time, that space probably would have ended up with it too. We went this route to give the nook a little more character and cottage charm. I love how it turned out, and it was such an easy way to add interest and texture to the nook. It was a little tricky to install because, hashtag old home, old houses tend not to be square or level. That held for this 1910 charmer.
I do need to share more about the medicine cabinet DIY project. I found an old wooden box for six dollars at an antique store. I loved it and thought it would be perfect to upcycle into a medicine cabinet for our bathroom. With a little hacking, aka adding a shelf inside the box, we created the perfect storage spot for some first aid products and Colby’s vitamins. He prefers storing and taking his vitamins in the bathroom since he habit stacks the ritual with his shower. While a humid location is probably not the best storage spot, it works for him.
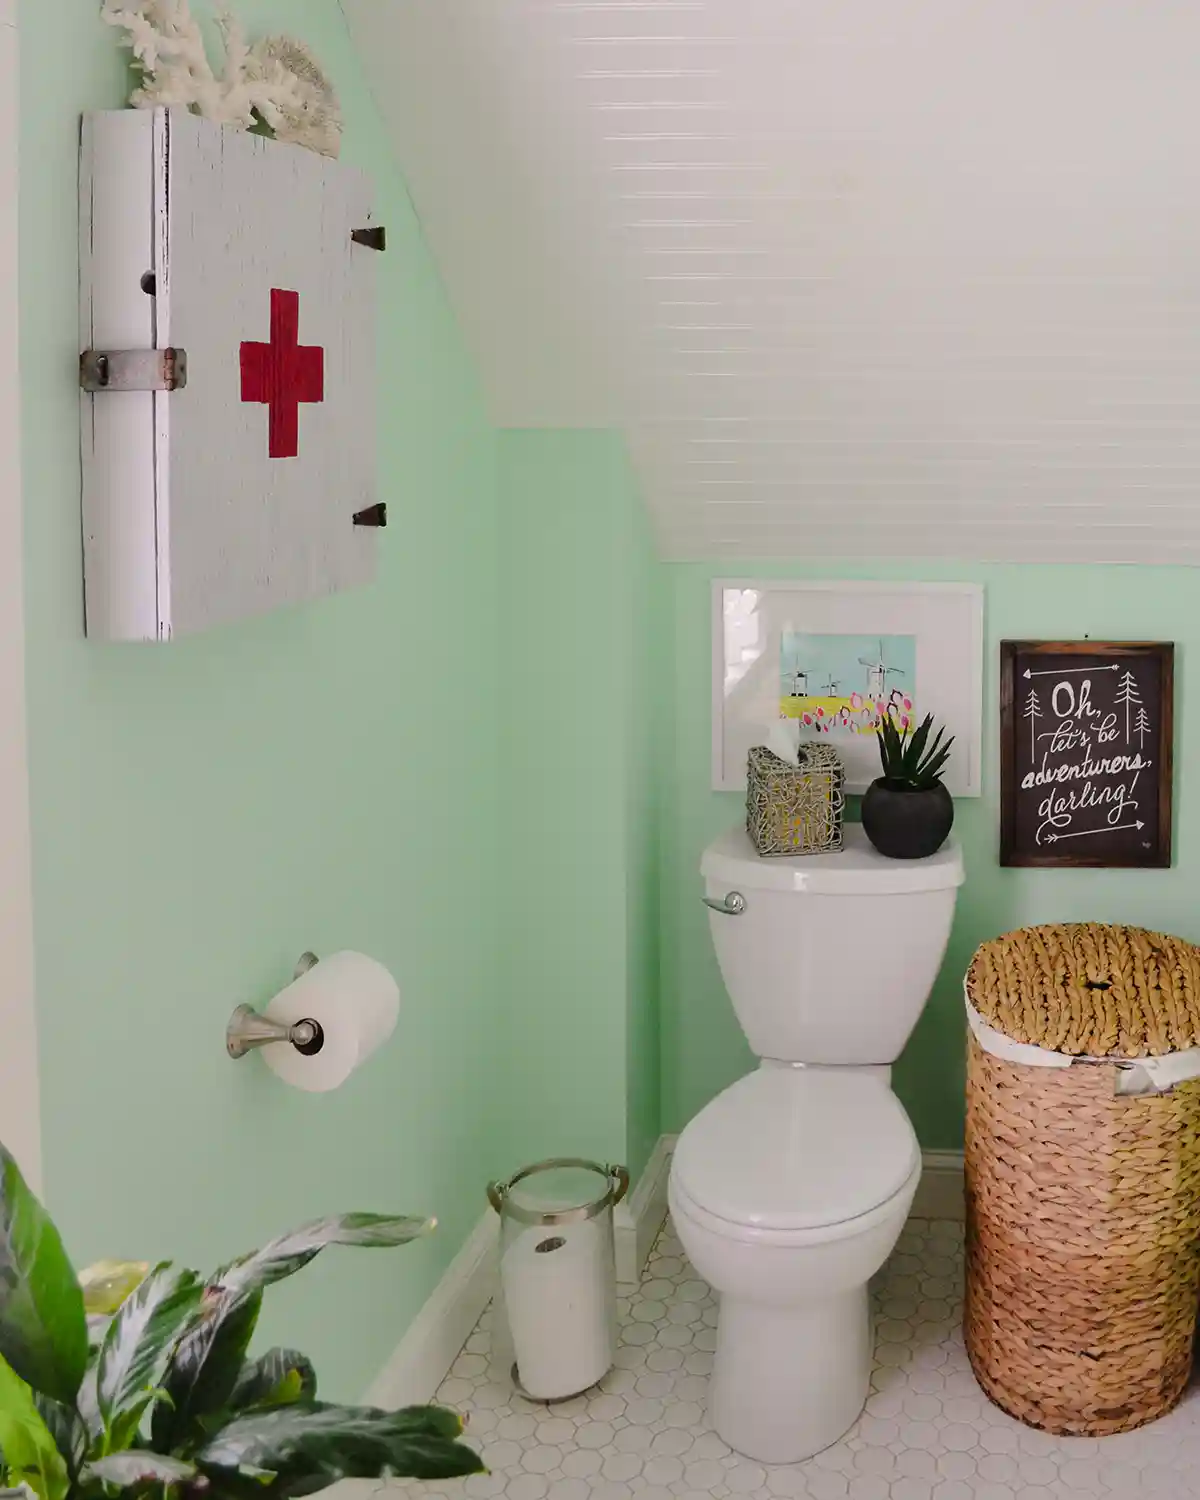
As you turn to the right just a bit from the picture above, you’ll see the storage shelves we created by utilizing some of the dead space within the walls. I have to laugh at this pic, and let me share why. When I took these photos, we had sold our house and were in the process of moving. For some reason, all the things from the vanity are stored on that shelf, including the trash can wedged in and barely fitting. Hmmm…I must have already cleaned out and deep cleaned the vanity. Anyway….
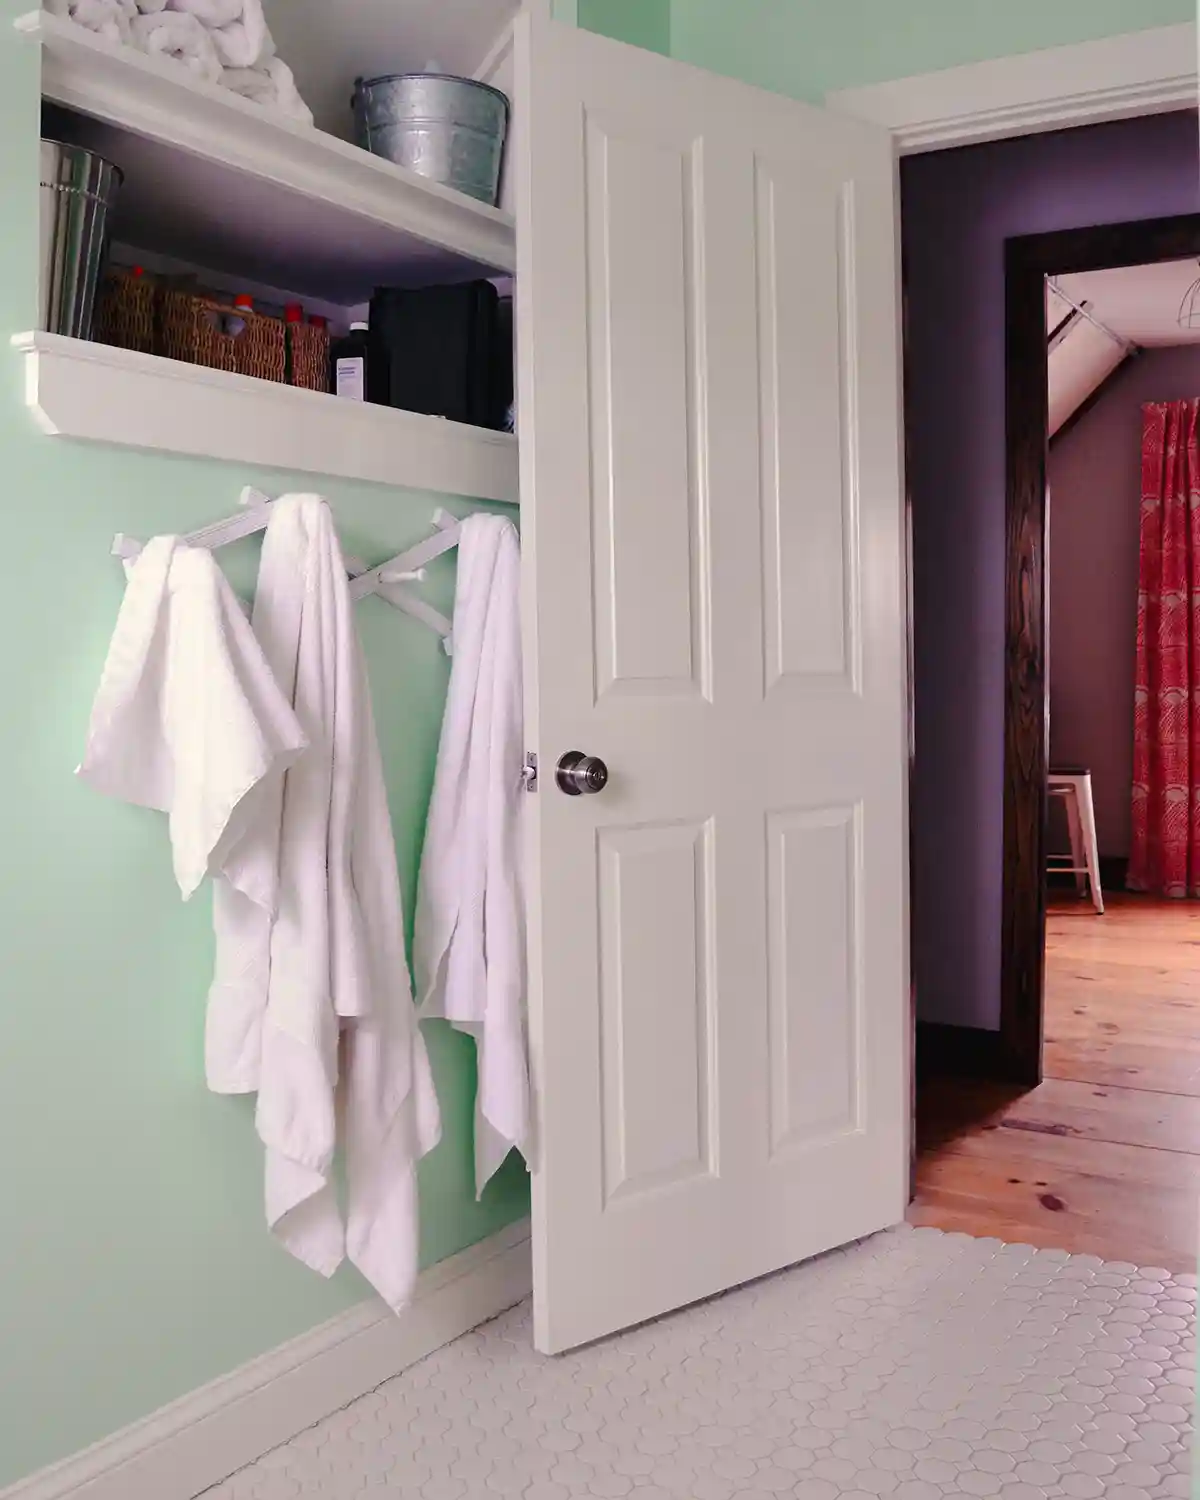
Here’s another view from the toilet nook area looking out through the bathroom door into the craft room across the hall. I always thought the transition between the bathroom floor tiles and the hallway was weird and always wanted to fill in the tiles to get a straight line across. But now, looking back and seeing these pictures, I kind of like the mistake. And while we’re talking about things I would do over, I think eventually I would have also traded the cafe-style curtains in the bathroom for a wood shutter or two. Something custom built and oozing with cozy cottage charm.
It’s fun looking back at these pictures, since we’ve been gone for quite a bit of time, but also because we are fully settled in our current house. I love seeing what stuck and the things we still use, like the large basket from the craft room that now holds all of the girls’ stuffed animals. Or all the fluffy white bathroom towels we still have and use (going on 24 years of use since I got them in college). And also the things that didn’t stick, like the trendy mustache ring holder I used to put my jewelry in before showering or the fake flowers. I loathe fake flowers these days and use them on rare occasions in dark nooks.
So thank you for walking down memory lane as I shared the renovation of our first home’s new bathroom and all the finished goodness for our tiny cottage-style bathroom makeover.