Do you ever have one of those absolutely glorious days? Like the weather is gorgeous, the kids are being extra sweet or adorable, you made your first Instagram reel, a project turns a major corner, and you feel on top of the world? That was my weekend this weekend. Well…until the wind literally shifted and I got sawdust in my eye while trying to take photos of Colby cutting pine boards. That was kind of a bummer. But this weekend we finished installing tongue and groove wood ceiling planks in our bathroom renovation. Welcome to our tutorial on how to install ceiling planks.
Ordering Pine Ceiling Planks
We decided to install tongue and groove ceiling planks in pine and purchased ours from the Home Depot. These are the kind of solid wood planks that are bead board on one side and flat on the other side. They’re also the same boards we used both in our guest bathroom renovation and finishing our unfinished attic space.
Our bathroom is about 48 square feet in size, meaning if we ordered 1″ x 6″ tongue and groove ceiling planks, we needed about 120 lineal feet of boards. 6″ tongue and groove boards only have about 5″ of exposed face. To calculate the lineal feet, divide the total square footage (48) by .4 (5″ divided by 12″) which gave us 120 lineal feet. The boards we ordered were 8′ in length so 120 lineal feet divided by 8 equals 15 boards that we needed to order.
Ordering From Home Depot
We decided to order 17 boards for a total cost of $169 knowing that we also needed some pine boards to finish the space between the bathroom and the attic. The beams in our ceiling also took up some square footage. This meant we didn’t need as many boards as we initially calculated but it’s always nice to have more than you need for a project like this.
When we placed our big bathroom renovation supplies order with Home Depot, we opted for home delivery. This may have been one of the best decisions we ever made. It cost $75 and according to Colby “was the best seventy-five bucks I’ve ever spent in my life.” They delivered all the things for our bathroom project plus some exterior project materials. This meant we didn’t have to make multiple trips to and from the store, which is about 30 minutes away. Bonus points for the friendliest of friendly delivery drivers. Both our daughters were completely infatuated and watched the “big truck” (Bea’s favorite phrase) and forklift come up the driveway. He waved and honked and they were smitten for days.
Priming and Painting Wood Ceiling Planks
We opted to pre-prime and pre-paint the wood ceiling planks before installing them. We did this in our previous bathroom remodel and it was, in my opinion as head chef painter, a sound decision. I don’t like painting over my head and we currently don’t have a paint sprayer. Also, I knew cutting in and around the beams would be a lot harder than pre-painting. I don’t mind touching up the boards that scuffed during the installation and would rather do that than spend an hour or two painting above my head. My aging, almost middle-aged but not quite, neck and shoulders are thankful!
Priming The Boards
The ceiling planks got primed outside on a gorgeous Friday since we used a shellac-based primer and preferred not to use it in the house. It’s usually suggested to use a shellac-based primer for priming wood knots, which most tongue and groove ceiling planks have. We typically use B-I-N Shellac Based Primer and Sealer from Zinsser and did use it for priming these boards. I have noticed that about a year after priming and painting with two coats of Benjamin Moore Regal Select paint in semi-gloss, the knots do start to show through. I was going to test out a different primer or paint for this room, but I still had so much leftover from the attic project that I didn’t want to spend money on new products and just used what we had. The guest bathroom could use a refresh and I may test out something new in there.
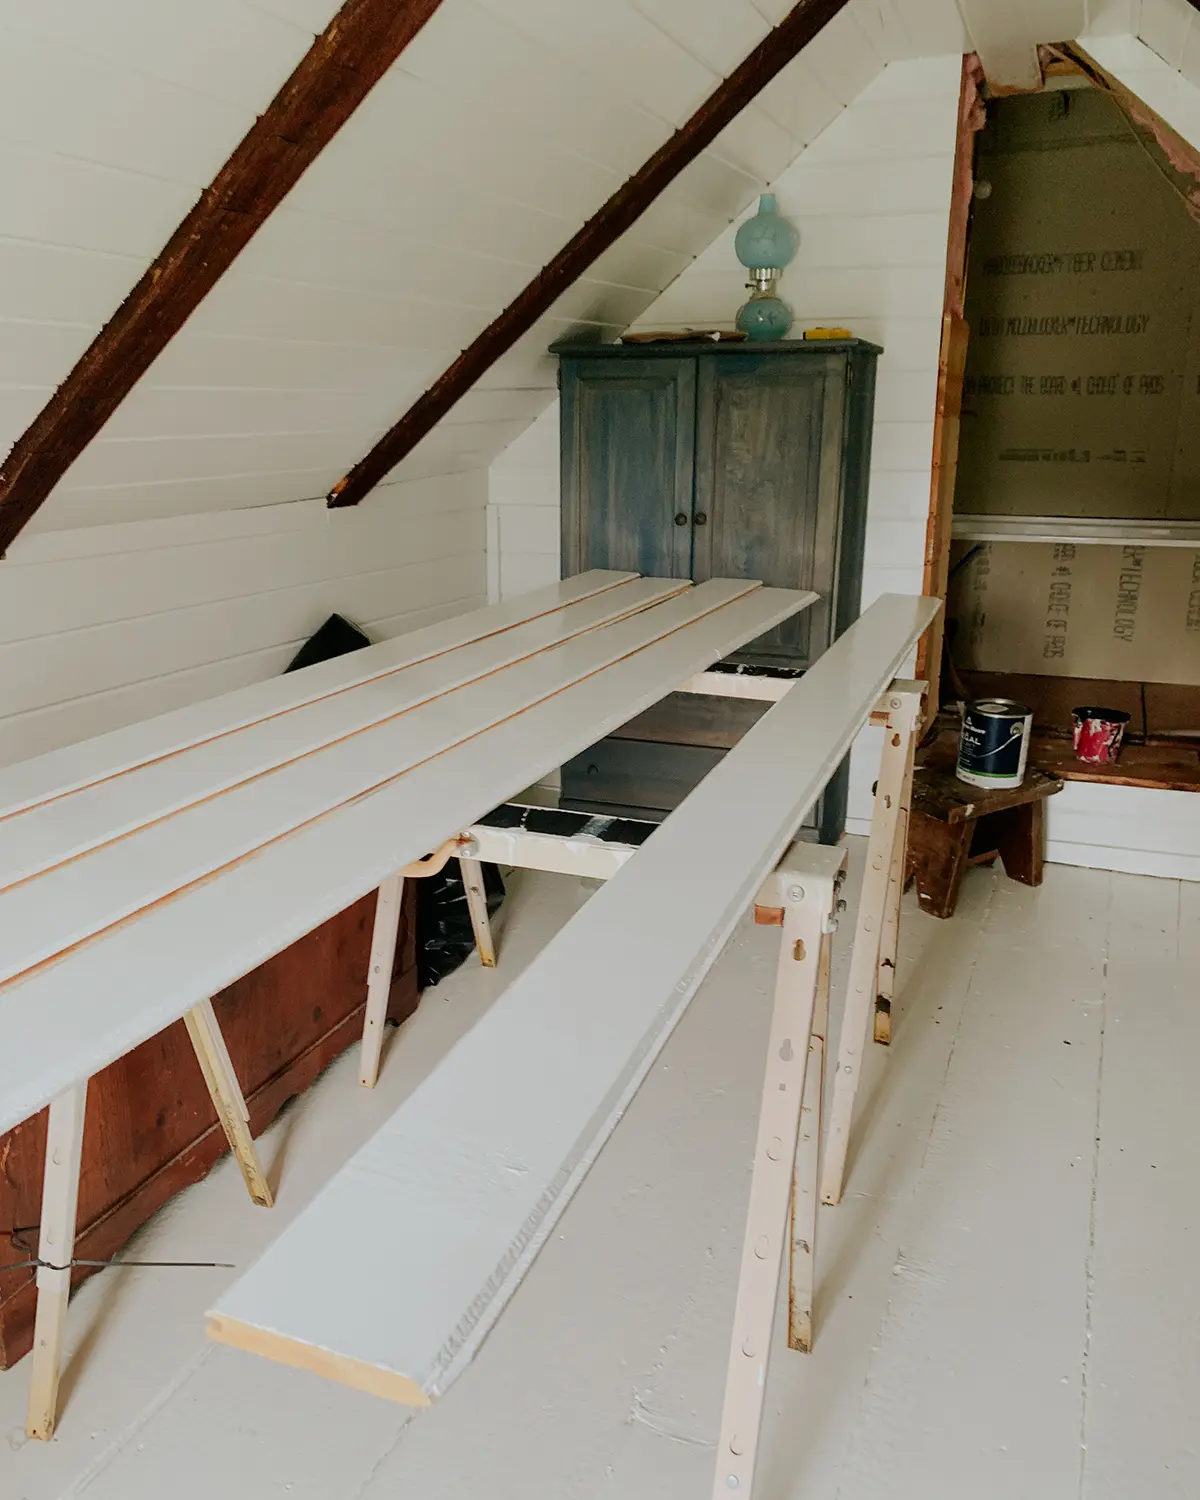
Painting The Boards
After priming the boards, we let them dry for a few days and brought them inside to acclimate. It was also when it started to rain for 40 days and 40 nights. I set up a painting station inside and got to work pre-painting. Each board got two coats of Benjamin Moore Regal Select semi-gloss paint in the color White Dove. White Dove is the Benjamin Moore paint color that we’ve used throughout the interior and exterior of our home. In my opinion, it’s the oh-so-perfect warm white shade for us. And by “us” I really mean “me” because according to my charming husband, white is white. We have for sure argued about the right white paint for this house. Him: they’re all the same. Her: but the undertones!
Prepping The Ceiling
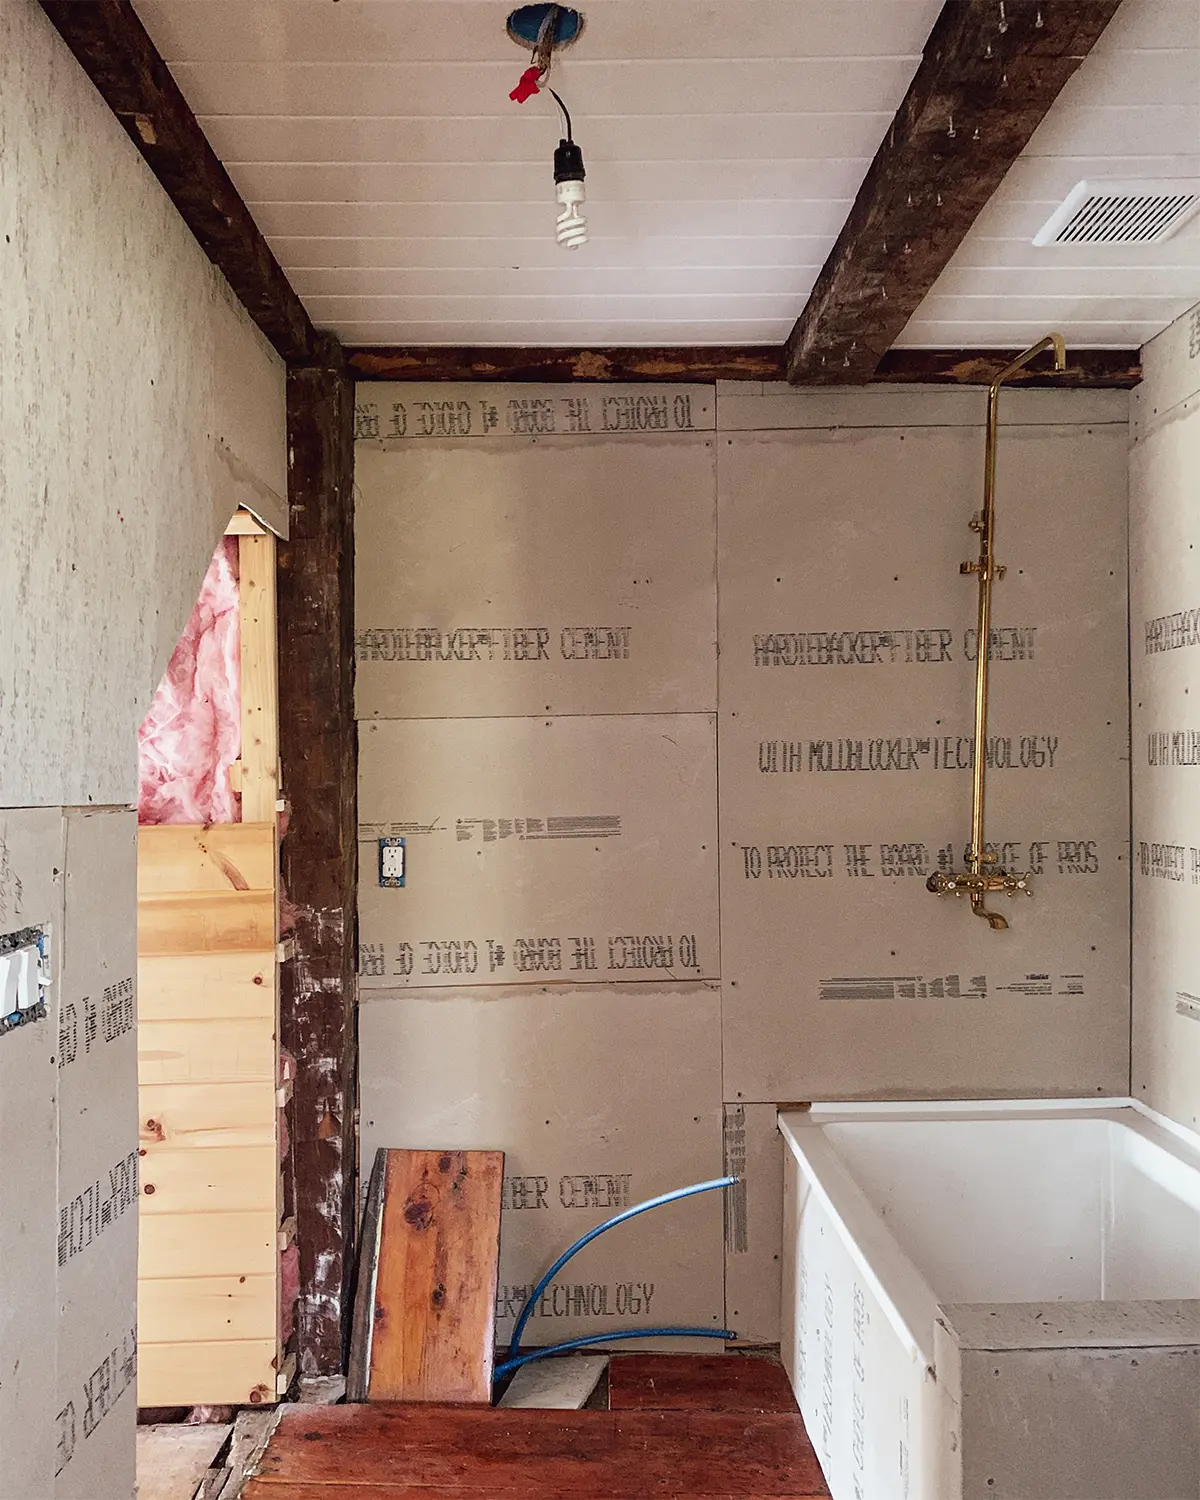
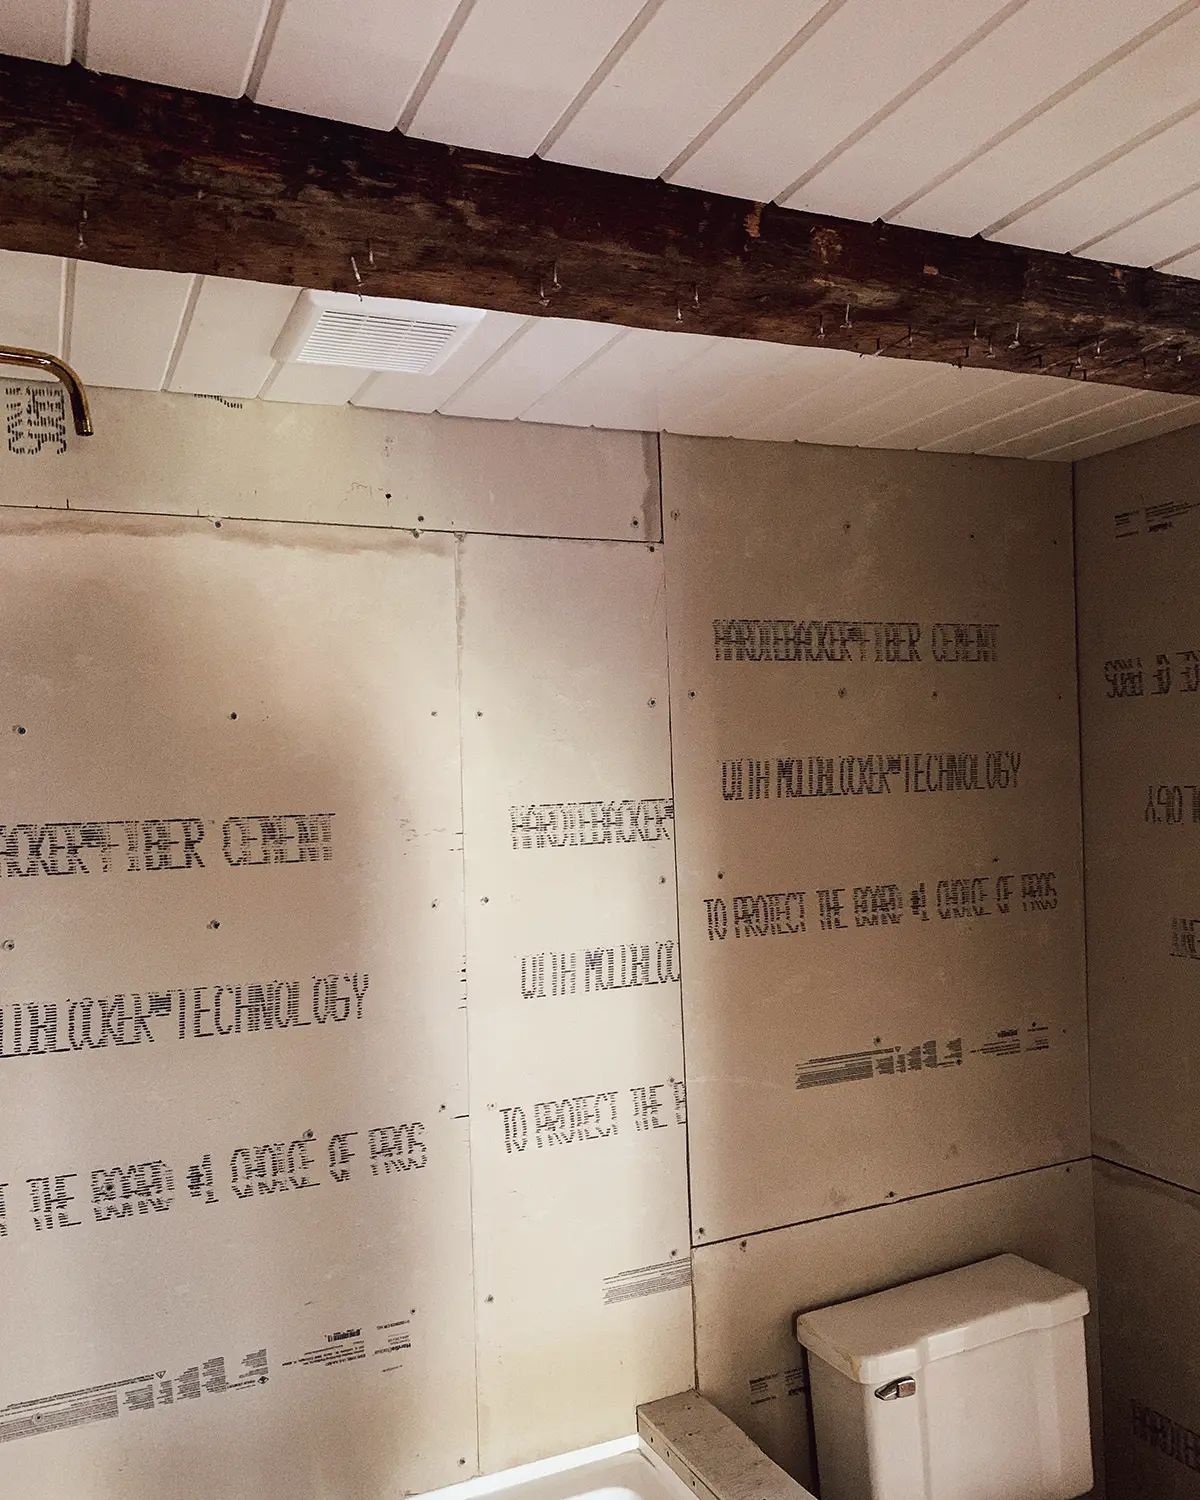
Before getting to the fun part and actually cutting and installing all the tongue and groove ceiling planks, the ceiling needed to be prepped for installation. The ceiling planks required something to be nailed into. Technically speaking, there should be framing or strapping installed every 16″. So if you were doing this type of project in a kitchen with a large span for the tongue and groove, every 16″ there should be strapping/nailers for the boards to be nailed to.
Our bathroom is a special case in that it is super narrow and has a beam running down the middle. Colby attached nailers to the beams, so each plank had something to be nailed into on each end. The width was larger than the 16″ requirement but instead of adding strapping lengthwise, he added several across the width of the ceiling, every 16″ in that direction. This provided extra support and rigidity for the wood ceiling planks.
The final step, before putting up the ceiling boards was insulating with some r-13 faced insulation and stapling up a plastic vapor barrier.
Installing Tongue And Groove Ceiling Planks
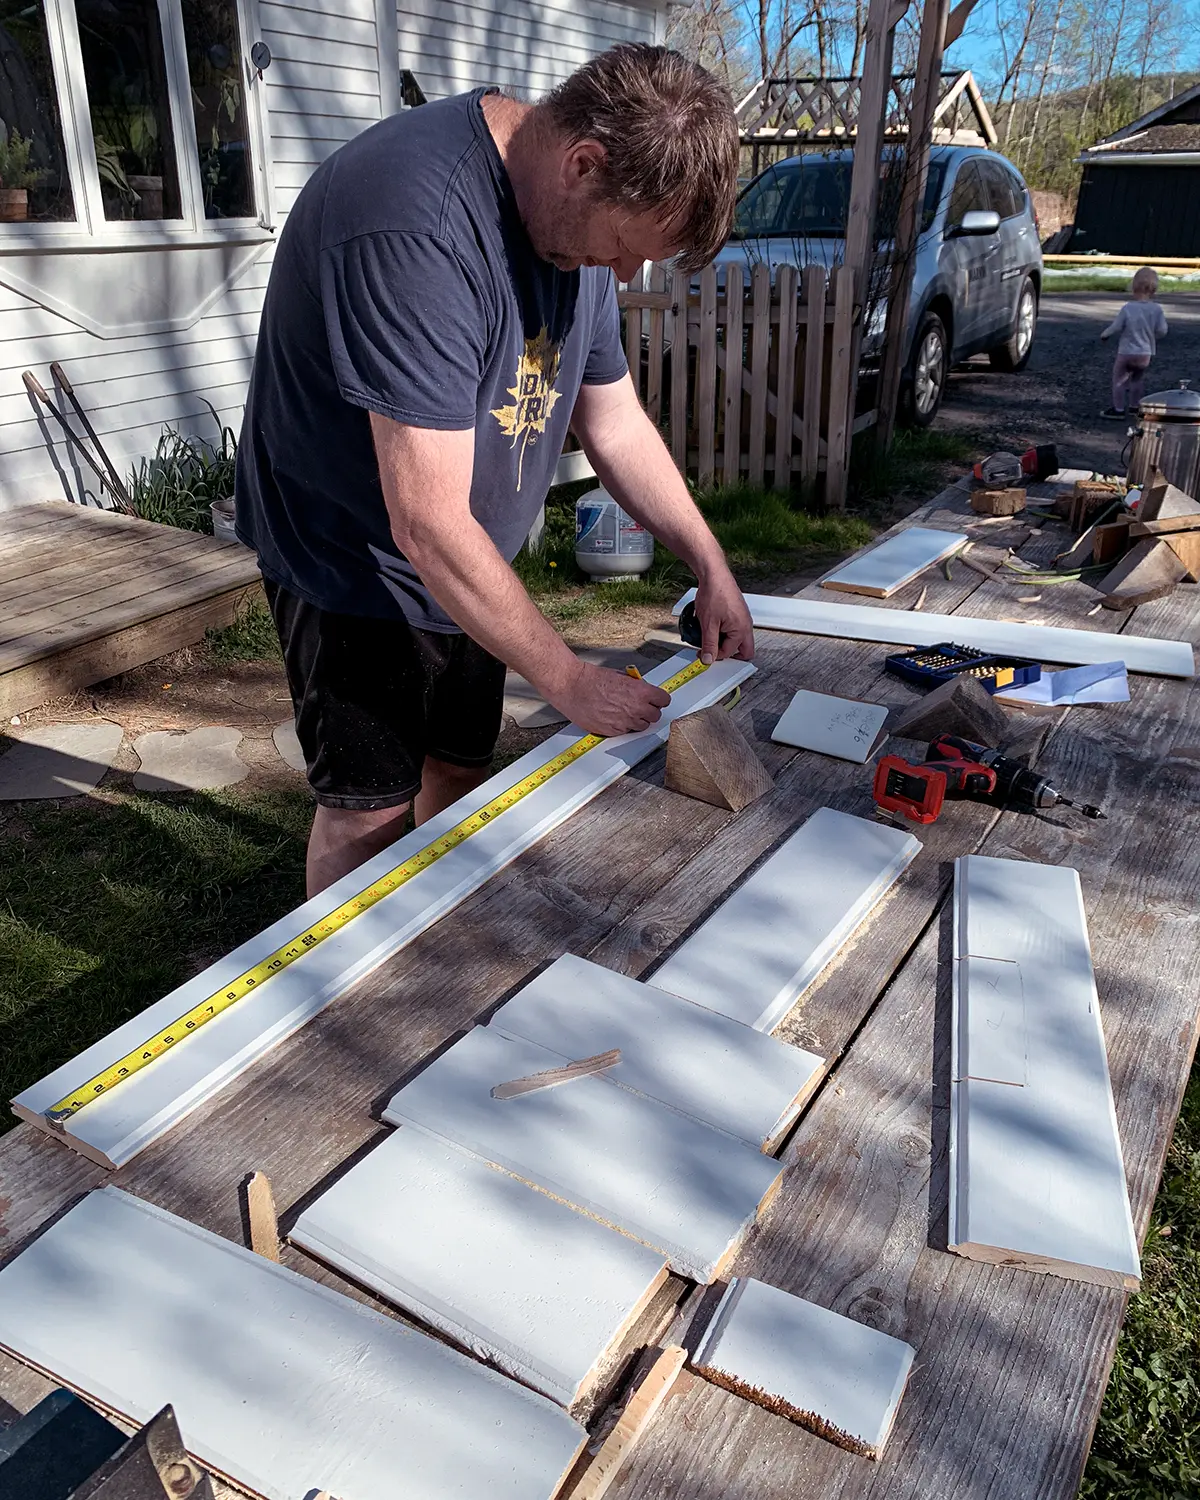
Now that the tongue and groove ceiling planks were prepped with paint and the ceiling was prepped with strapping, let’s walk through how to cut and install these boards. Colby is a big fan of setting up outside for dusty projects. Thus, he set up a cut station on our outdoor table.
Make A Cut List
He measured the space between the beams for each plank (always different…old home problems), wrote out a cut list, brought down a couple of 8′ boards, and measured and marked them according to his measurements and sketches.
Making Basic Cuts
Most of the planks only required a single cut. Out came the table saw to cut each of the wood ceiling planks to the correct length.

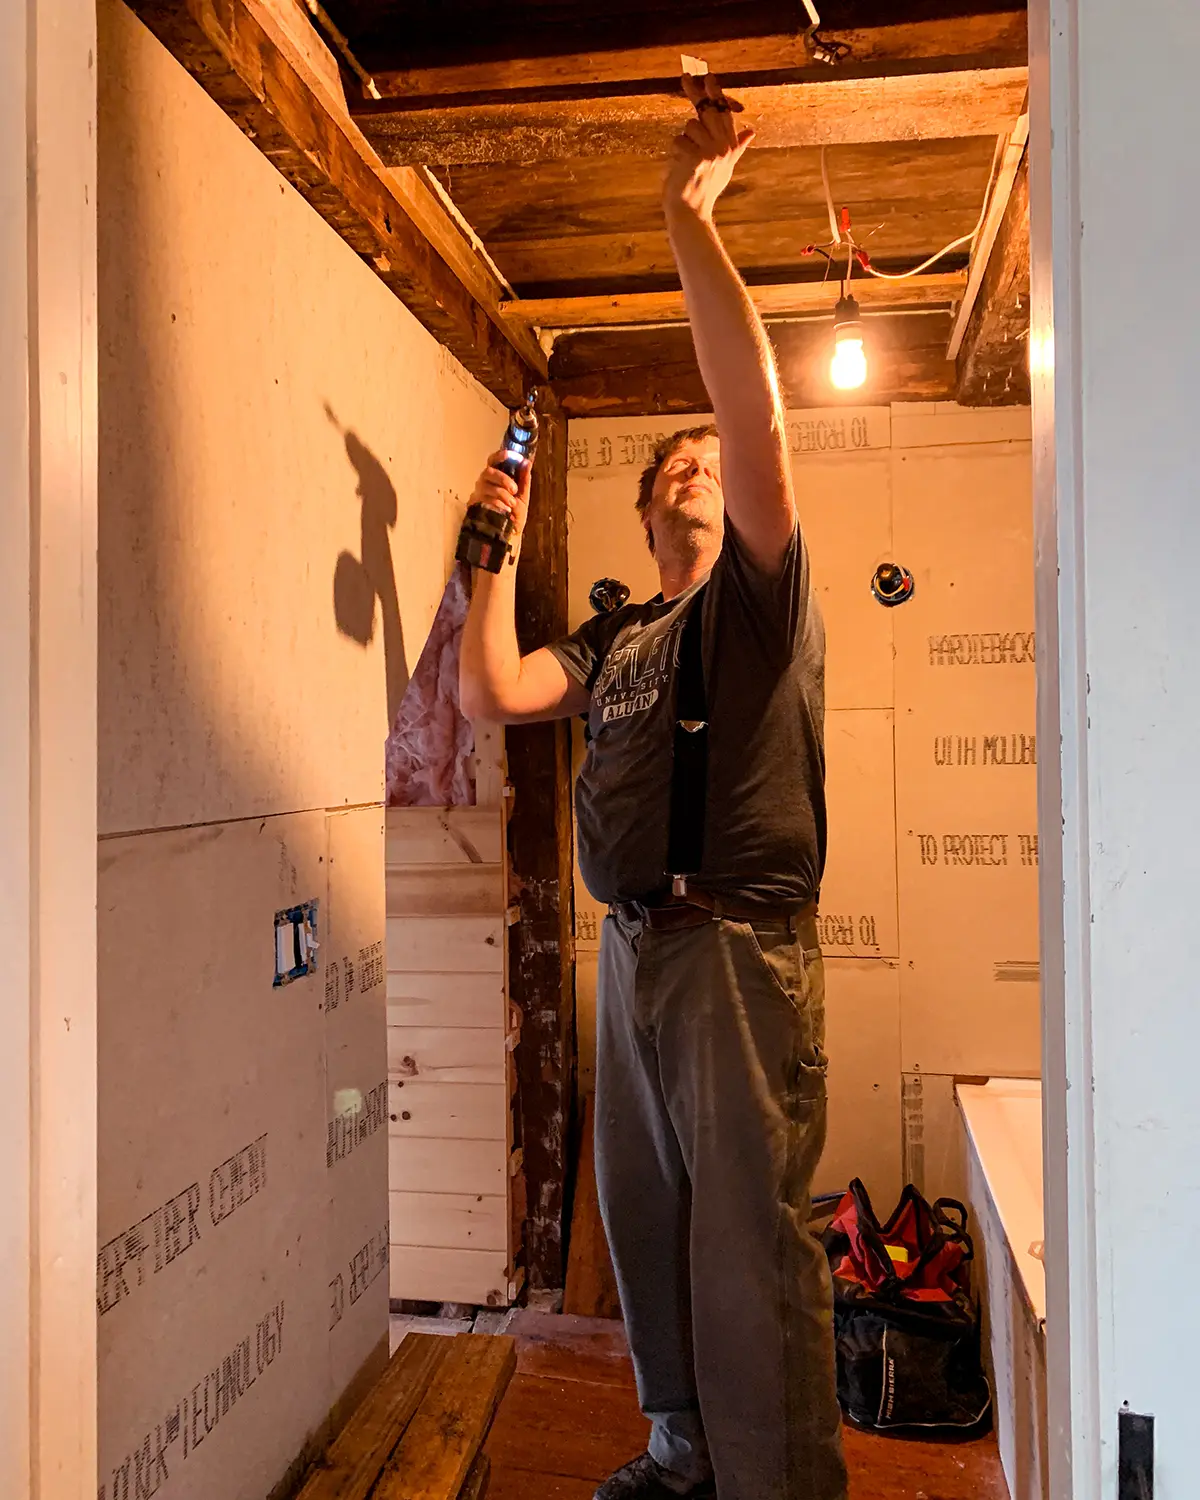
Installing The Cut Boards
Then he would take his pile of boards upstairs to the bathroom. Using a hammer, he would gently pound the boards into place, making sure that each board securely fit into the previous board. Tongue and groove ceiling planks provide a really tight fit when pushed into each other all the way.
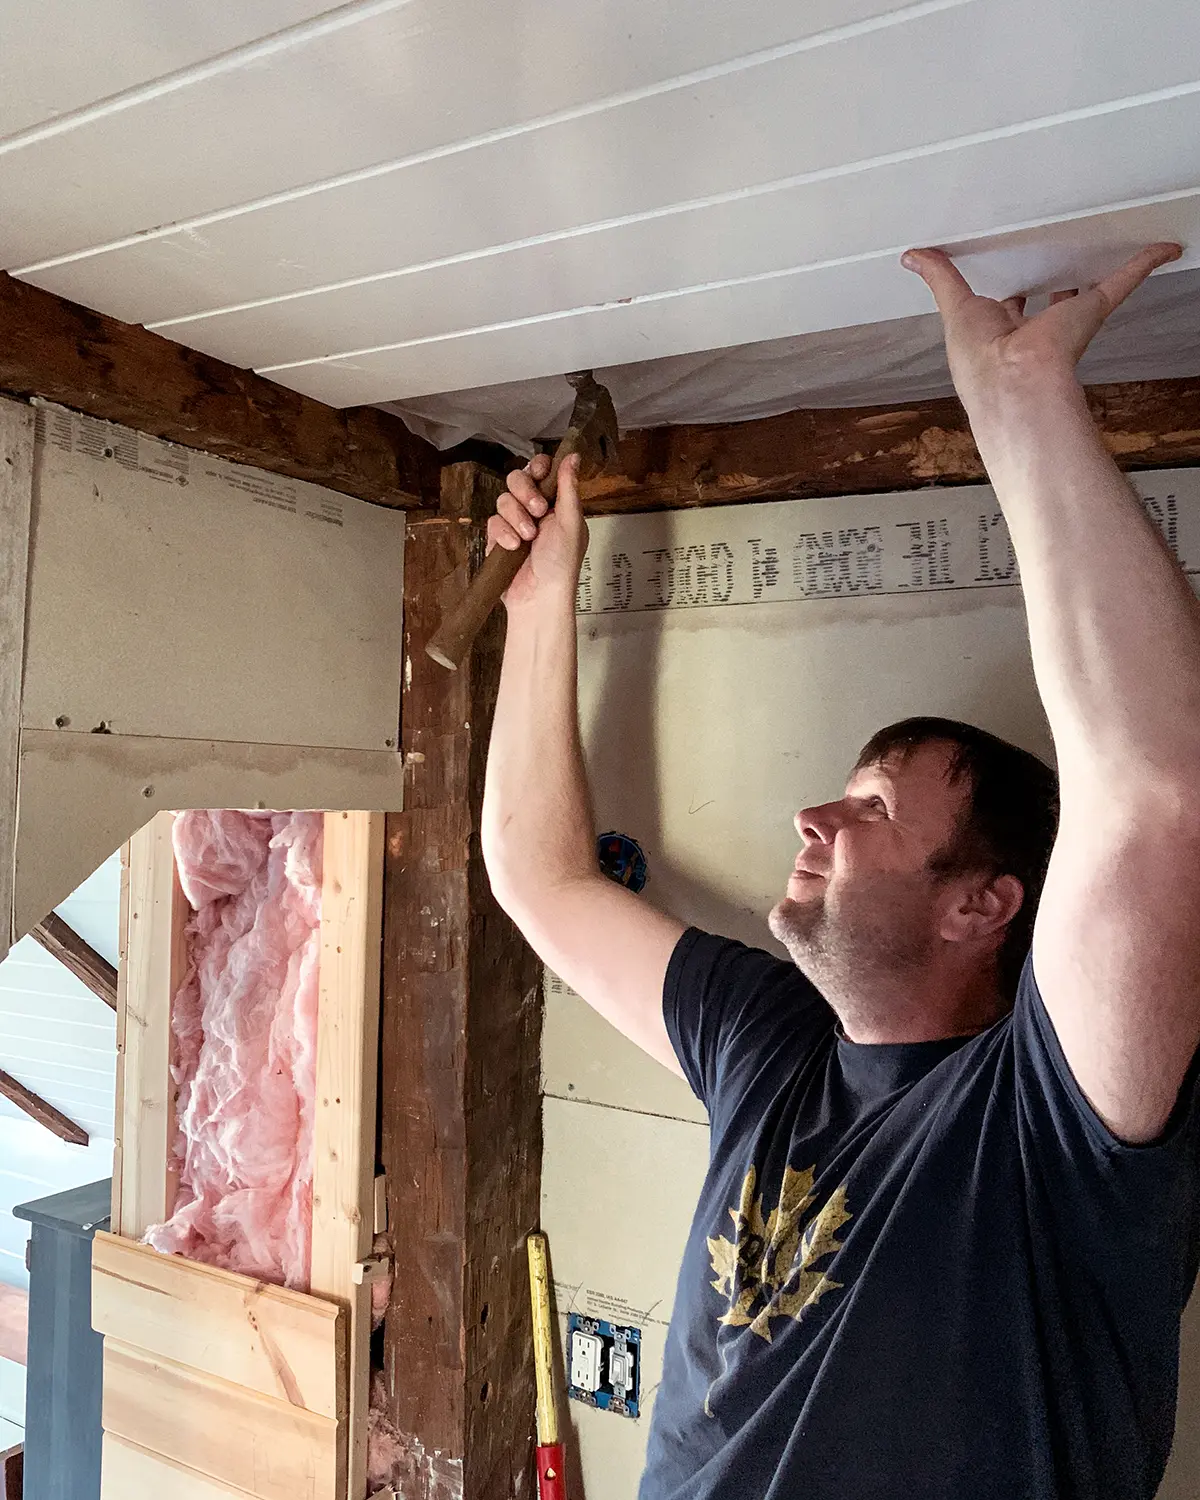
Nailing In The Boards
As soon as the wood ceiling planks were fit tight together, he nailed them to the ceiling framing and strapping. Lather, rinse and repeat until done.

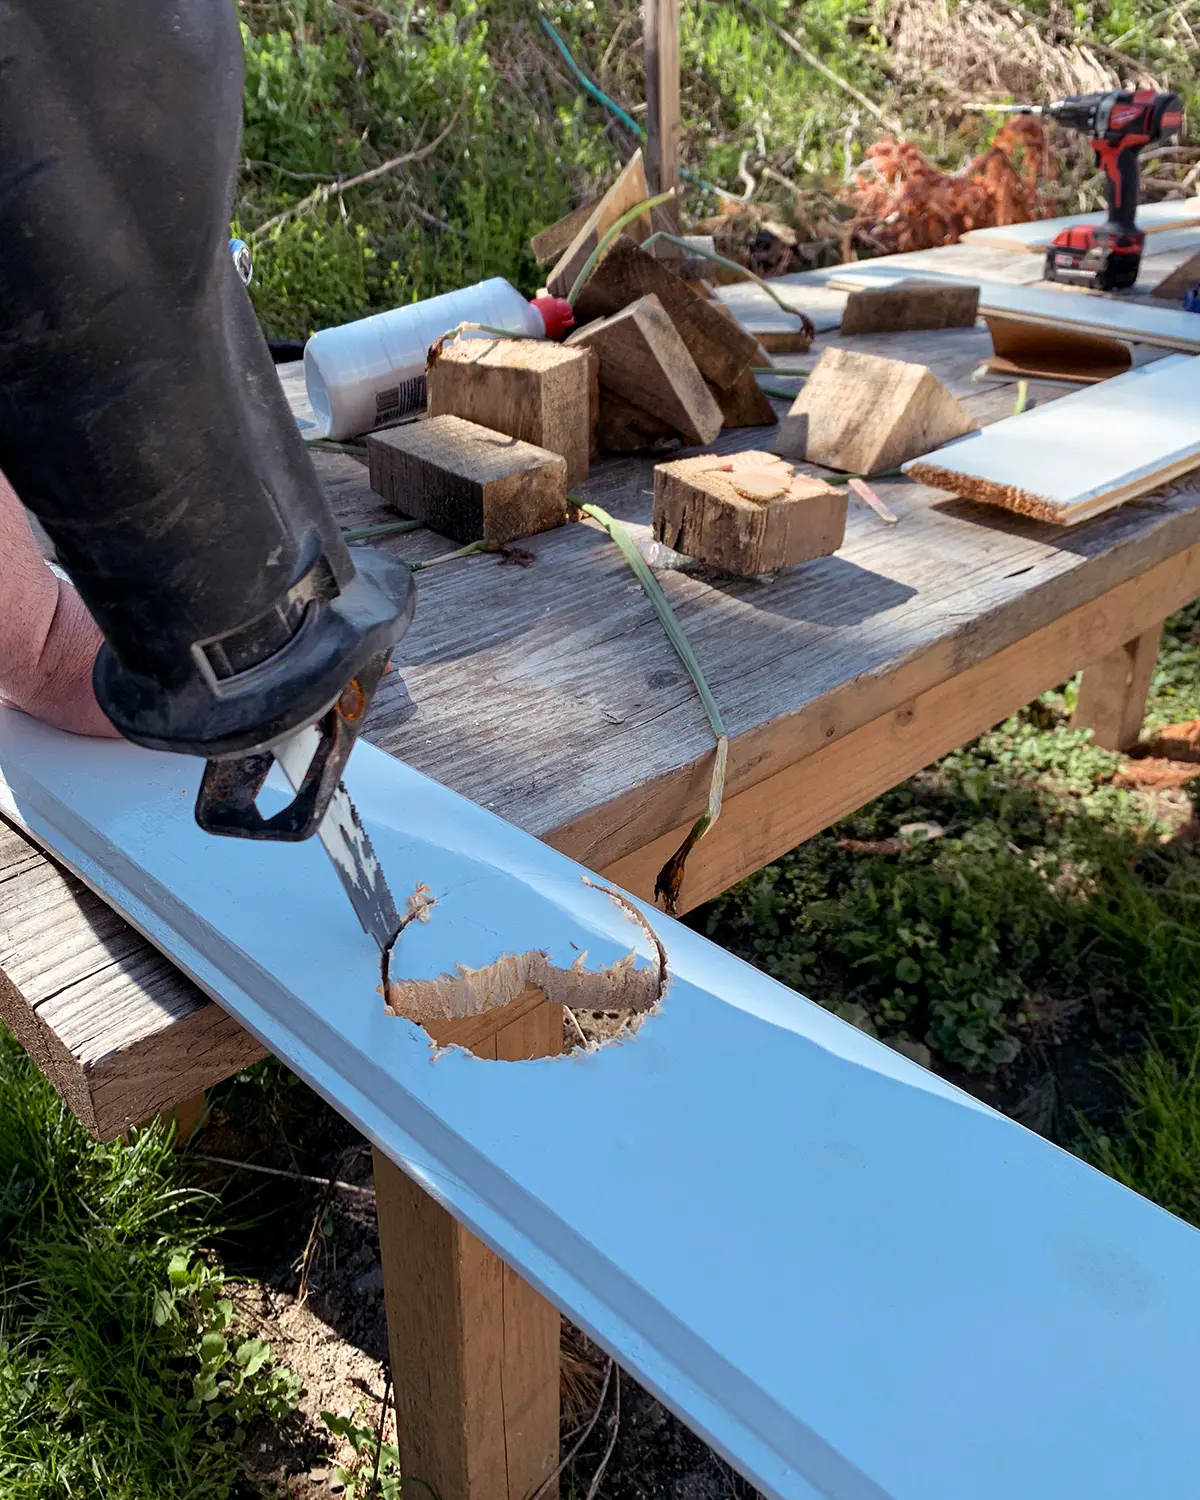
Making Special Cuts
There are occasions when weird cuts need to be made. For installing the ceiling planks in our bathroom, there were three instances where special cuts needed to be made. For the ceiling light electrical box and the ceiling fan, Colby measured and marked each board. Then he broke out the Sawzall to cut the wood ceiling planks.
A Sawzall is not necessary. A Sawzall is actually a bit overkill. It works, but a better tool for the job would be a jigsaw. I asked him why he chose a Sawzall knowing perfectly well that he has a jigsaw. Technically two! His response was, “I don’t know where the package of jigsaw blades is, and until I find them I’m not buying any new ones.” I stand behind that reasoning. If you’re installing your own ceiling planks, don’t be like Colby, use a jigsaw. Unless that is you can’t find your blades.
Trimming The Last Board
The other special cut that was required to install ceiling planks was for the final board. Because our ceiling is not square, Colby measured not only the length of the board but also the width at each end. Then he marked the board, drew a cut line, and broke out the circular saw to cut the final board.

The end. That’s all she wrote. Tout finis. The final chapter. And scene. I present to you our tongue and groove bathroom ceiling.
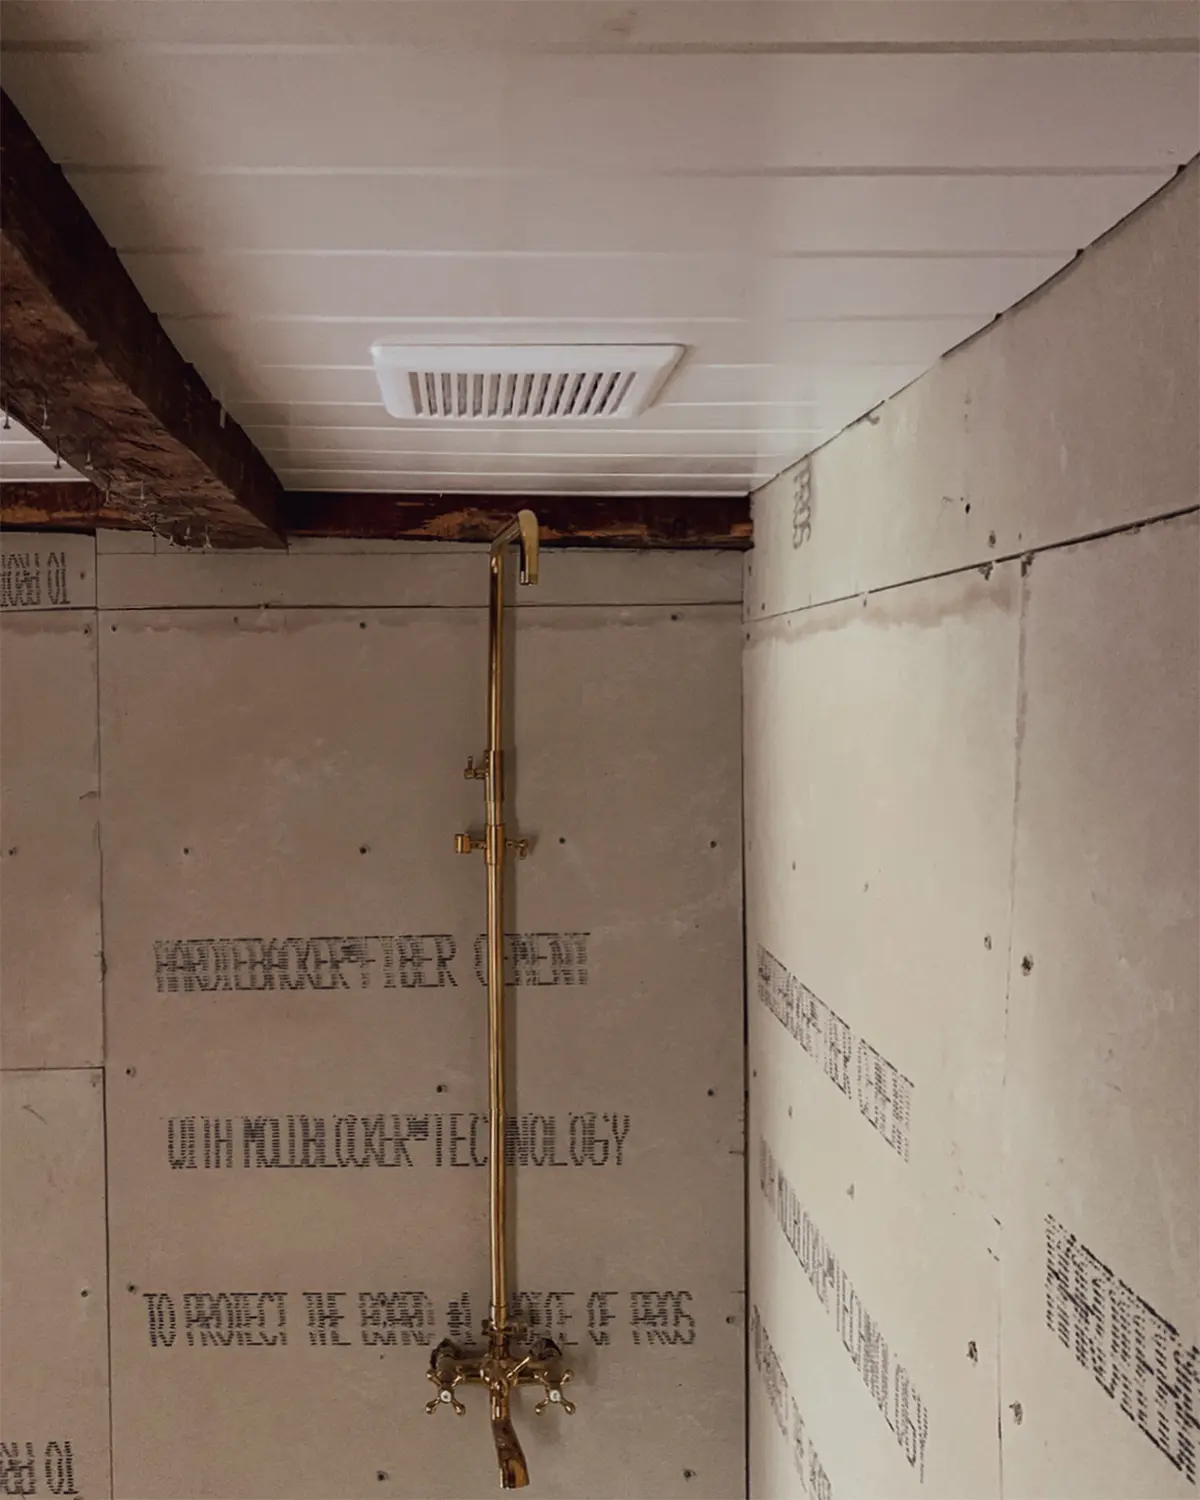
We do need to install some final trim pieces where the ceiling meets the wall. Since we are tiling this entire bathroom, we’ll wait and do that last step after all the subway tile is installed.
Bathroom Renovation Next Steps
Next up on our bathroom renovation punch list is tiling the entire bathroom! It’s a little intimidating, especially since I’m still waffling about a few things that tiling will make difficult to change later. Like do we put in a shower niche? I think so. But we’ve never done one before and I’m not sure how to do it. And do we take out the sconces? Technically, they’re to code as long as the fixtures are wet rated but that whole area just feels too tight.
One Room Challenge Update: Week 6
This project is part of the One Room Challenge, an event where bloggers and creators makeover one space in their home over the course of 8 weeks, sharing progress along the way. I cannot believe there are only a few weeks left to go! Especially because I’m up to bat for my portion of the project…tiling for days and days and days. It feels like a heavy lift, but fingers crossed I can knock off a portion of tiling each day this week during Bea’s nap time.
Be sure to follow along with the other One Room Challenge participants and check out all of the week 6 updates. Catch up on our project:
- Week 1: Small Bathroom Renovation Before and a Plan
- Week 2: The Unglamorous Side of Renovating
- Week 3: Missed the Update…whoops!
- Week 4: Installing Cement Board in the Bathroom
- Week 5: Bathroom Accessories and Pivoting a Plan
Here’s hoping next week I have a big ol’ tiling update for you!

Loving that ceiling! we took the easier route with bead board. Cheering you on!!
Oooh…bead board would definitely have been easier! Thank you for the sweet comment!
What kind of nails
We used a combination of 22 gauge finish nails with some finish screws as well