It’s reveal day for our DIY pantry makeover project. I’ll delve into more details in future posts, including how we built it, organization tips, why we opted for an open kitchen pantry, the cost, and more, in future posts. But today, let’s just soak in all the before-and-after goodness of this custom pantry project on a budget. ALWAYS on a budget over here.
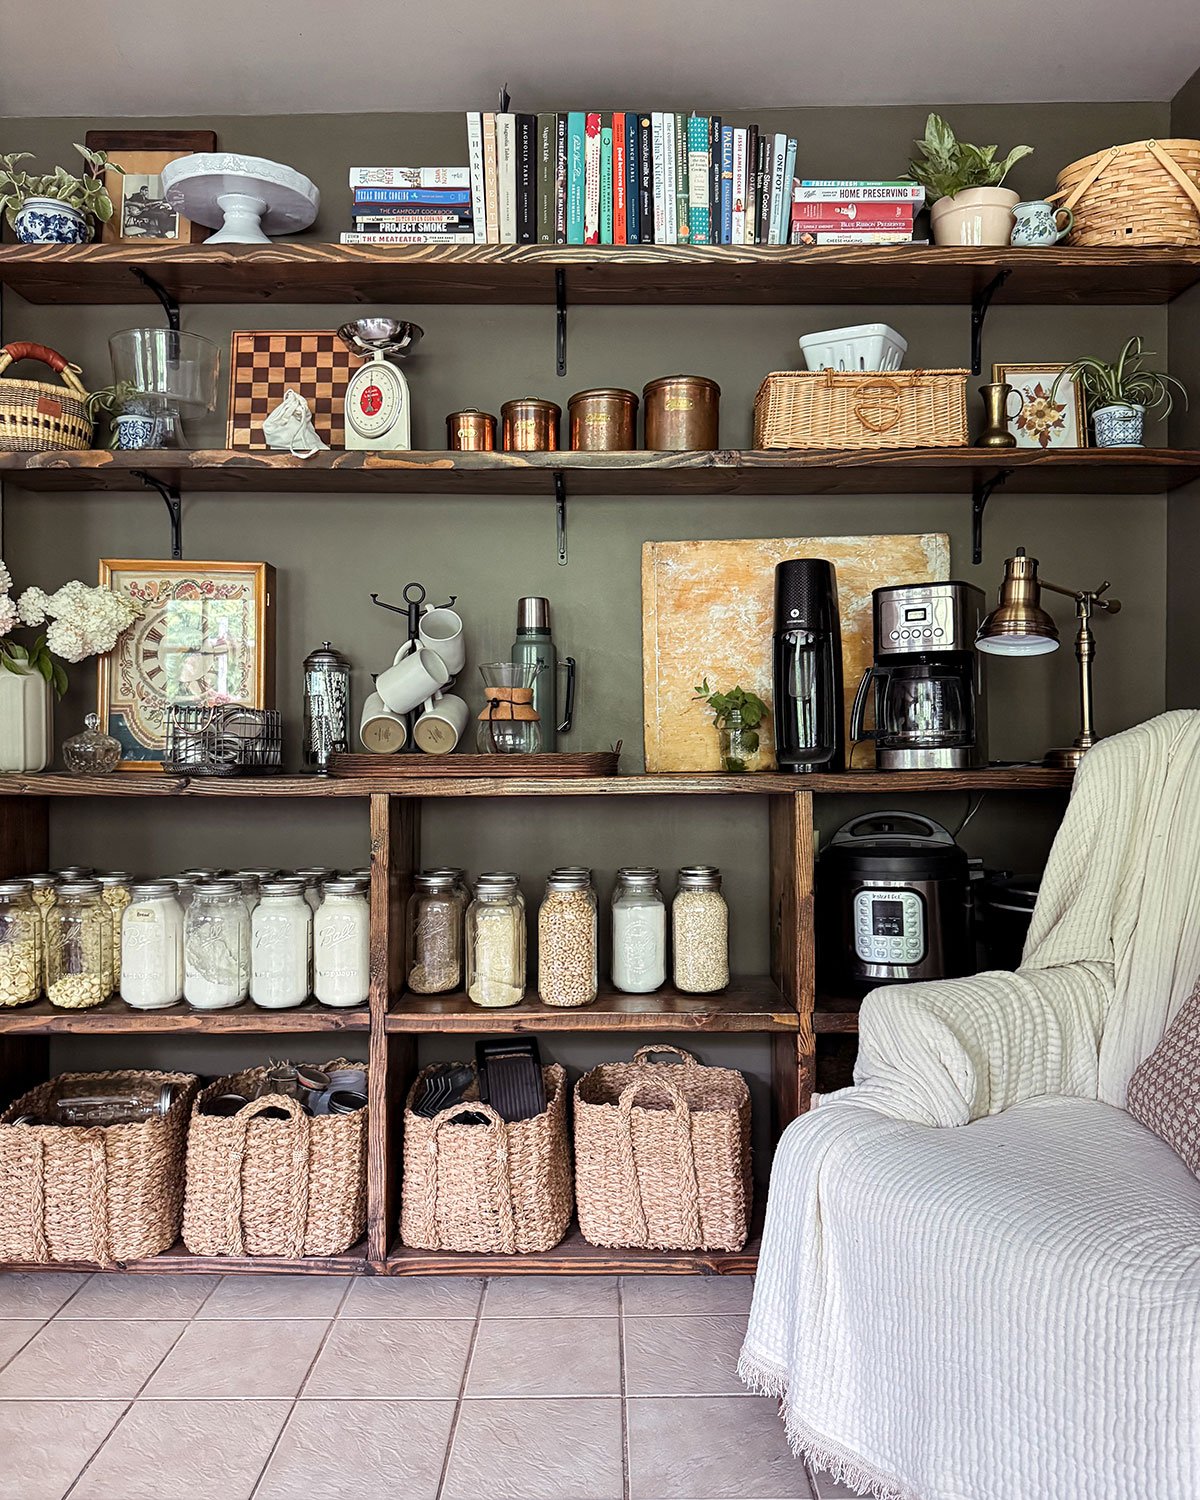
And another shot of the pantry straight on.

This is the shot that makes me feel like the lower shelves need cafe curtains. It feels cluttered. But more on that and some potential other small updates in a possible phase two.
Pantry Before
We’ve lived in our home for ten years now and have always hated our kitchen. It’s small, lacks storage space, and the layout is really weird. That’s why there are oh so few photos of said kitchen on this site. We’ve always known we would do a full, gut remodel of the kitchen, moving it over to the other side, the large eat-in kitchen area. We thought we would have tackled this project by now, but c’est la vie.
Because we thought a full kitchen remodel was coming, we hadn’t done much to our current kitchen to make it usable. I don’t always love temporary projects, but sometimes they’re necessary. This spring, we deemed it necessary to start making the kitchen more organized and functional because who knows how long it will be until we get to the big remodel. But the plan is baby steps. One little improvement or modification at a time, nothing too crazy.
Our first project to attack, the old pantry area. Let me pause while you pin this beauty of a before shot (note the sarcasm).
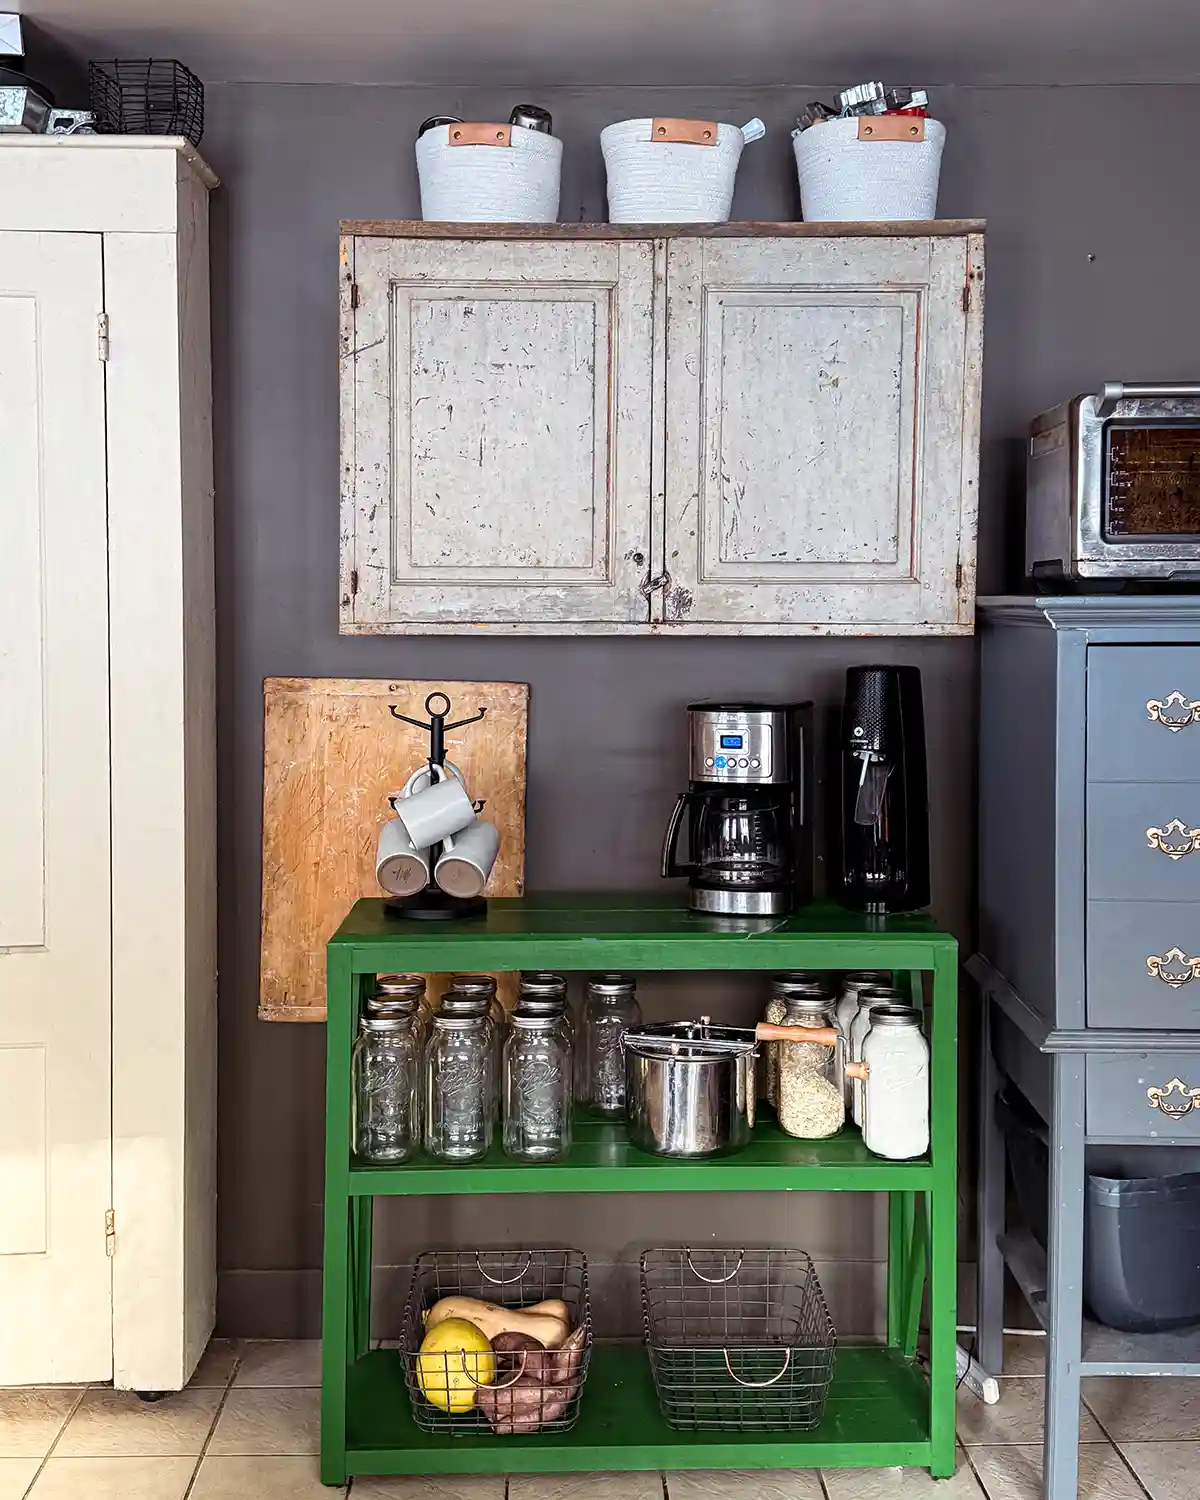
The old space included a pantry cabinet. The cupboard was Colby’s grandmother’s old jelly cabinet from her farmhouse, which is a non-negotiable must-stay item in our home, but also the only place we had for food storage. Let’s just say the cabinet was bursting at the seams before this project.
Then we brought in an old, green bookcase from our first home, which had been living in our attic, along with a thrifted microwave cabinet, and a vintage upper cabinet hanging on the wall. The space was a mish-mash of found objects that we made do with. But it didn’t work. Visually or functionally.
Pantry Problems
A few problems…because problems are typically what make our DIY wheel go ’round.
First, we needed storage space for our larger kitchen appliances that we don’t use every day, but use often enough to keep them. Like the InstaPot and CrockPot. They didn’t fit well in our kitchen cabinets and were hard to access. Because our lower cabinets are just a little bit too short for them, we stored them without the lids on, meaning there was one whole cabinet for these two items. That’s half of all lower cabinet space dedicated to these two appliances.
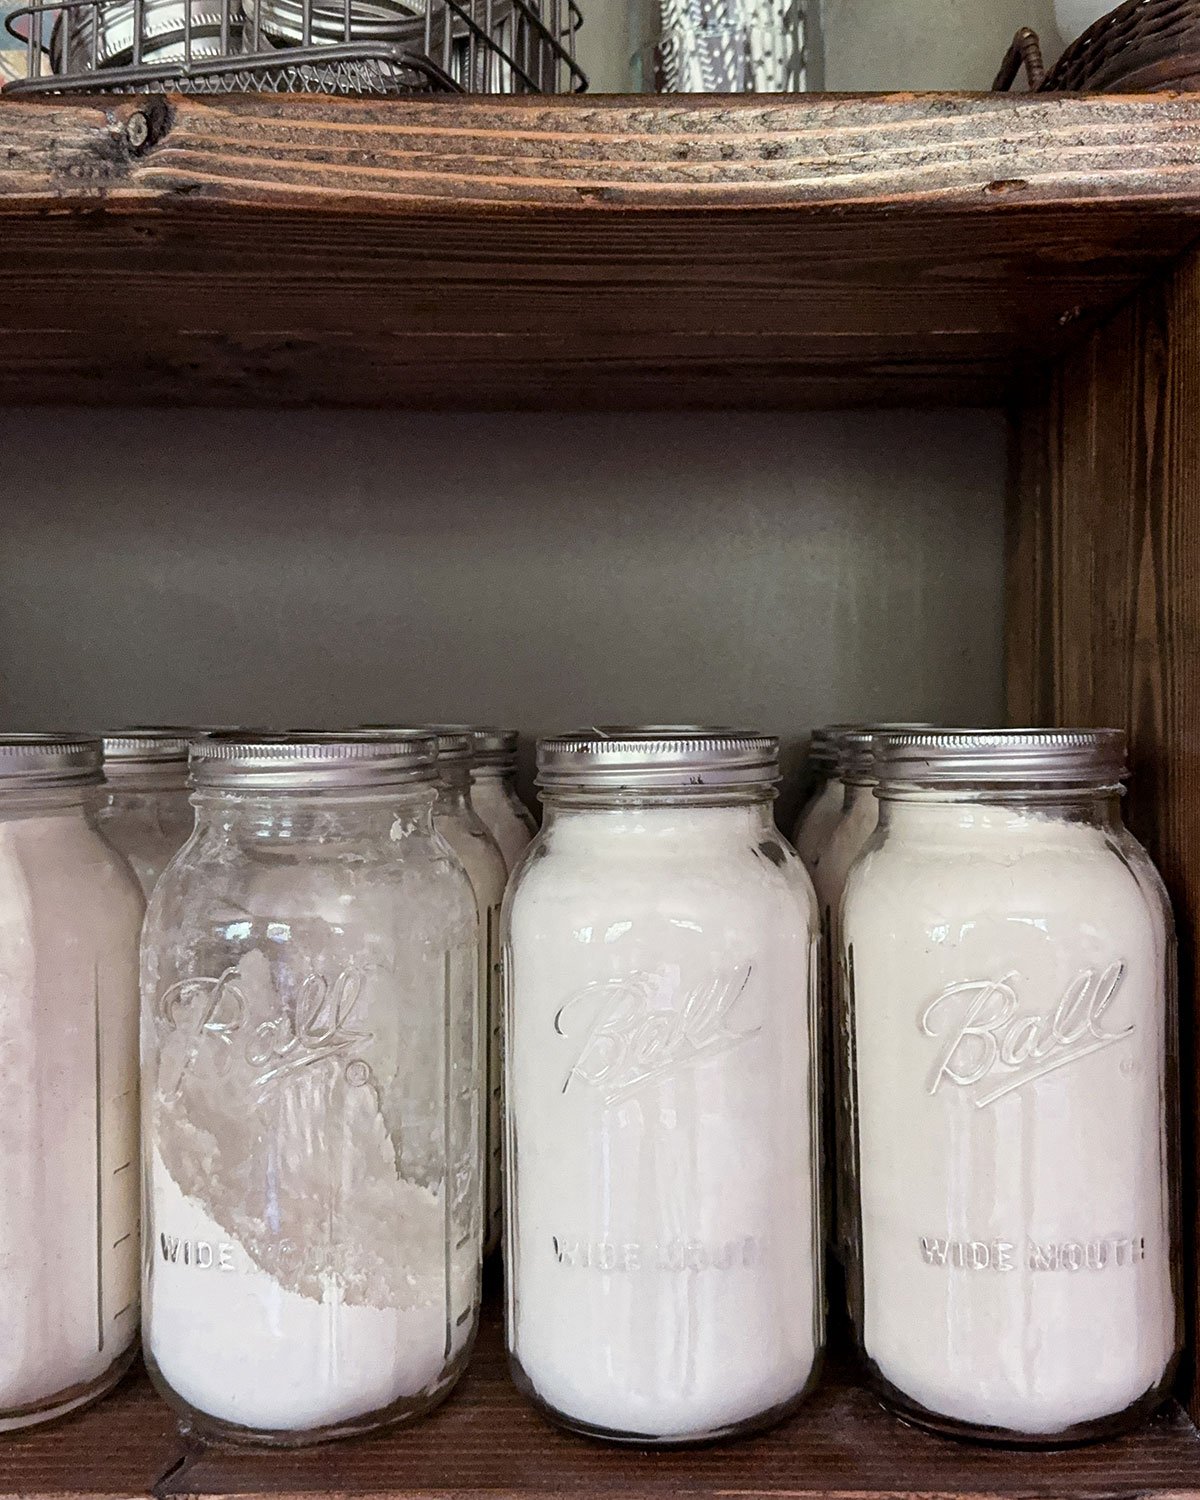
Second, we buy alot of food items in bulk at our local co-op. It’s a cost-effective way for us to buy pantry staples, AND it uses less packaging. Win-win. I’ve long stored our bulk pantry items in glass containers; 64-oz Ball Jars are my favorite, but I found I couldn’t keep much back stock of items since we didn’t have the space. We get two co-op discounts per month, and I wanted to stock up twice a month to keep grocery costs down.
Third, I disliked how this space looked. It felt cluttered and not cohesive one bit. You could tell nothing was intentional, and we were working with what we had or could source for cheap. This wall space is large and has alot of storage potential to make it all work.
The Basic Plan
We already liked how we were using the entire kitchen area. To add pantry space on the other side meant we expanded our kitchen footprint and storage capabilities. It just didn’t look good.
After much consideration, the general idea of the space was to build a long, low bookcase that could house the small appliances and also bulk food items stored in glass containers. We measured everything, figured out the space we needed, factored in material costs to keep us on a tight budget, and made a building plan.
I also envisioned open shelves with brackets above the pantry cabinet. We no longer have a dining room hutch, and I wanted a space to store items we don’t use often, like the cake plate and trifle dish, along with my ever-growing collection of cookbooks. I LOVE cookbooks and I’m not ready to pare down right now.
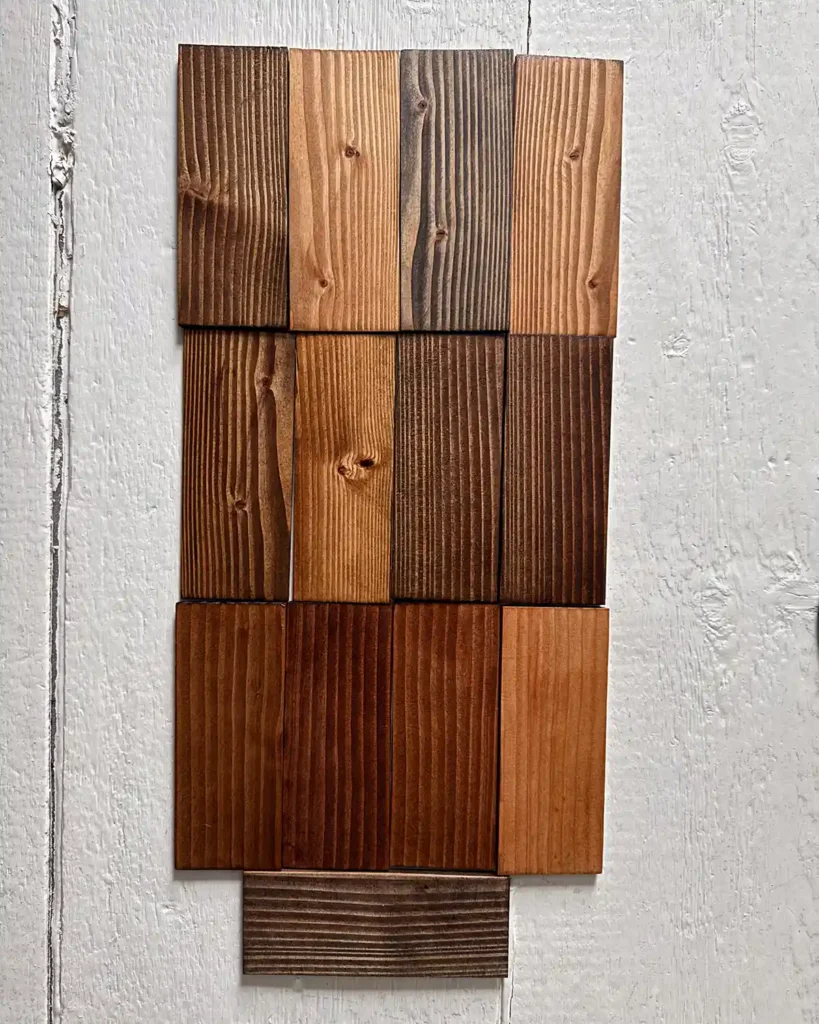
Armed with a good design, off we went on a lumber run, acclimated the wood to our home for a bit, and turned the plan into a reality.
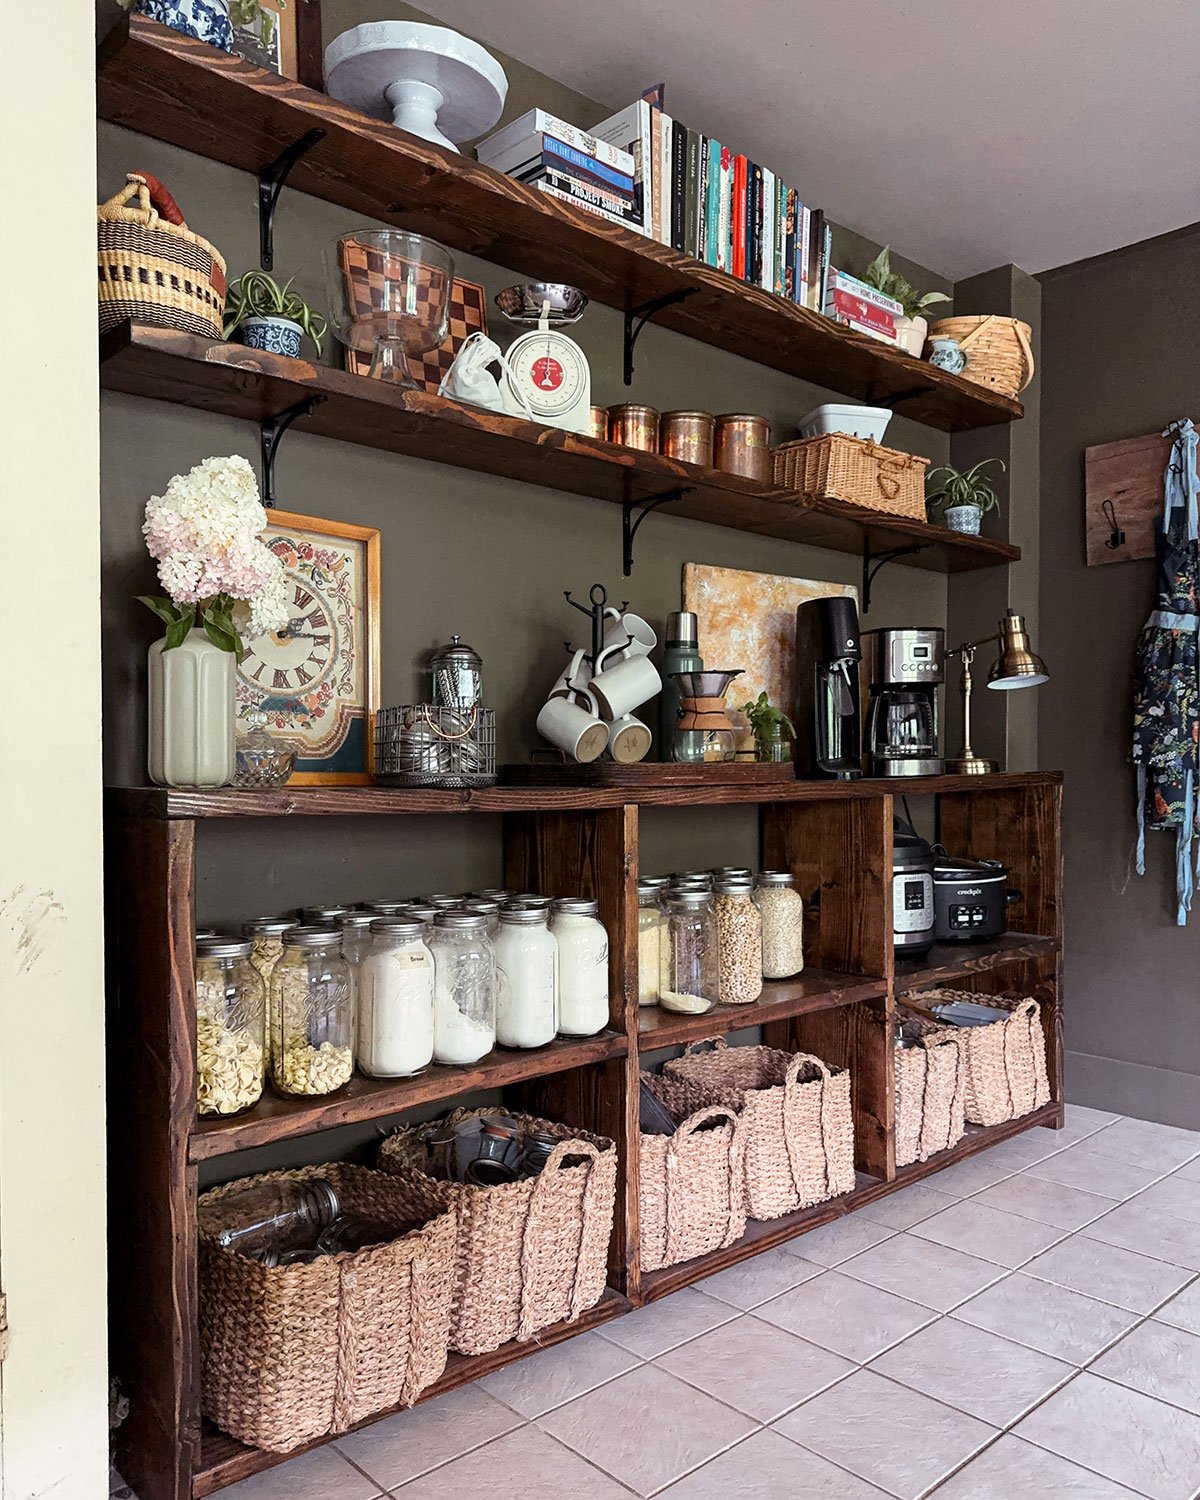
Pantry After
I love, love, LOVE how this project turned out from the open shelving above to the large storage space below. The finished look has that farmhouse feel that goes so well with our house, while giving us easy access to things we use regularly.
Using the extra space on the dining side was a game-changer for our small space! And now the back wall of the dining side is no longer an eyesore. Huzzah! Winning!
The Bookcase
Building the lower bookcase wasn’t a hard project. Especially if you compare it to building a new cabinet. There are no doors or drawers, just straight cuts.
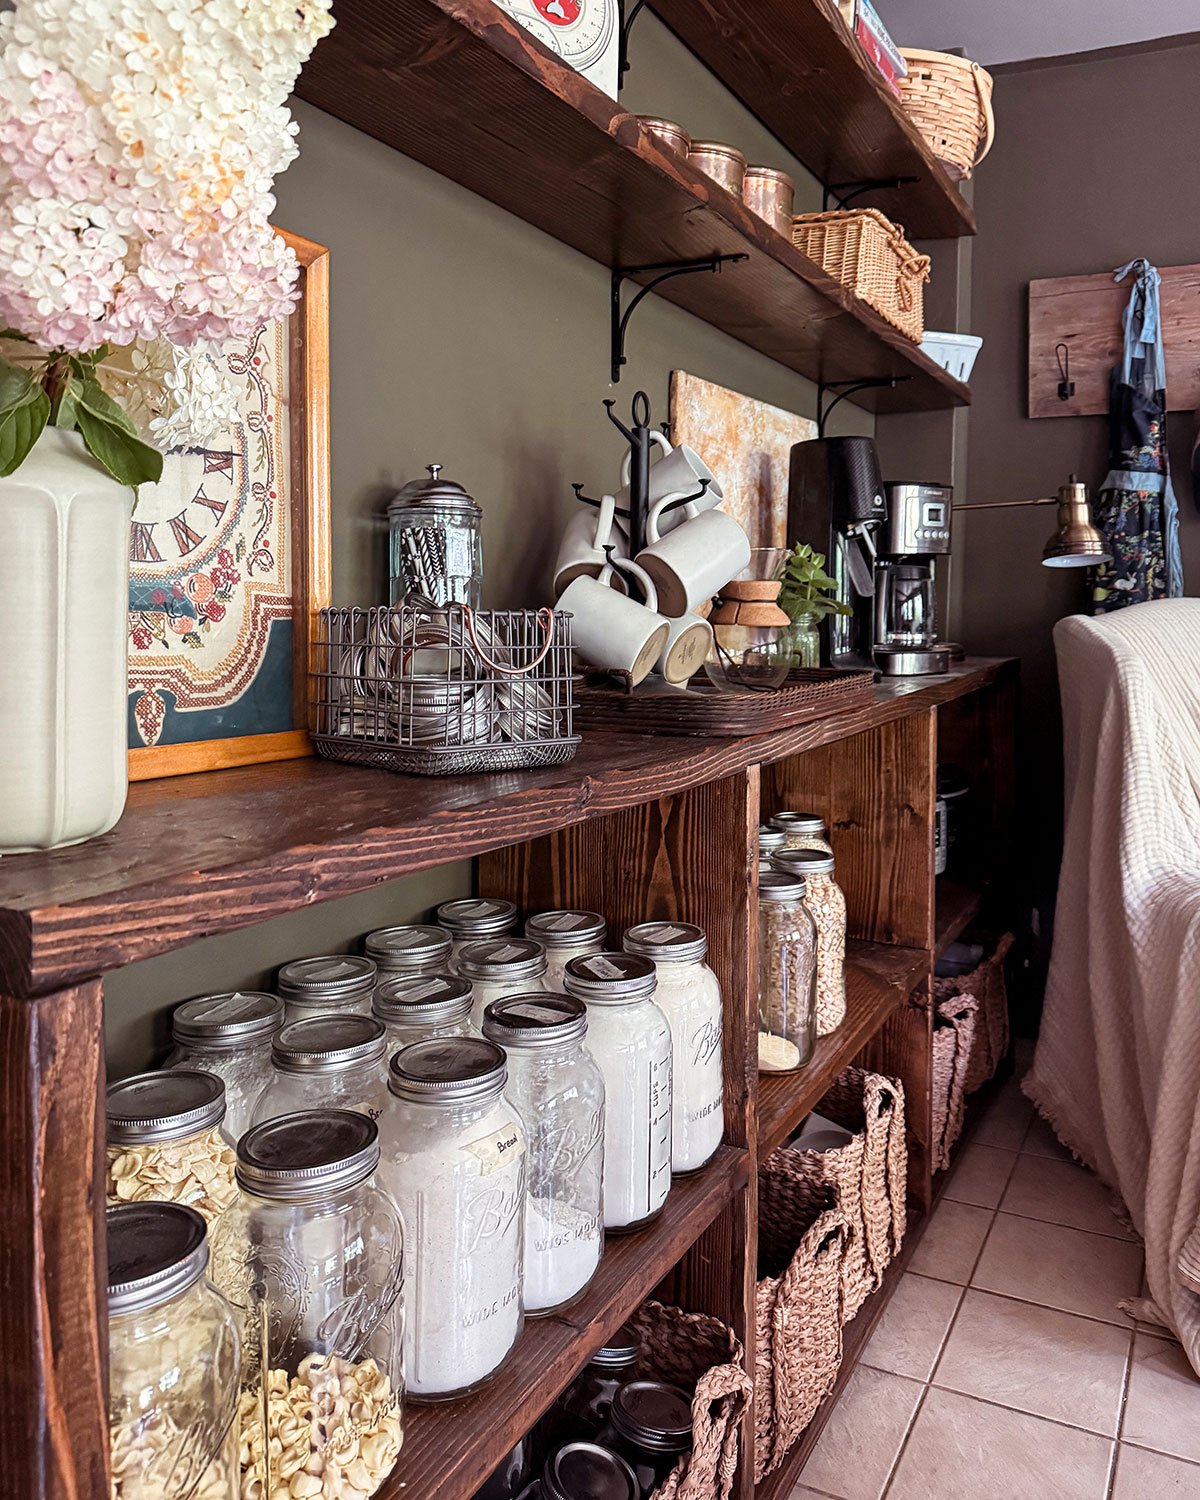
When we designed the new build plans, we factored in what would be stored here. Hence why the bookcase is built out of thick fir framing lumber. We briefly considered using pine boards, but the additional cost of the fir was worth the added sturdiness and stability to store so many filled mason jars. Heavy-duty was the name of the game.
I had this vision while we were designing the shelves of all our dry goods stored in clear containers. I already have and use so many 64-oz Ball jars, so we custom-designed the shelves to fit six of those jars wide and three deep. It looks so good when the shelves are filled up.
The baskets on the bottom shelf are the old baskets from our first home’s primary bedroom closet. I hadn’t found a good use for them in this home yet, but they fit perfectly on the bottom shelf and hold all the random things. Like extra mason jars, popsicle molds, cookie cutters, KitchenAid mixer attachments, and more.
I don’t feel like the bottom shelves are organized perfectly yet, which is one of the reasons it’s taken me so long to photograph and write this post. But when do I ever feel like anything is ever finished?! A little shelf noodling a day keeps the doctor my anxiety away.
The Open Shelves
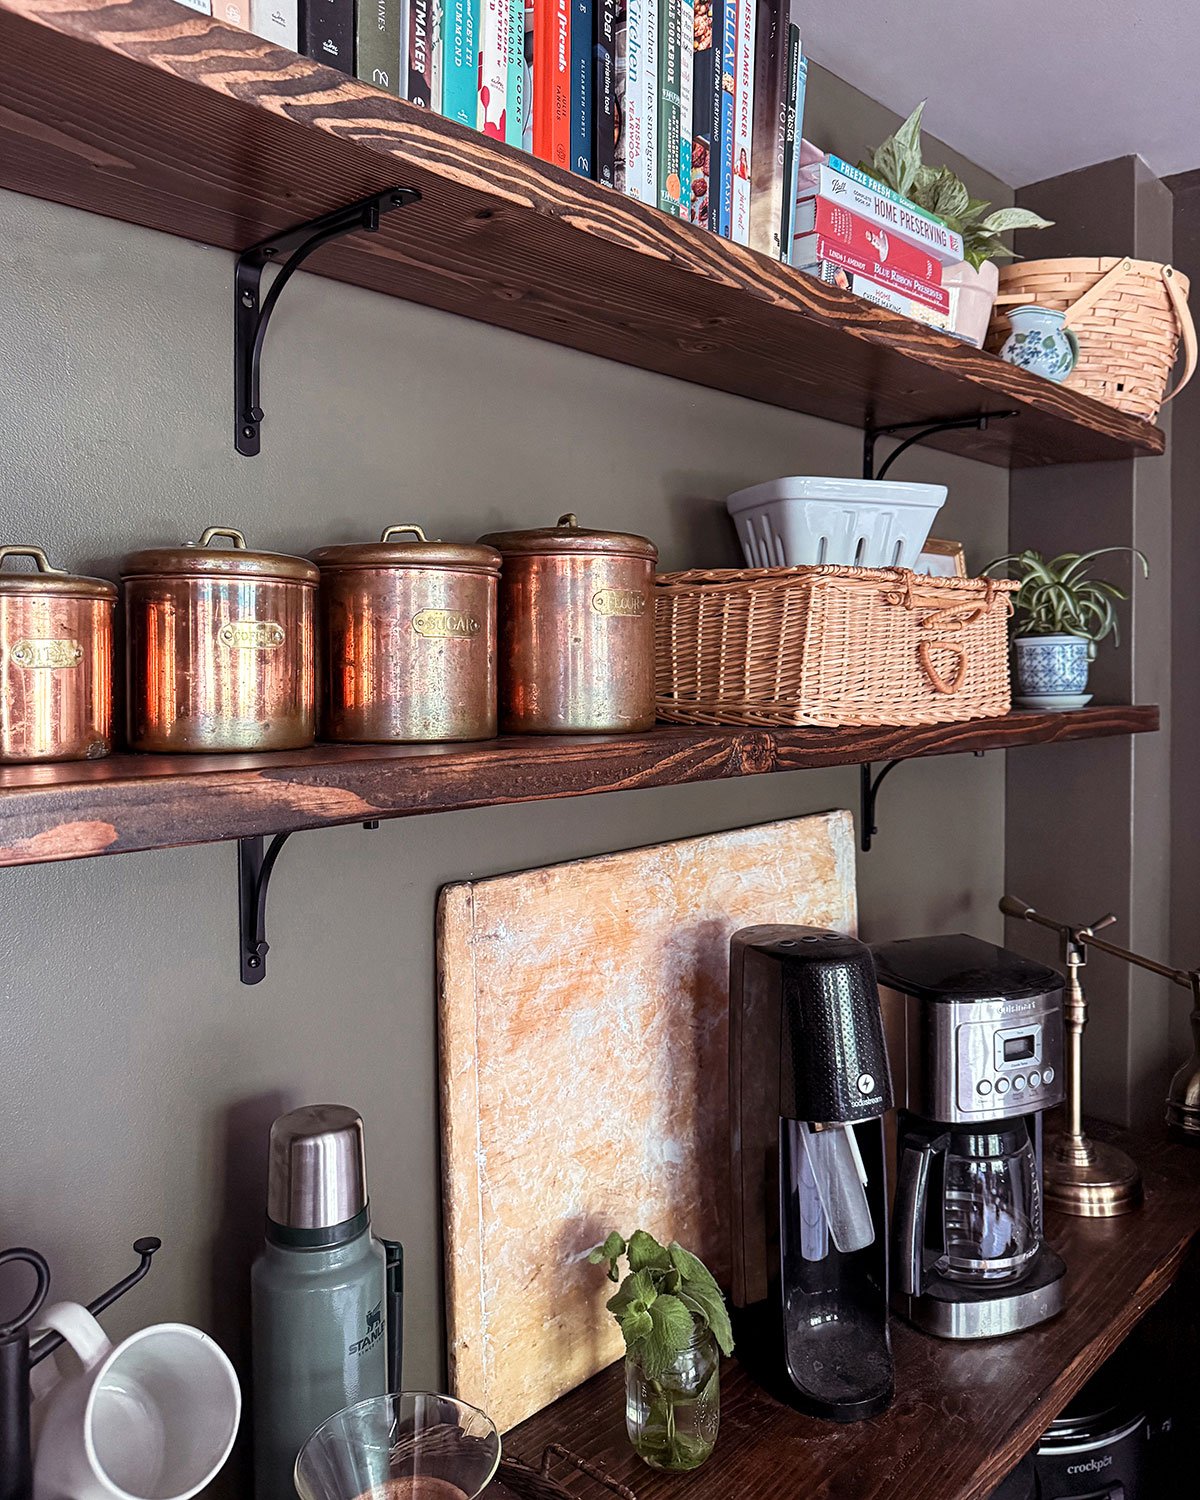
On to the upper shelves. These are basic open shelves that we built with fir framing lumber, wood screws, and simple shelf brackets. These are the kind of shelves you can find supplies for at the Home Depot or any home improvement store.
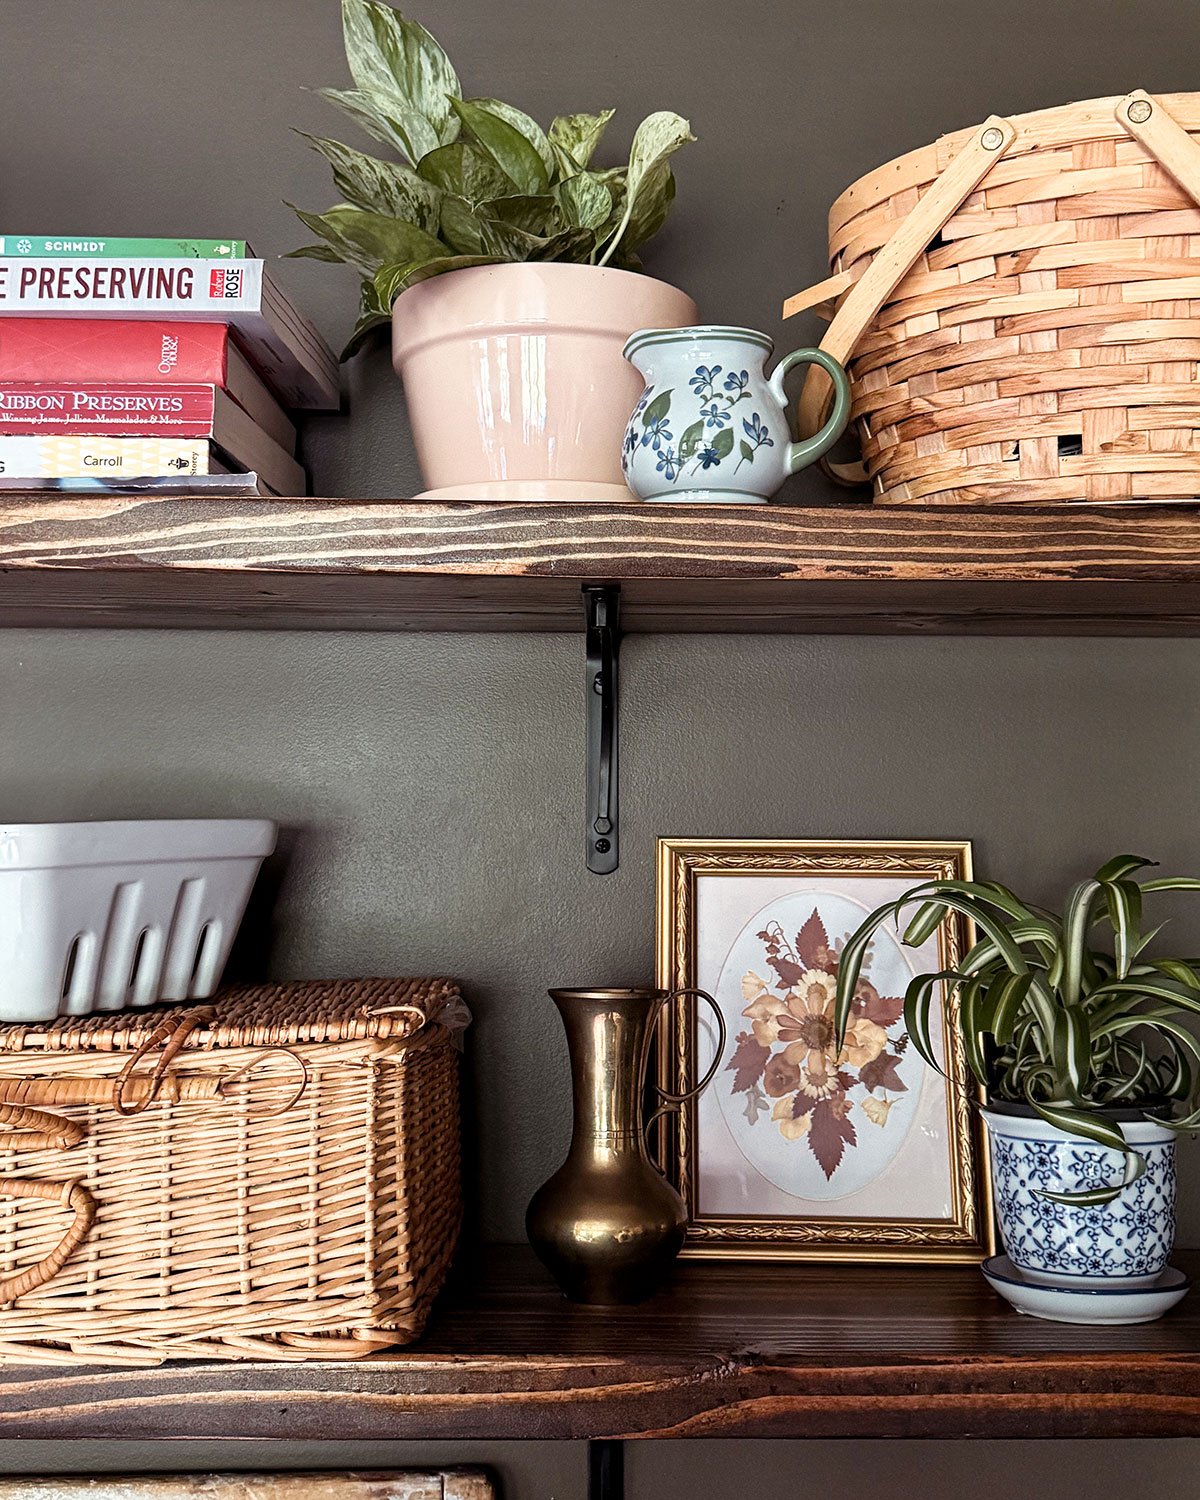
The goal of these upper pantry shelves was to house kitchen items that look pretty, that we use regularly, but not necessarily every day. Things like cake plates, a garden harvest basket, a trifle dish (that I only use to make banana pudding in), a kitchen scale, s’mores supply basket, and more.
The one exception to that rule is the cookbooks. I needed a new home for cookbooks. They had outgrown their original space above the kitchen sink. I either needed to pare down my collection or move it. I’ll likely declutter the cookbooks someday, writing down my all-time favorite recipes to keep and passing the book on. But I’m still cooking through many of them, Julie & Julia style.
To bear the load of the cookbooks and framing lumber material, the upper shelves needed extra support and HAD to be screwed into studs. I’m so thankful that the stud finder found studs that were somewhat centered above the bookcase. They are not evenly spaced (old-home-not-equally-spaced-studs-problems), but I’m grateful it’s not noticeable.
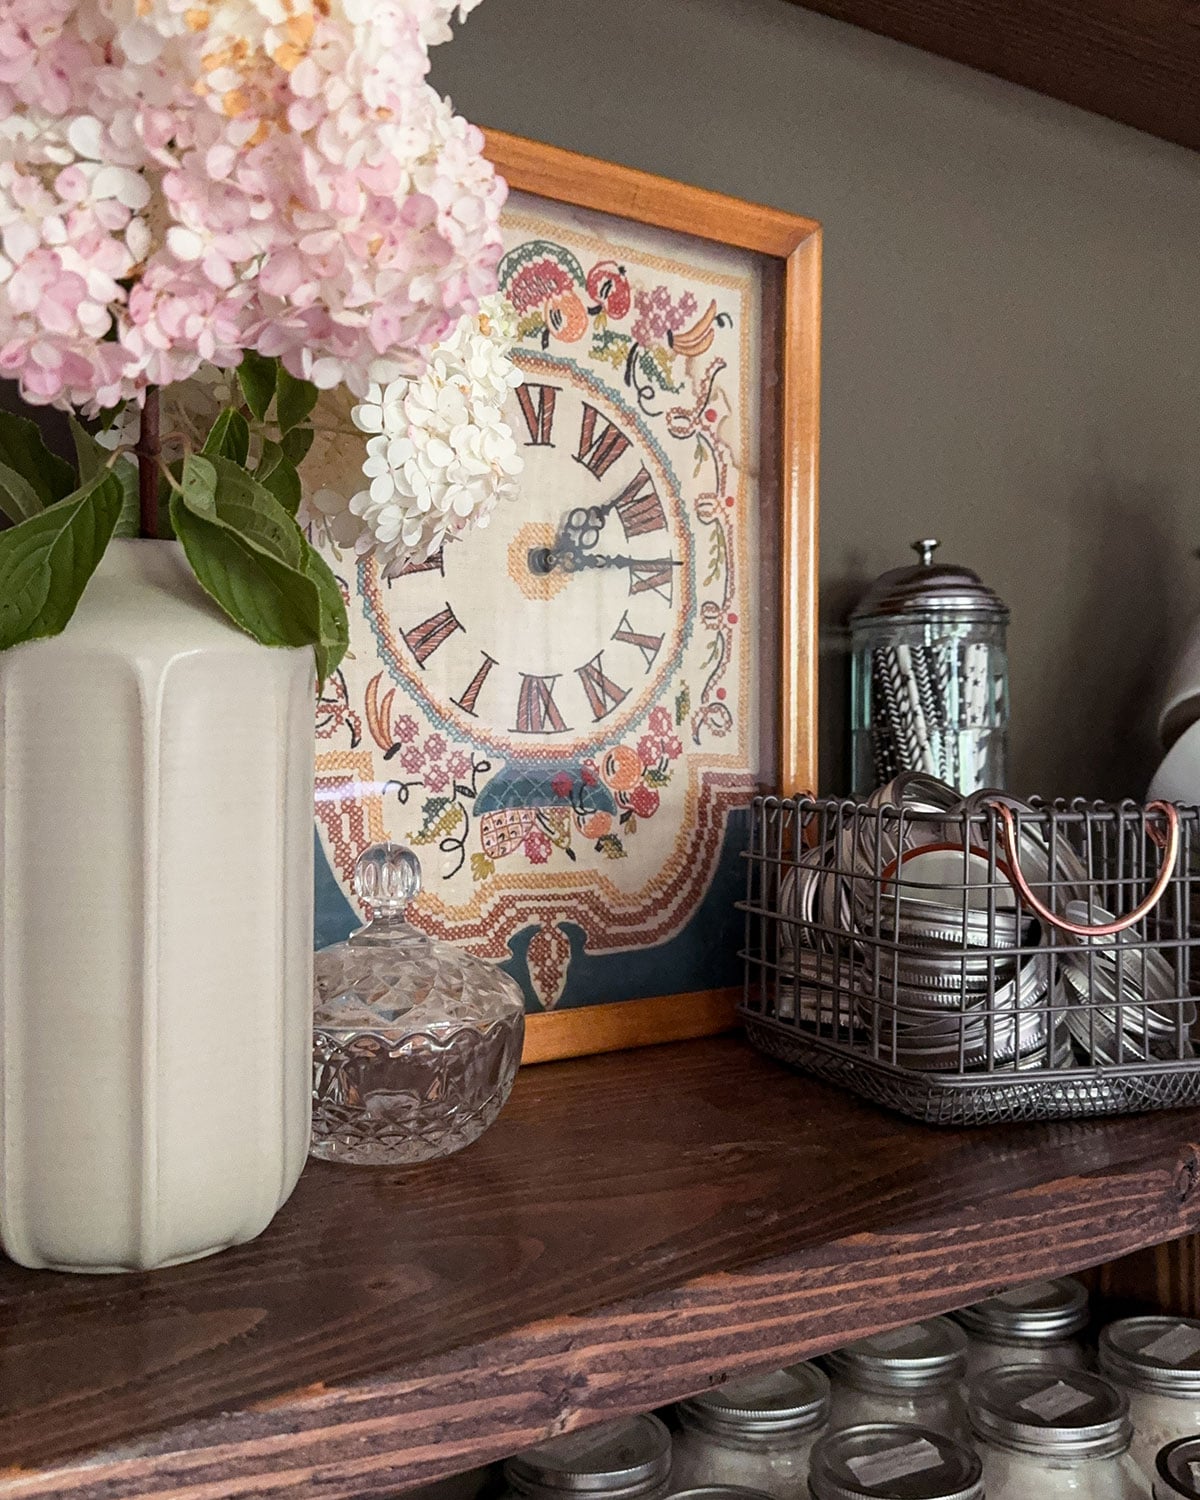
I also loved mixing in some special decor or items on the shelves. These included vintage items handed down to us from family members, a family photo, heirloom dishes, and more. I could write one hundred “things that matter” posts about the items on these shelves. That may be exaggerating a smidge, but let’s just say there’s alot.
The award for most random item on the shelf is a checkerboard from the Magnolia line at Target. Earlier this year, Rowan wanted to play checkers, and we realized we didn’t have the game. Huh. So I found the most beautiful/affordable set I could find, and now we store it on the kitchen shelves. We play checkers quite often at the table next to the shelves, and it’s so handy to have it here. This is why I love beautiful, functional items.

Vintage Jelly Cupboard
To round out our kitchen pantry storage, there’s a vintage jelly cupboard just to the left of the bookshelf. I’ll have to photograph it for a future post.
It was Colby’s grandmother’s own cabinet from the family farmhouse, and I can’t believe that we are the ones lucky enough to have it in our family farmhouse. It’s beautiful, charming, is a family heirloom, AND houses all the random things. Like backup salad dressings, canned goods, tomato sauce, and a kids’ snack shelf.
The cabinet is a great way to store things that don’t look as good. The shelves aren’t as deep, so it’s a great way to store canned goods and smaller jars or storage containers.
The outside of the cabinet is in decent shape, but the inside of the cabinet is starting to get roughed up. Colby’s mom had painted it several times before it came to us, and she was fairly certain that lead paint had been used on it at some point. We’ve lead tested it in many spots and it comes back negative, but just in case, we may give it a good paint job soon.
The Final Touches
I wanted this to be the final reveal of our small pantry makeover, but there are a few final touches I want to tackle, which I’ll bring you along for the ride. The best part, for now, is that the space is functional and well-organized. This was a long time coming! I couldn’t believe how unorganized our kitchen was until we started this project.
Is it the built-in pantry of my dreams, like every Devol kitchen pantry I’ve ever pinned? No, but it’s better than a builder-grade pantry closet with wire shelves, fits the style of our home, stores larger pantry items, and makes our lives easier.
I’m seriously considering adding some cafe curtains for the lower shelves. I like the look of them open, but the open bottom shelves combined with open upper shelves is a bit much for the eye. It feels so busy when you look at it straight on.
Also, how have I not talked about the kitchen armchair?! Someday, I need to tell all the stories of the kitchen chair. It’s the ugliest yet comfiest chair I’ve ever bought (at $30 from a thrift store, mind you), and it’s the most popular seat in the house. It’s where I write most of my blog posts and where I hide from the kids for a moment of peace in the summer. Although they always find me because I’m sitting next to the snacks.
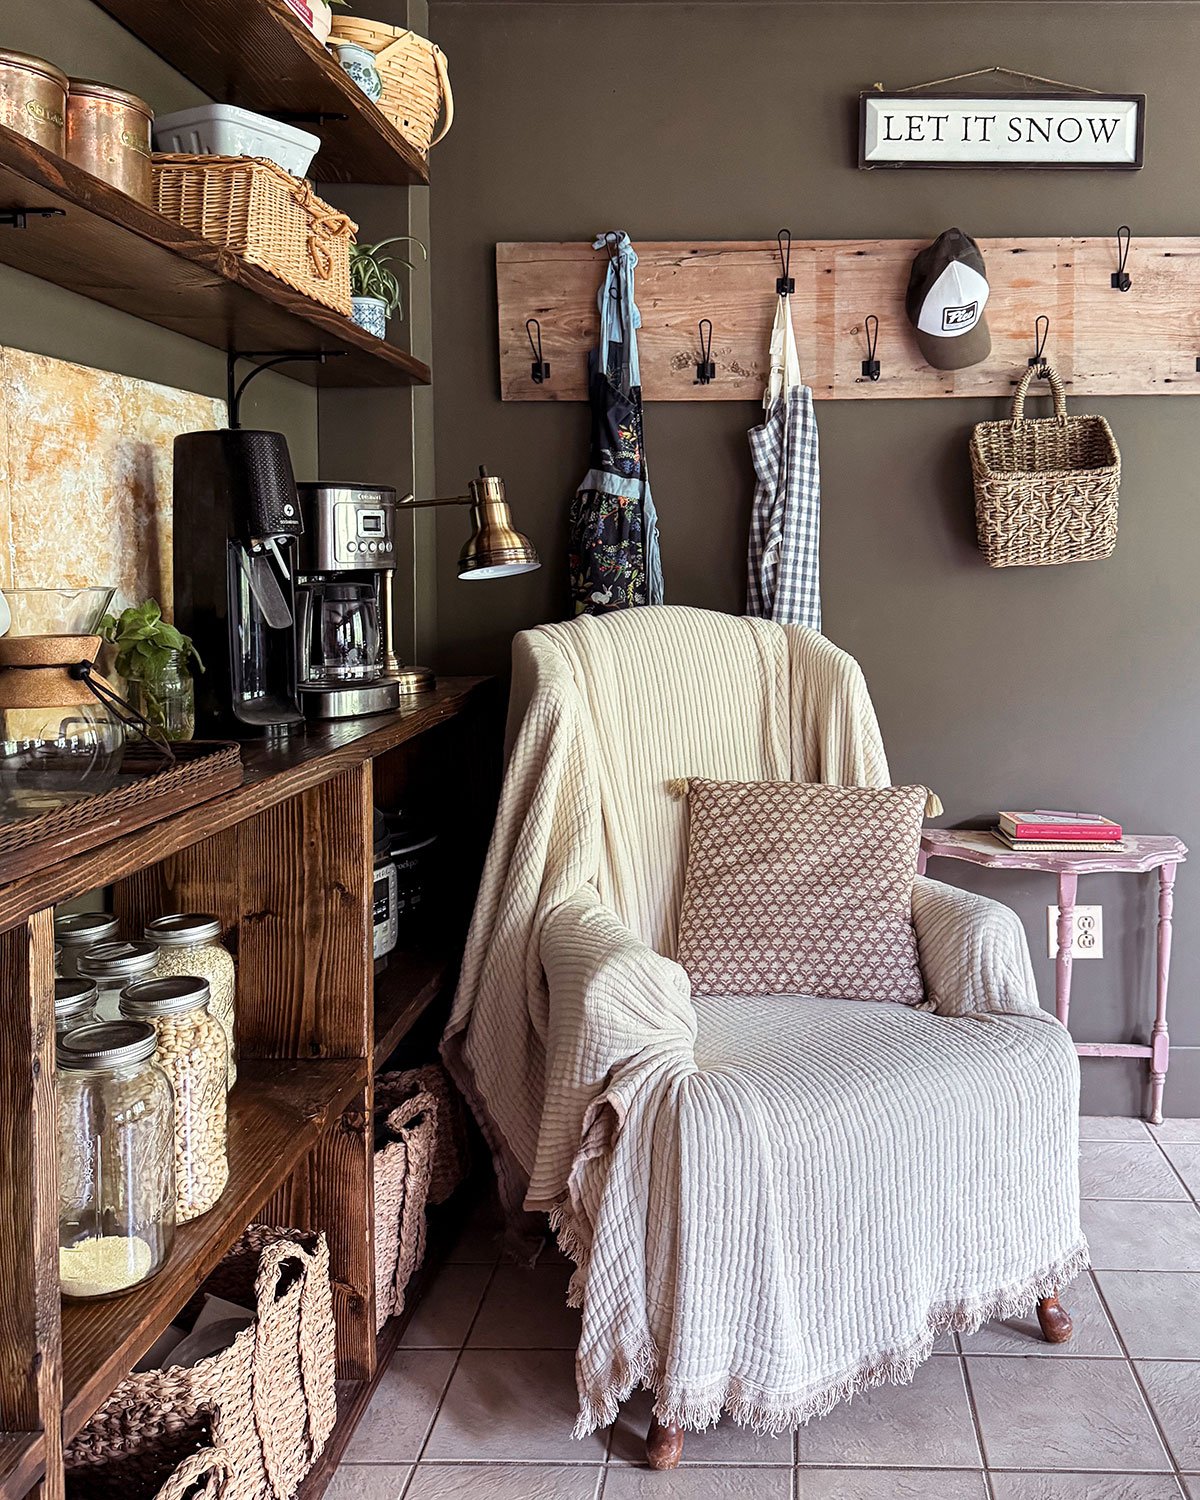
I want to reupholster or slipcover the chair. I recently draped a blanket over it to help it fit in more comfortably. The 80s maroon floral pattern wasn’t doing it for me. So I’ll tack that onto a pantry zone update.
I also still want to organize the shelves better. And the whole kitchen as well. I’ve slowly been chipping away at it. Shall we have an organizing day? Perhaps. Organizing is my idea of a good time on a Friday night!
So with that, I’ll leave you with one last pretty shot from the DIY pantry makeover.
Stay tuned for detailed instructions and sources for how we built and finished both the lower bookcase and the upper shelves. Maybe I’ll even tell the story of the kitchen scale and why it’s one of the things that matter in our home. So bizarre…and British.


It looks great!! I do think cafe curtains would be nice. 🤓
Thank you!!! And I may already be on the hunt for cafe curtains. Just can’t let it go haha!