I once had a (real life) friend who follows me on Instagram mention, “we never see your kitchen on the gram.” Well, there’s a reason for that. Our kitchen has gotten minimal love and the love we have given it has been unintentional. Got some leftover paint? Might as well slap it on the cabinets. Furniture that doesn’t belong anywhere? Throw it in the kitchen for some much needed added storage. Fairly certain the term, “hot mess express” was coined just for our kitchen. Case in point, the “pantry zone” in our kitchen.
So even though I’m working on my focus AND we already declared the keeping room project our focus area, here we are starting yet another project. In my defense, doing something to improve our kitchen was on our 2025 projects list. This project is our first baby step towards “something.” And if I’m batting .500 on focusing, that’s still pretty darn good.
Meet The Pantry Zone
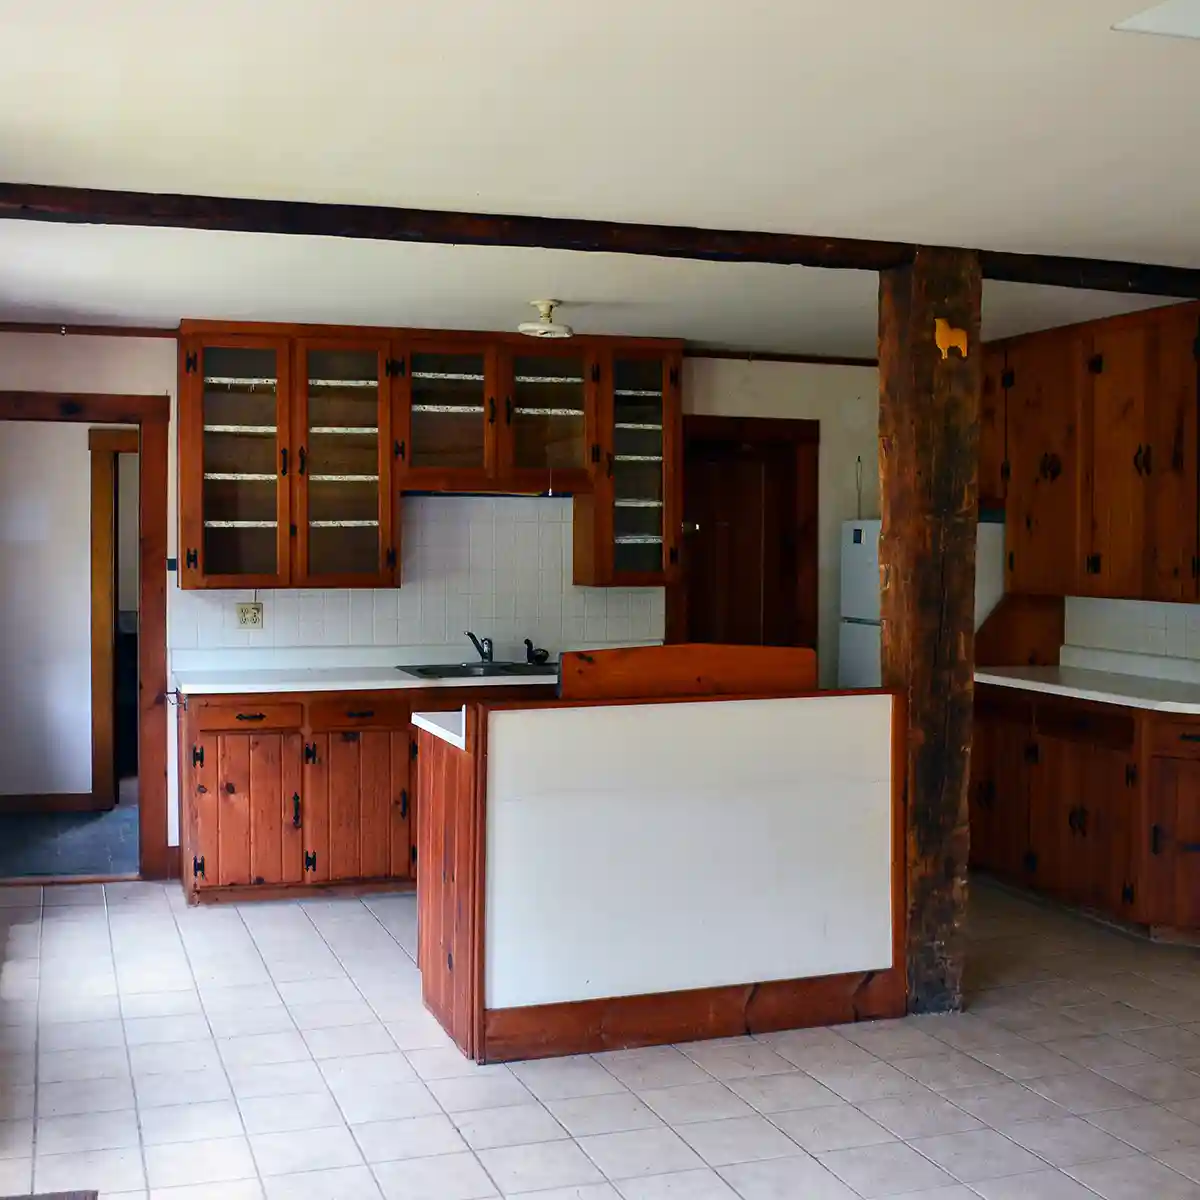
When we first moved into our home, we didn’t know quite what to do with the kitchen. It’s a very large space, but the actual kitchen part is tiny and didn’t have much room for storage. The other problem is there is no mudroom or dedicated entry. Our main door opens right into the kitchen. Here’s a before shot of our kitchen.
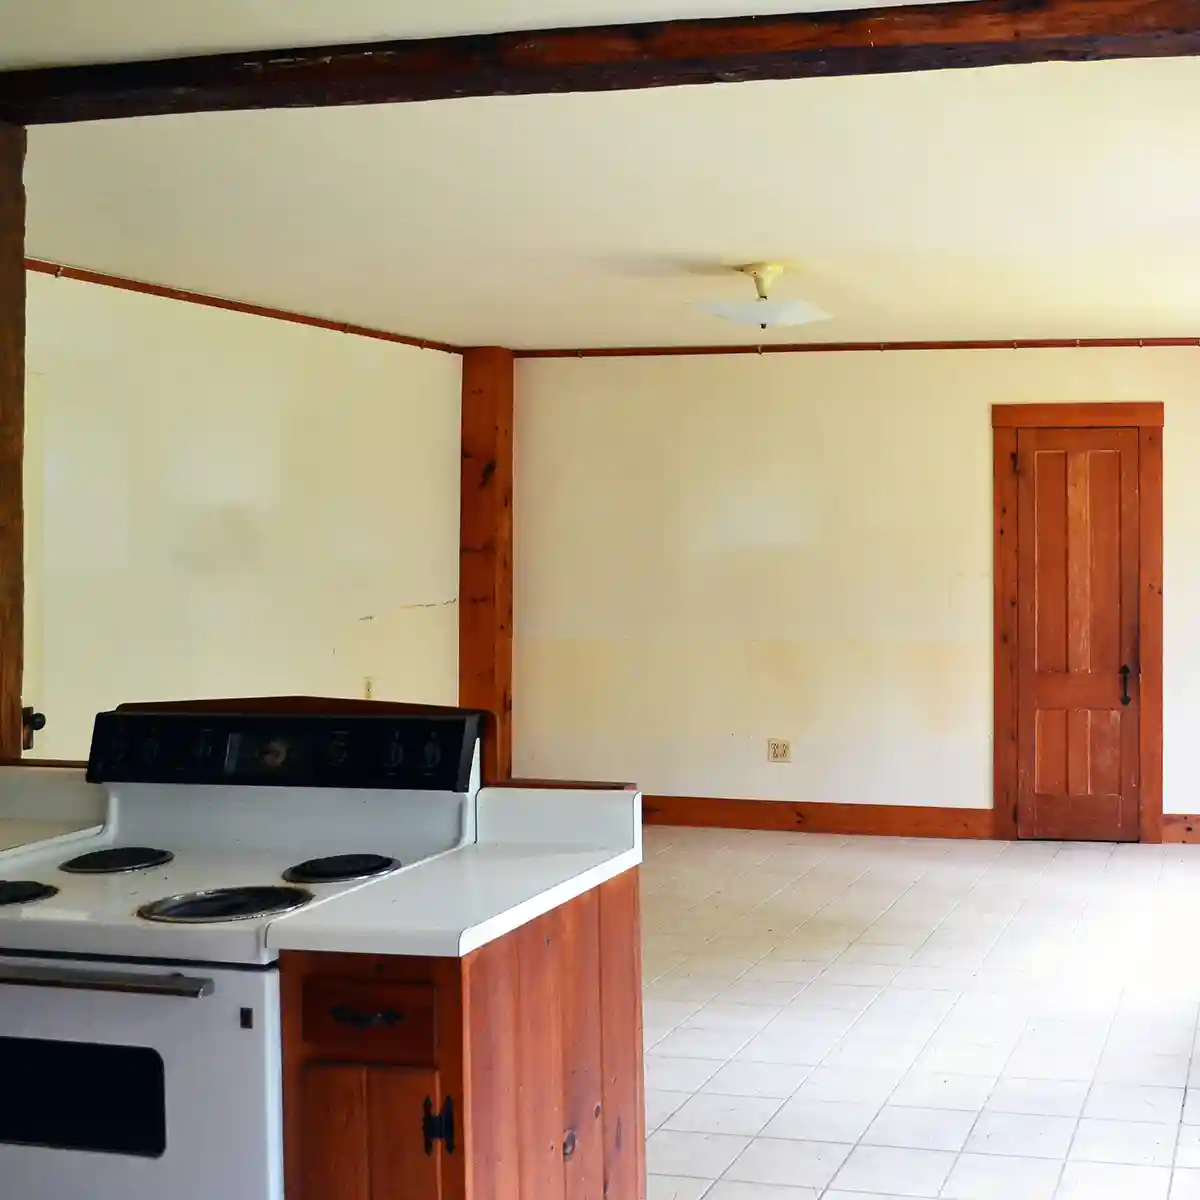
And another before shot of the larger side of the kitchen, which we currently use as an eat-in-kitchen even though there’s a massive dining room right beside here. It’s not so efficient.
There was a walk-in pantry the previous owners had built in the kitchen, but it’s on the opposite side of where we cook. Without entry space or coat storage, we commandeered the pantry to turn it into a coat closet. Here’s the pantry on move-in day. I’ll pause while you pin it (you can see a slightly updated, bandaided version of our coat closet in its full, messy glory in the decluttering 10K goals post).

The long-term plan is to turn the kitchen side into a mudroom (also moving the door) and move the kitchen to the larger, eat-in kitchen side. Every year we say, “next year” but then never do it. This is the first time we’ve realized we’re not moving the kitchen anytime soon and have to give the kitchen some love during this interim time.
Over the years, we have made some minor changes to the kitchen. We painted some of the kitchen cabinets when we had a bunch of leftover paint from the keeping room. Although, I painted them and the backsplash haphazardly thinking it was just a one or two year temporary fix. Ten years later, we’re still here and the paint is peeling.
We also painted the walls and ceiling multiple times. The previous owners were smokers and there is nothing grosser than white walls turned cream from all the smoke. We first tried painting it a lighter color, but the smoke stains bled through. Hence why we went so dark in the kitchen.
But the biggest problem in our kitchen is storage, especially in the years since having children. I’ve slowly been decluttering our kitchen to make more room (more to come) and coming up with organizational solutions, but I’ve been working with what we have and it just isn’t panning out well. Plus, for someone who loves a good aesthetic kitchen, this just isn’t it.
The Pantry Zone Attempts
I tried to find photographic evidence of all the attempts at turning this long section of wall into a pantry zone but it just doesn’t exist. Instead, here is a list of haphazard attempts. While most of the furniture keeps flopping, Colby’s grandma’s vintage jelly cabinet has remained steady.
- Refrigerator only
- Refrigerator with deep low vintage cabinet from old house (see the cabinet here)
- Refrigerator with metal storage shelves (can kind of see it in the appliances post)
- Hutch that used to live in the dining room (see it in the dining room planning post)
- Chalk painted buffet from dining room
- Adding the vintage cupboard over the buffet
- Trading the chalk painted buffet for the new thrifted buffet that’s currently in our dining room
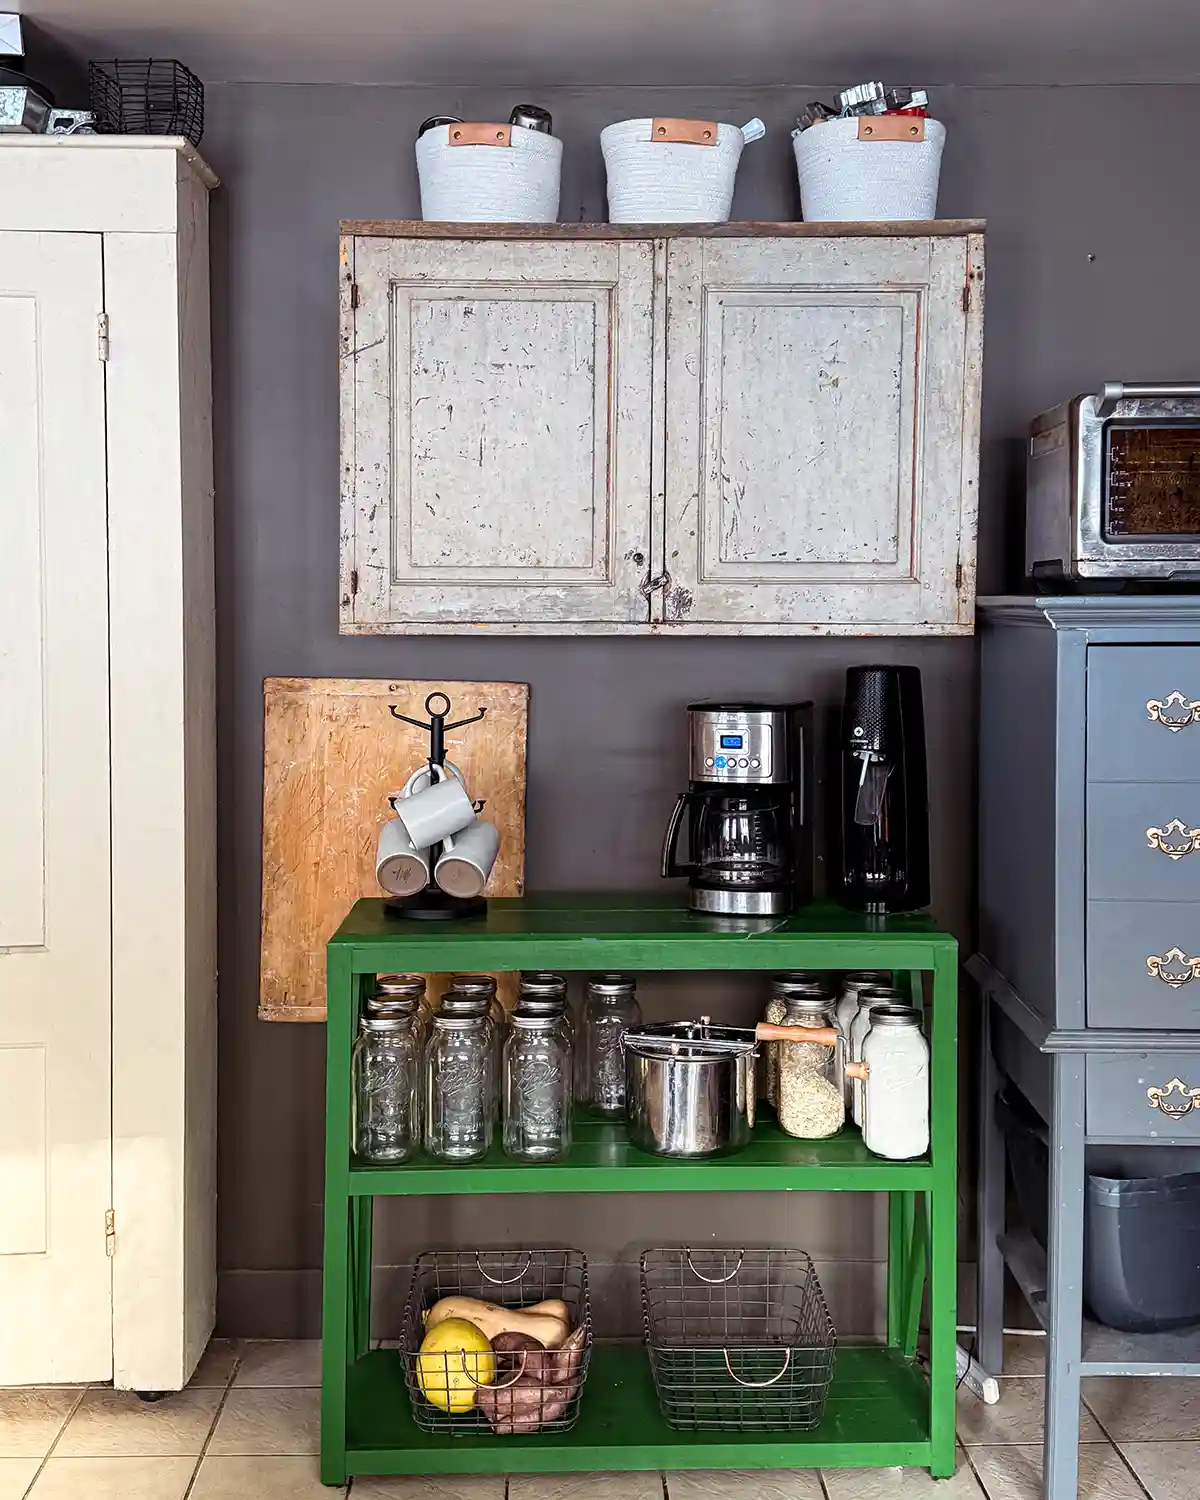
- Switching buffets for a bright green bookcase that’s been in attic storage (bookcase in our first home)
- Adding a stone blue microwave cabinet at the end of it all
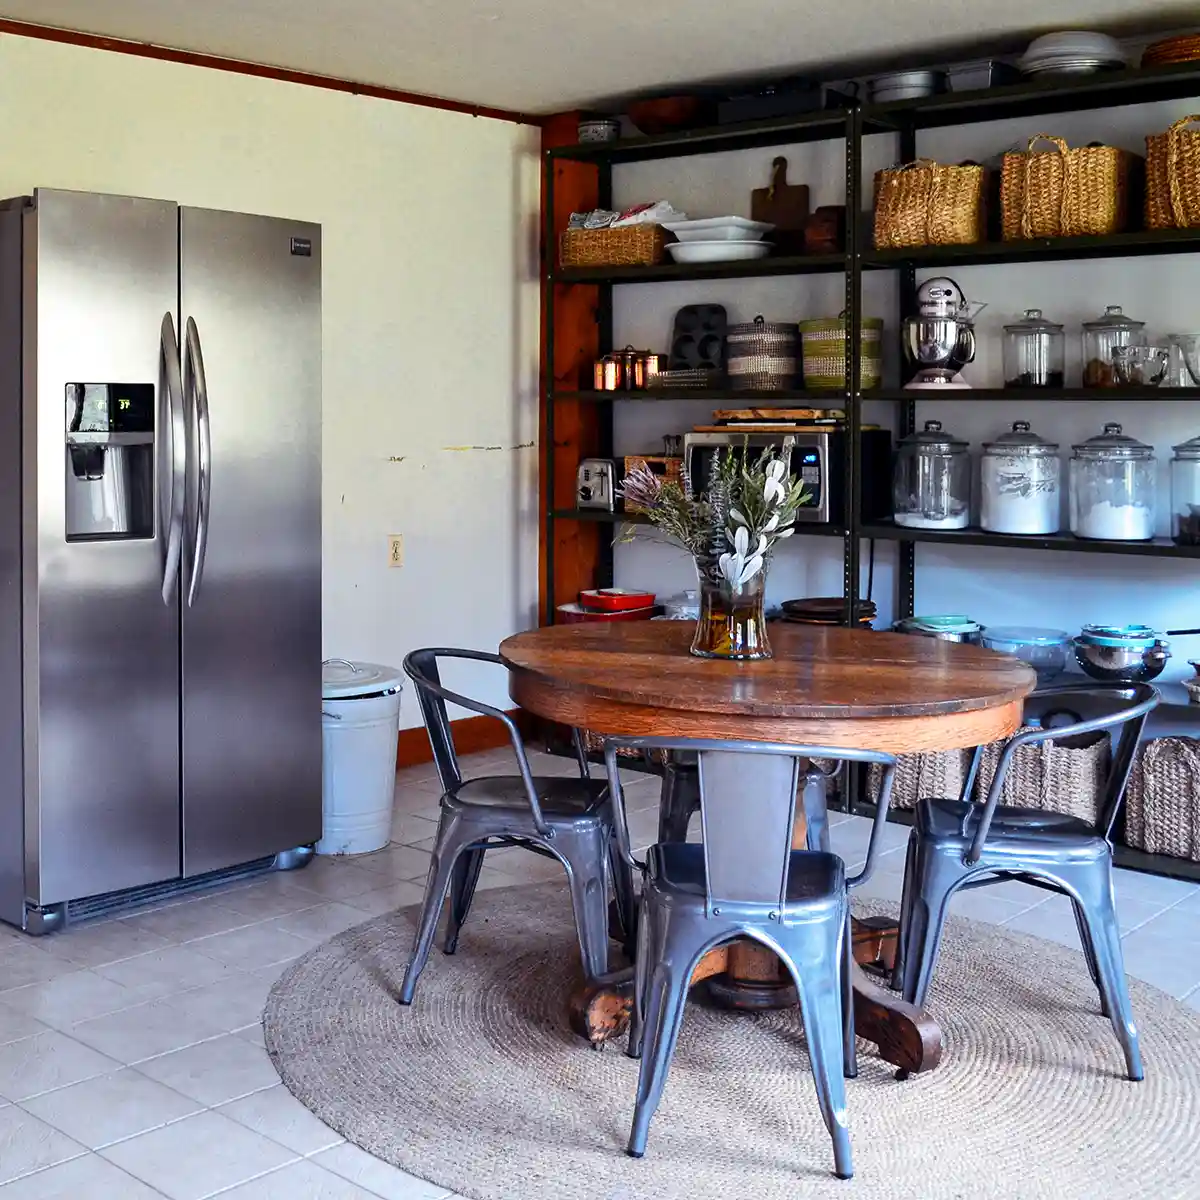
And here’s where we last left off. Grandma Gert’s jelly cabinet is on the left, the old green bookcase in the middle with a vintage cabinet hanging on the wall above it, and the stone blue cabinet to the left.
While it looks terrible, the storage wasn’t totally bad. What kicked this whole thing off one day is that I thrifted yet another cookbook. I love cookbooks, especially ones about bread baking and just about any non-American cuisine. But the cabinet above our kitchen sink that currently houses cookbooks, is already overstuffed.
The second kicker moment was the day we kept trying to close the doors to the lower cabinets by the stove, but the lid to the pressure cooker wouldn’t fit or stay put and kept pushing the doors open. Our cabinets aren’t big enough to store things we regularly use like the pressure cooker and crock pot. One whole cabinet holds just these two things. It’s pretty inefficient.
I’ve long dreamed of these long, rugged, open shelves in our kitchen perfect for storing cookbooks. I told this to Colby when he asked me where the new cookbook should go. Next thing we knew, tape measures were out and a materials list was being concocted. This happens far too often around here.
Plans For The Pantry Zone
To help us come up with our plan, we knew one must-have for aesthetic purposes. No more hodge-podging multiple furniture pieces to achieve our storage needs. We wanted something larger that fits the space between the jelly cabinet and the wall. With that in mind, we first stepped through our needs to determine a rough plan.
What Are Our Needs For The Pantry Zone?
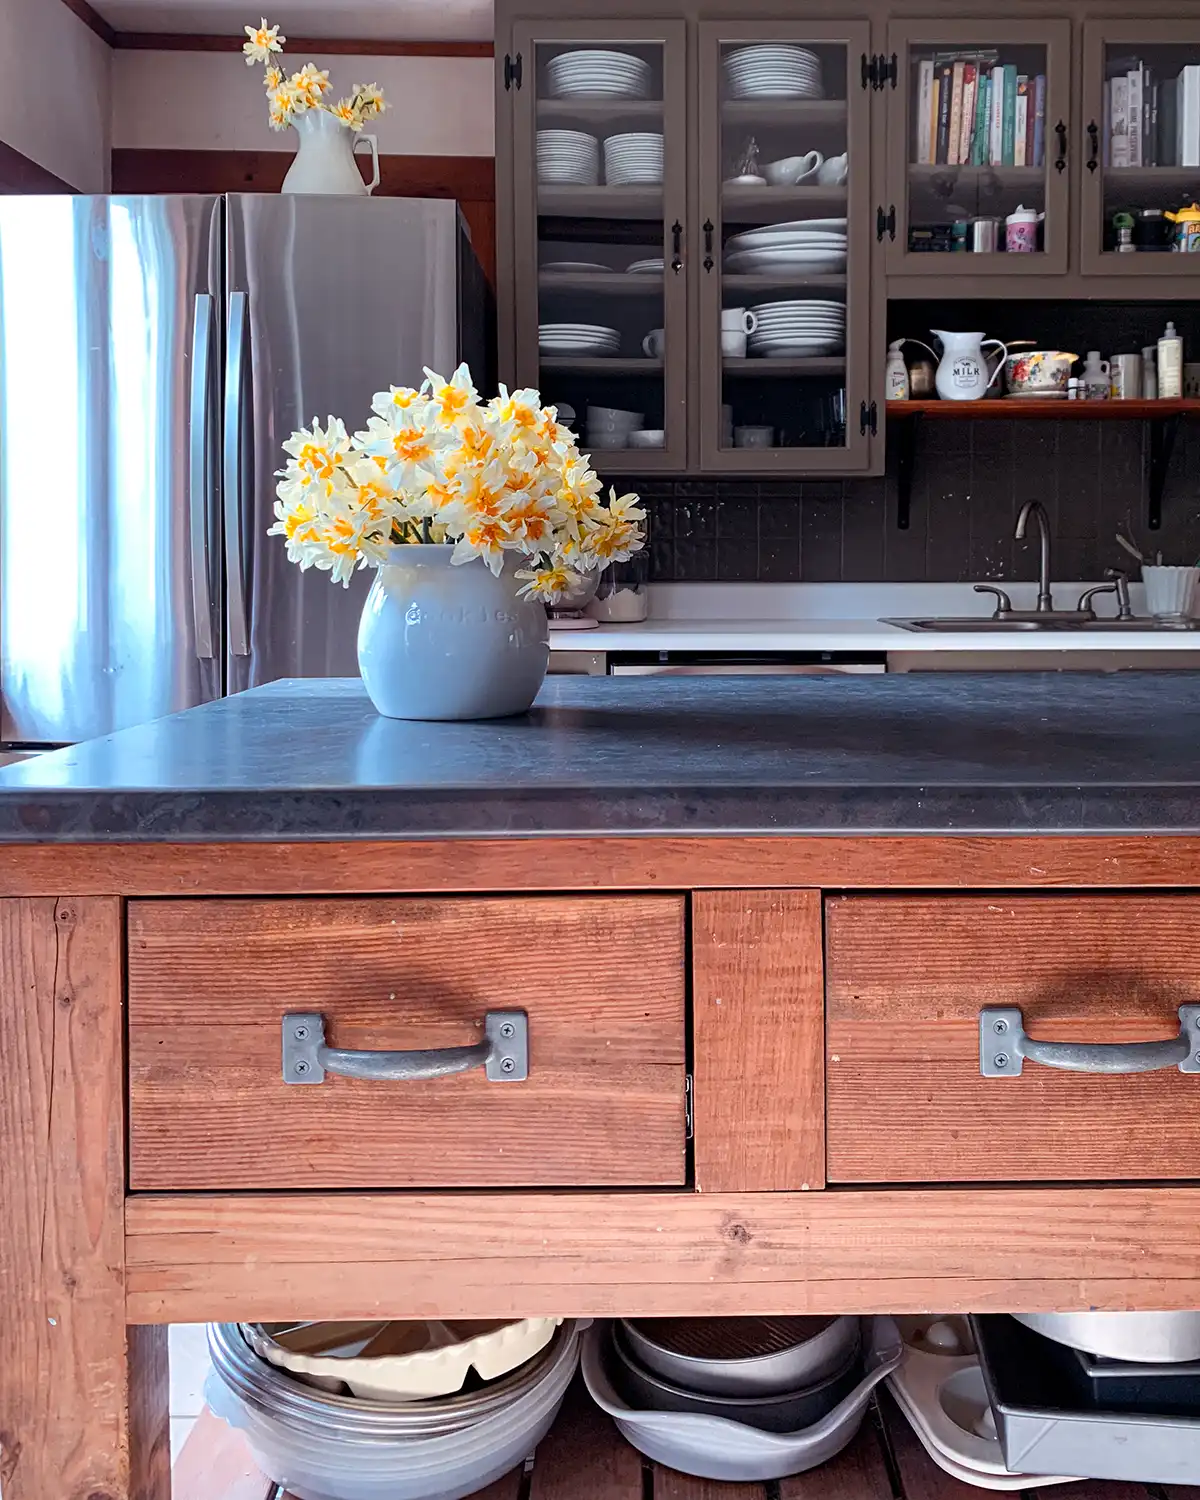
We have big storage needs. Our current cooking zone of the kitchen just doesn’t have enough space to store the basics. The kitchen island we built helps, but it’s still not enough.
Back Stock Area
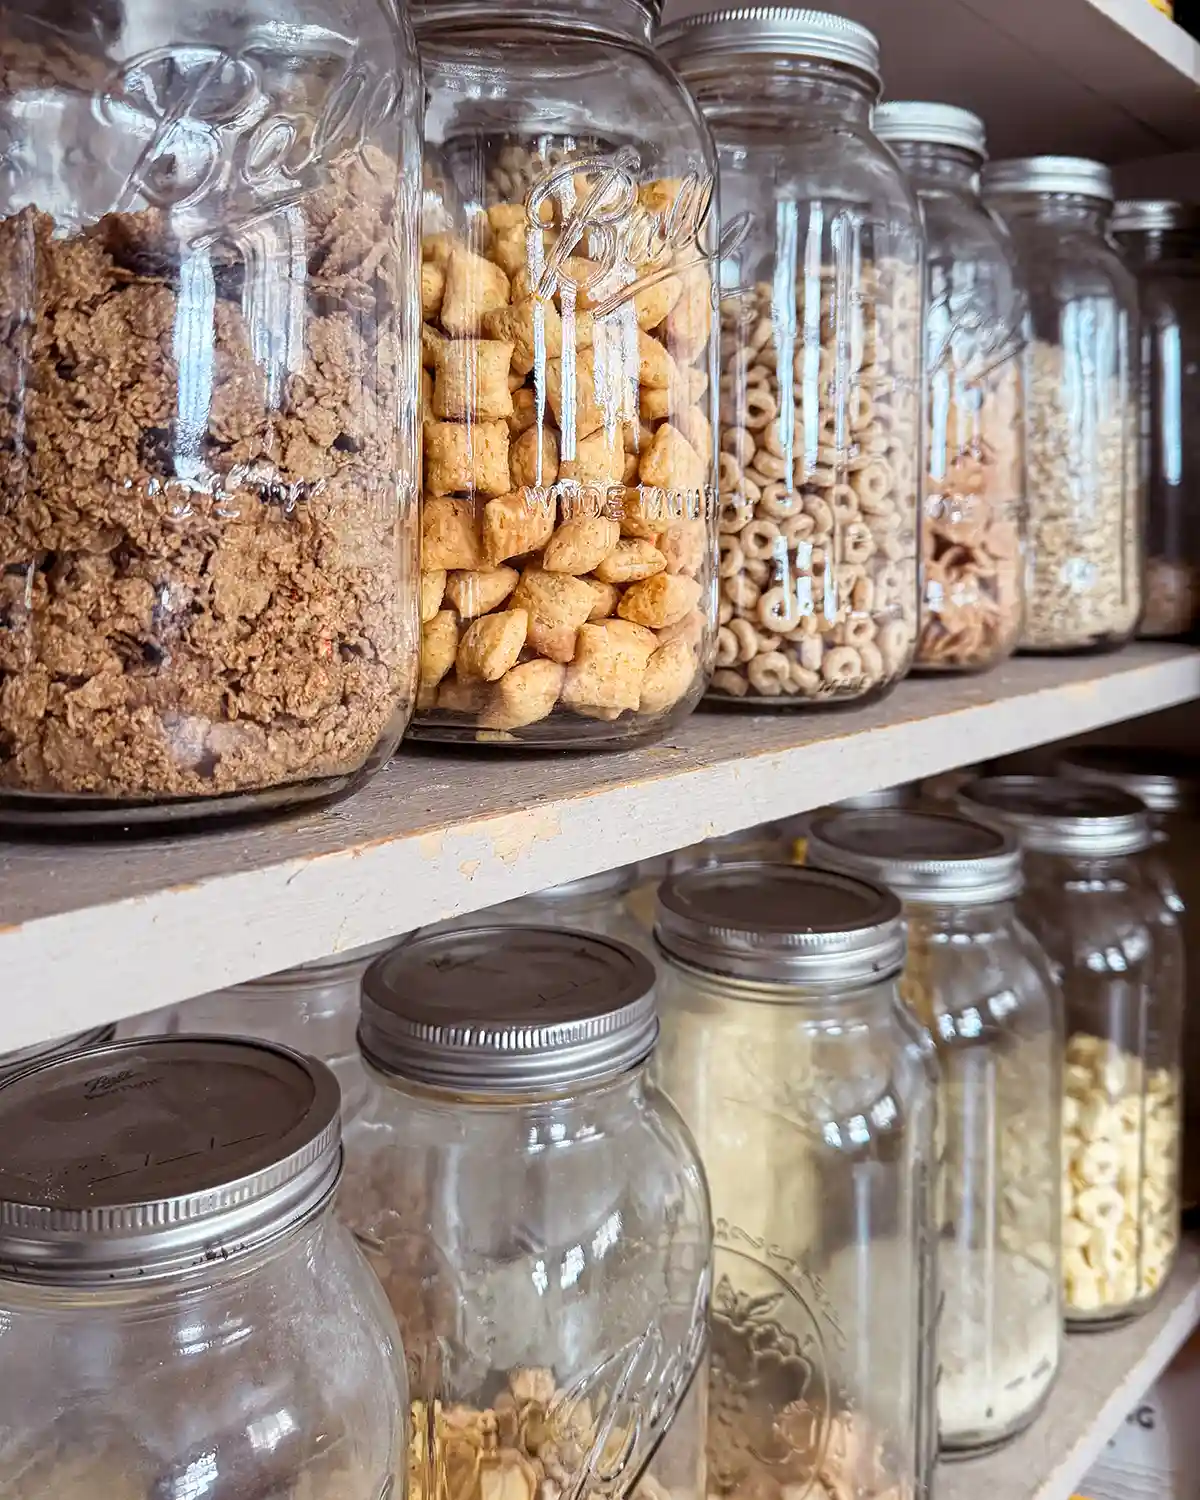
I tend to buy things like flour, rice, sugar, etc. in bulk. While we do have enough food storage for daily items between the jelly cabinet and one of the upper kitchen cabinets by the stove, there is no room for backstock. I tend to take a giant bag of flour and decant it into smaller, glass ball jars. One jar goes in the jelly cabinet, the others need a spot for storage.
Large Kitchen Appliance Storage
The current kitchen space does not hold our larger appliances well. The entirety of one cabinet is taken up by our pressure cooker and slow cooker. We could fit so much more in that cabinet if we had a better storage spot for oversized items.
Cookbook Storage
I have no intentions of halting my thrifting of cookbooks. I prefer them to printed or digital recipes. My current cookbook storage zone is overflowing and it’s really hard to reach the ones I love.
Random Things Stacked On Top Of Refrigerator
There are quite a few things stacked on top of the refrigerator that just don’t have a home. Like a lidded turkey roasting pan, cake stands, trifle bowl, stock pots, and more. It’s mostly oversized things that don’t fit within our cabinets.
Coffee Zone
Our kitchen has very limited counter space. And to make it worse, the upper cabinets come down so low that a coffee maker doesn’t fit on the counter. We want a spot to have a coffee/beverage zone (we’re also big Soda Stream users, using it to carbonate water and make our own seltzer with natural flavors).
First attempt at creating a kitchen pantry zone back in 2015.
What Are The Basic Plans?
With our needs in mind, we started to come up with a plan. These plans are pretty rough as we’ll get into more of the specifics as we build along.
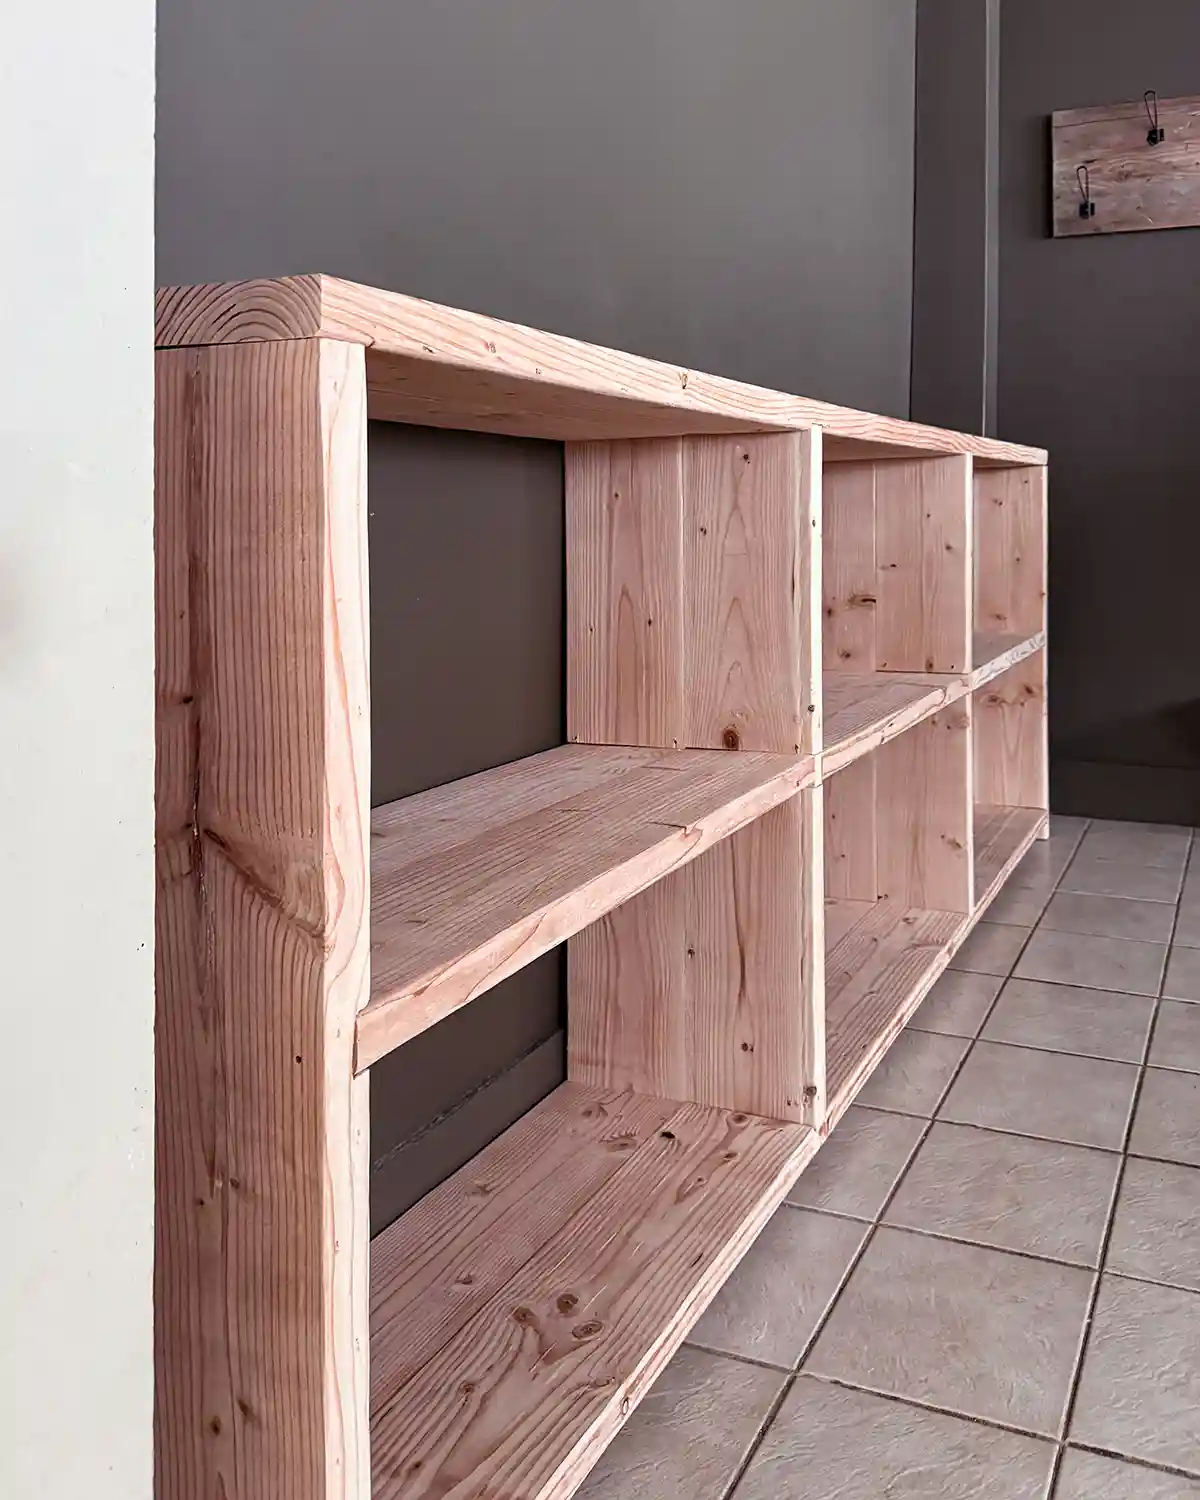
The Low Bookcase
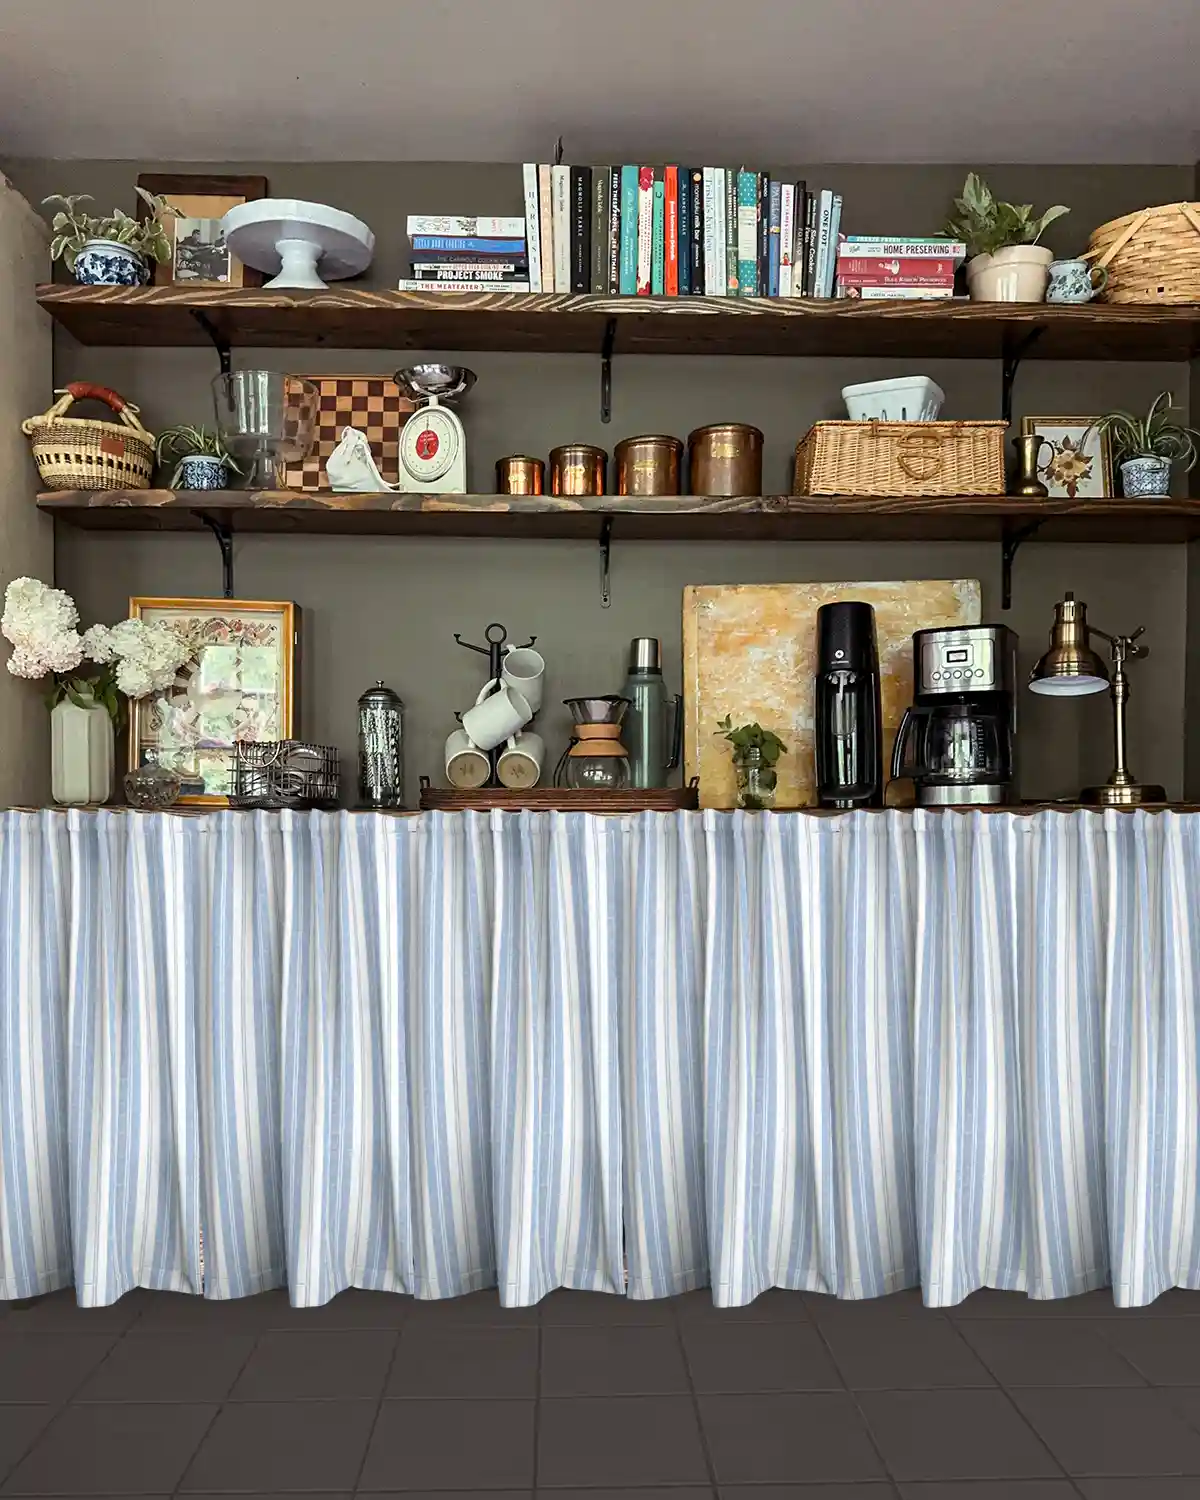
The first build will be a long, low bookcase that will fit the entire width of the open space between the jelly cabinet and the wall. It will have three vertical sections, each split in half by a shelf, yielding six storage cubbies.
We’ve measured everything we want to fit on these shelves to ensure the proper width and depth of the shelves. We didn’t want the bookcase to come out too far because that’s one thing we’ve hated in past reiterations of this pantry zone.
I’ll also sew some cafe curtains to keep the contents of the shelf concealed, reducing visual clutter in the room which is another pain point of mine.
The top of the bookcase will be set up and styled to be a beverage station for our coffee maker, tea kettle, and carbonator. I may also store my Kitchen Aid mixer over here to free up just a little more room. Although, that sucker is heavy so maybe not.
Open Shelves
Above the bookcase will be two, long open shelves spanning the same width as the bookcase. These shelves will hold all the cookbooks, cookie cutters in baskets, decorative kitchen items like the cake stand, and more.
The open shelves, while serving function first, will also be a focal point on the wall. I want to style them, adjust the styling seasonally (think bottle brush trees at Christmas time), and rotate things out while ensuring everything is easily accessible and findable.
The Materials
The goal is to use fir framing lumber to build the bookcase and shelves. It’s the same wood that’s used to build rafters and joists for new construction homes, meaning it’s much sturdier than pine. The reason, for one, is that we have a lot of really heavy things we’re trying to store. The second reason, we like the look of chunkier, beefier wood. It gives that rustic, been here for 200 years feel that goes so well with our home.
While making the design, to keep material costs down, we “value engineered” (Colby’s least favorite term as a salesman in the construction industry) the plans to use an efficient amount of wood. More on that to come.
Let’s Get This Building Project Started
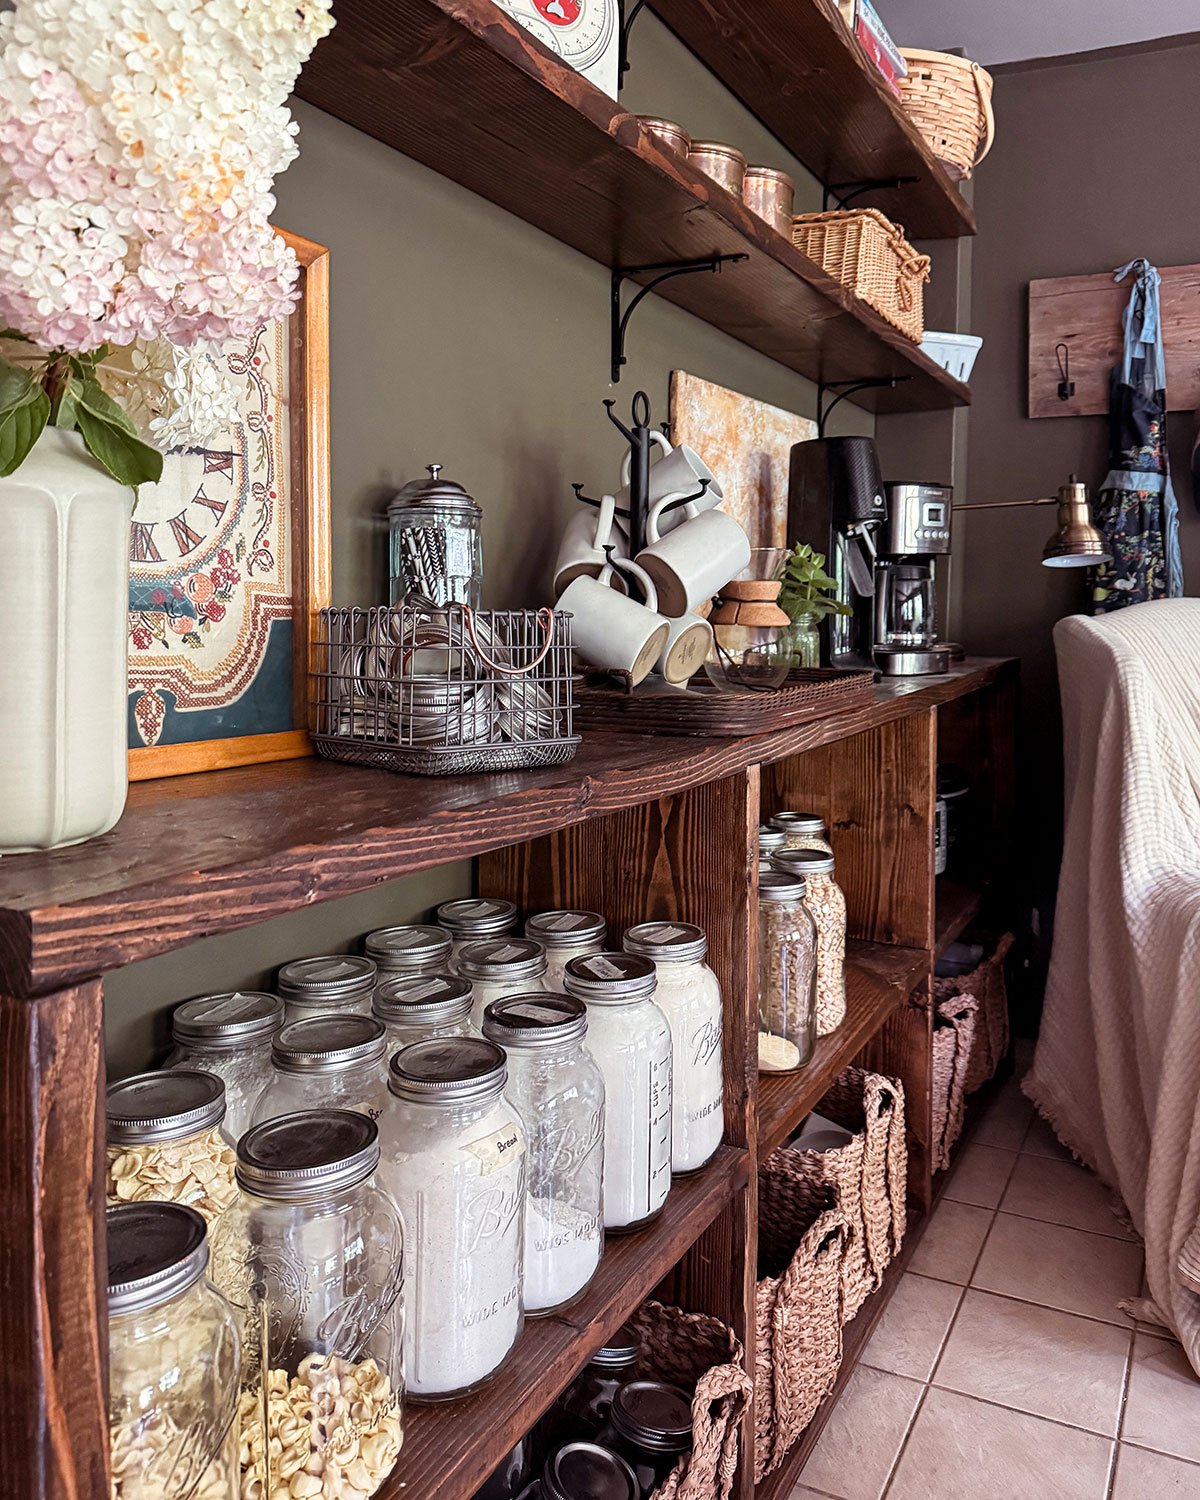
And now that I’ve shown you at least some of our hot mess express kitchen, I need to go cry in the bathtub from embarrassment, I mean start building this bad boy. Actually, we already started. And by started I mean built it and it’s in place in the kitchen. Who wants a sneak peek?!
More to come. This is the project we were acclimating wood for a few weeks ago. Come back in a few days and I’ll share all the plans for the bookcase along with how to build it.
The Pantry Zone Project List
And because what project intro wouldn’t have a long list of all the things we plan to do?! Including all those little, slippery slope type items.
- Build the bookcase
- Stain and poly bookcase
- Patch the walls and touch up paint
- Possibly paint the entire kitchen another color
- Deep clean the tile grout (or lighten the grout color)
- Install floating shelves
- Make pantry curtains and curtain rods
- Organize EVERYTHING
Until next time, dear readers!