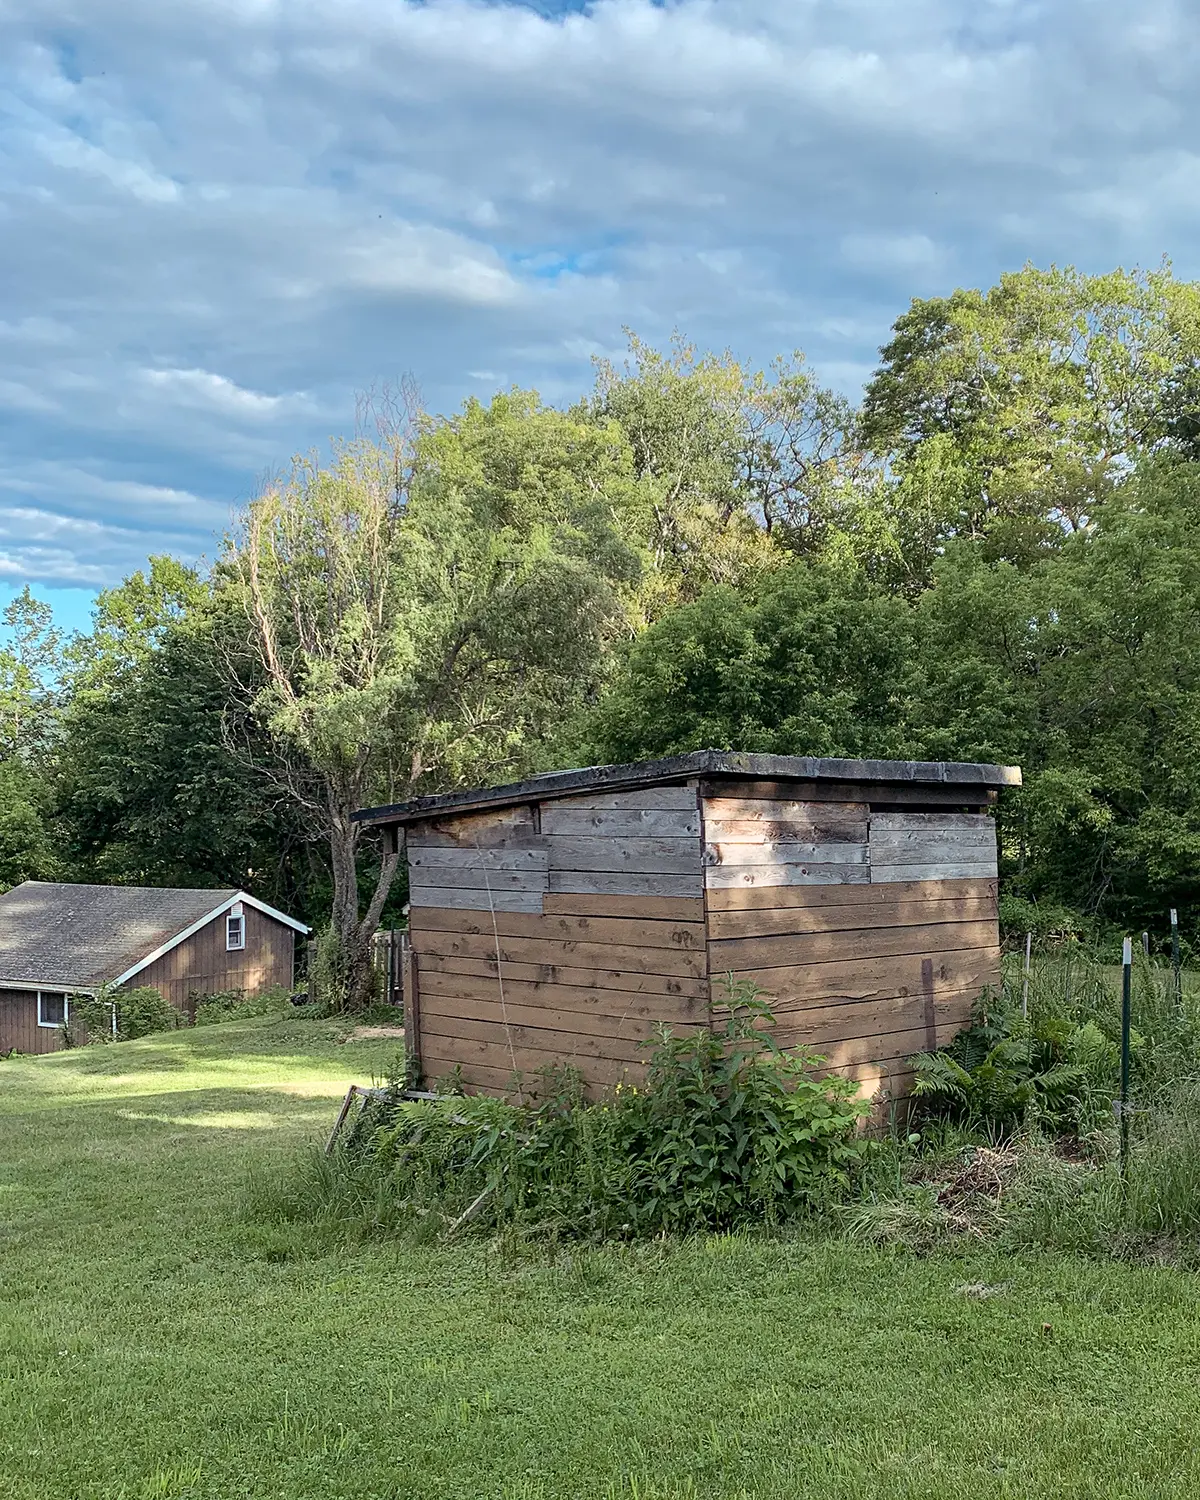
When we last left off with the playhouse updates, we were in the demolition mode of an old shed. We removed the old, rotting floor and slanted roof from the structure and it was ready for rebuilding. Well, now it looks a little something like this (actually…we made a ridiculous amount of progress yesterday, after I had written this post so another update is due).
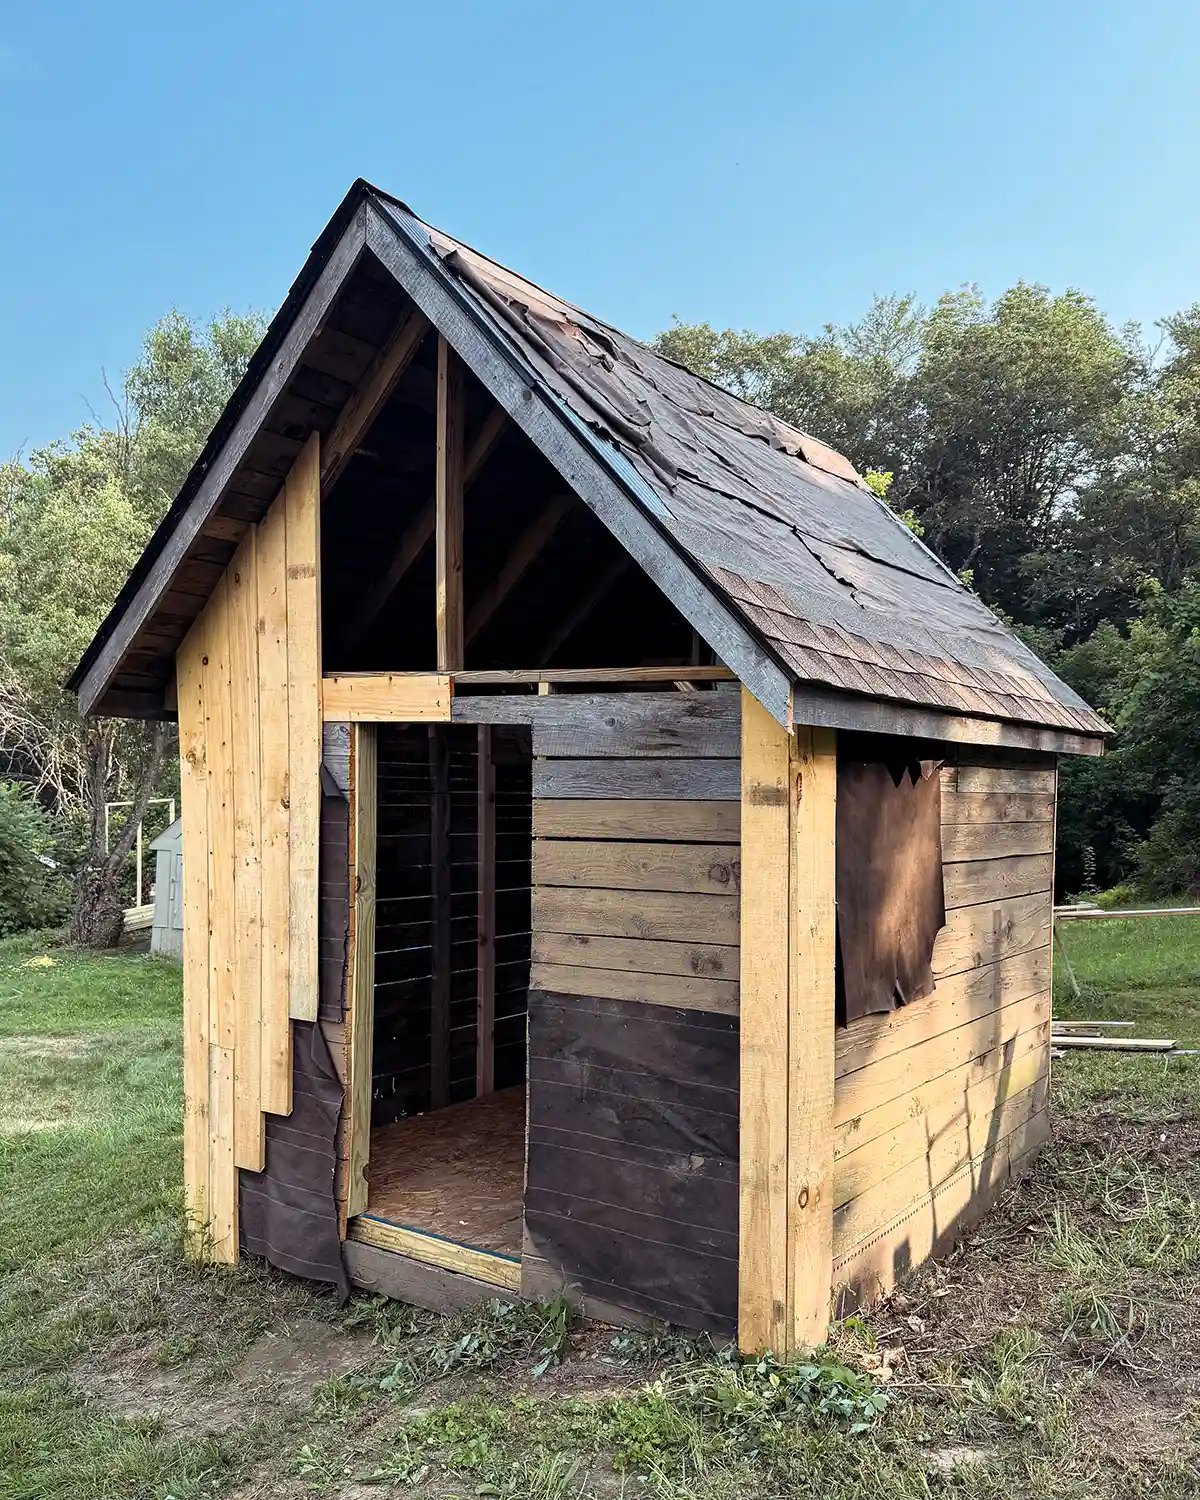
Still not the prettiest, but the structure is starting to take shape, and the girls have started playing in it. Our original goal was to finish it by the time summer vacation started, but between the push to plant the garden in late spring/early summer and just a flat-out busy summer, we’ll be lucky if it’s done by fall. Life comes first, and we squeeze DIY into the margins.
I’ll share more details of the shed-to-playground renovation progress, but today is just a high-level view of what we’ve been working on.
Shed Deconstruction/Reconstruction Progress
Demo Day
The first thing we did (and by “we” I mean the “royal we” where it was entirely Colby) was remove the old roof and the old floor. Both were rotting, especially the floor. We also had a bit of a skunk situation to deal with.
The floor absolutely had to be removed. Most of it had collapsed and was sitting directly on the dirt, where it was rotting some more. We used to store garden supplies in here, along with old construction materials we were hoarding for “just in case” moments. I would always step into that building with trepidation, thinking my foot would go through at any moment, while grabbing tomato stakes.
We also removed the roof. When we first moved into our home, the shed roof was lower, but Colby did some finagling to raise it a bit, but never replaced it. The plan for converting the shed into a playhouse was to remove the roof entirely and replace it with a gable roof. The sheathing on the old roof was rotting, so off with its head, the original shed roof.

Squaring Up The Shed
Do you want to know what keeps Colby up at night that doesn’t bother me in the least? Which is ironic because I’m the high anxiety one, while he’s even keeled, go with the flow 24-7 type. It’s making everything perfectly square and level. Do you know what you can’t do when renovating old homes and structures? Make everything square and level.
The next step was trying to straighten the walls and prep for a new roof and floor. Colby tried his best, bracing one side of the shed box with 2 x 4s while adding support framing to the structure. It’s not perfectly square, but it’s good enough.
Building A Roof
Next up was building the roof. First, by framing and attaching trusses, then by attaching sheathing.
One thing that I love about how Colby DIYs is his thriftiness. We don’t always have much money to spend on projects and tend to lean toward budget-friendly projects and steps, repurposing as many materials as possible.
When it came to adding the sheathing to the old shed roof, he repurposed SO many leftover boards. I expected him to purchase new plywood for the project, adding another $300+ to the project cost. So I was ecstatic when he was able to do most of it with leftover wood we already had.
It helps that he has a friend with a sawmill where we can buy his scraps for what feels like pennies compared to the big box stores.
We’re currently in the process of shingling the roof. And by in the process, I mean we meant to finish it weeks ago, but didn’t buy quite enough shingles because we guessed how many shingles we needed instead of doing the math. Now we’re a dozen shingles short, and the store was out of stock. Thankfully, I picked up another bundle today, and Colby is on the roof, shingling away. Don’t be like us. Do shingle math.

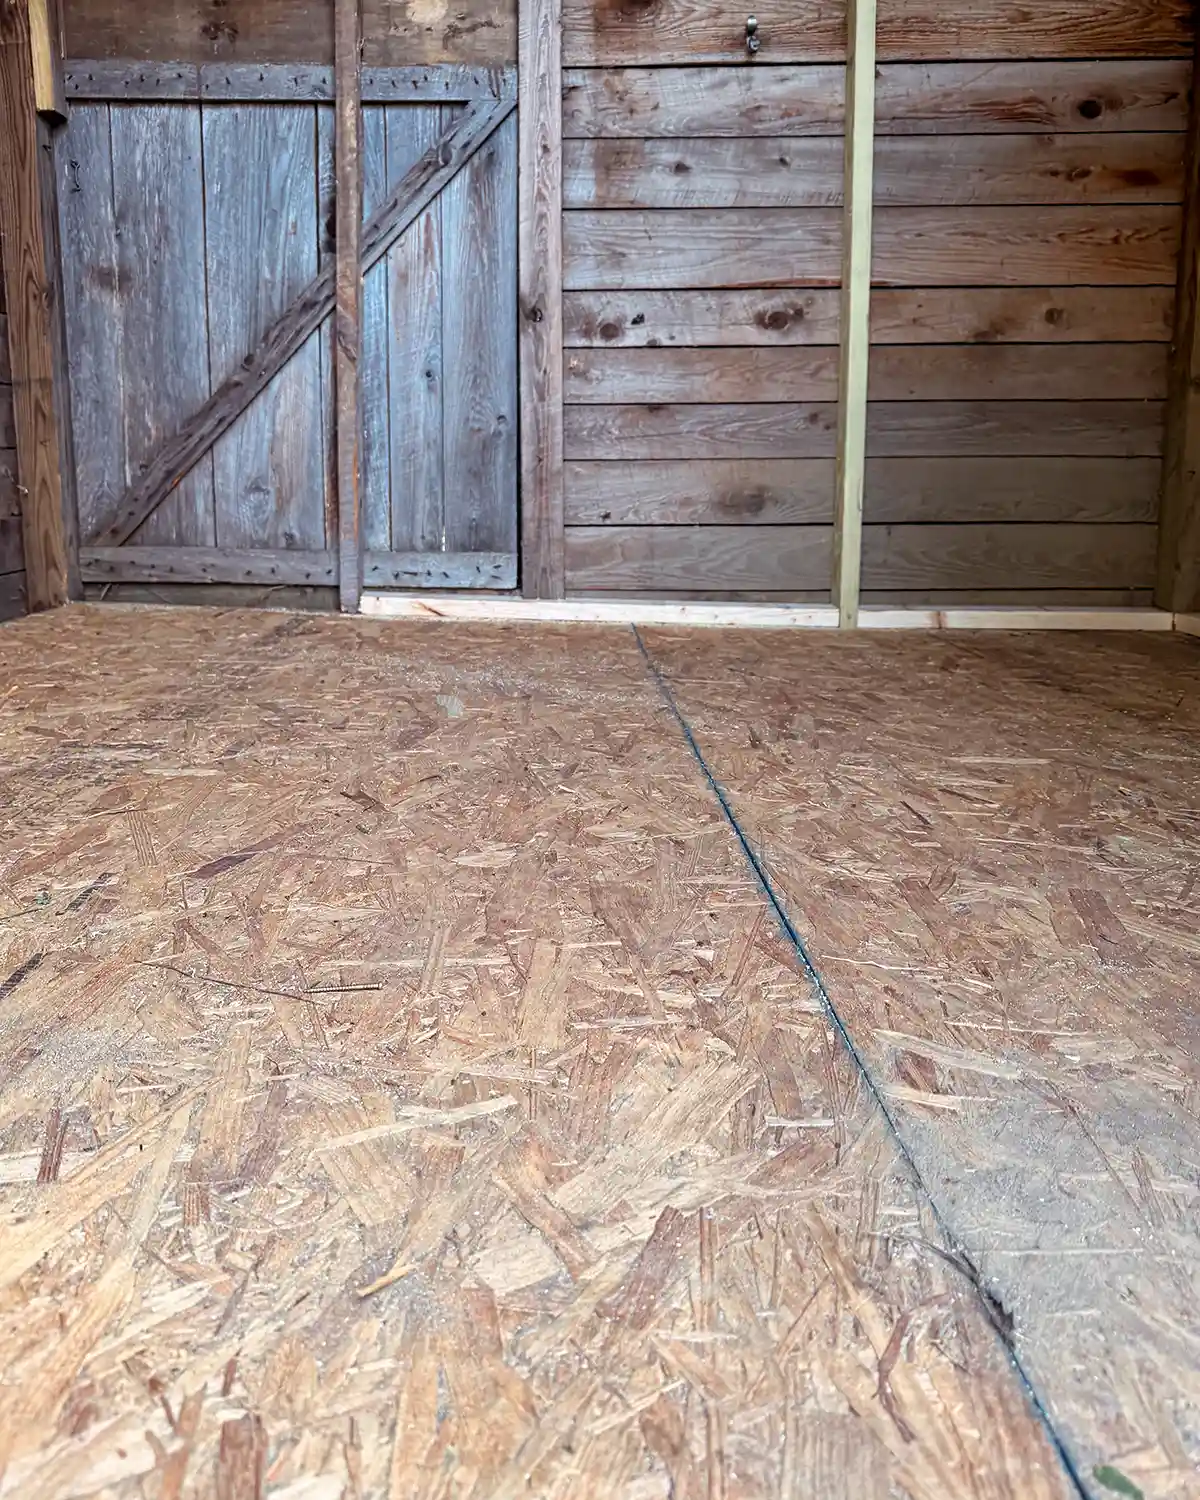
Replacing The Shed Floor
The basics of the shed floor have been replaced, like the joists, blocking, and subfloor. We haven’t 100% figured out what we want to do for flooring in here. Colby and I are duking it out.
Colby’s choice: just paint the subfloor. It’s cost-effective and the easy route.
My choice: rip plywood boards into planks and install them over the subfloor with a nickel gap between the boards (to get the look of tongue and groove). Then paint all the floorboards. Yes, it’s an extra step and cost, but a splurge here and there to up the playhouse cuteness factor is worth it.
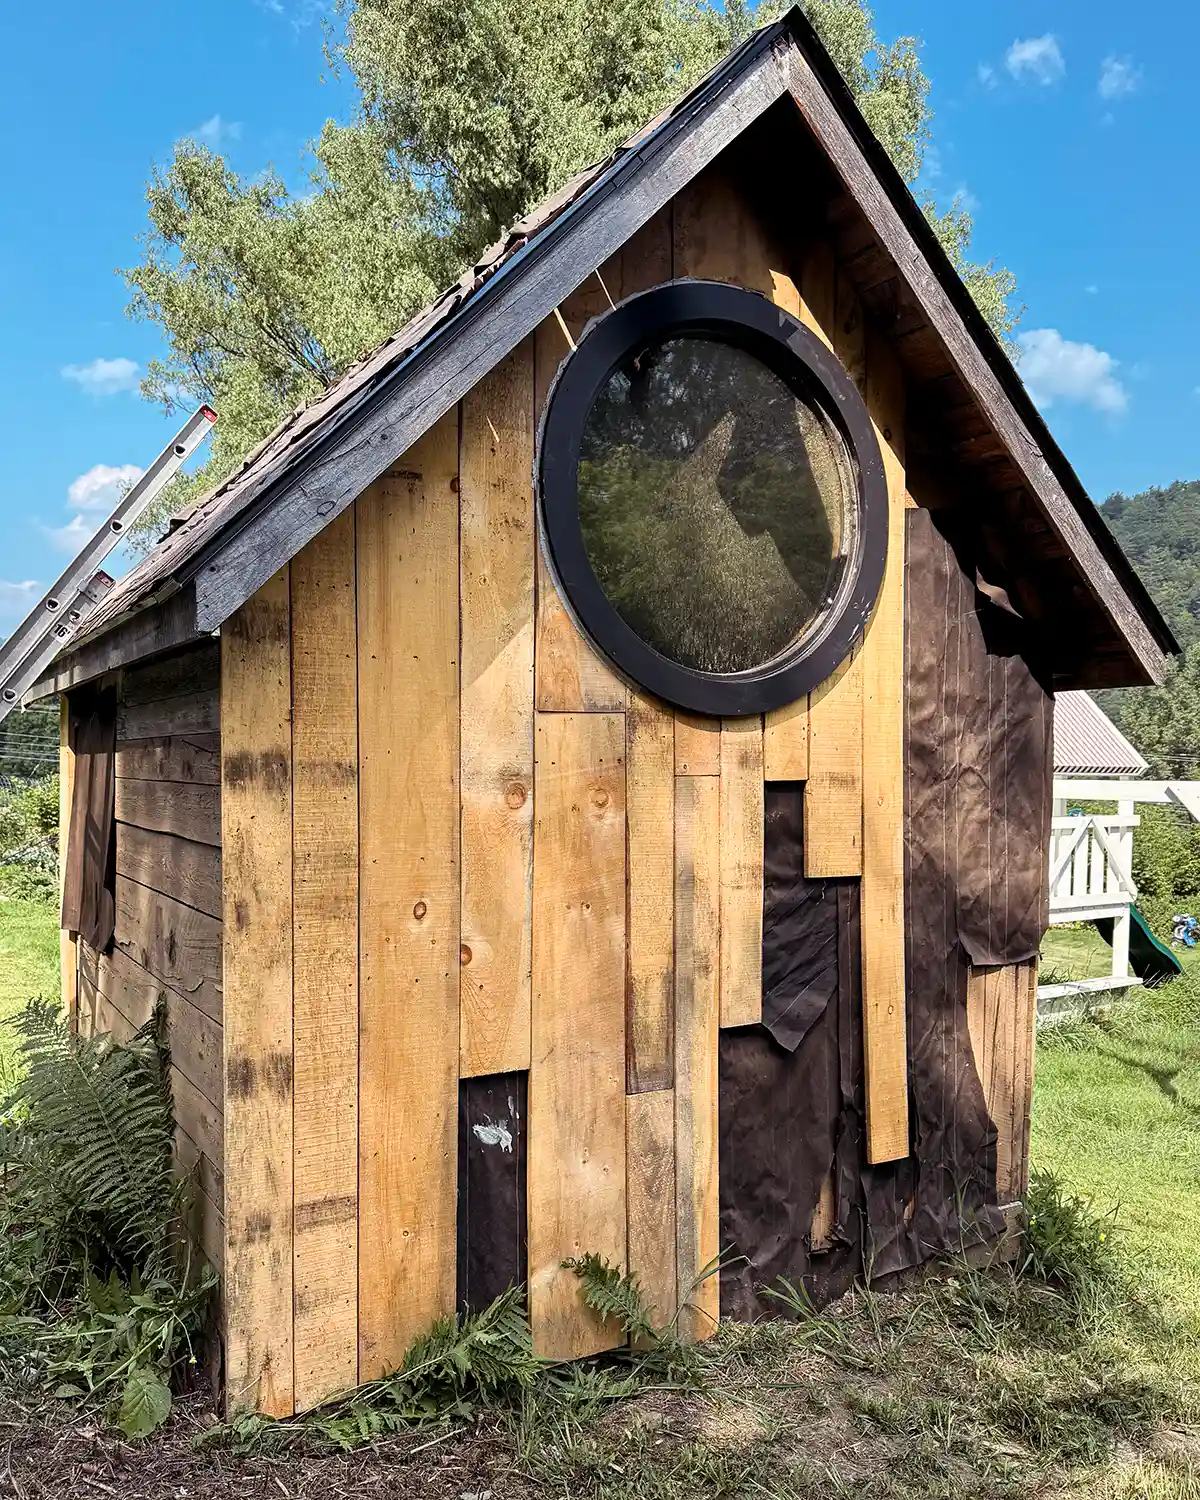
Adding A Round Window
Sometimes, having a window and door salesman for a husband is handy. Like when he picks an $8,000 brand-new window mistake out of the dumpster at work. Meet the most expensive window at our home, which is now in the loft of the girls’ playhouse.
Isn’t she a beauty, Clark?! I was worried about a window in the loft, but Colby assured me that it’s sturdy, rugged, and most importantly, tempered glass. Speaking of lofts…
Building A Loft
The latest step was the beginning of construction on a loft, which you can see in our original playhouse plans.
The basic loft is still there, but needs alot more to make it usable (and safe). We still need to add rails, floorboards, and a ladder. Coming soon, along with a lot more framing for the structure, in general. There’s alot of temporary or subpar framing in here right now.

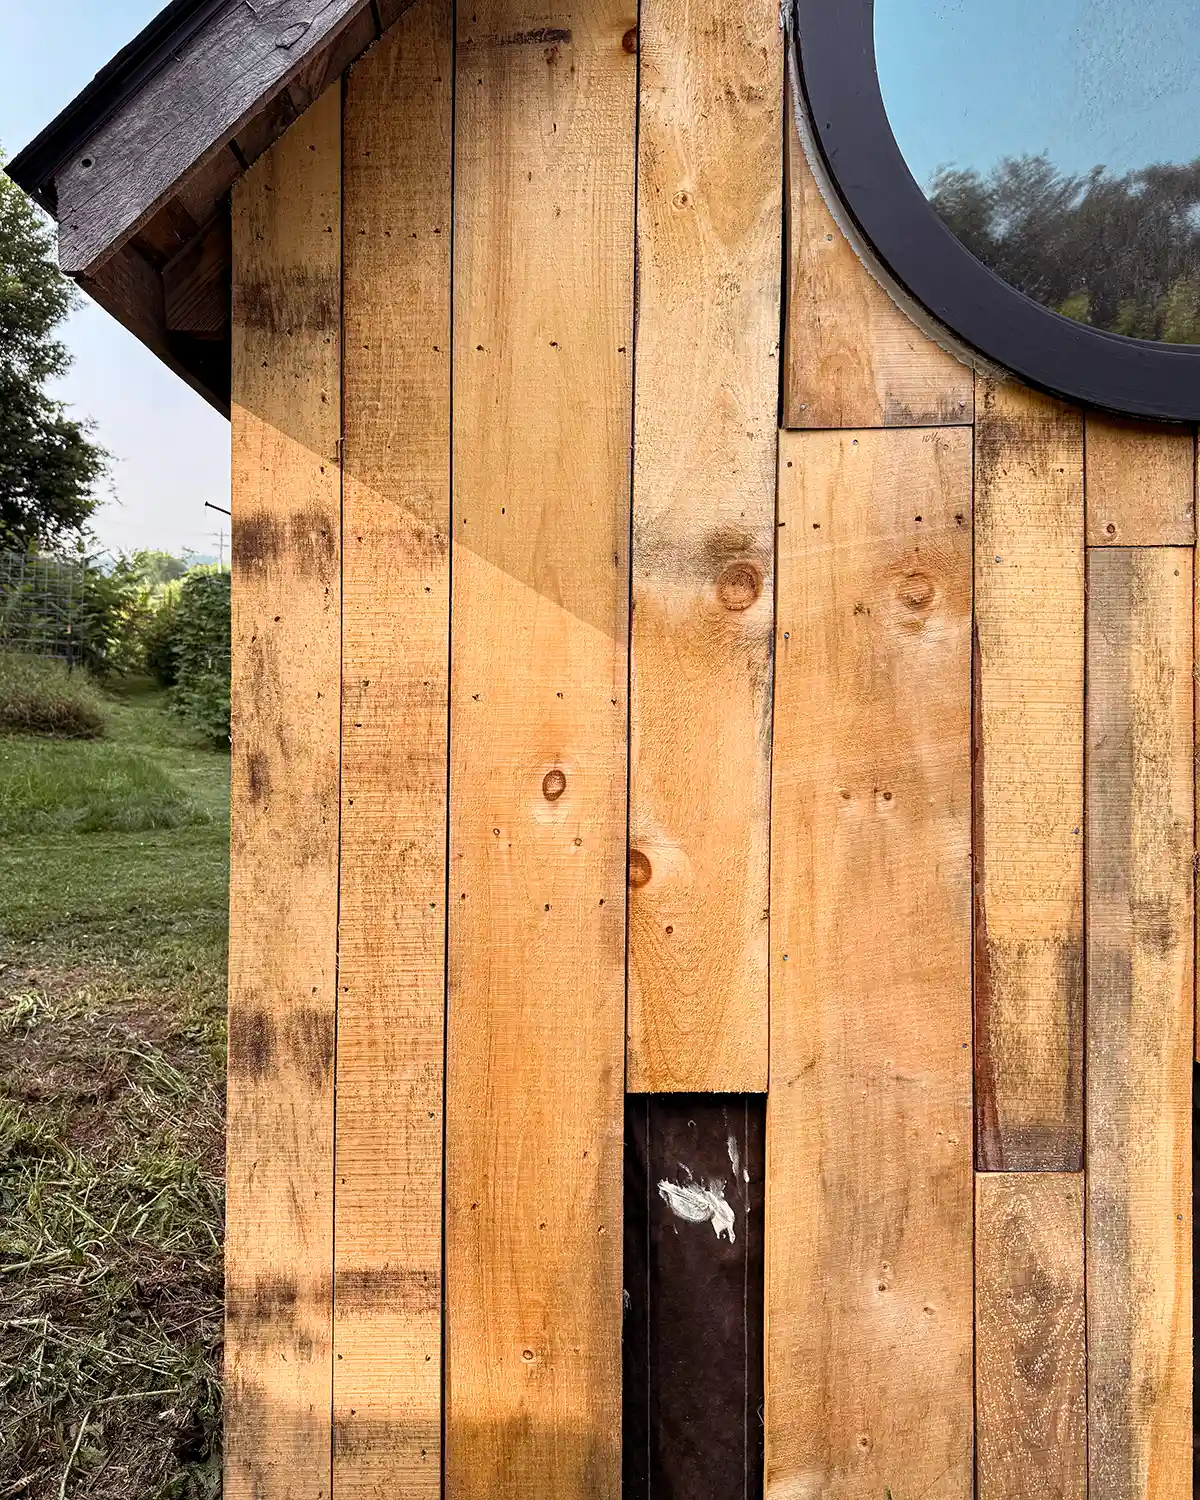
Attaching Siding
Another step in mid-progress is attaching the siding. The goal of the playhouse is to make it mouse and critter-proof. Which isn’t entirely possible when you live in the country, but the original gaps in the shed siding weren’t going to cut it.
Our plan has always been to add another layer of wood and attach siding to the building. This is one place we decided to save money. I originally wanted T1-11 plywood siding or to do a board and batten treatment. Neither was cheap.
Instead, we’re using scrap wood from a friend’s lumber mill, where we can get a monster truckload of wood for $200. The boards are all different lengths and widths. Those are the boards we’re attaching as vertical siding to the playhouse, with plans to paint them well. VERY well.
I don’t especially love the look right now as raw wood, but I think I’ll love it once we paint everything. Besides, it’s saving us hundreds of dollars, which I can appreciate. Which means more money where I like it, in accessories!!
We ran out of lumber a few weeks ago, but we just got word there’s a scrap pile waiting for us. As I type, Colby is off on a lumber run.
Playhouse Next Steps
The next steps for the playhouse are numerous and a bit overwhelming, but we’re also getting to the fun stuff. Like choosing paint colors and decorating.
Here’s the playhouse punch list (as of right now…I’m sure I’ll add 10 more items as soon as this post is published).
- Finish shingling the roof
- Attach all of the siding
- Cut out and make play windows and possibly shutters
- Build a Dutch door
- Install floor boards
- Finish building the loft and the ladder
- Choose the paint colors
- Paint the playhouse exterior
- Paint the interior including the floor
- Furnish and accessorize
Future Phase Two Plans
Rowan, our eldest dreamer and resident creative, has already made several additional requests for the playhouse that might need to be a phase two of the project. Some of her ideas:
- Adding a porch and lounge area for outdoor movies (SUCH a great idea, although space is tight)
- Creating a frog pond
- Gardening around the playhouse and the space between the building and the playground
- Making a stone path between the playhouse and the playground
- Building a picket fence with a gate
- Carving out a fairy garden area
- Twinkle lights…everywhere
I love the way she thinks! So stay tuned as I share more progress on what we are working on with the playhouse and more details on some of the construction.