I believe today’s post could best be described in the words of Ed Sheeran, “Hello my lover” because the shower tiling is DONE! So how long does it take to tile a shower when you DIY it?
Let me count the ways. While there are many, many variables that affect how long tiling a shower can take, if you really get down to it the DIY project can be completed in one long day, but it’s typically two days of work.
If you’re like me and DIYing in the in-between moments while taking care of small children, it takes even longer. I thought it would be fun for the week 3 One Room Challenge update to log exactly how long it took me to tile our shower.
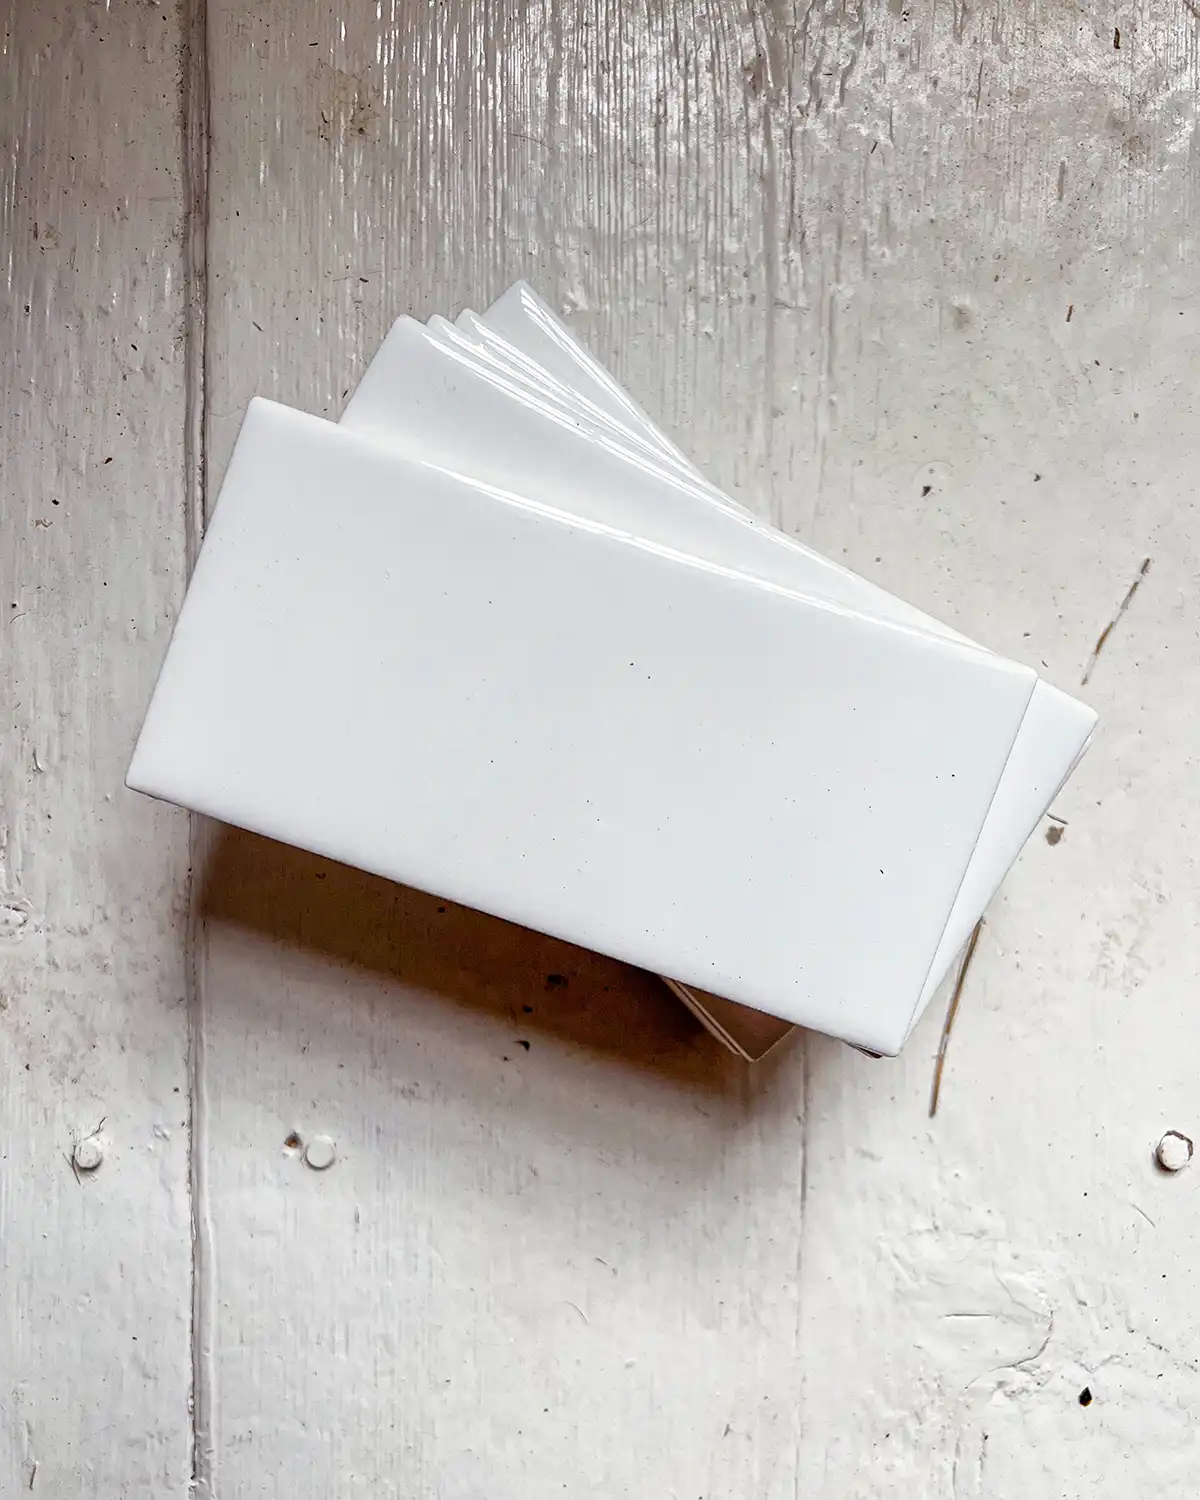
By tiling our shower, I mean straight tiling. No cement board installation or prepping of the shower walls for tiling. Just laying those white subway tiles brick by brick along with mixing tile thinset mortar.
So the TL;DR version of how long it took me to tile our subway tile shower was 9 hours and 10 minutes over the course of a week. And for reference, this was 65 square feet of tiling.
For those of you who like the dirty details, carry on my wayward son. Here’s the DIY shower tile log for your reading pleasure.
A Shower Tiling Log
I would like to preface this shower tiling log with a bit of a disclaimer. We are a busy family with small children. Gone are our days of being able to commit giant chunks of time to home improvement and DIY projects. While the first day of tiling we could, this is rare.
Most of our projects are completed in 1 to 2-hour increments. This DIY tiling project was mostly completed in the window of opportunity between dinner and bathtime/bedtime for the kids.
So this is me on my soapbox telling you that you can do it! You can DIY in the age of small children. Yes, it’s harder. Yes, it takes so much longer. But inching along is better than standing still. Jumps down from the soapbox to mix up the mortar and start tiling.
Day 1: 3 Hours
It was a glorious Saturday morning of dreary, wet rain. Note the sarcasm. But it was tile day and grandma offered to watch the kids. After gathering all my tile supplies and tools, let tile day begin!
It’s been more than five years since I’ve done a tile project and it’s amazing the things you forget. Getting started took forever and I felt like I was a rookie all over again.
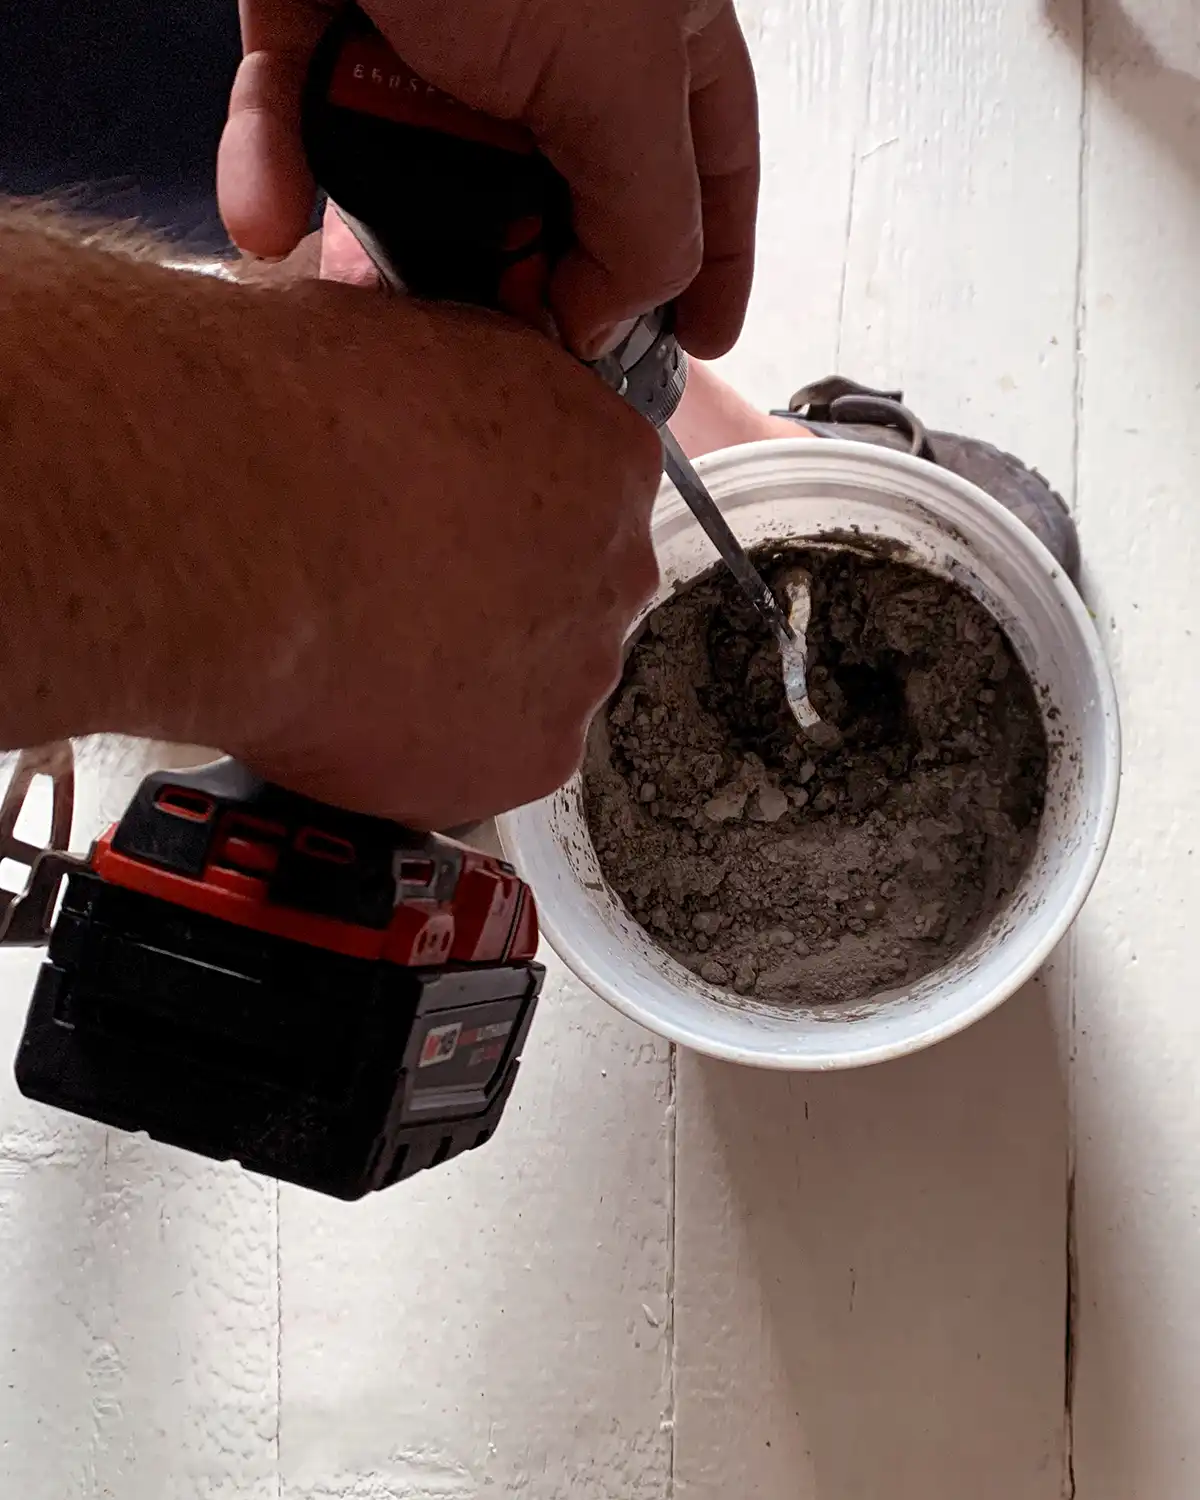
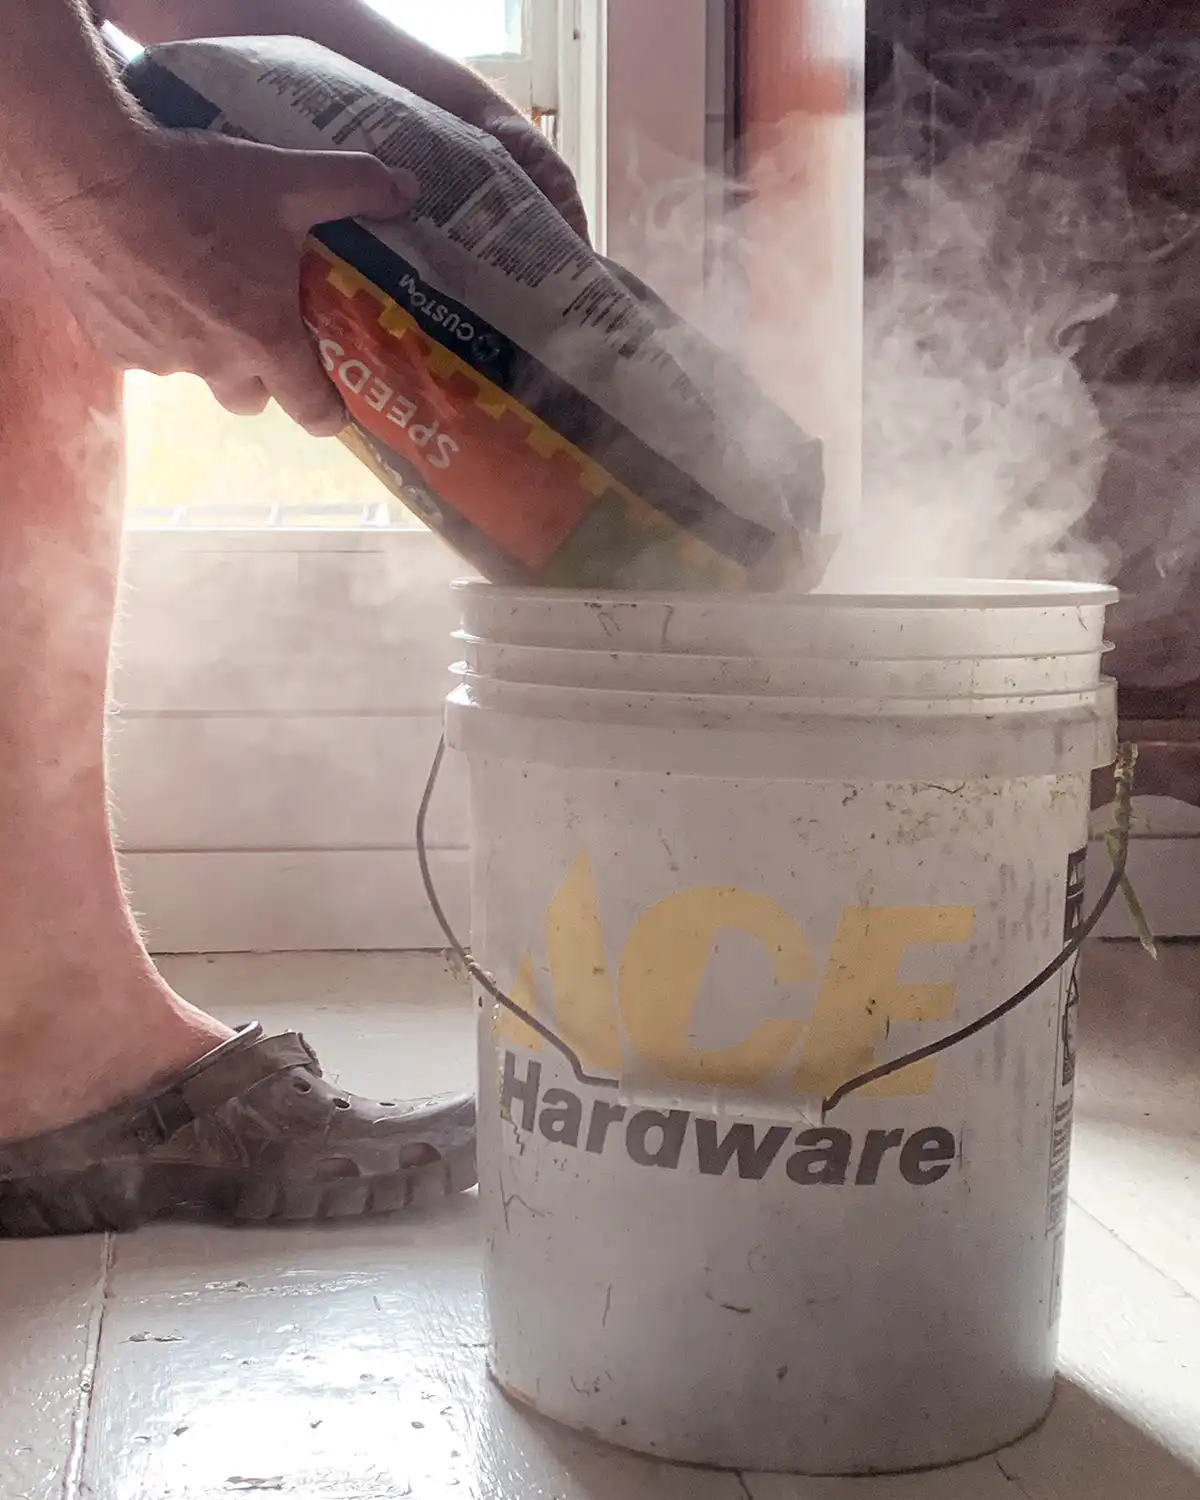
First up, mix the thinset. After reading all the fine print on the bag of thinset mortar two things stood out. One, I was pretty sure I was going to die of cancer because I had none of the proper safety equipment and basically the bag said so. And two, there were no mixing instructions other than to add 3 quarts of water. So that’s what we did. An entire bag of thinset mixed with 3 quarts of water. Rookie mistake. Stay tuned.
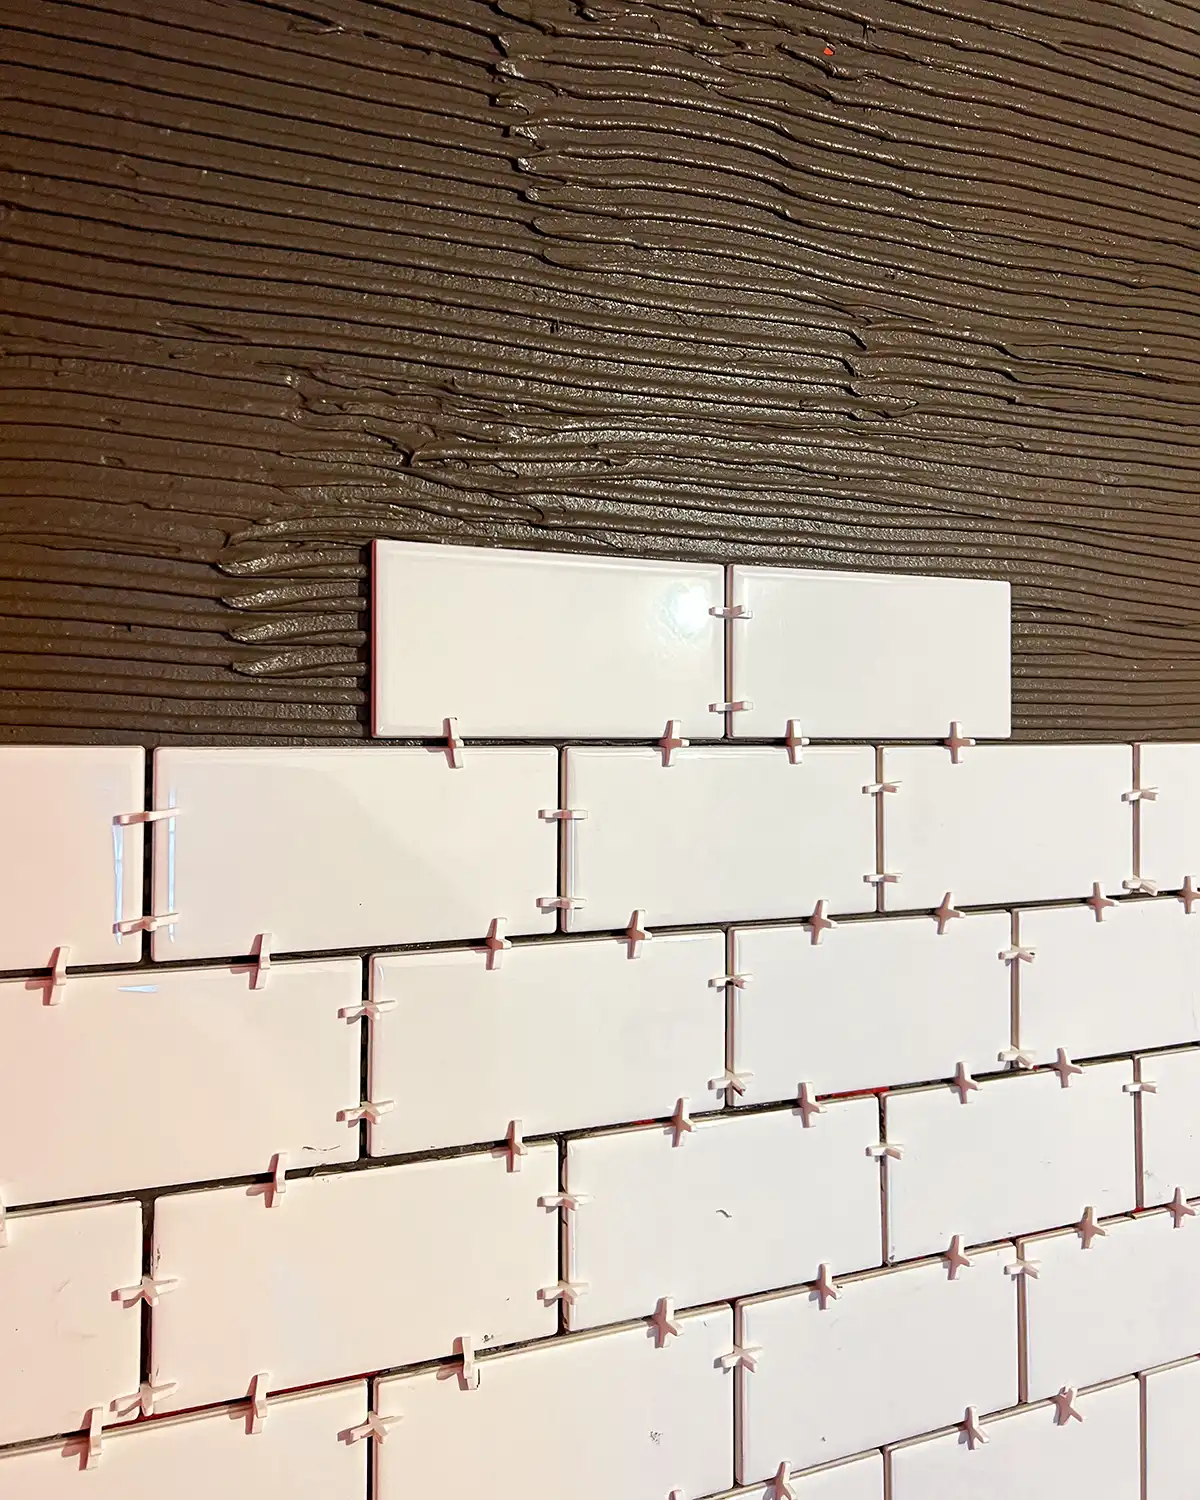
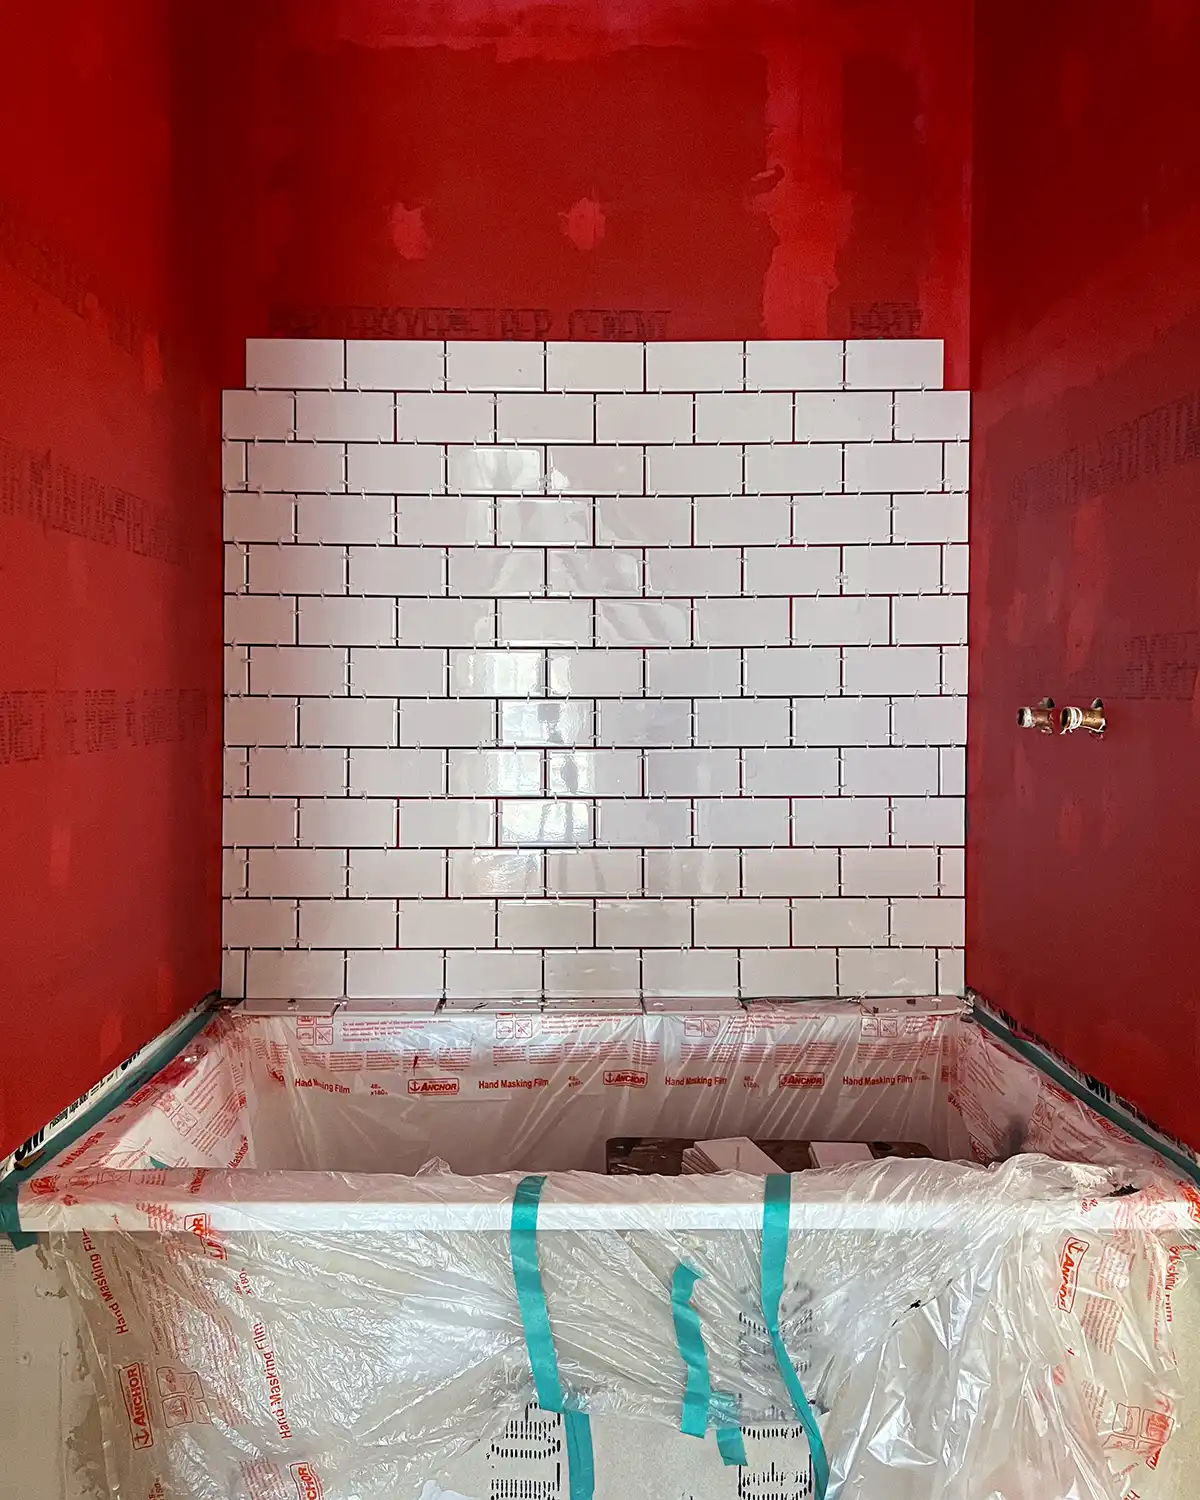
I drew some guidelines on the shower walls using a level, found my center point, and got to work. I always start tiling a shower surround on the back wall, in the middle of the first row. Tile by tile that first row was laid, making sure to level it and align it as perfectly as possible. Every other row’s straightness depends on it.
Phew… the first row is done with only a minimal amount of tears and sweat. Onward tiler!
Realize I hate the tile spacers I’m using. They worked when I used them for tile without a bevel, but this subway tile has a slight bevel to them. Find another bag of tile spacers. Question how we managed to accumulate three different kinds of tile spacers over the years but am grateful at the moment for the excess.
I’m a slow tiler. I take my sweet time swiping the mortar on the walls because I’m a perfectionist and don’t like to drip. Perfectionist tilers also tend to hyper-check if everything is straight, level, and even.
I finally get to the crucial midway point where I can stand to tile and my butt is no longer falling asleep from perching precariously on the narrow tub edge. But the mortar in my bucket is starting to harden. Notes that the bag states “hardens in three hours.” Huh. I give a last ditch mixing fluff but it doesn’t buy me more than one more row.
By the time the tools are outdoors to get cleaned up, the thinset mortar will not come out of the bucket. It’s a solid mess. Admit defeat and toss the entire bucket. Go to the hardware store for more thinset and another bucket.
The lesson of the day: mix small batches of thinset especially when you’re a slow tiler.
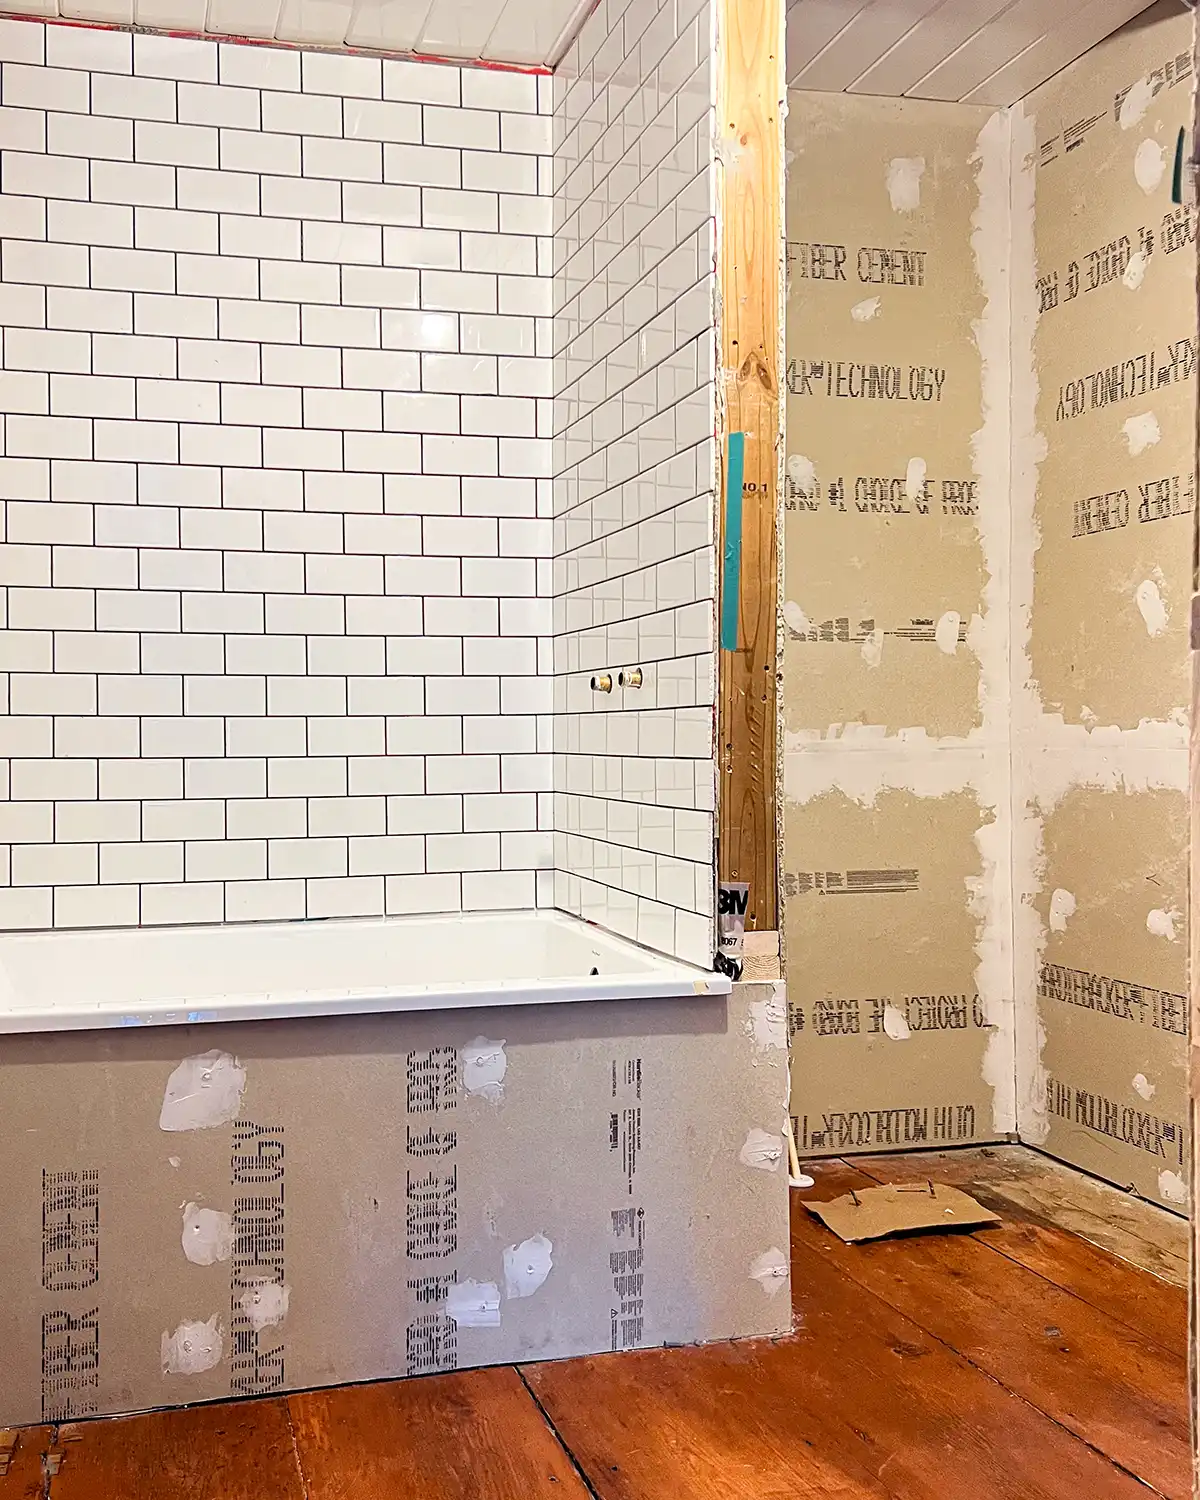
Tiling Day 1 Progress:
Day 2: 1 Hour 15 Minutes
Feeling slightly optimistic about tackling the tile project for a second day. The kids stayed the night at grandma’s and the house is quiet. I’ve got a few spare hours for tiling.
Mixing up the thinset mortar this time around I found a handy guide from the DIY Tile Guy to help me mix smaller quantities. Here we go. Holds breath while mixing to avoid cancer. That should work, right?!
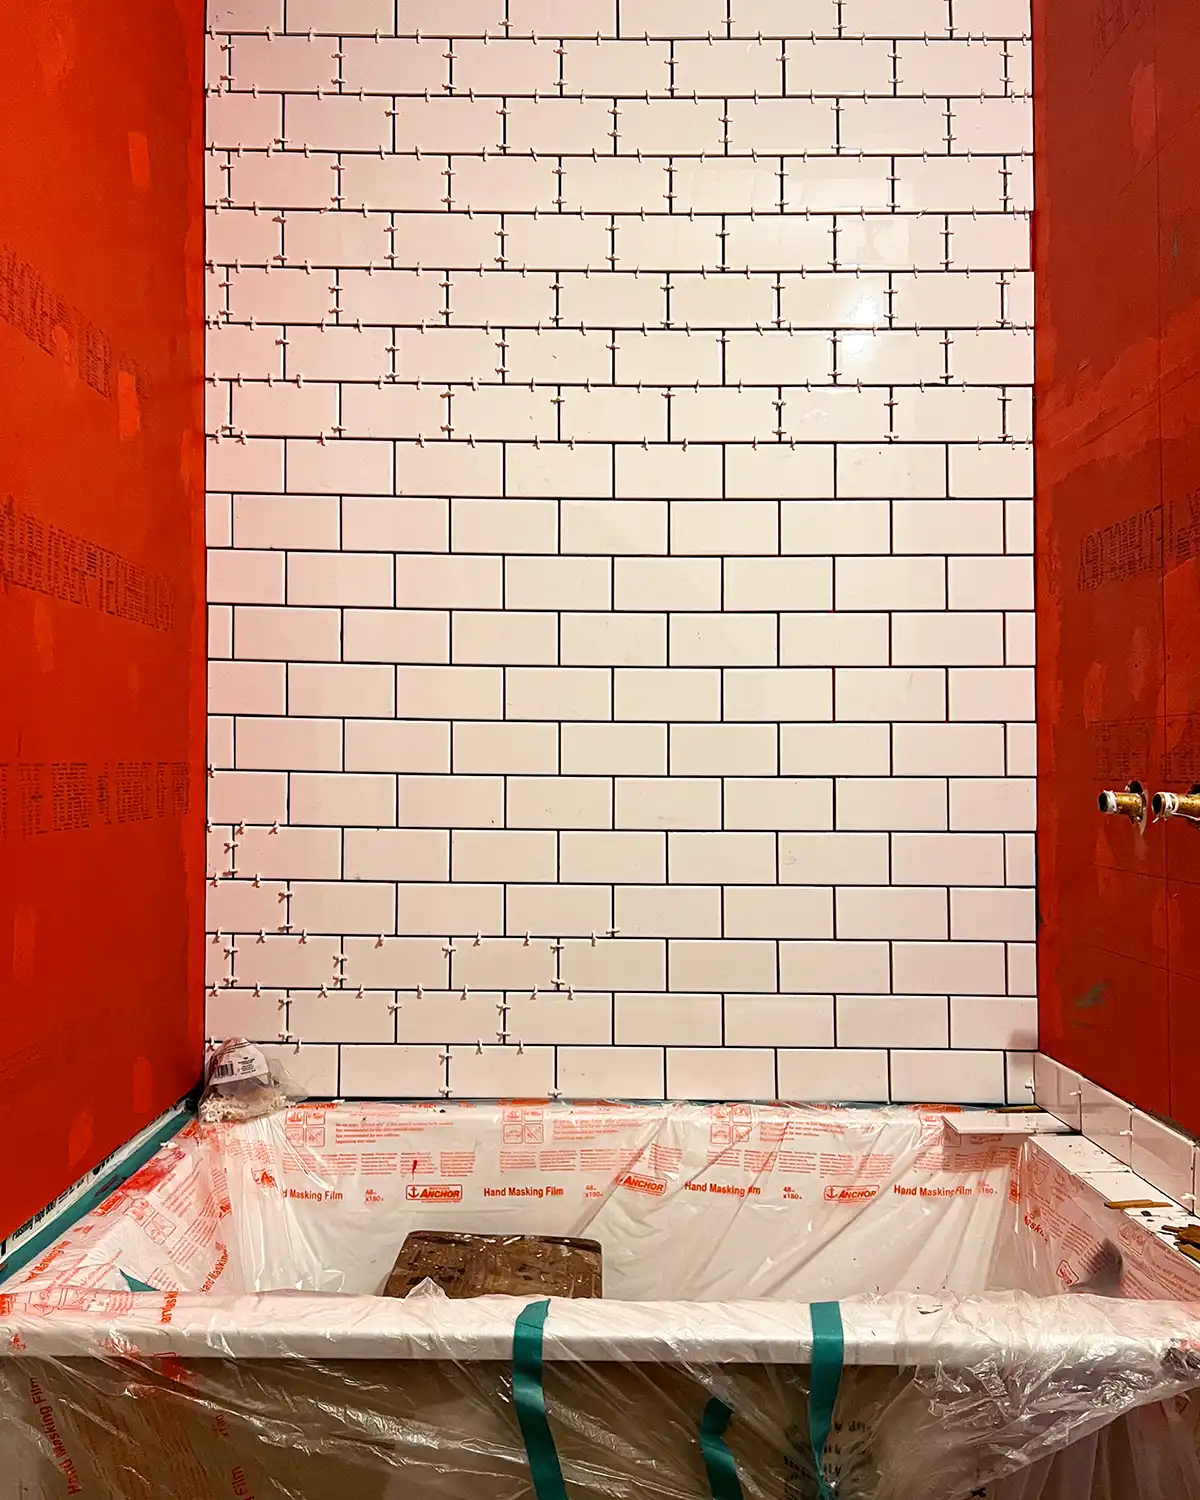
A little over an hour later the back wall is finished.
I break out the laser level and start to tile the bottom row on the shower hardware wall. Tiling hot tip: let the bottom row dry completely before tiling up above it. You don’t have to. But I find if you take your sweet time, break out the laser level, and really get that first row of tile as perfect as possible, it makes the rest of the tile job easier.
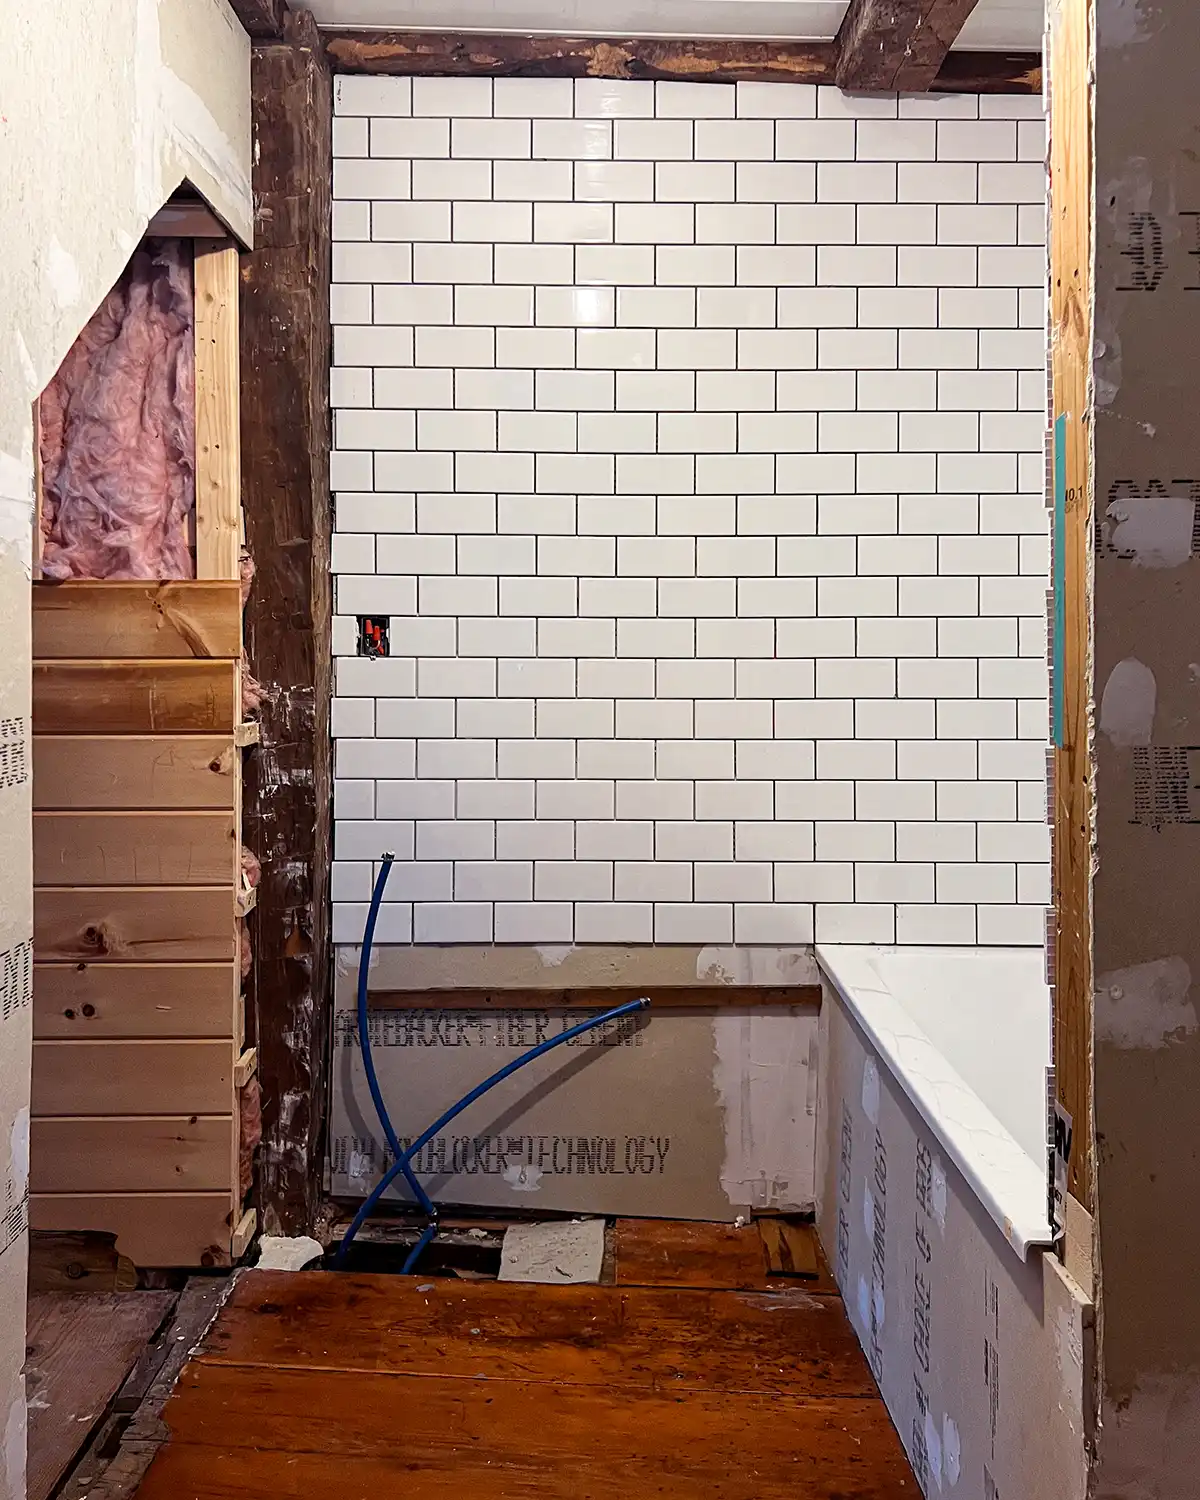
Tiling Day 2 Progress:
Day 3: 1 Hour 25 Minutes
Before mixing up tonight’s thinset, I give myself a little pep talk. You can do this, today is going to be the quickest section. Just two special cuts around the shower hardware. Let’s set a land speed tiling record tonight.
Takes 15 minutes to tile up to the shower hardware and immediately regrets the pep talk.
The cuts around the pipes need to be relatively clean and precise because the fixture won’t be covering much of it. Thankfully, Colby prepared and found the right hole saw bit for cutting ceramic tile. 45 minutes and three YouTube videos later (because attaching a hole saw bit is hard when you don’t do it often) he gets the bits switched on the drill and makes the cut for me while I’m bathing children. Bathtime tiling warriors we are!
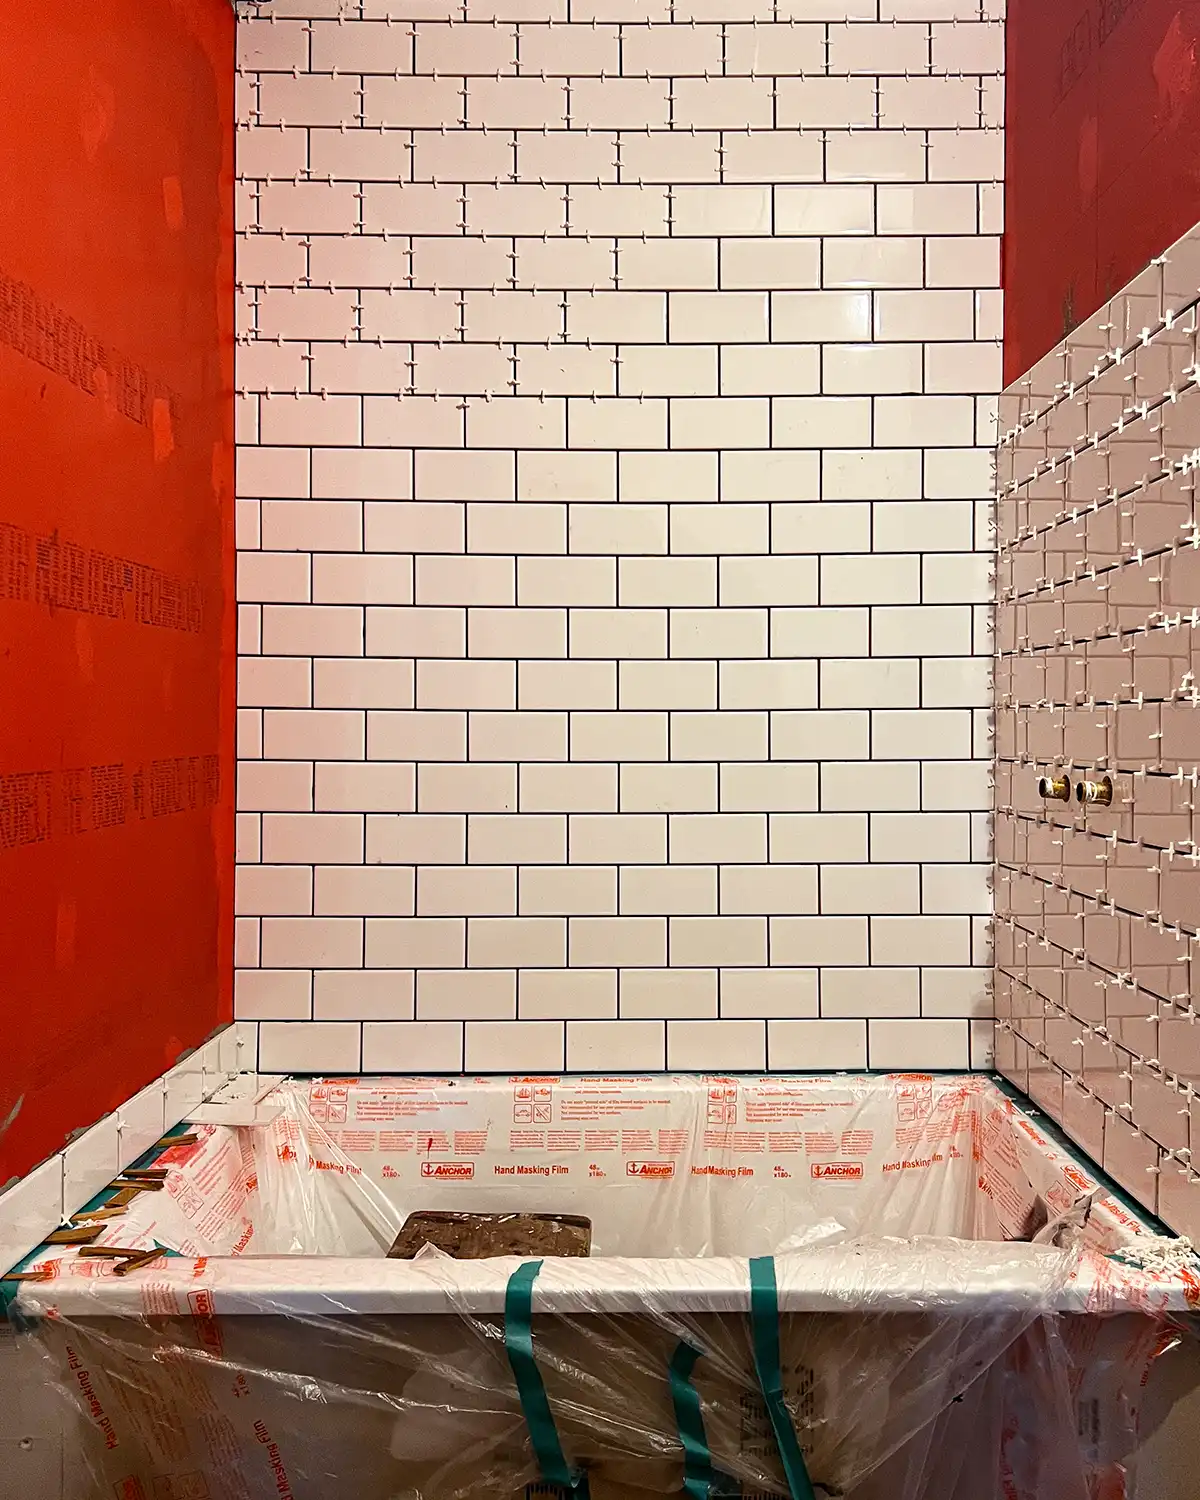
Cruise along and almost finish tiling to the ceiling in under 30 minutes. With a bit of thinset left, I briefly debate tiling a few more rows, but the kids are running around like monsters. Literally, they are pretending to be goons. Clean up for the night.
Tiling Day 3 Progress:
Day 4: 1 Hour 10 Minutes
Thinks to self, “self, we finally got the hang of this.” Mixes up a batch of thinset mortar and gets to work on the shower hardware wall.
Finishes tiling to the top row, makes some weird cuts around the ceiling beam, and moves on to the back wall after only 30 minutes in.
Decides to tile all the way across the wall instead of just the shower wall. Asks Colby to find something to support the row from the tub to the beam. He screws a level board to the wall and I continue across.
Drops a 5 lb stack of tiles on top of barefoot. Rue the day they made tiles so heavy! Decide maybe I should wear shoes while I’m tiling.
Gets halfway-ish up the back wall with tile and uses every last drop of the thinset. Quickly debates mixing up another batch and finishing the wall but would rather read bedtime books with the kids.
Tiling Day 4 Progress:
Day 5: 2 Hours 20 Minutes
It’s the final countdown…I mean…the final day of tiling. I am going to make it happen no matter how late it gets!
The last section is a big old square with very few odd cuts. Making special cuts definitely slows me down. Here we go.
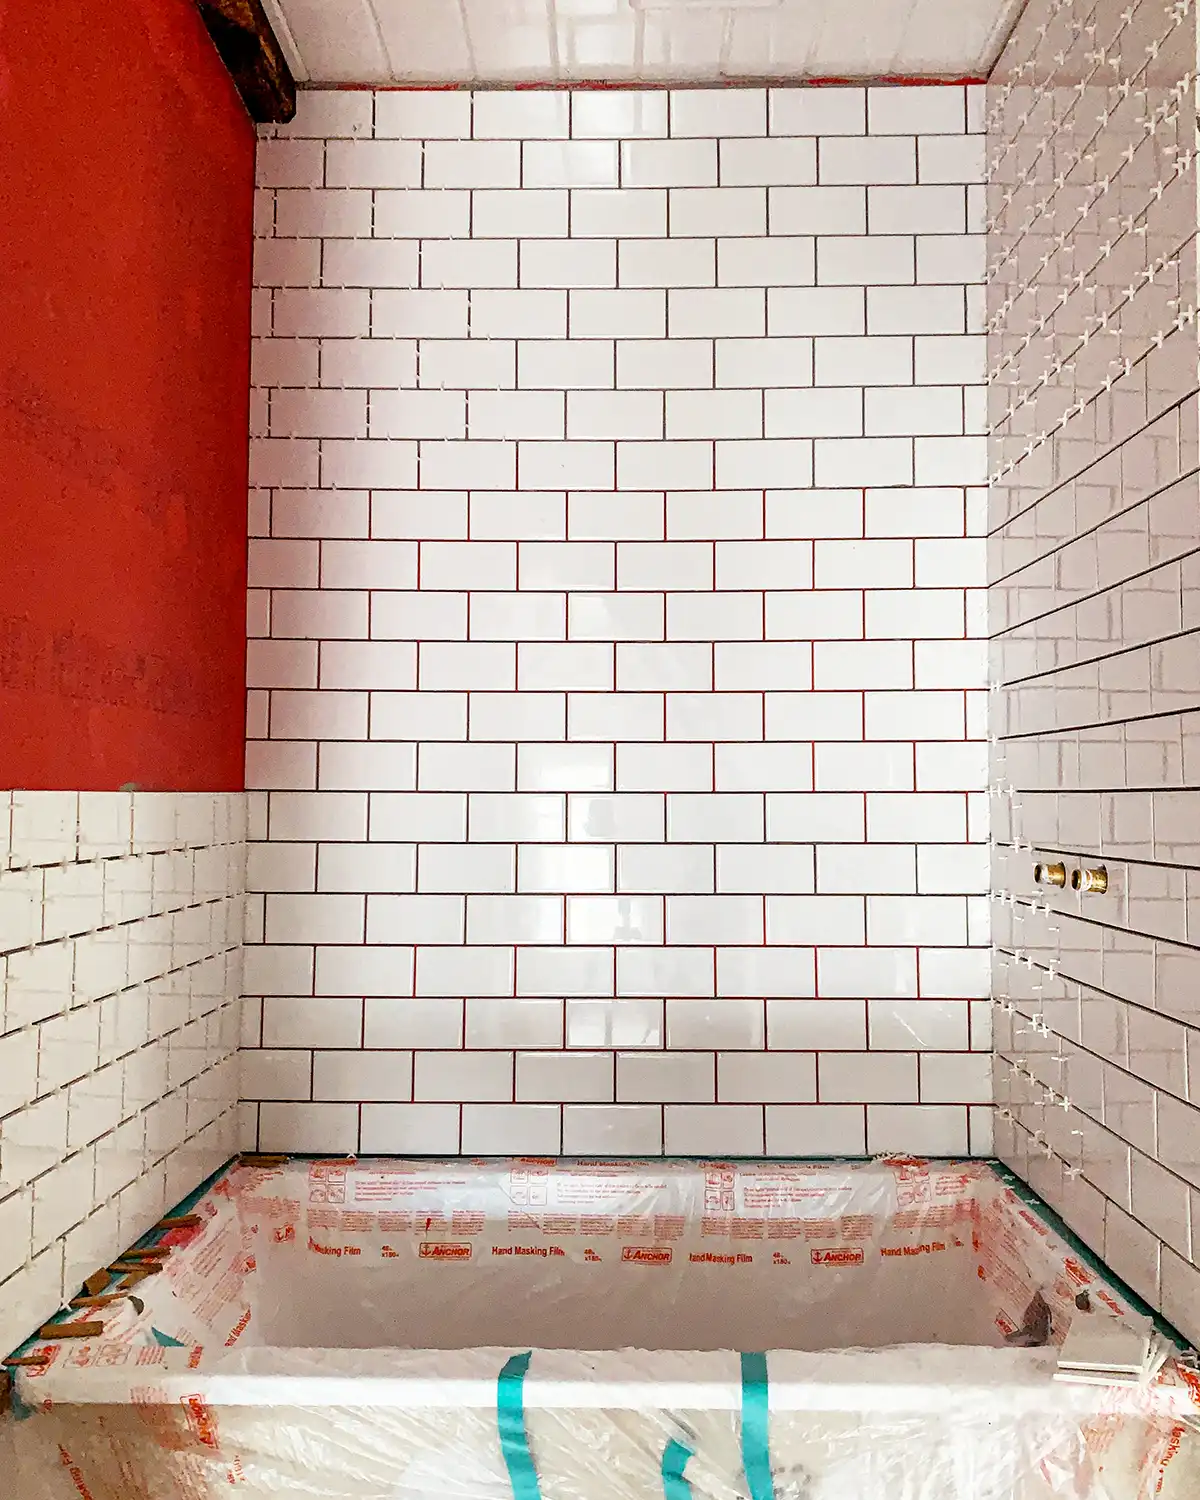
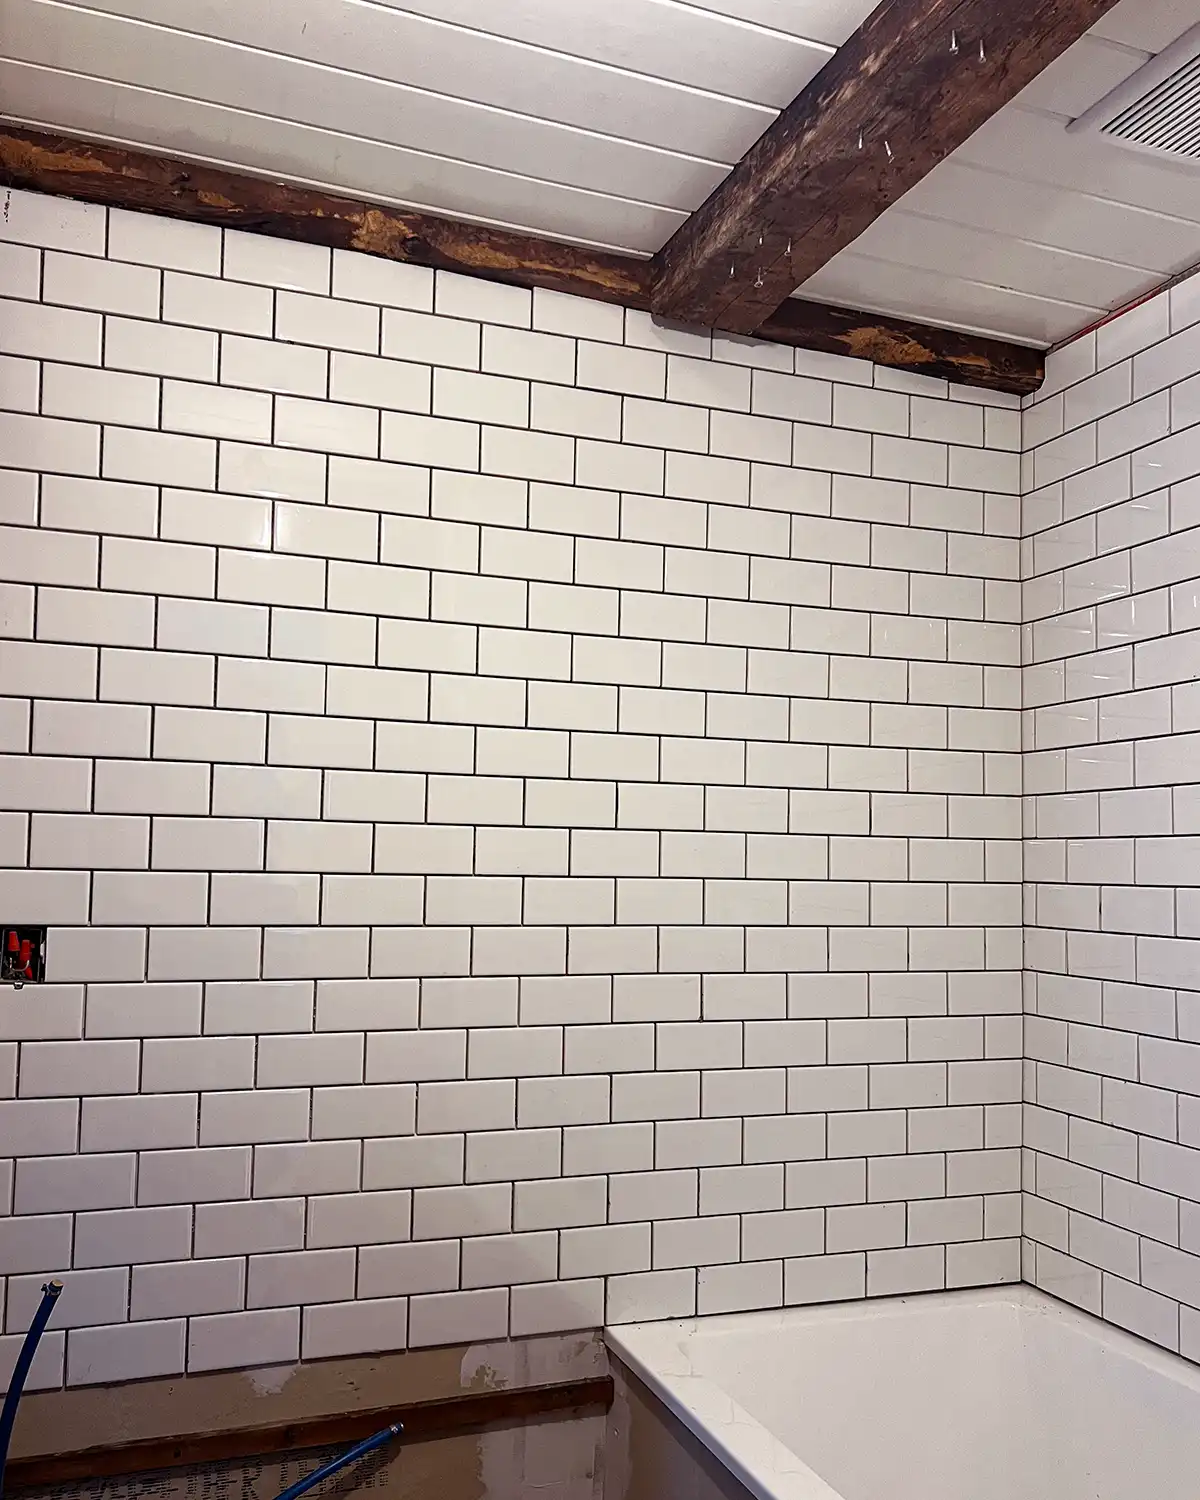
Two buckets of thinset mortar later (along with two kids who are beyond silly tired running around with helmets aka boxes on their heads), the tiling is done. Stick a fork in it!
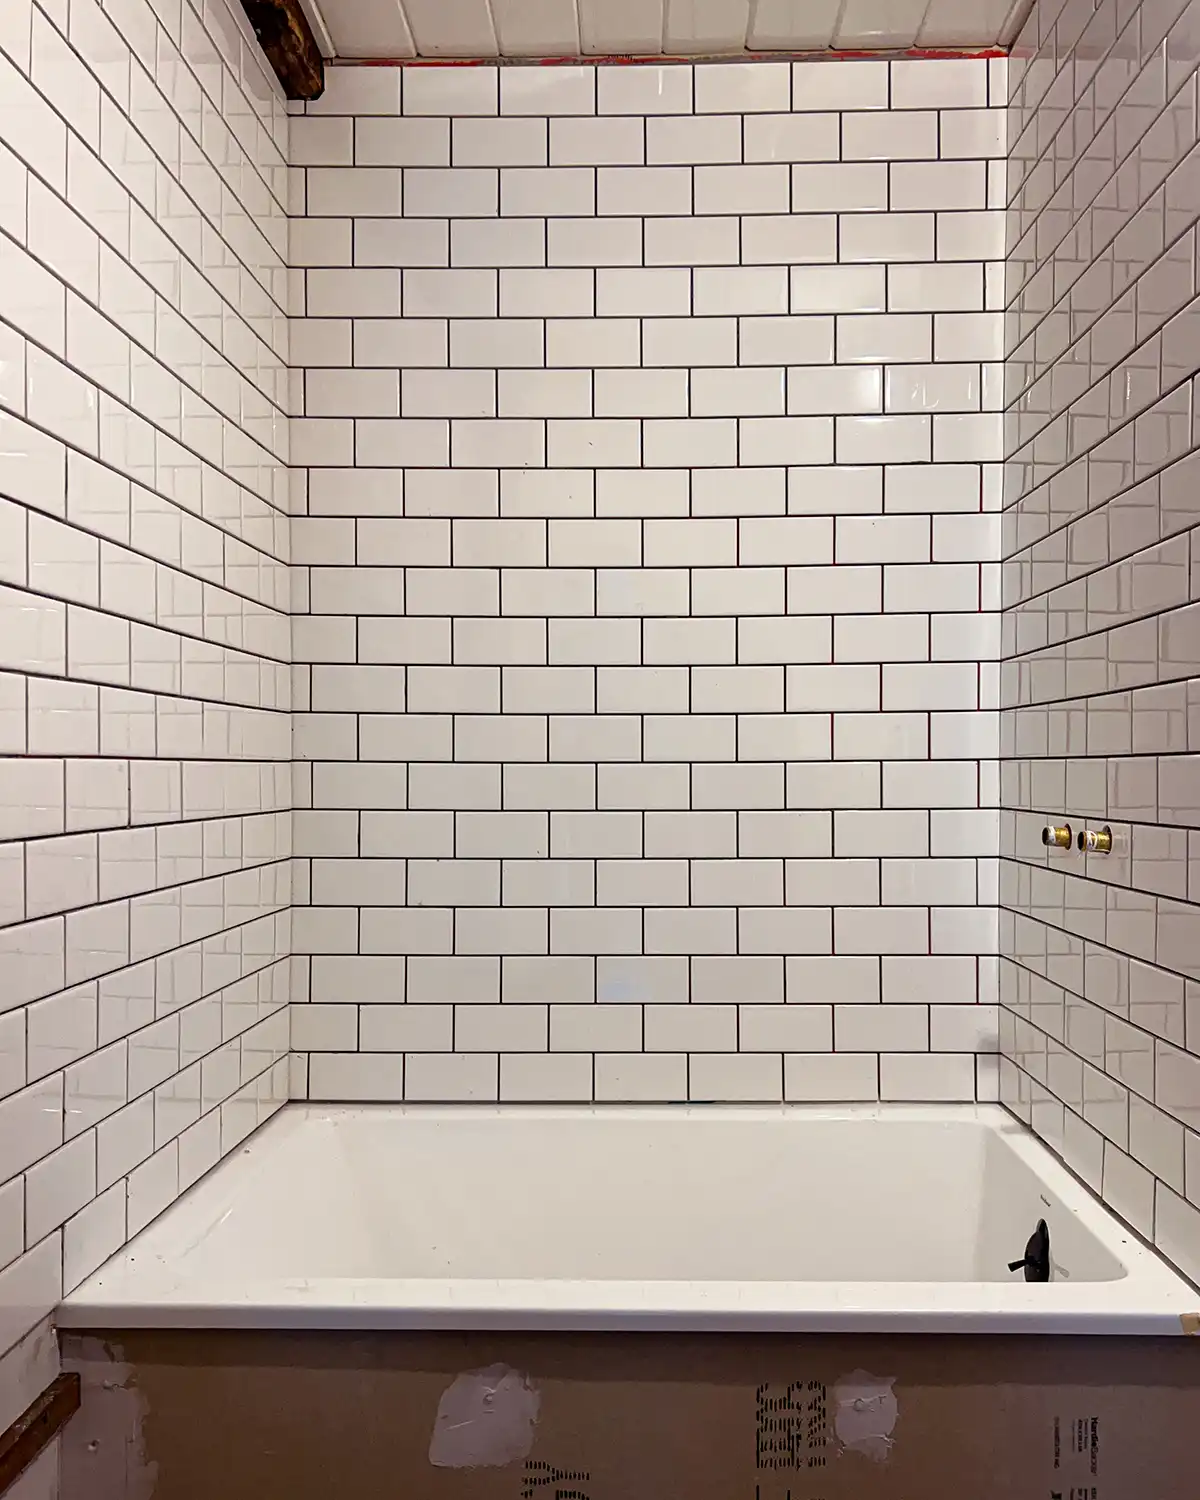
Tiling Day 5 Progress:
So how long does it take to tile a shower wall?
For me, it was a total of 9 hours and 10 minutes over 5 days.
The total square foot area tiled over this amount of time was 65 sq ft. That breaks down to a square foot area of about 20 sq ft for the back shower wall, 15 sq ft for the shower hardware wall, and 30 sq ft for the back wall from the tub height up. Technically I tiled a little more than just our shower walls but it was easier to go all the way across to the beam on the other side of our small bathroom.
Variables For How Long It Takes To Tile
There are various factors that come into play in how long it takes to tile a shower wall. From the tiler’s skillset to the materials you choose. Let’s dive in.
Size Of The Shower
Maybe the most obvious variable for how long installing shower tile takes is the size of the shower. The bigger the shower, the more tiles to lay. Smaller showers don’t take as long.
Size Of The Tiles
The size of the tiles you’re working with plays a significant role in how long it takes to tile a shower. Large tiles are much quicker to lay down than small tiles, solely because of the tile size. While larger tiles may take a little longer to cut, I can certainly install a 12″ x 12″ tile a lot quicker than eight smaller tiles, like 3″ x 6″ subway tiles with spacers in between.
Mosaic tiles may be the exception to the rule. Technically, they are the smallest tiles. But they come on a sheet and are similar in size to 12″ x 12″ full tiles. While they can certainly be tricky to install, they are still quicker than laying each tile individually.
Tile Material
The type of tile that you use can also affect how much time it takes to tile a shower. Different types of tile are easier to work with than others, affecting how long it takes to complete your tile work.
For example, when we tiled the guest bathroom in this house we used a marble subway tile. The marble subway tile was very hard to cut compared to the ceramic tiles. The marble had to be run through our tile saw with a special blade meant for marble and very slowly. When working with our current ceramic subway tile we can use a cheaper, tile cutter which makes less mess.
The different tile materials will cut and work differently. So depending on whether you use porcelain tile or glass tile, will affect how you work the tile and how long your shower tiling project will take.
Tub Or Shower Floor
Right up there with the size of the shower is if you’re using a tub or a shower pan. A tub means far less tile surface area and less time to tile. Using a shower pan means not only are there more tiles to lay on the walls but there are floor tiles to lay in the shower.
Tile Installers’ Skillset
The skillset of the tiler definitely impacts how long it takes to tile a shower. While you don’t have to be a professional tiler to install new tile quickly and efficiently, if you’ve tiled before it should take less time than if you’re new to the task.
Even though this was my third subway tiled shower, having so much time elapse between projects put me back in the newbie category. It had been a long time, more than five years since I had tiled and it felt like learning all over again.
But by day three I felt like I was cruising right along again. I was comfortable and confident which makes all the difference with a tiling job.
Having The Right Tools
Having the right tool for the job ALWAYS makes any DIY project go quicker or smoother. This holds true for tiling a shower.
When I tiled our first shower, in our home in Maine, I didn’t always have the right tools. For instance, to cut the tiles around the shower hardware, I used a tile nipper and slowly made round cuts around the pipes. It took so much longer than using a hole saw to cut through the tile (as long as you don’t factor in how long it took us to switch out the drill bit to a hole saw bit).
For our current project, I love that I can use a tile cutter and keep it nearby to make quick cuts. If I used the tile saw for this project, I likely would have set it up outside since there’s not a lot of room in this bathroom to set it up. Tile saws throw some water so I’m not about to set it up in my attic closet or our bedroom. All those trips up and down the stairs to make cuts would have added a lot of extra time
Cutting bigger or harder tiles needs a tile saw, making odd-shaped cuts needs special cutters, a notched trowel with a bucket hook that keeps your tools handy keeps things less mess, and a drill to mix small batches of thinset mortar is FAR easier than mixing by hand. Even just having a laser level and a tripod to help keep rows straight saved me time and made the project easier.

Estimating How Long It Will Take To Tile Entire Bathroom
Even with a smaller bathroom, I knew it was a daunting task to tile the entire bathroom in white subway tile. Now that the shower area is done, I can confirm that daunting task! I can’t imagine tiling a larger bathroom in this style. My back is already aching thinking about it!
So given that it took us about 9 hours to install wall tile in a 65 square foot area of the bathroom, and there is about 125 sq ft left to go, we should have about 17 hours of tiling work still to be done. And that’s just tile installation. There are still grout and grout sealer steps left.
I believe I’ve grossly underestimated how long this project would take. According to my bathroom remodel schedule, I’m already a couple of days behind on tiling. But I’ve got until the end of the weekend to finish all the walls in here to get back on schedule. It’s a stretch, but it might be doable.
If you need me in the next few days, I’ll likely be tucked into a corner of the bathroom with a stack of bathroom tiles at my feet and a trowel in my hand.
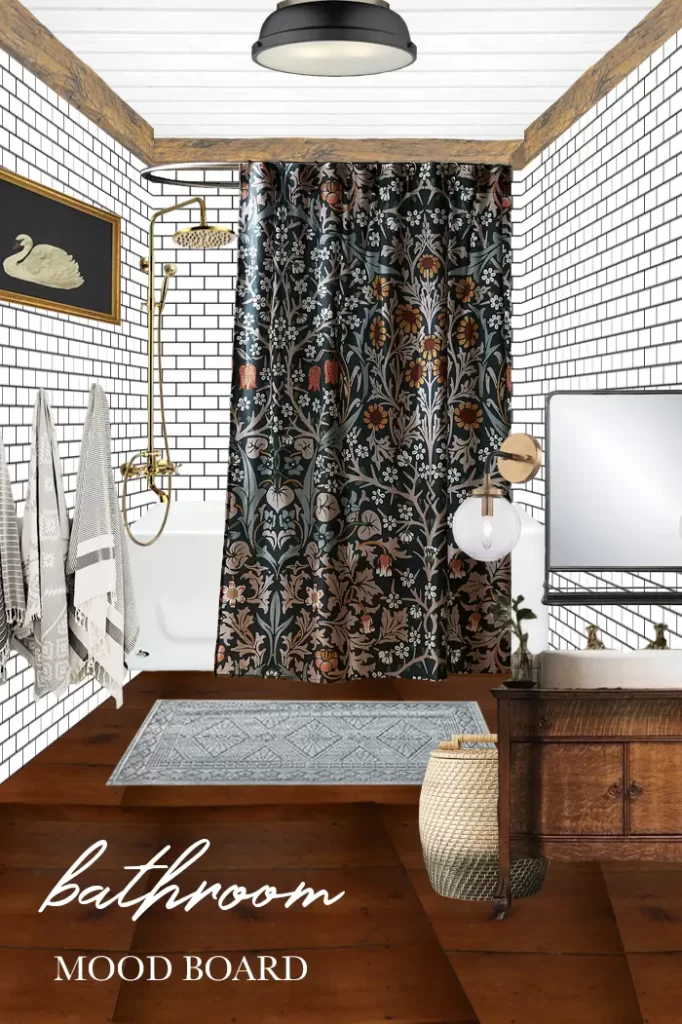
One Room Challenge Fall 2023
Don’t forget that this project is part of the Fall 2023 One Room Challenge (ORC). It’s an event where bloggers and designers rally each other to make over one room in their home over 8 weeks. This was week three so there are five more posts and updates to come.
Be sure to check out all of the ORC week 3 updates and cheer everyone on. It is no easy feat to make over a room in 8 weeks.
Catch up on my weekly bathroom renovation updates:
And stop by next week for another ORC bathroom renovation update. Will the tiling be finished?! We will see!


Way to go! On the road to completion.
Thank you! It’s definitely getting there!
Start over. The gaps are too big between the tub and the tile. That is a disaster. Caulk is not meant to seal such gaps. Personally, I would never permit a gap to be 1/8 of an inch and using nice quality stones it should be a razor blade thick., ultra precise…most would not mortar that but fill with a high grade caulk . I do prefer a modified tight seam mortar compressed and properly cured for weeks. It does not ‘crack’ but does develop as all mortars do from movement ‘leaks’..the caulk will EASILY seal microfractures but filling a large joint is constant maintenance and leaks
The gaps are not too big between the tub and the tile. Professional tilers recommend between 1/8″ and 1/4″ gaps to allow for movement. At the largest, the gap is just under 1/4″. At the smallest it’s just under 1/8″, almost touching the tub. I’m more concerned about that one since our house shifts in winter. Our home was built in the 1700s where nothing is square and level, hence the different gaps, but we make due. And caulk absolutely can fill those gaps. We used a high grade tub caulking and have had zero problems in the last two years. We used the same product in another bathroom and it’s been 8 years and still forming a perfect seal.
Also, there are more constructive ways to critique someone’s work. Telling someone to start over and they’re work is a disaster, without understanding their project at all, is bullying and not okay. I make mistakes and own up to them. This is not a mistake.
Great post! DIY-ing a shower tile project takes time, and your breakdown of the process is really helpful. Factors like tile type, prep work, and drying time can make a big difference. Including a timeline for beginners vs. experienced DIYers would be a great addition. Keep up the great work!
Thank you!
Great breakdown of the tiling process! I appreciated the timelines you provided—it’s nice to have a realistic expectation of how long the project might take. Have you considered including tips for managing materials and tools to streamline the process? That could be super helpful for beginners like me!
That’s a great idea and I’m adding it to my article ideas list. Thanks for stopping by!
Great post! I’ve been considering tiling my shower myself, but I wasn’t sure what to expect in terms of time. Your breakdown really helps clarify the process and gives me a better idea of how to plan my weekend project. Thanks for the tips!
Thank you, glad it helped.
I appreciate the detailed breakdown of the timeline for tiling a shower. It really helps set realistic expectations for DIYers like me. Can’t wait to get started on my project!
You’re very welcome, good luck with your project!
Great tips! I’m considering tackling a shower tile project myself and appreciated the breakdown of the timelines. It’s helpful to know about the prep work and grout drying times. I’m definitely bookmarking this for reference!
You’re so welcome! Thanks for stopping by.
I’m planning to tile my shower soon, and your timeline breakdown really helps set my expectations. Love the tips on preparation too—definitely don’t want to rush through that part. Thanks for sharing!
You’re welcome! Thanks for stopping by and leaving a comment.