Thorough is my middle name. Angie Thorough Campbell. Normally, my penchant for overthinking gets me in trouble, just ask my husband, but it came in clutch for the layout of our small bathroom renovation. And it’s coming in handy once again in designing our bathroom vanity. It’s an Arhaus bathroom vanity…well…not really. It’s a bathroom vanity design heavily inspired by the Arhaus Conrad line of furniture. Some might call it a dupe. Updated bathroom mood board:
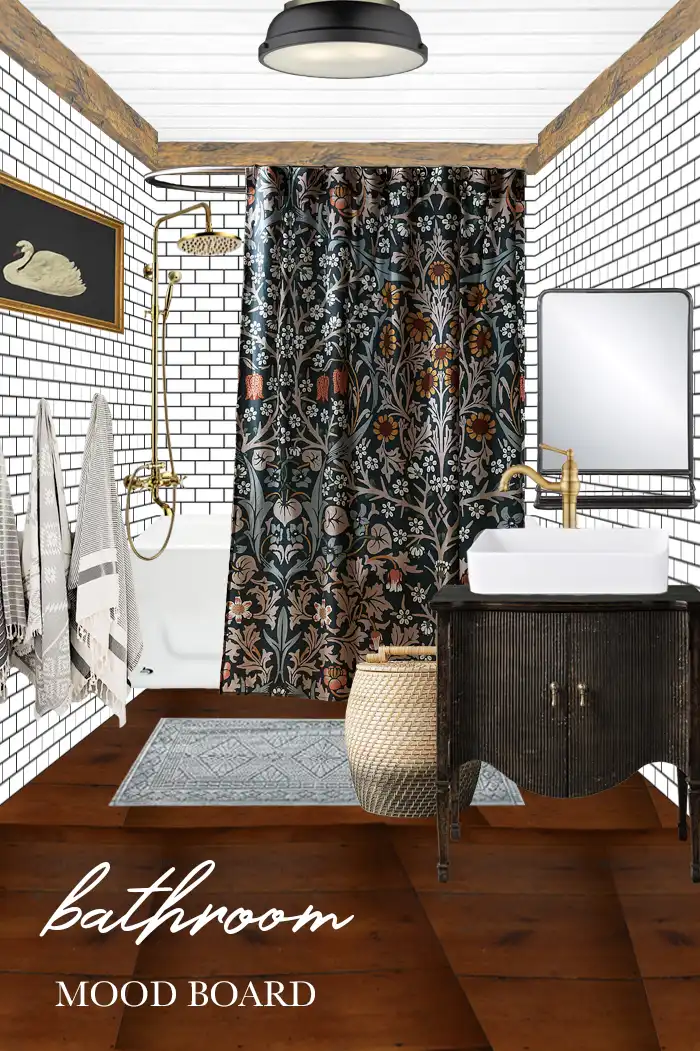
It’s the same bathroom mood board as before except I switched out the vintage vanity for the Arhaus Conrad table. While I would love to just purchase the furniture piece and convert it to a vanity, it is grossly out of our budget at $1,600. The goal, recreate the style by building a similar table.
Before I get too deep into our bathroom vanity design and plans, let’s start at the very beginning. I’ve heard that’s a very good place to start. Let’s dive into the story of why we’re building the vanity in the first place.
Why Build Instead Of Buy A Bathroom Vanity
Finding just the right bathroom vanity for our primary bathroom renovation has not been an easy task. I feel like I’m searching for the great white buffalo of bathroom vanities. I want the vanity to give off a vintage feel, fit some pretty tight size constraints, AND cost within my minuscule $200 budget.
There is some wiggle room in the budget, but increasing the amount allocated for the vanity means another project gets delayed until we save up for it.
Size Constraints
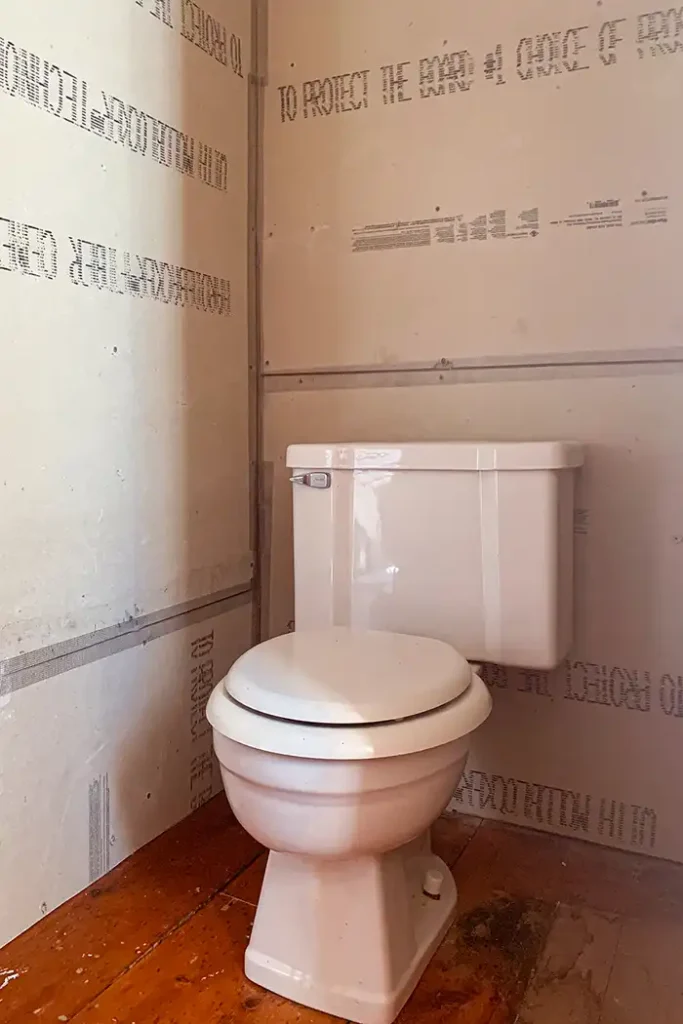
In terms of size, this vanity needs to be small. I’m talking minuscule small. Width-wise, it needs to fit between the tub and the beam/wall which is only 36 inches. Depth-wise it will jut out in front of the doorway into the attic closet so the smaller the better.
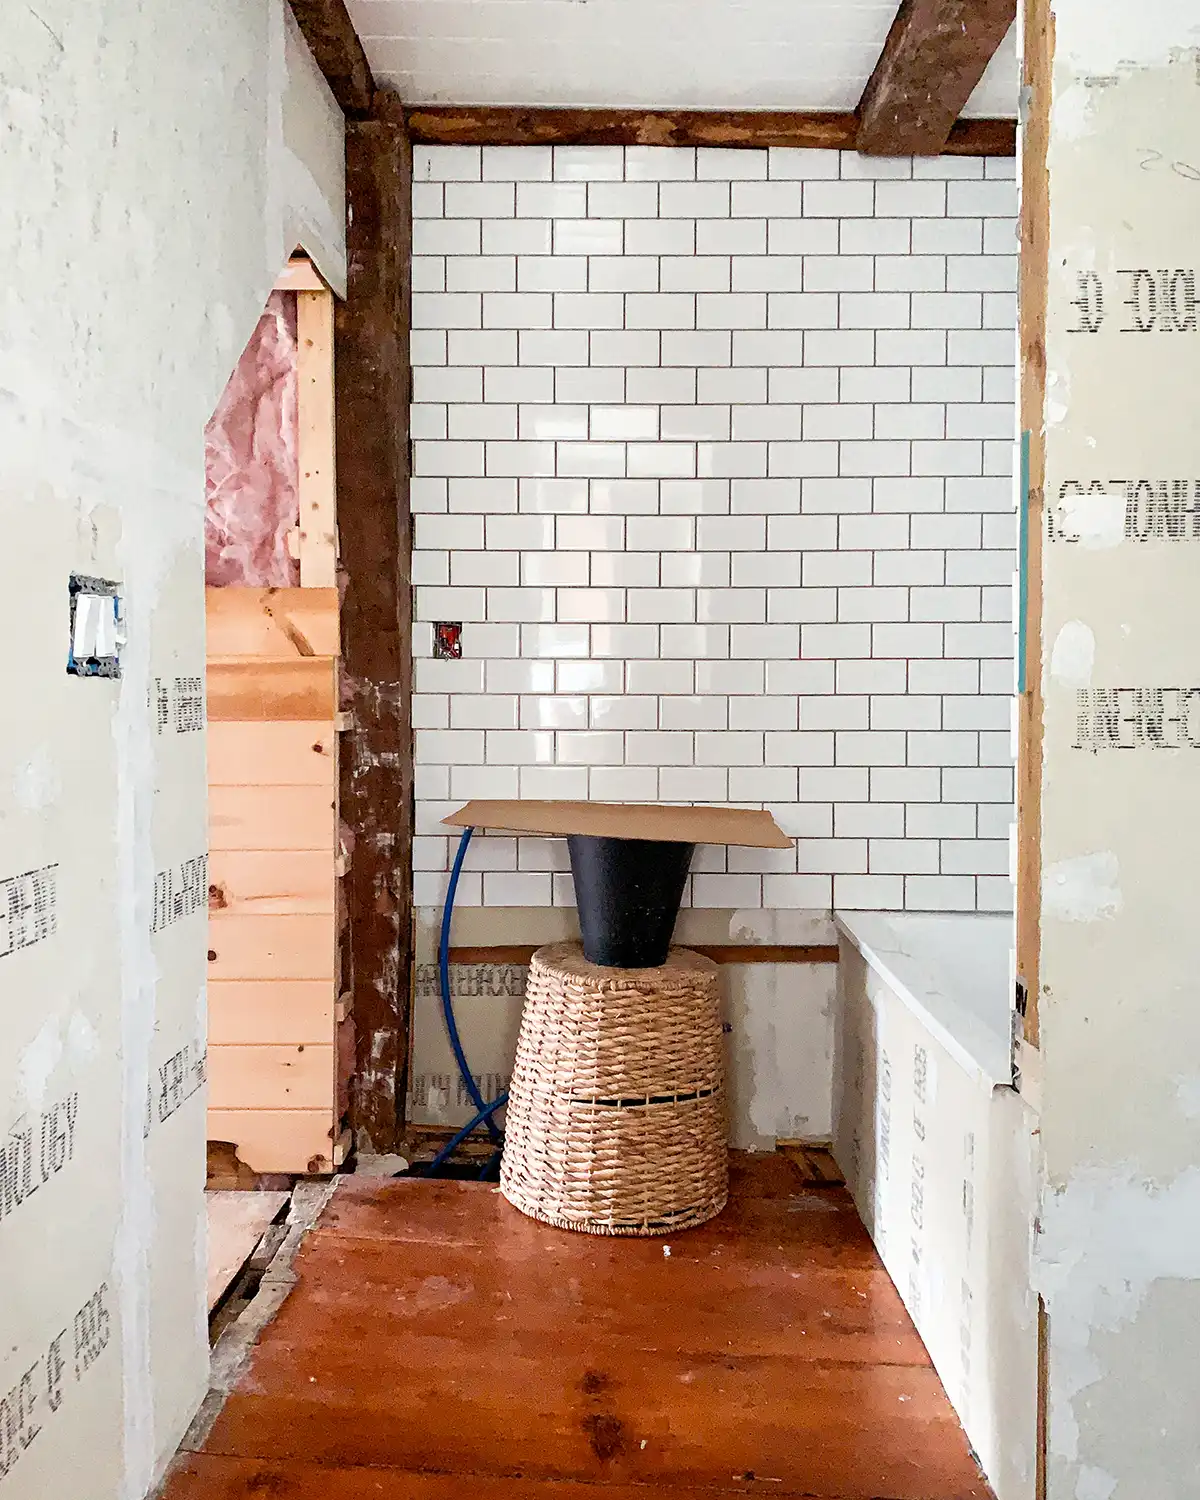
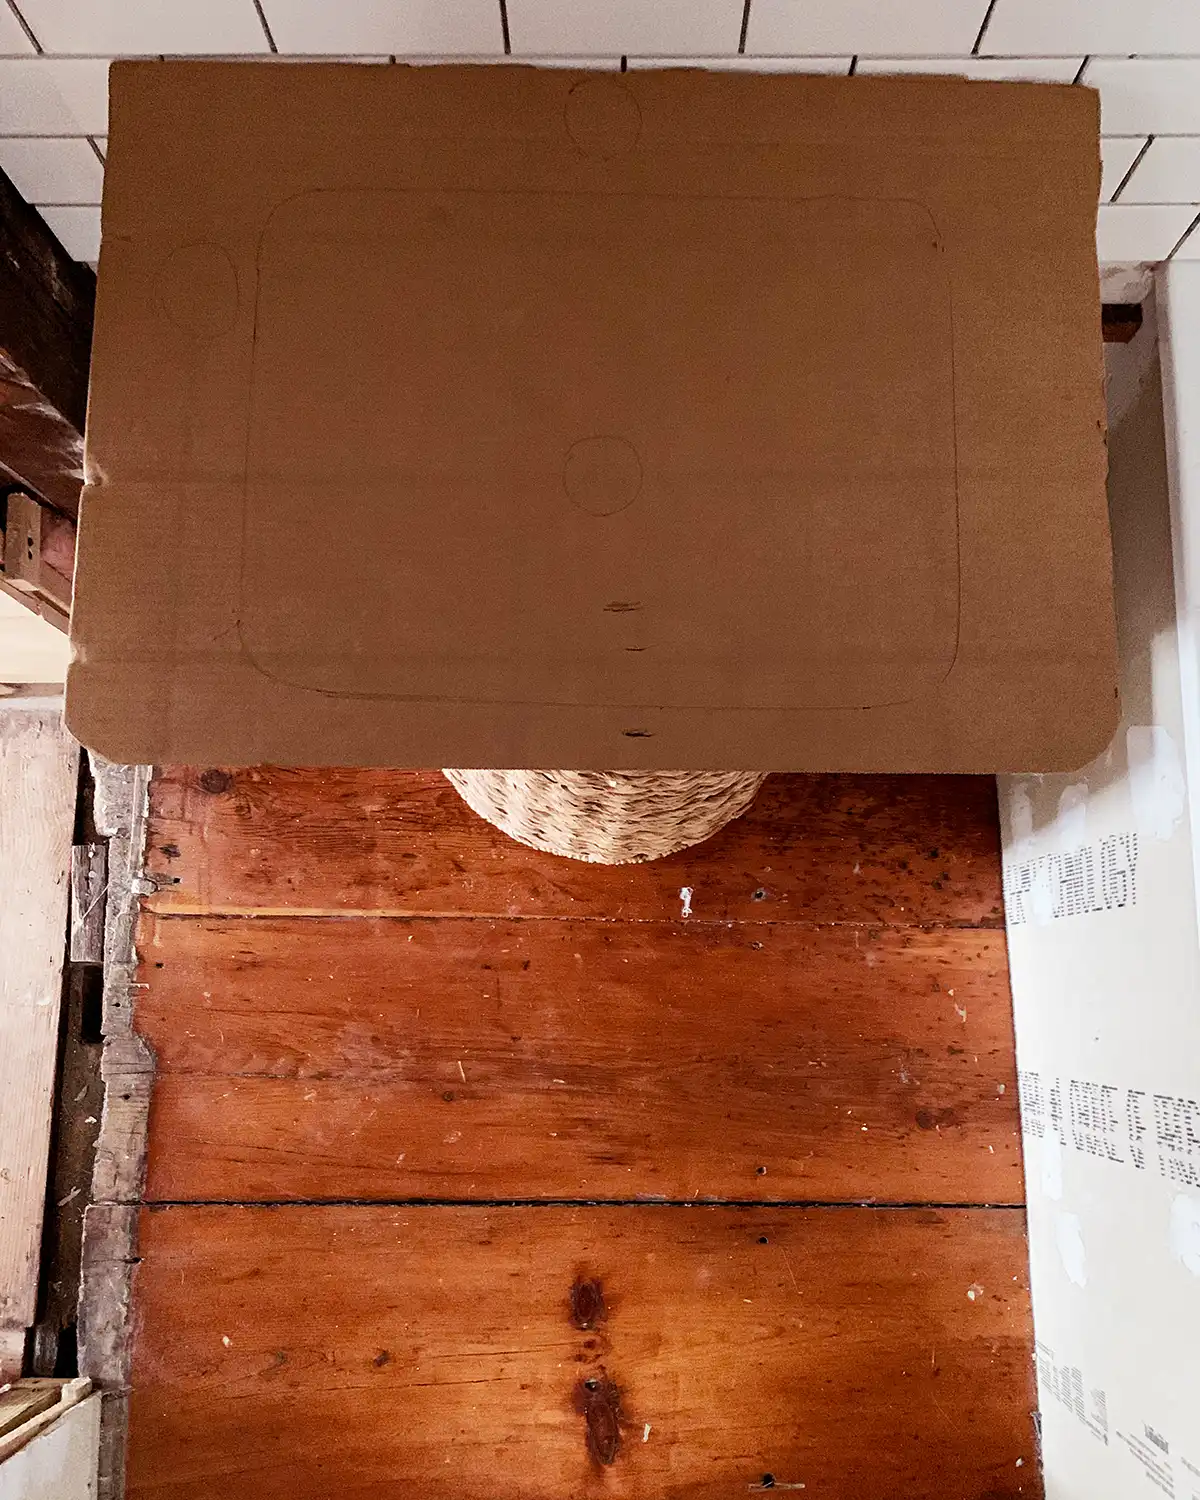
We made a cardboard dummy vanity top of 26″ by 19″ and it’s the absolute maximum size we could do. These dimensions maximize the depth and width available. The cardboard is the vanity top and you’ll see our super fancy vessel sink and faucet drawings on it.

When searching out ready-made bathroom vanities of this size, I’m really not loving my options. Most of them feel like modern, Ikea-type furniture and fixtures which really isn’t the vibe I’m looking for in this bathroom. Which brings me to…
Style Constraints
The style goal for the primary bathroom renovation is to feel like an old-world style bathroom. Remember the design plan? Here’s the original version with a vintage bathroom vanity.
I want a vintage vanity that brings a weathered, worn feel to here. So putting in a premade vanity/bathroom sink combo with a sleek, modern feel just isn’t the right choice.
My original plan was to put a wall-mounted sink in here. Like the Grizzly Sink from Rejuvenation or the Nano Coupe 11″ Sink from Watermark Fixtures on Etsy (no longer available). I love these sinks so so much. But both are significantly out of budget and Colby put the kibosh on plumbing inside this wall, which is an exterior wall.
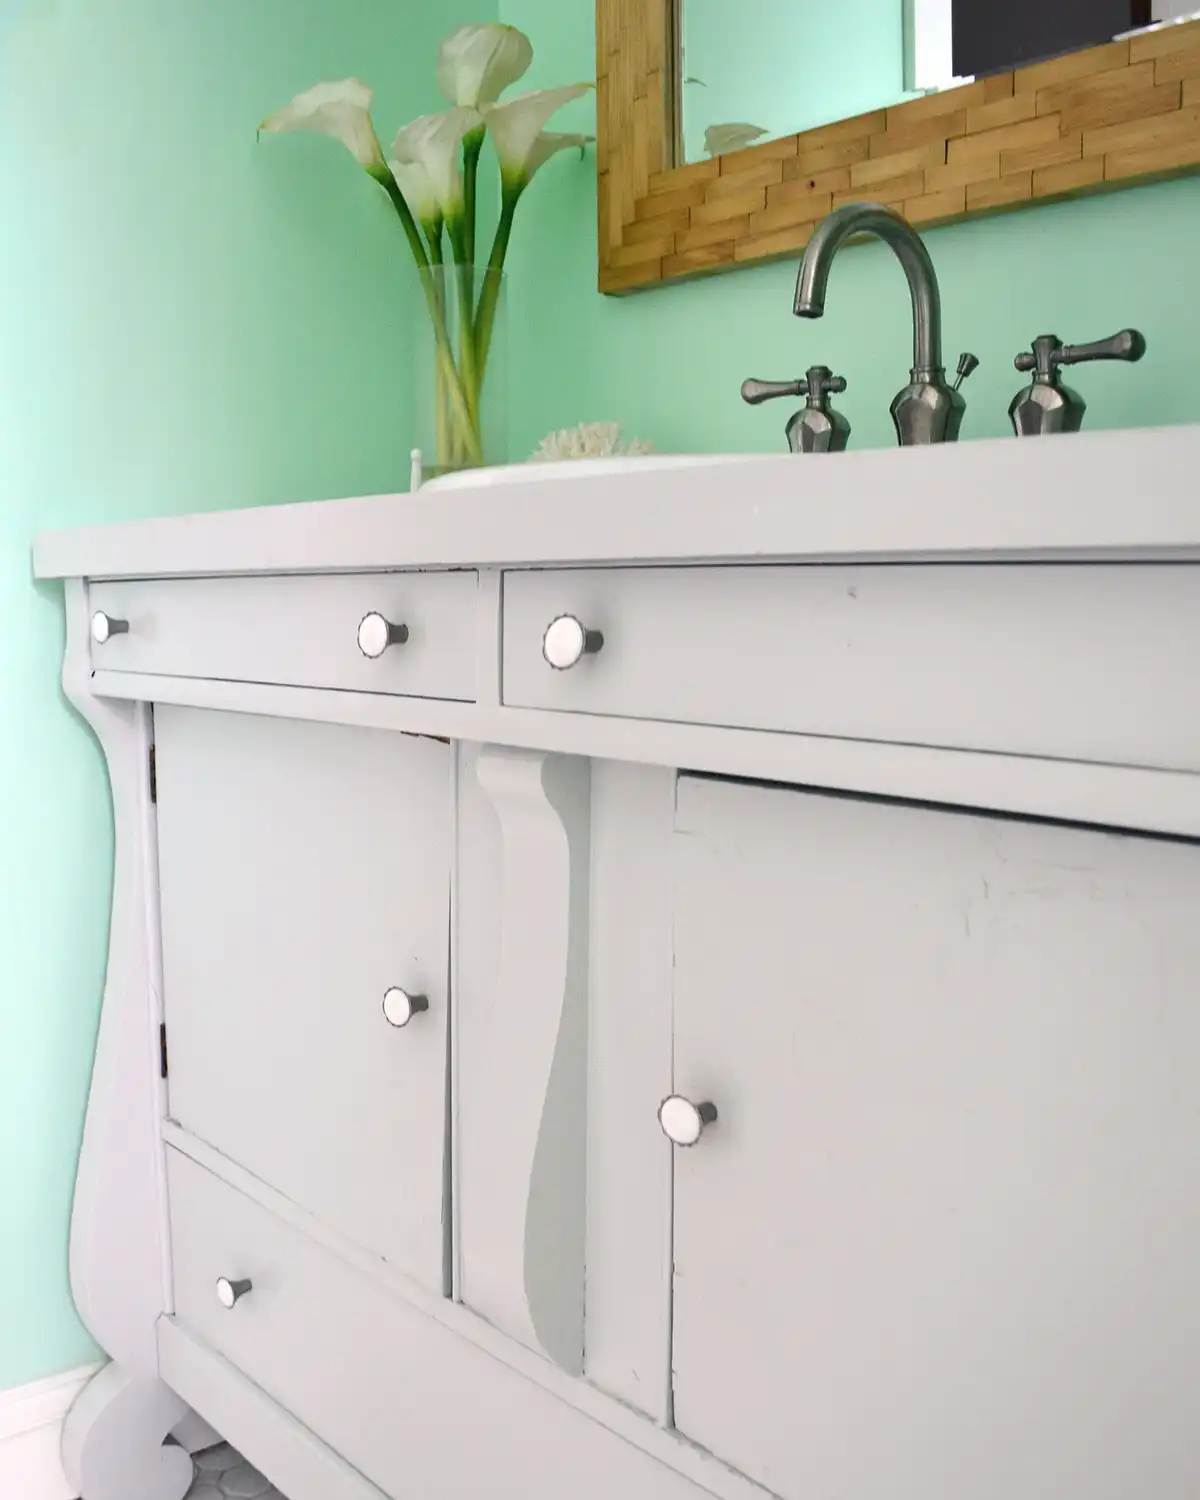
The second style choice was to find a small vintage dresser and convert it into a bathroom vanity. We did something similar in our first house when we converted an old buffet into a bathroom vanity.
But after almost a year of searching, I’m still coming up empty-handed. Everything I find that’s vintage, hardwood construction, and within budget is far too big for our bathroom.
I briefly debated a pedestal sink for this master bathroom. But pedestal sinks aren’t my favorite. When I think of the top vanity features I’m looking for, I love for there to be a place for hand towels to hang off the side, a spot for the hand soap dispenser, and a place inside a cabinet to tuck unmentionables like toilet brush holders. Hashtag real-life problems.
I found a few pieces of new furniture that could fit the square feet available for the bathroom vanity, but they were very, very expensive. Which brings me to…
Budget Constraints
Everyone’s favorite B-word, is budget. Shopping at a new furniture store is not a task known to be budget-friendly. Even the best deals at your nearest store or online furniture retailer are not always easy on the wallet.
We gave ourselves a $200 budget for the vanity and we’re trying really hard to stick to it. We do let ourselves go out of budget here and there when something is just screaming at us as the right thing. We always try to choose high-quality items that will last a long time over lower-quality items that won’t last.
I think it was Elsie on the A Beautiful Mess Podcast say that if you want high quality but you’re on a tight budget, you’re best bet is to shop vintage. While I couldn’t agree more with that, my second choice is to build it ourselves. I’m so thankful for the tools and skills to build our own furniture.
After striking out on vintage, with our budget and size constraints, we’re opting to build our own bathroom vanity.
The Bathroom Vanity Inspiration
Now for the fun part, the bathroom vanity design inspiration, my vanity muse so to speak.
I’m going for a Restoration Hardware or Arhaus furniture look but on an Ikea budget. While those retailers have a good reputation, they’re not known for their great prices. You’re paying for quality when you shop there.
I have been obsessed, like a tween girl over Taylor Swift obsessed, with the Arhaus Conrad line of furniture. Swoon! Give me a minute to fan myself for a second.
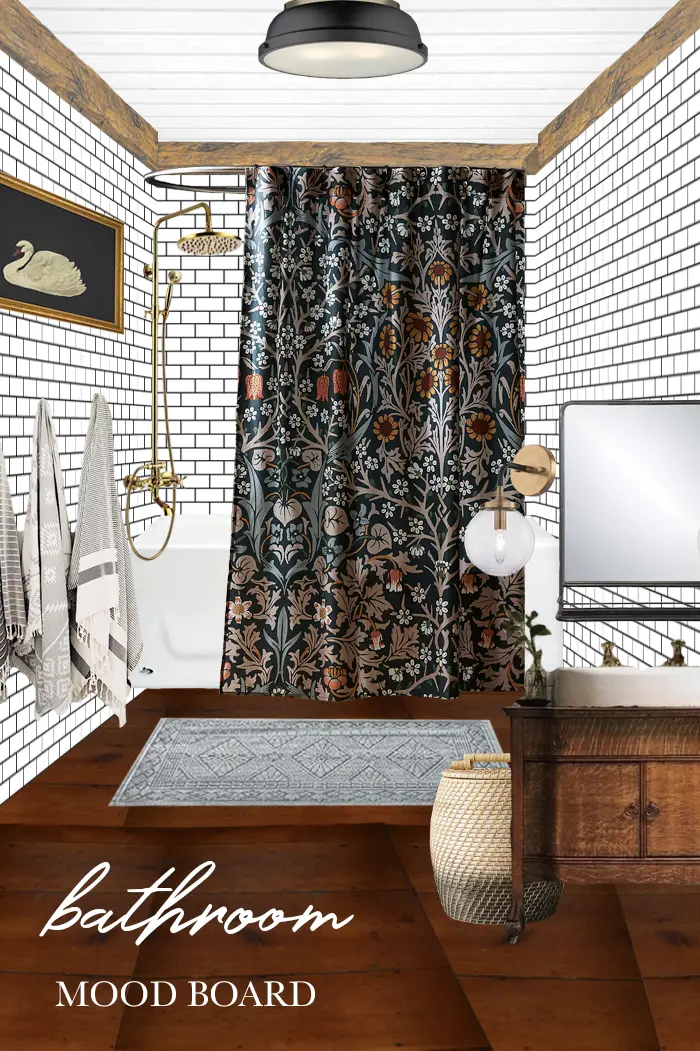
There’s something about those reeded doors, the bottom curve, the hardware, and that almost dark mahogany finish to it that I find absolute perfection. Can you see that Arhaus Conrad sideboard against our bathroom shower tiles? Let me paint…errrr….Photoshop a picture.
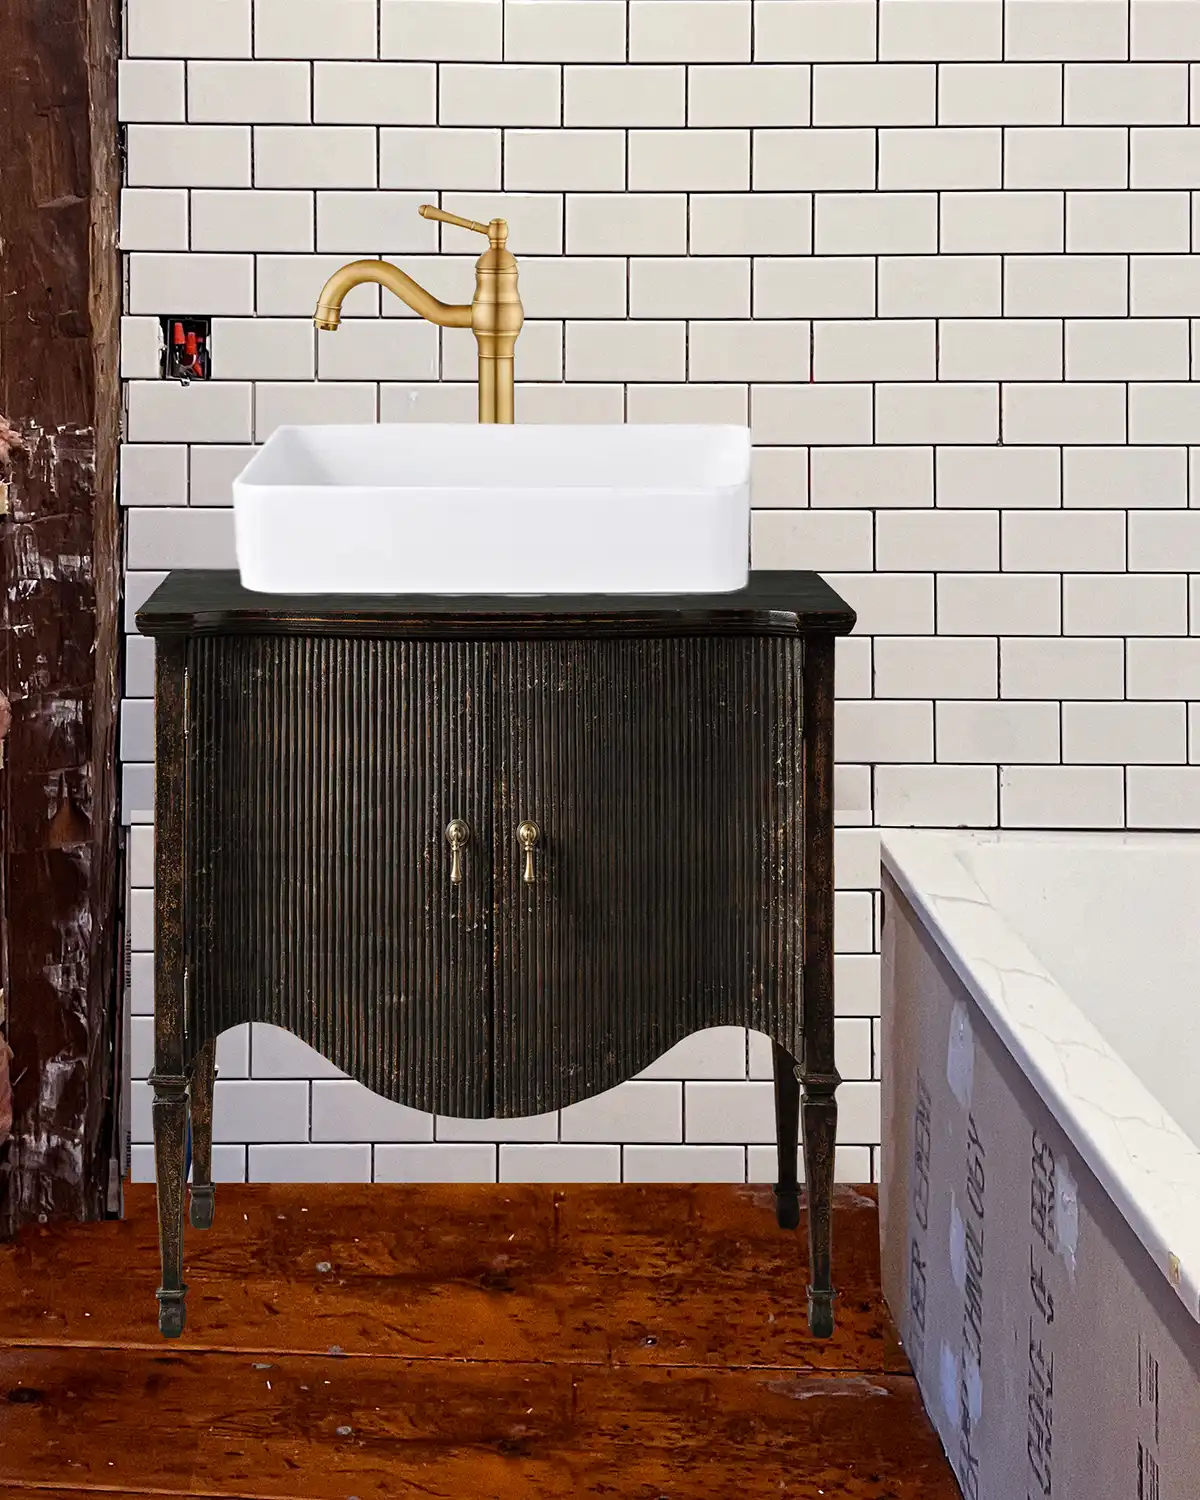
Photoshopping precisely zero percent to scale.
I’ve searched high and low for an Arhaus Conrad sideboard dupe tutorial but I just can’t find one. I did find a YouTube video on how someone turned an Ikea dresser into an Arhaus Conrad sideboard dupe, but not a new build. That’s never stopped us before on coming up with our own design!
Bathroom Vanity Design
Before we started building the Arhaus Conrad-inspired furniture piece, we wanted to get a rough idea of how to build it. Colby and I put our heads together to source what we think will be the right materials and building specifications for the bathroom vanity design.
Bathroom Vanity Design Sketch
Colby is definitely the most talented SketchUp artist in our home. For those unfamiliar, SketchUp is a free 3D modeling tool. It’s so handy when you’re trying to plan out a furniture build or a new structure. We’ve used it in the past to design our old deck and also determine the framing of the greenhouse.
Colby took some bathroom measurements and armed with pics of the Arhaus Conrad sideboard, came up with a super quick sketch of the vanity.
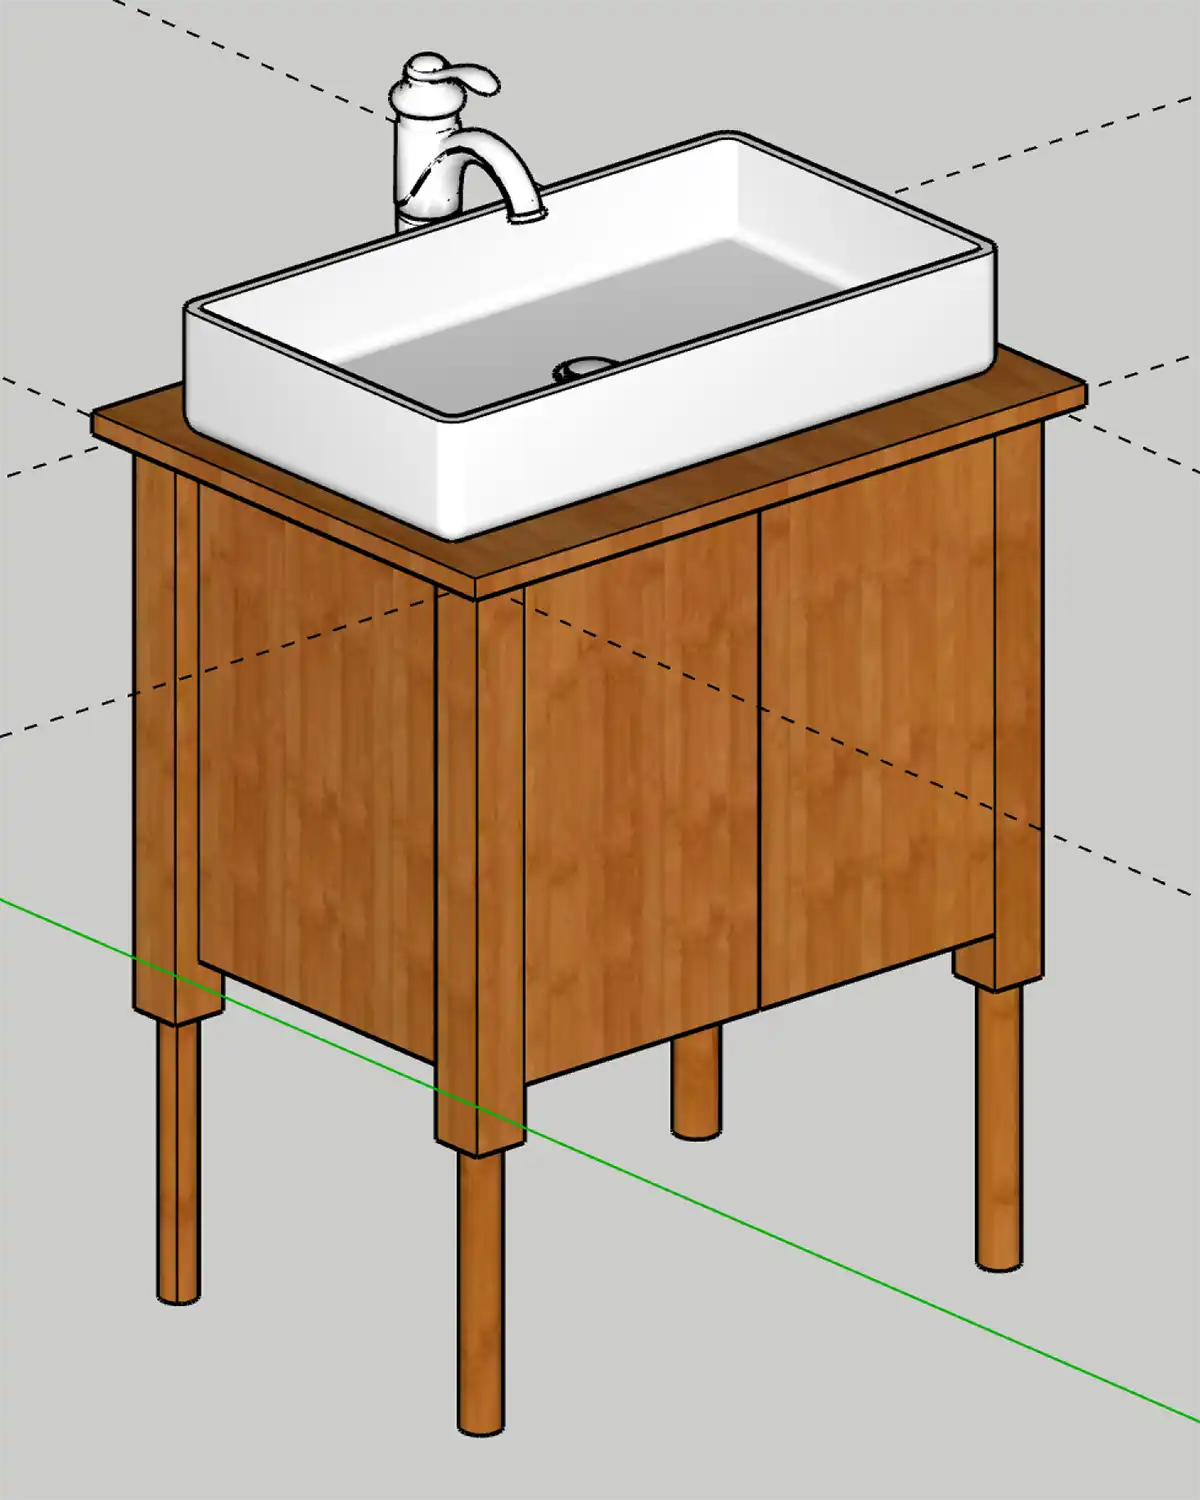
Note that the bathroom vanity design sketch is lacking the curves on the bottom. They didn’t make it into the sketch because we couldn’t figure out how to get the curve right in SketchUp. But it gives us a rough idea of the look, the size, and how it fits the sink. It also helps us estimate the materials needed for the project (perfect segue).
Bathroom Vanity Materials
The plan is to build the entire vanity using materials found at the Home Depot since it’s our closest big box hardware store. While most of the materials we will be using are your run-of-the-mill pine boards, there are two materials that are design element staples.
One is using the fluted-reeded molding for the front of the doors. I tested this material out in the store and it looks great butted up against each other. While it’s not the exact Arhaus Conrad style, it’s close enough for me.
The second material is the console legs. Home Depot has a variety of pine table legs that we can use. We have zero skills or tools for turning wood so we’re relying on what’s ready-made and available to us. I just hope we can source the right height.
Bathroom Vanity Finishes
We already have the sink, faucet, and door pulls for the bathroom vanity. We ordered absolutely everything we needed for the bathroom project upfront, which is not my favorite way to do things.
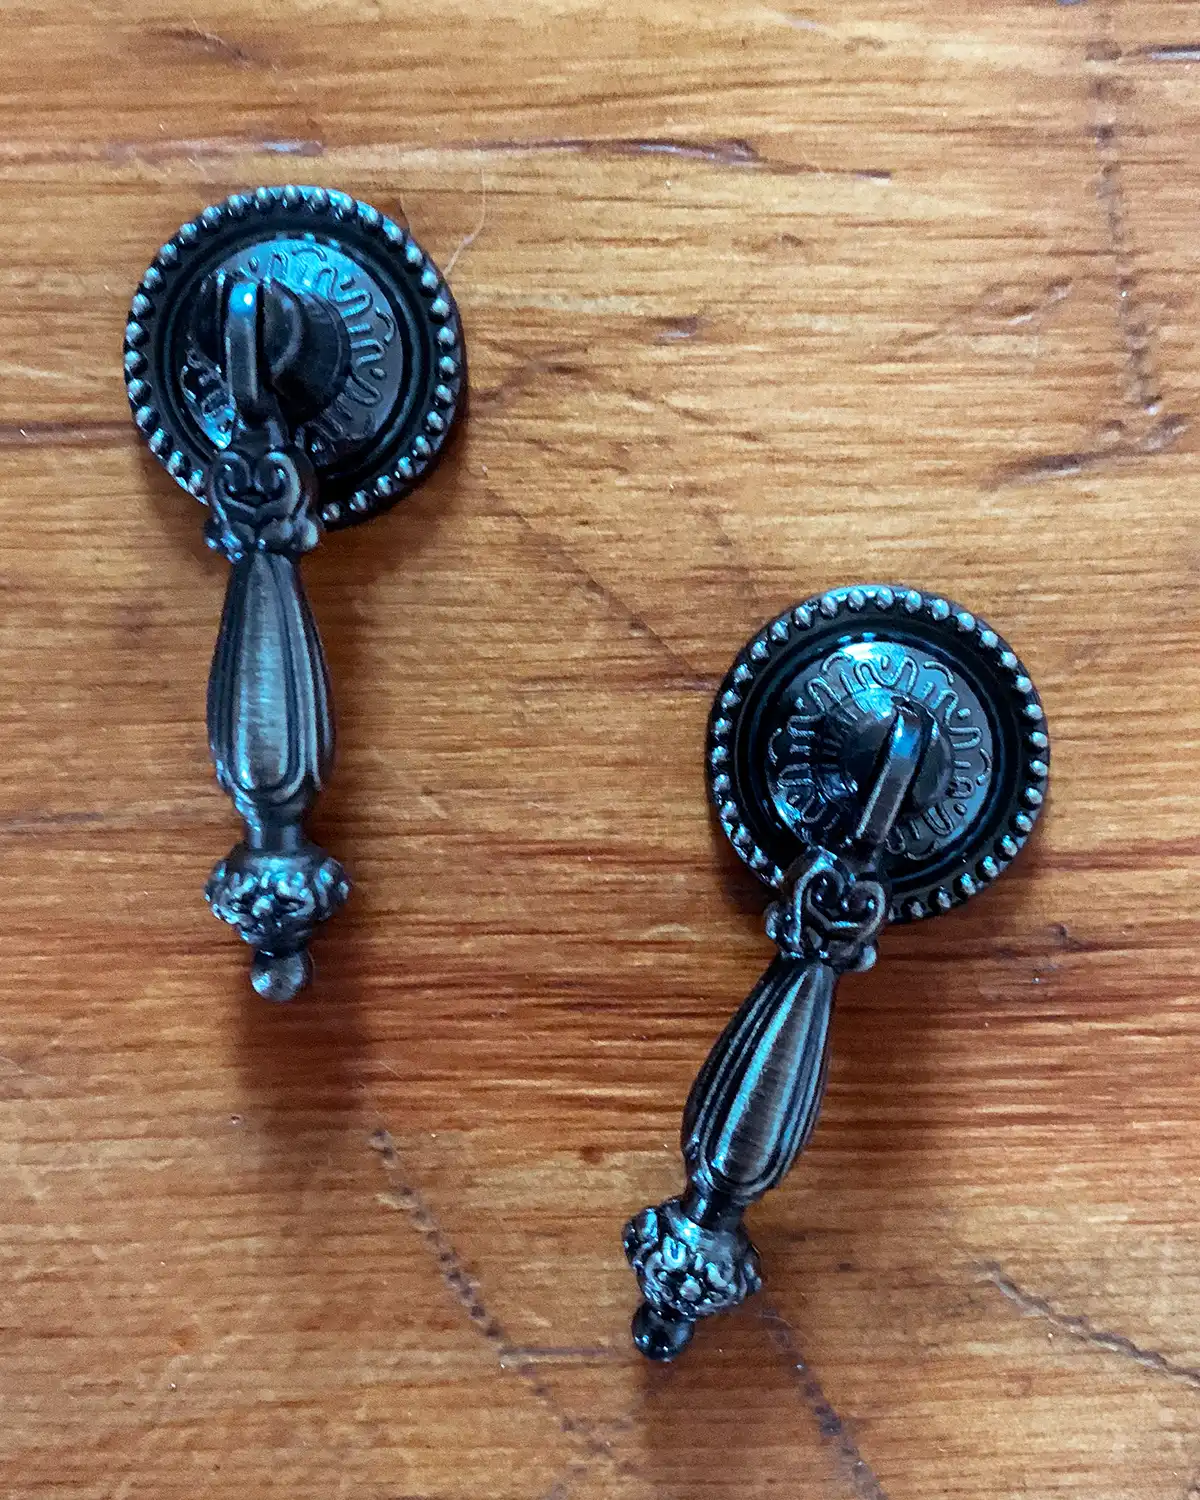
Sometimes, you nail it. Like the door hardware for the bathroom vanity design. The pulls, which I bought off Amazon, came as a four-pack and they are just what I was looking for.
And sometimes you fail, like the bathroom faucet I ordered. I didn’t factor in that I needed a faucet specifically meant for a vessel sink. The poor faucet is too short. We briefly thought of building the faucet up, but I just bit the bullet and ordered a new faucet meant for a vessel sink.
Will The Bathroom Vanity Design Work
Short answer: undecided. I’m incredibly wary that any bathroom vanity will work in such a tiny space. We would 100% prefer a bathroom vanity to a stand-alone sink, be it a wall-mounted sink or pedestal sink.
It feels like a risk to try and put a bathroom vanity in here, but it’s a risk I’m willing to take. Sometimes when I’m indecisive about something I like to think of the worst-case scenario. So in this instance, what happens if it doesn’t fit or we hate it? Sell the vanity and try something new.
But because I’m me, I did attempt to “try on” the vanity and check it from the different sight lines. And by “try on” the vanity I mean stack the cardboard vanity top template on top of a trash can on top of a laundry basket. Super fancy.
Here’s the vanity view from our bedroom door:
And the view from the attic closet:

This is the view that concerned me that nothing other than a wall-mounted sink would work. But then I “hung” the shower curtain from the few post-demo, remaining screws in the beam for another look.
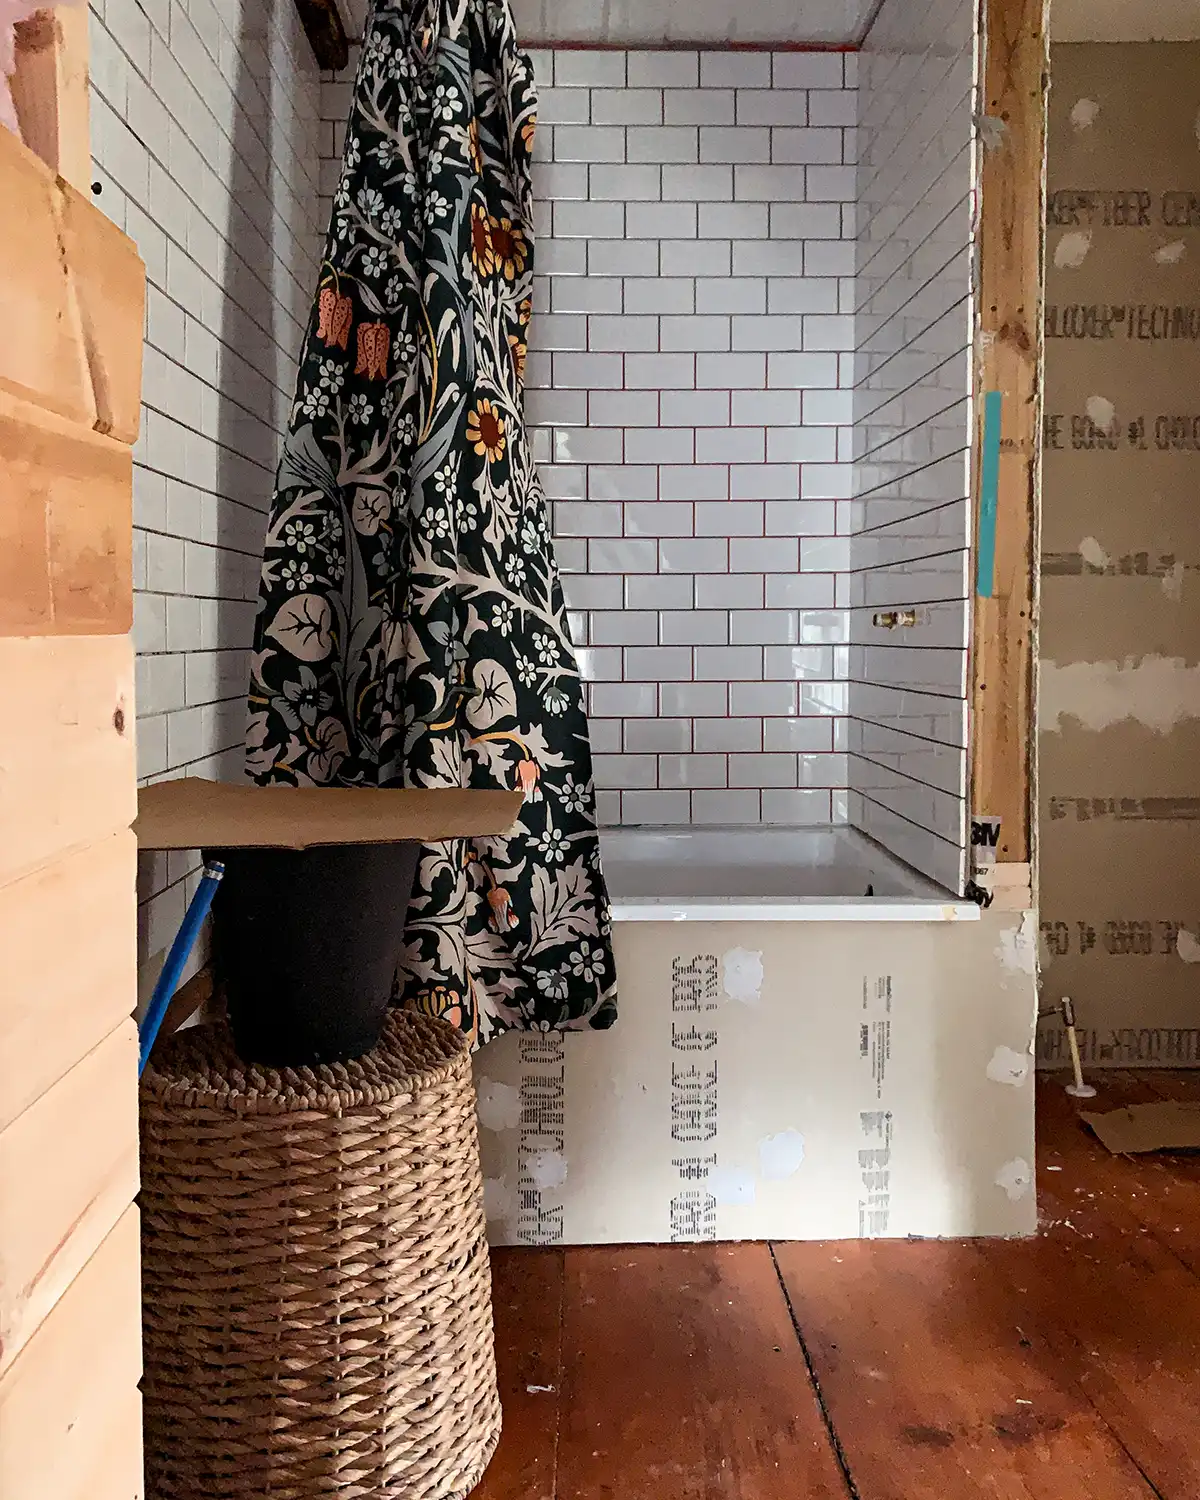
It felt much better once the shower curtain was there. It’s still tight and no matter what we do it will be tight. I’m just grateful that with this size vanity, I don’t hit it as I walk from the bedroom, through the bathroom, and into my attic closet. I tested that too.
Pushing Through Indecisiveness
So here’s me getting a little vulnerable for a moment. The HARDEST part of renovating for me is the indecisiveness. I have a penchant for wanting things done perfectly AND to get it right the first time. The truth is, that just isn’t possible.
I’ve learned that if I push through, try things, and course correct if it doesn’t work that I end up with a home I love. Sometimes that first idea isn’t the right one and those lovely limitations, like bathroom size, force us to get creative. Those creative solutions give us truly unique homes that are perfect for us.
Bathroom Remodel Next Steps
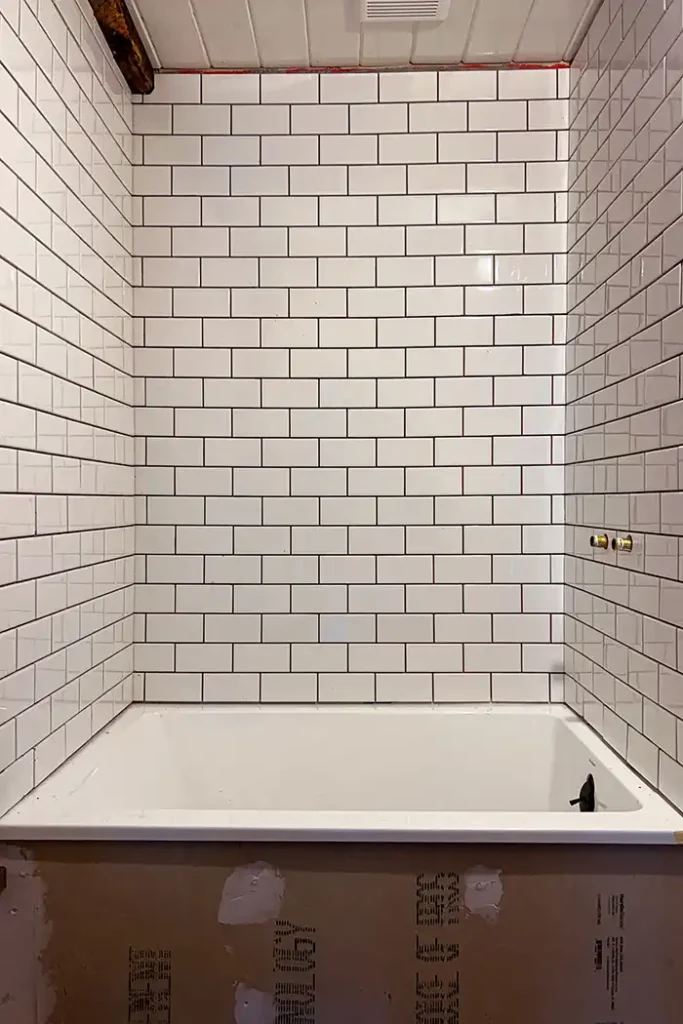
With a bathroom vanity design plan in place, our Arhaus bathroom vanity inspiration, Colby is excited to build the vanity while I finish tiling. If you caught our last bathroom post about how long it takes to tile a shower, you’ll know that I’m about 1/3 done tiling the bathroom.
Remaining Bathroom Punchlist:
- Finish tiling bathroom walls
- Grout bathroom tile
- Install trim
- Paint trim, doors, transitions, etc.
- Build and finish bathroom vanity
- Install bathroom vanity
- Install shower hardware
- Install the light fixture, switches, and outlets
- Replace the toilet
- Repair and refinish old medicine cabinet
- Install the shower curtain rod and hang the shower curtain
- Hang hooks, shelves, and art
- Finish decorating
The end is in sight. Not really, but that’s what I tell myself to make me feel better. At least we’re in the making the bathroom pretty stage instead of unglamorous but necessary bathroom remodeling parts like plumbing.
One Room Challenge Fall 2023: Week Four
This project is part of the Fall 2023 One Room Challenge (ORC) event where bloggers and designers make over one room in their home over the course of eight weeks. We’re at the midway point of the series and things are getting real! Be sure to visit the ORC blog and see all the week 4 updates. The projects do not disappoint!
Catch up on my weekly bathroom renovation updates:
Stop by next week for my bathroom renovation week 5 update for the One Room Challenge.